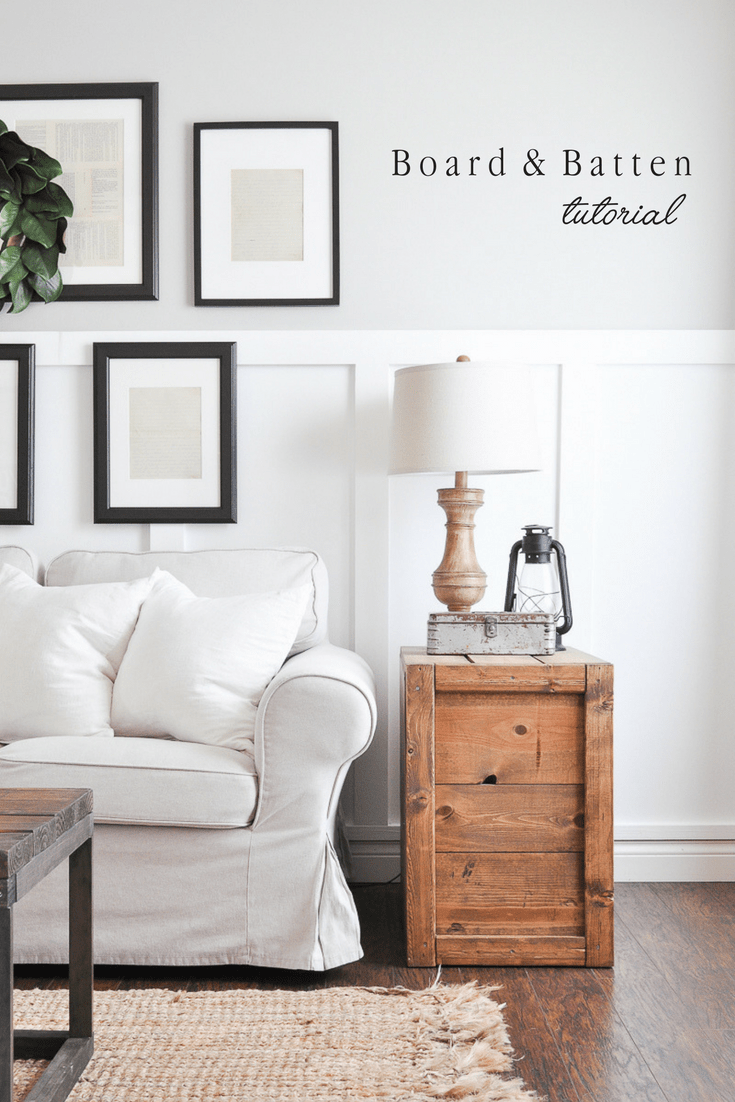
Board and Batten Tutorial
This super easy and affordable board and batten tutorial will give any space in your home immediate character and charm. And the best part? You don’t have to remove your baseboards!
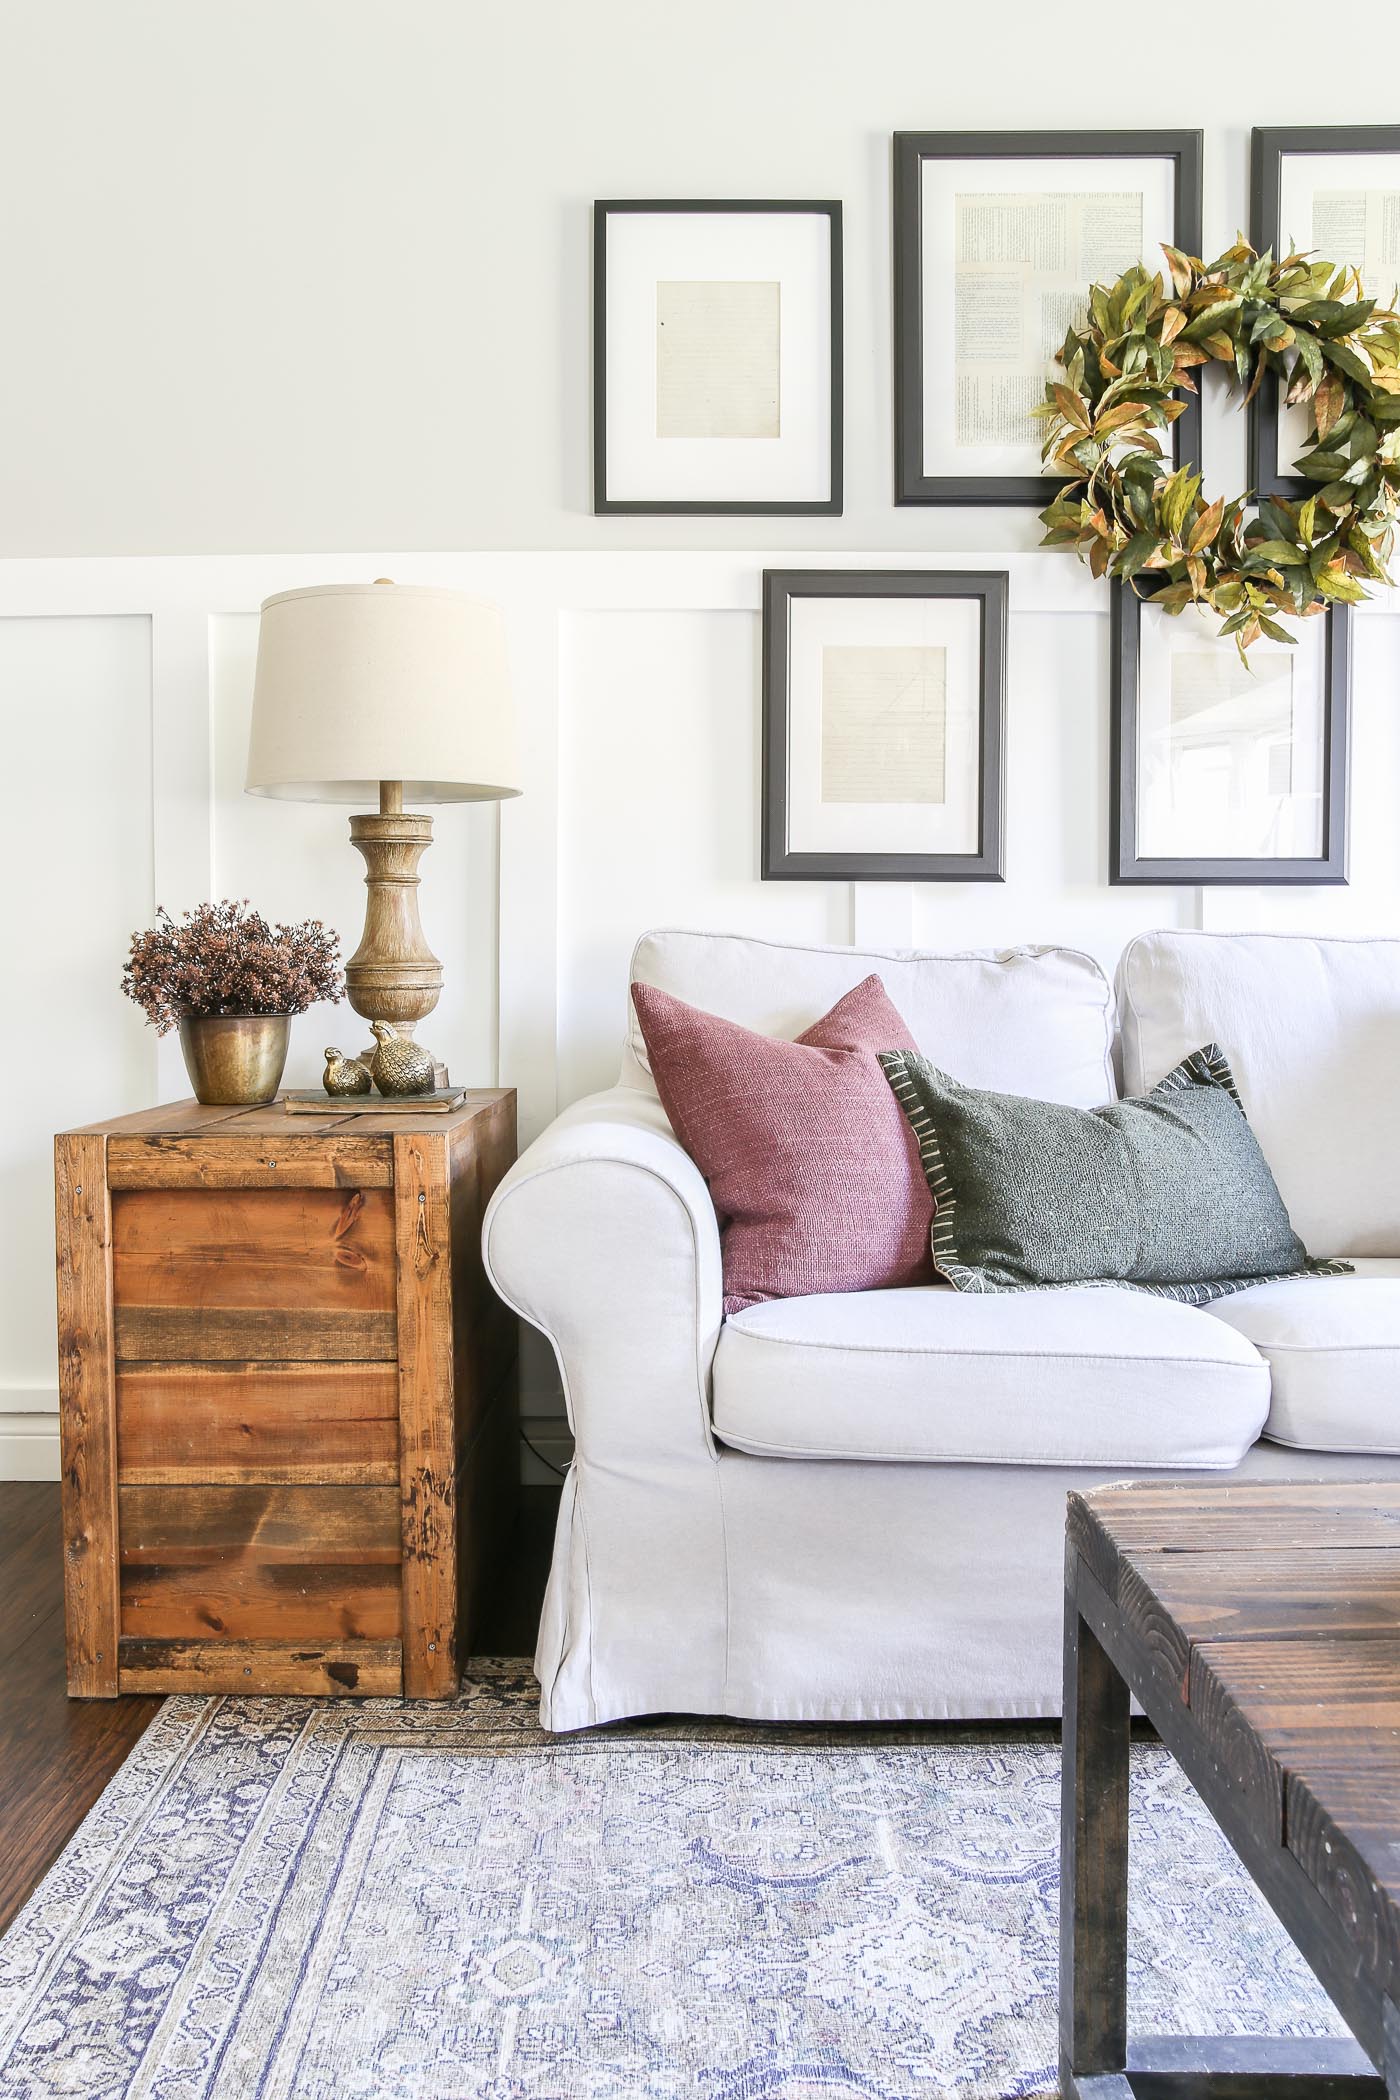
Adding board and batten to our main living area has been on my to-do list for some time now. I think it is such an affordable and easy way to add character to any space.
I’m going to show you how we did ours. However, it is entirely customizable so you can tweak it to fit your space how you want it. And the best part? No need to remove your baseboards!
Affiliate links are provided below for your convenience. For more information, see my full disclosure here.
Supplies Needed for DIY Board and Batten
- Wood – We used Common Board from Home Depot
- 1×2’s for the board sitting on top of our baseboard, and 1×4’s for the other vertical and horizontal boards
- Saw
- Tape Measure
- Level
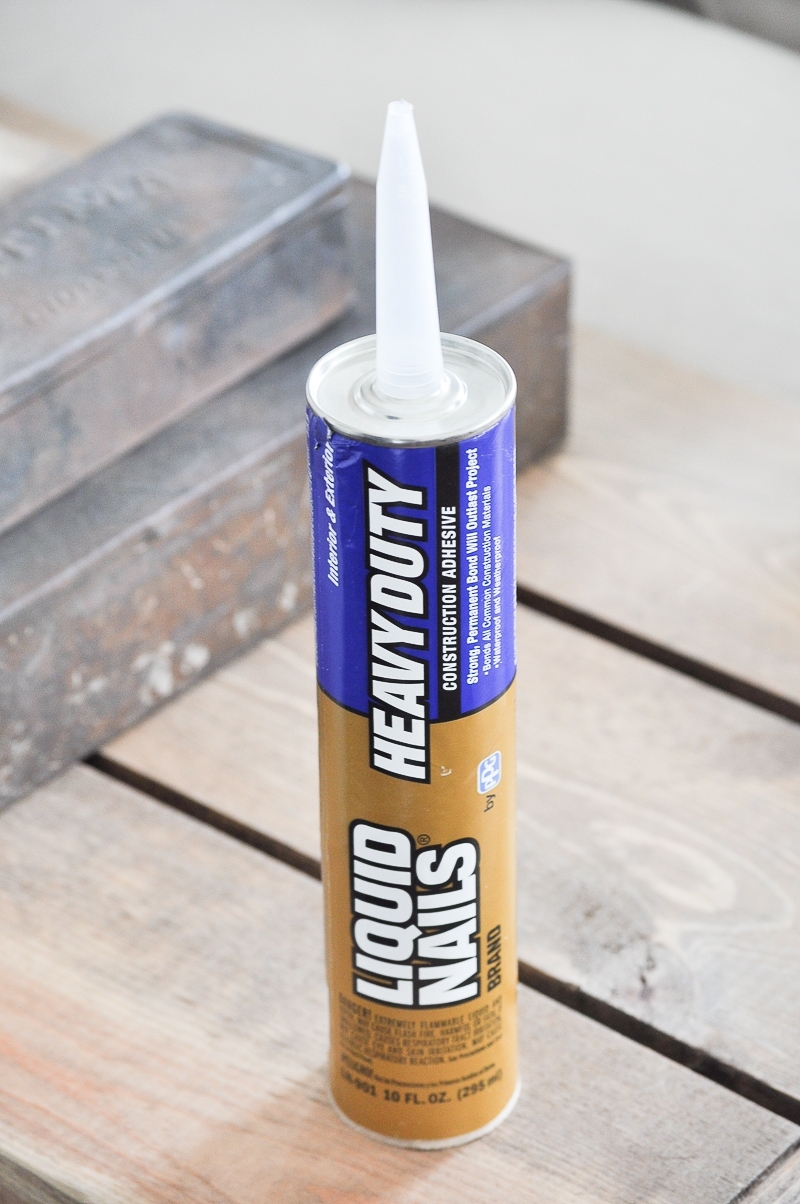
- Liquid Nails
- Nail Gun
- Caulk/Caulk Gun
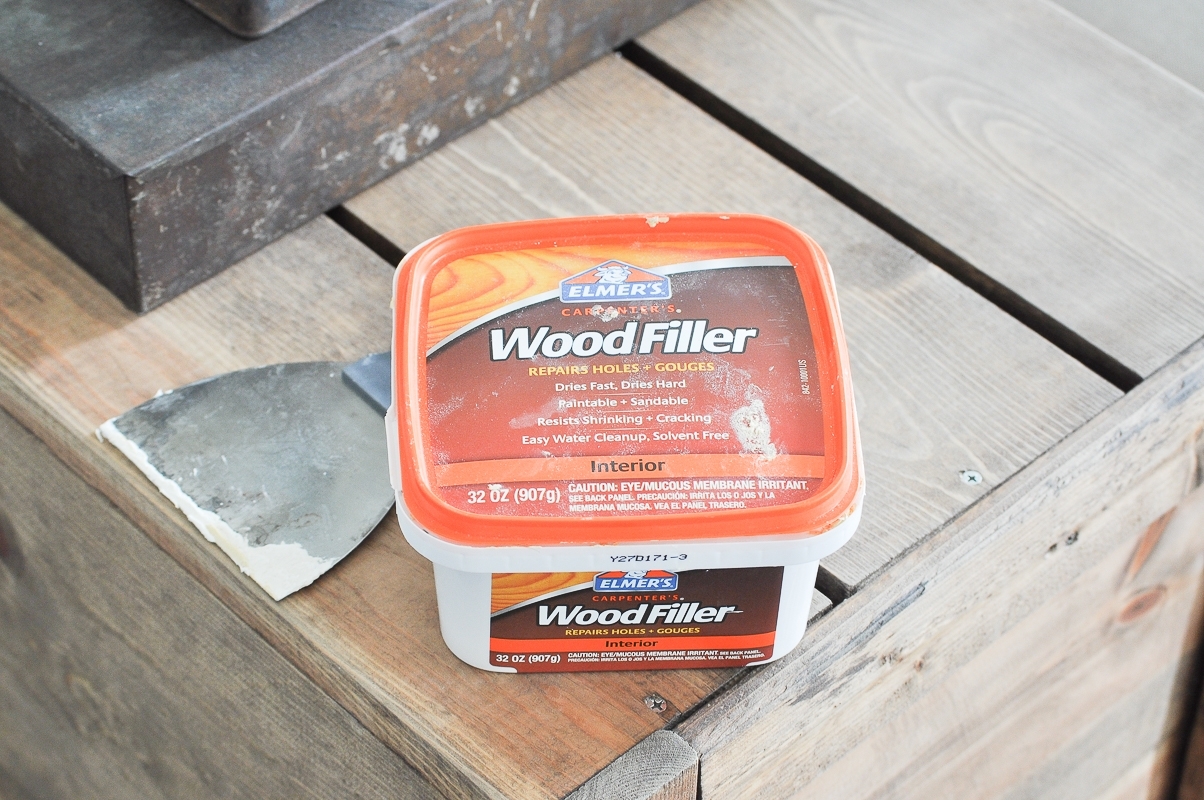
- Wood Filler and Putty Knife
- Sander
- Paint/Brushes/Roller
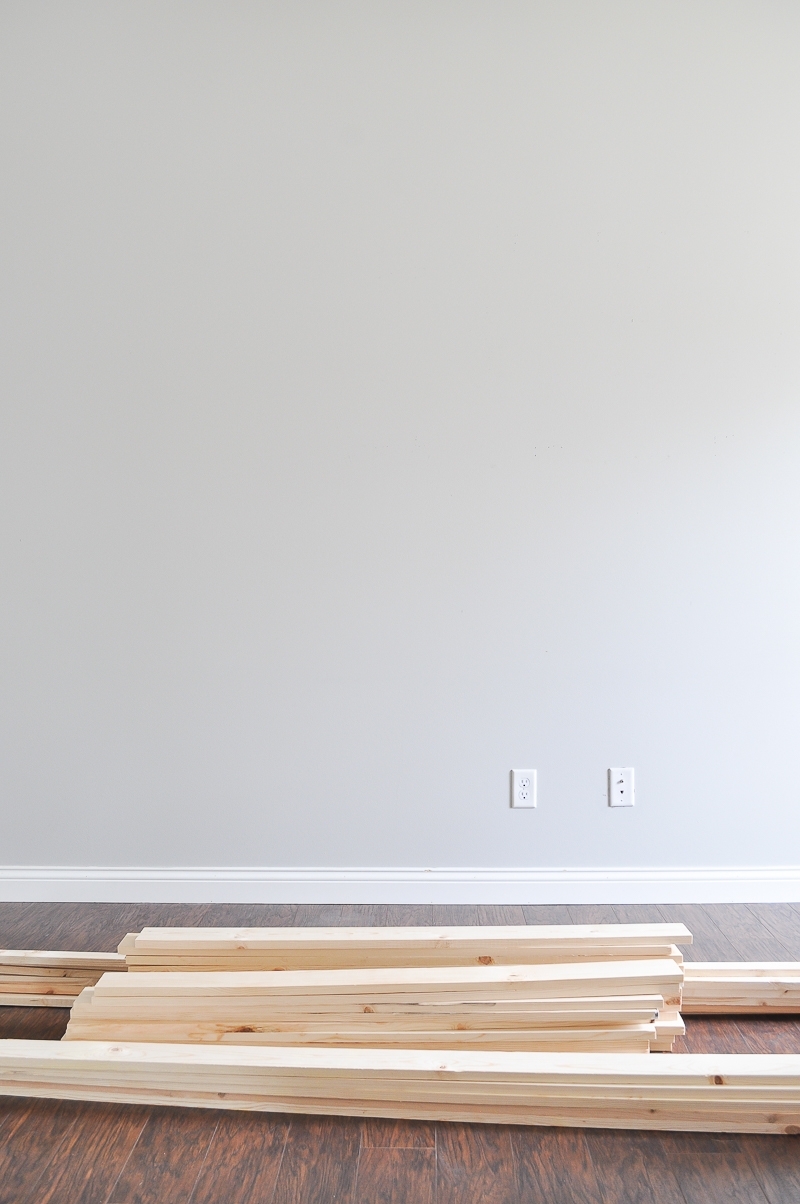
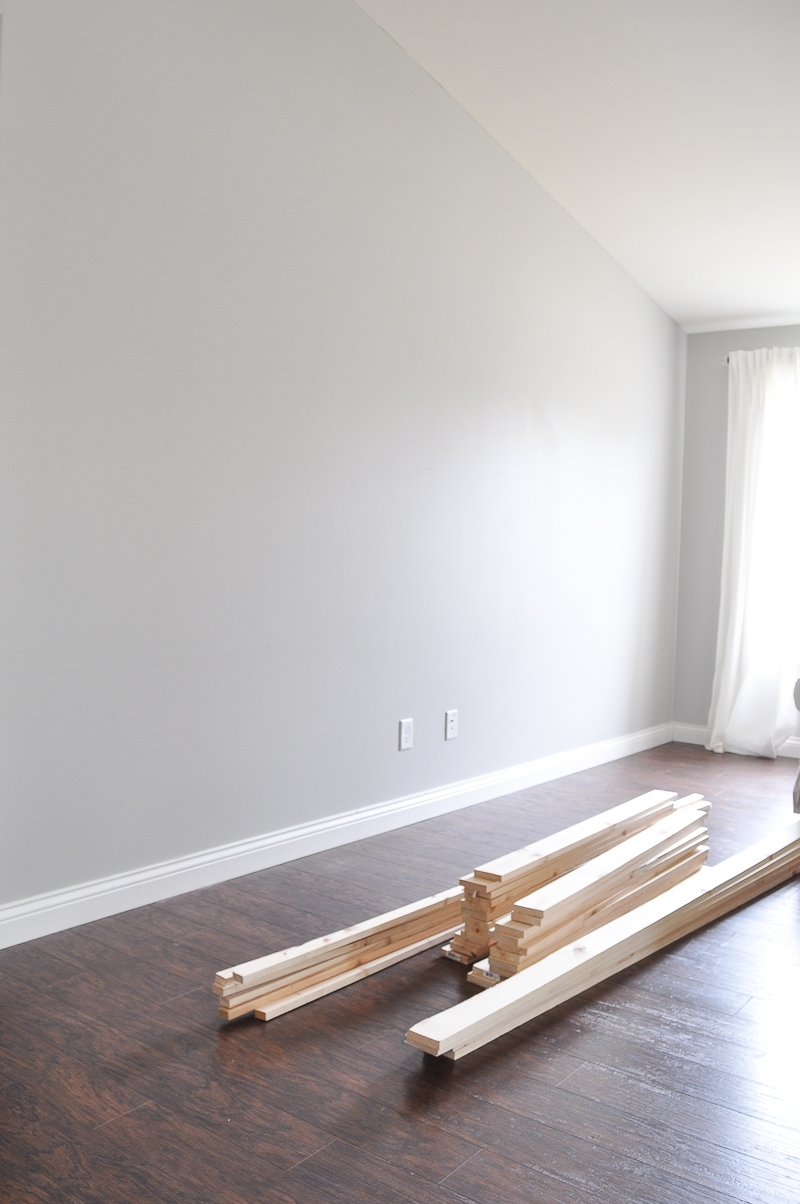
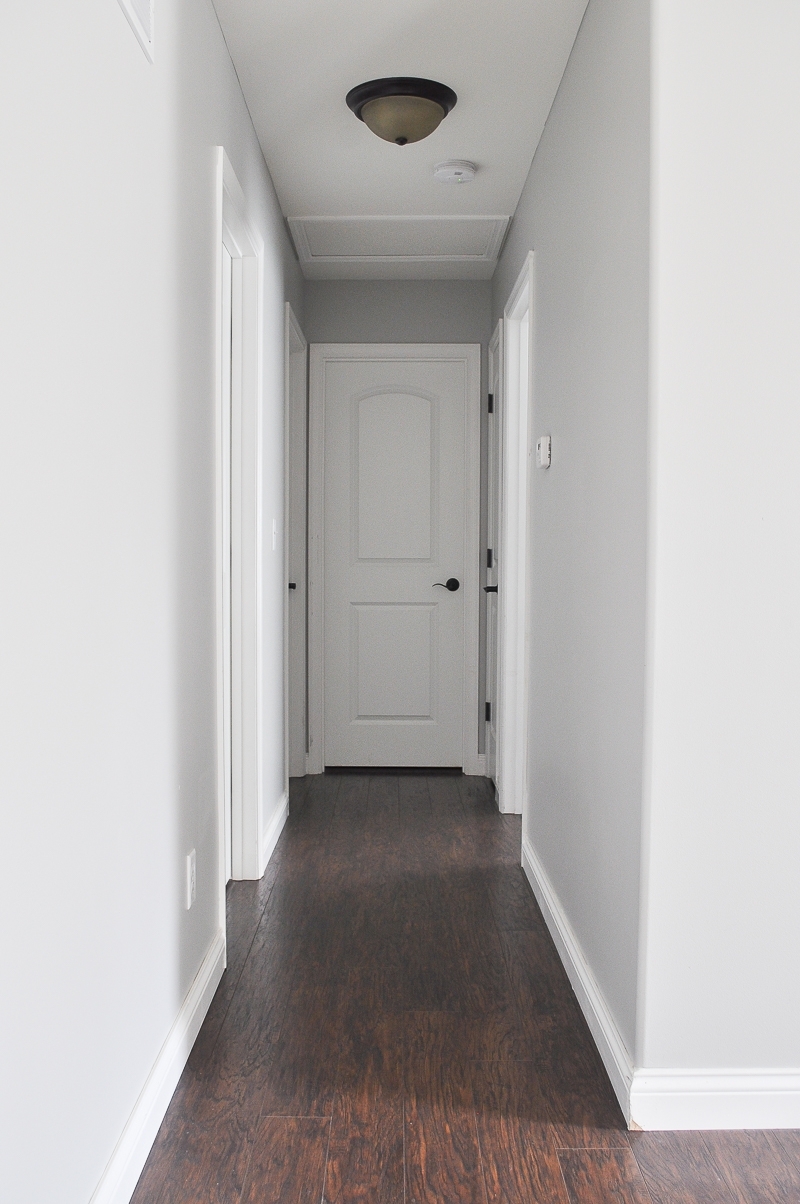
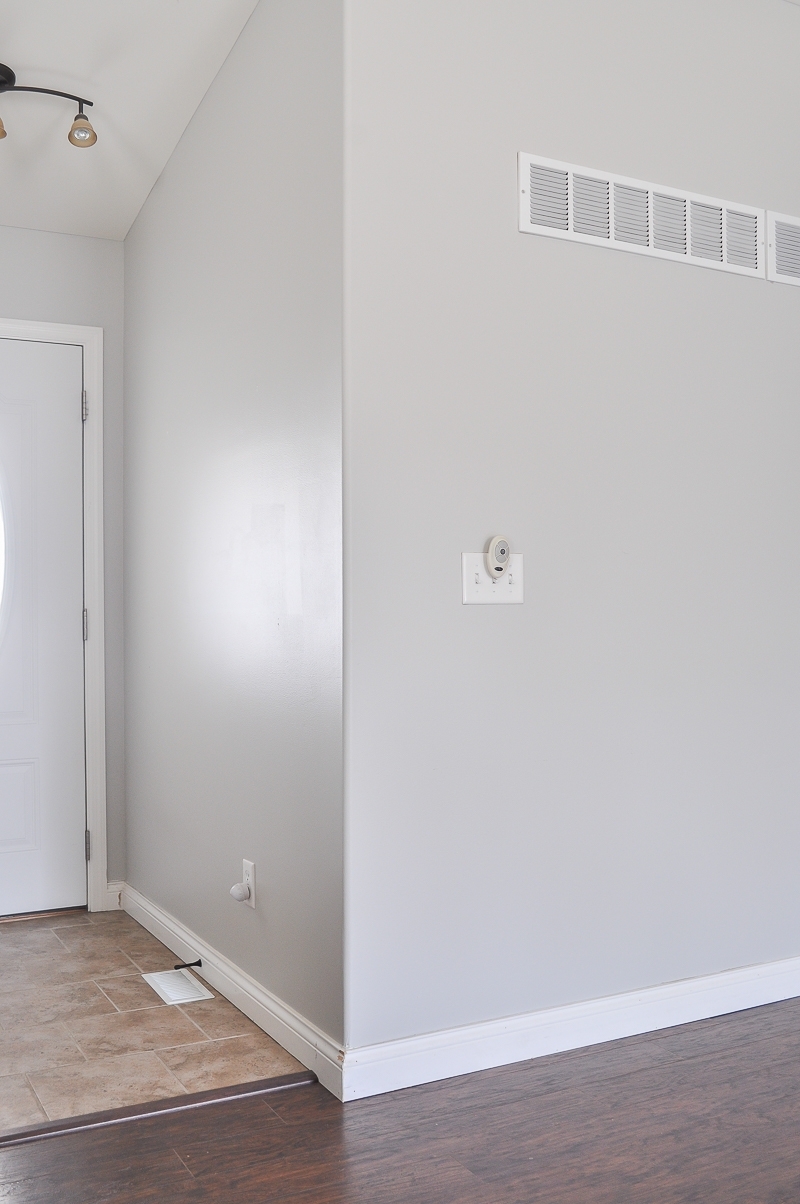
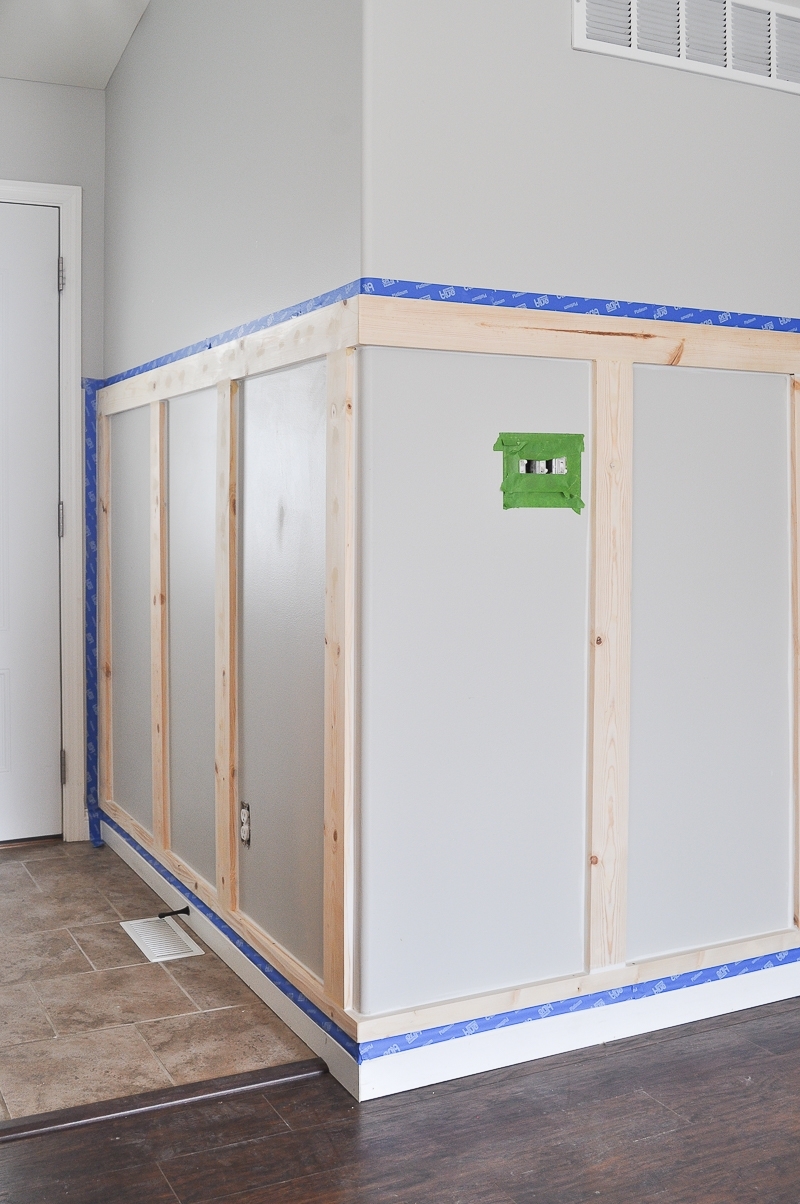
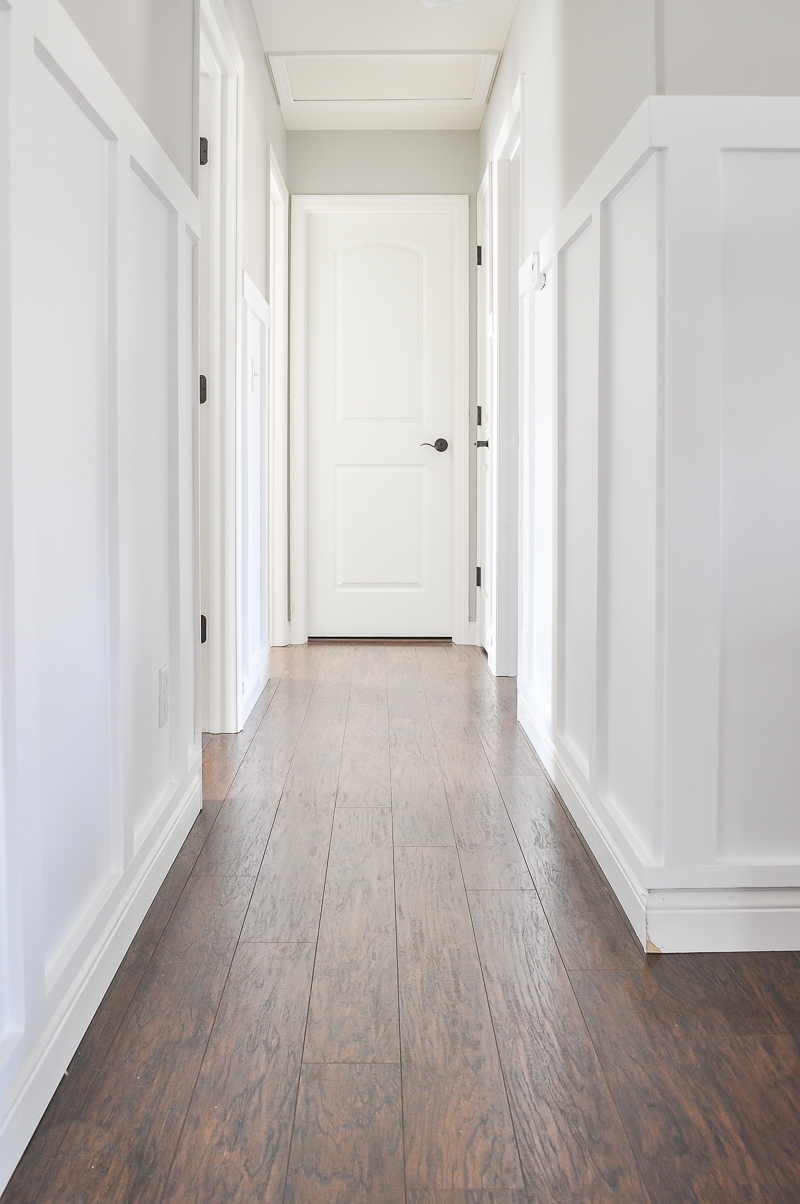
We decided to add the board and batten to our entryway, hallway, and part of our living room. Like I said, there are so many ways to customize how you want your board and batten to look. But I knew that I wanted ours to be pretty simple.
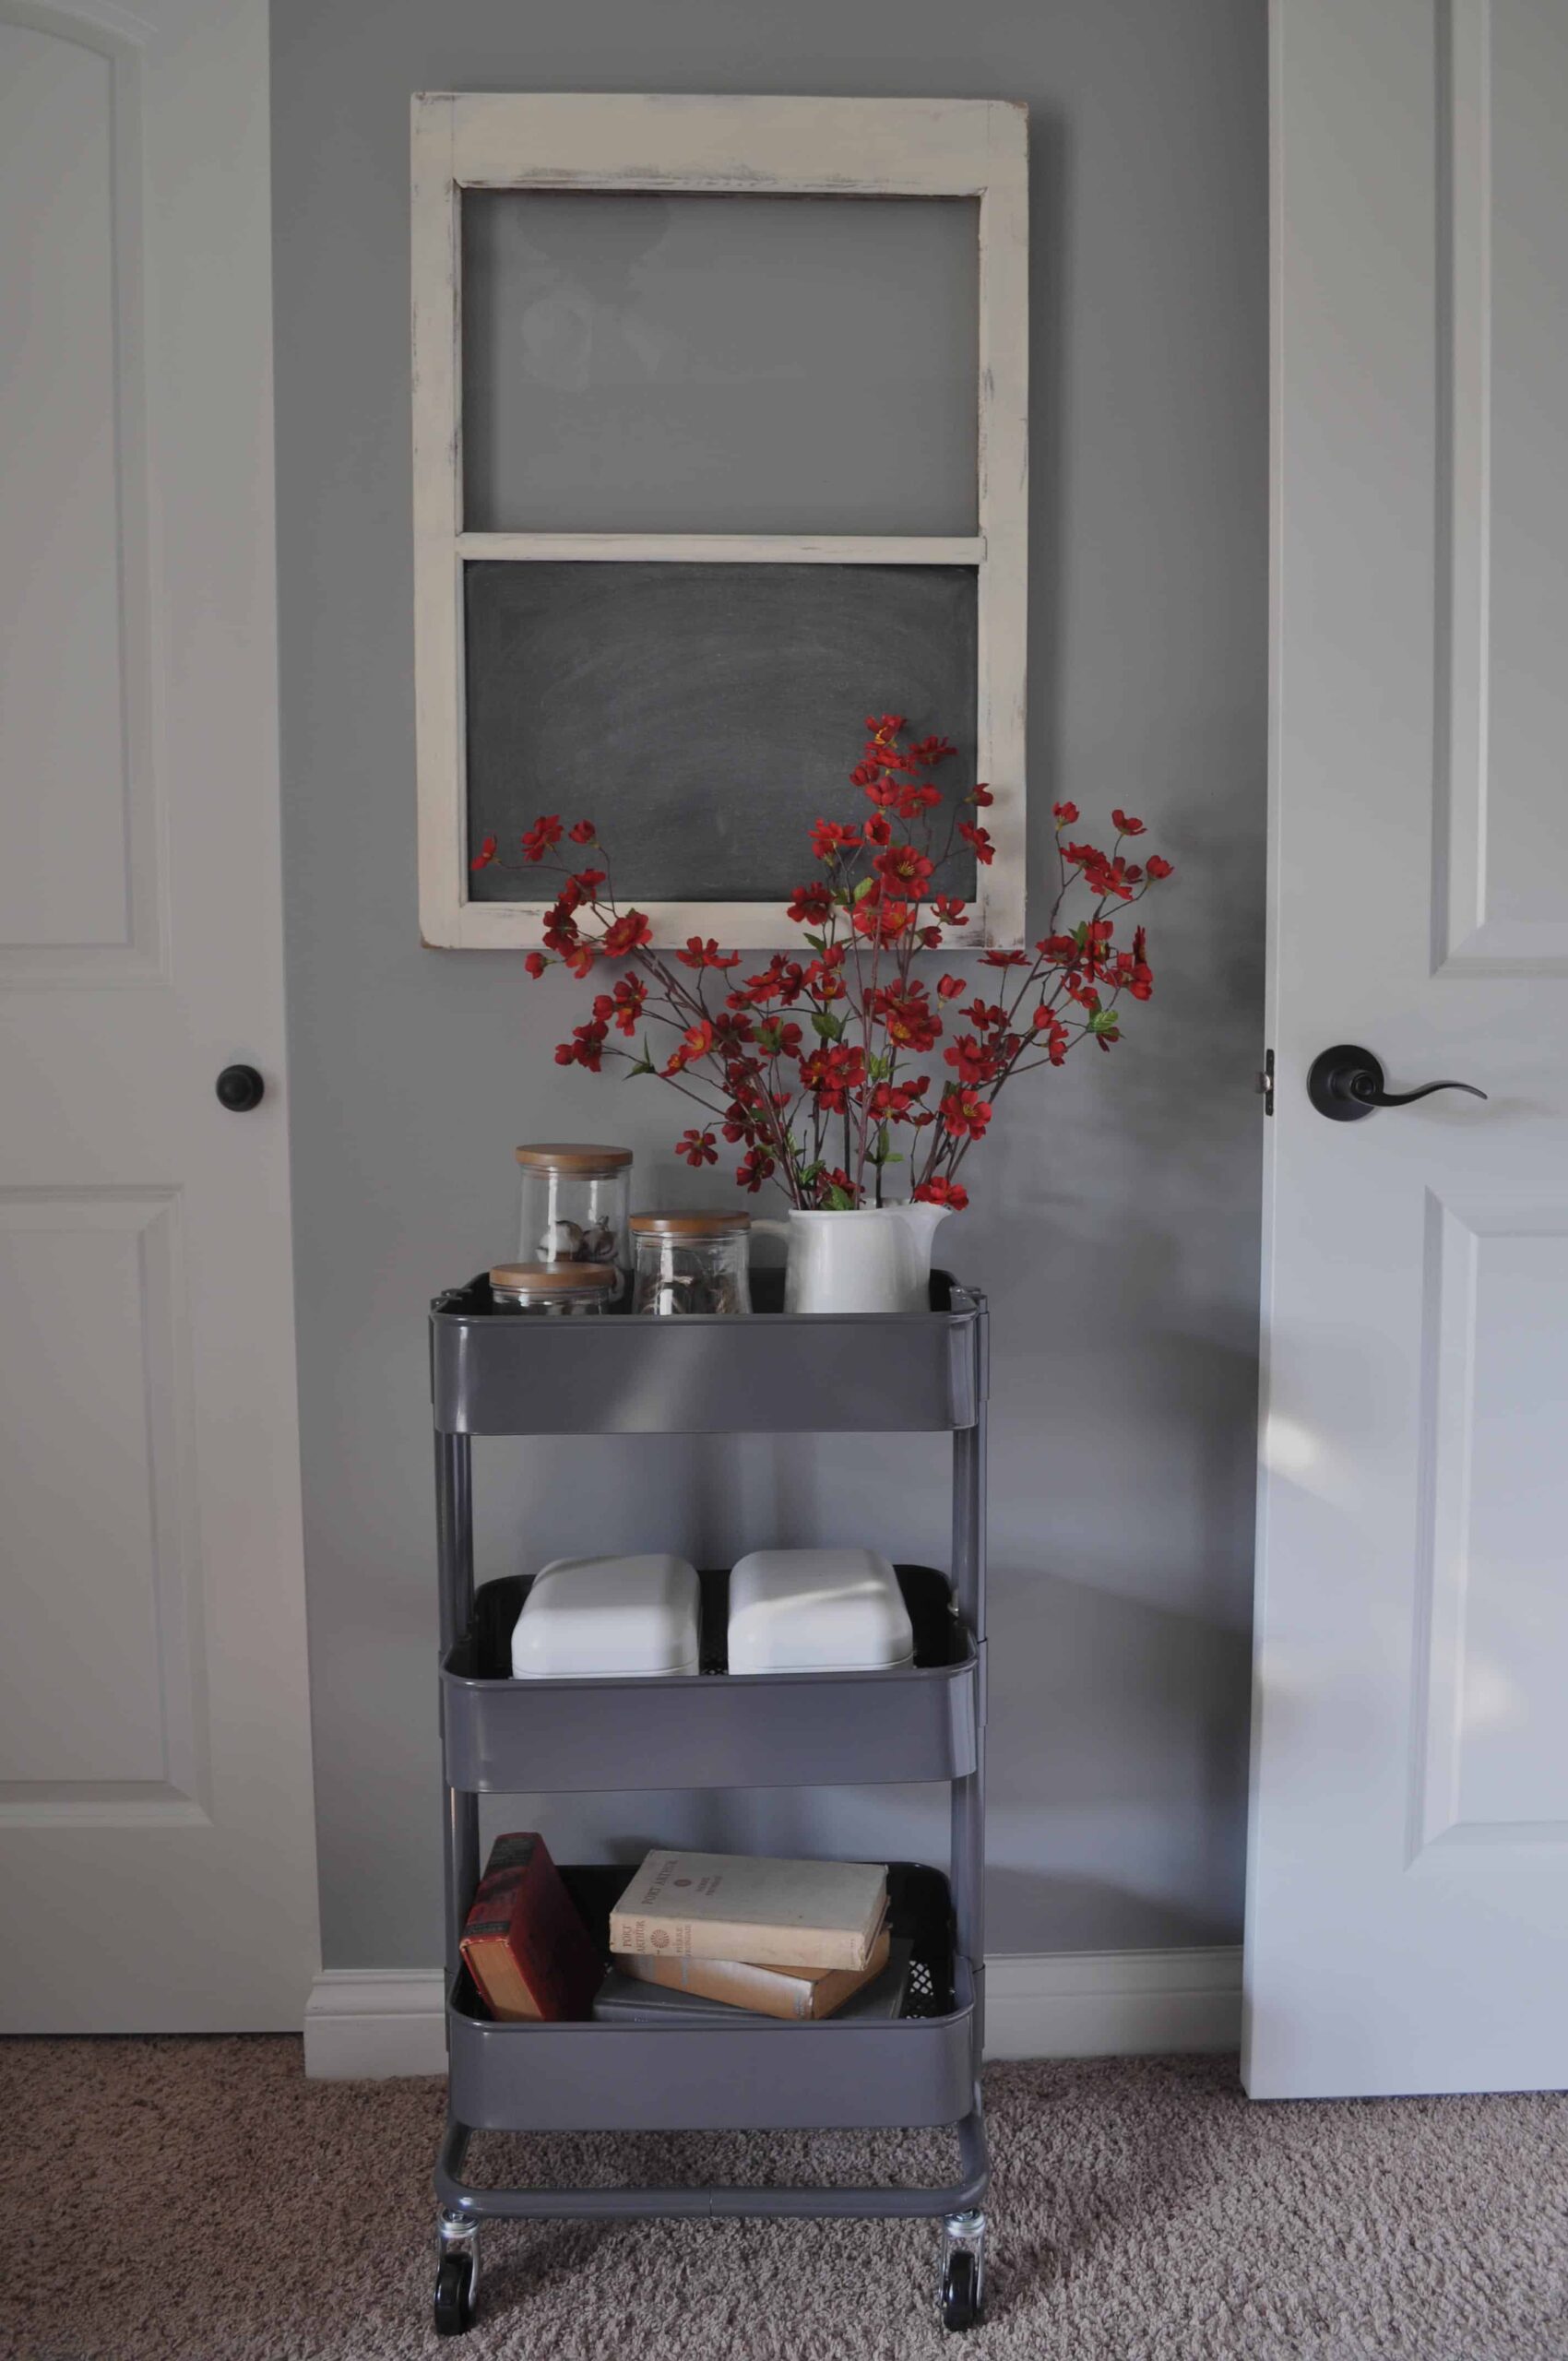
Here are some before pictures of the space we were working with.
Directions for Attaching DIY Board and Batten
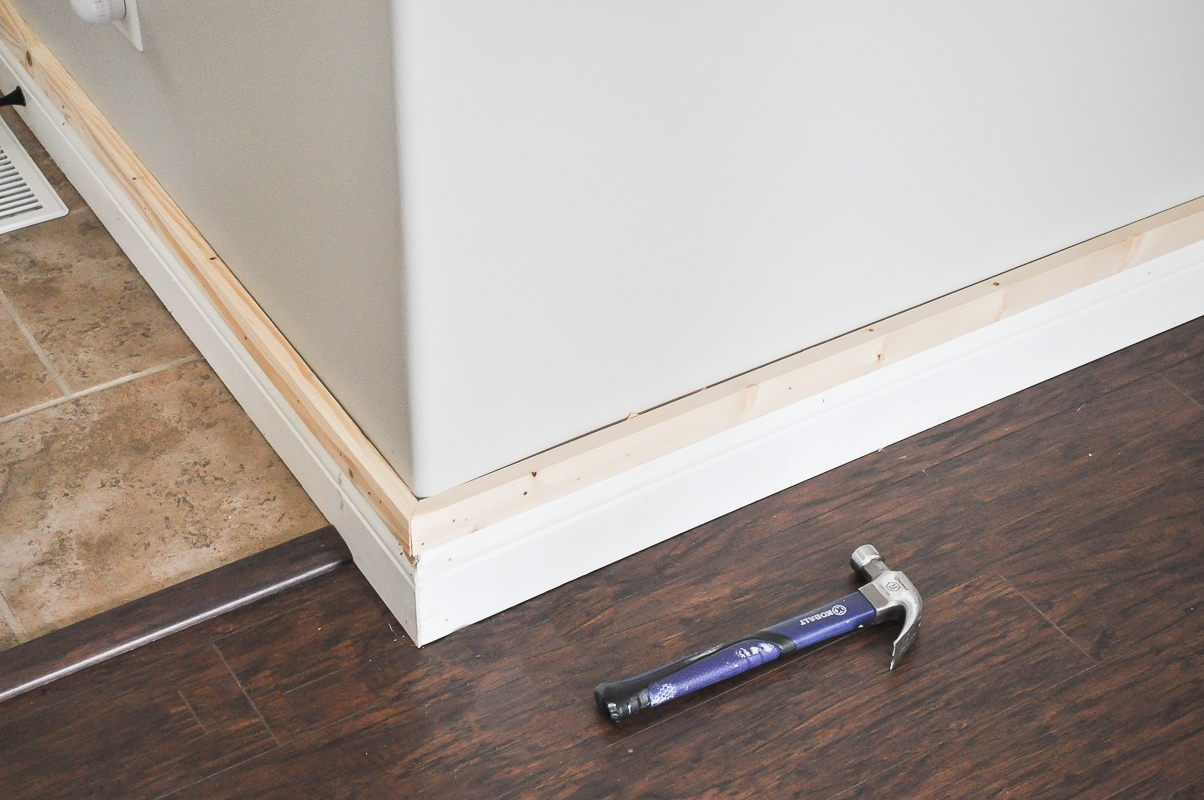
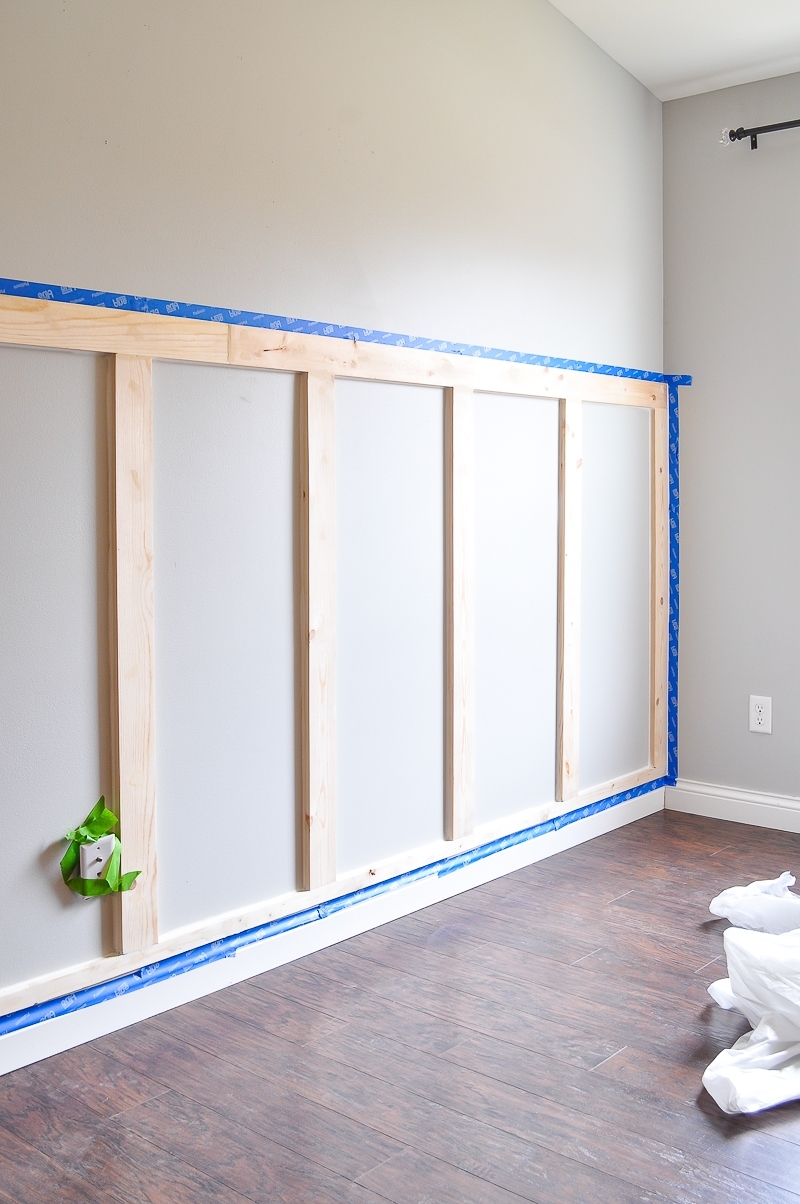
- We didn’t want to rip up our current baseboards to do this project. And I also didn’t want the 1×4’s to stick out over them either. So we added a 1×2 right above all the baseboards to make it look more put together. And it would end up flush with the vertical boards.
- I used a miter saw to cut the angles and attached them with liquid nails on the back. Then used our nail gun to secure them from the front.
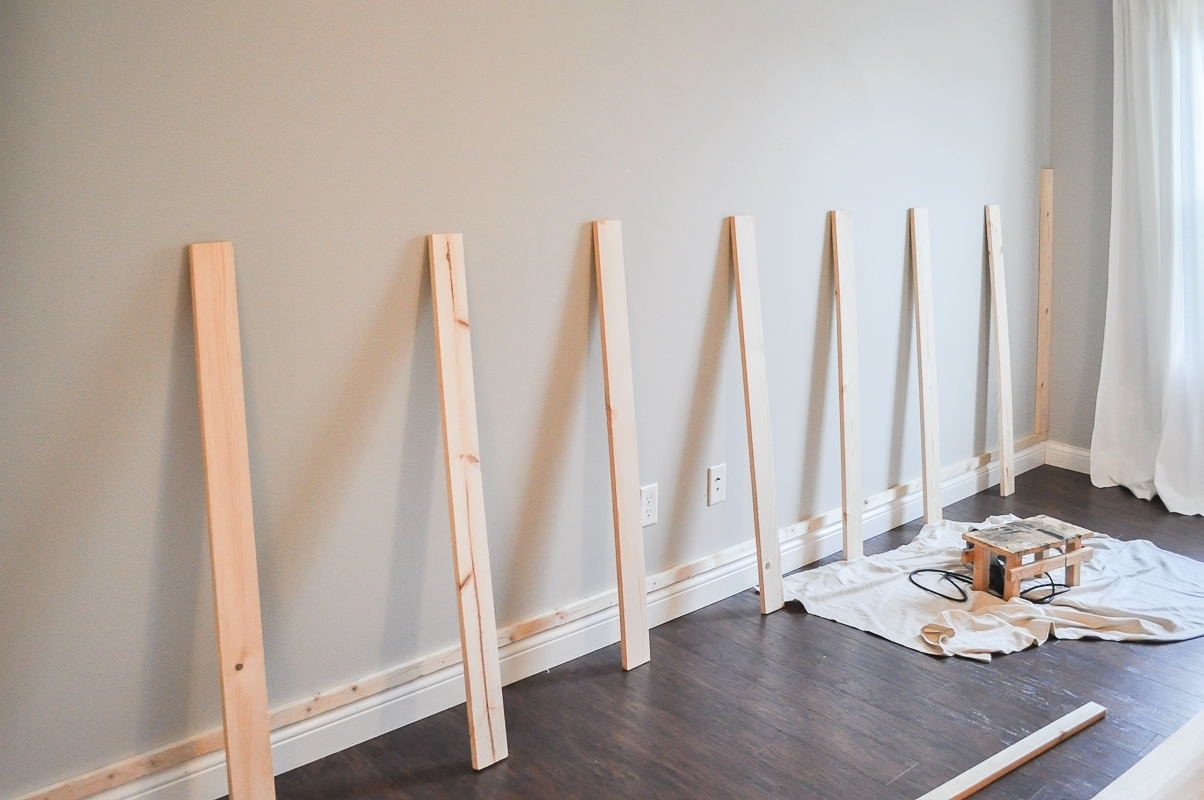
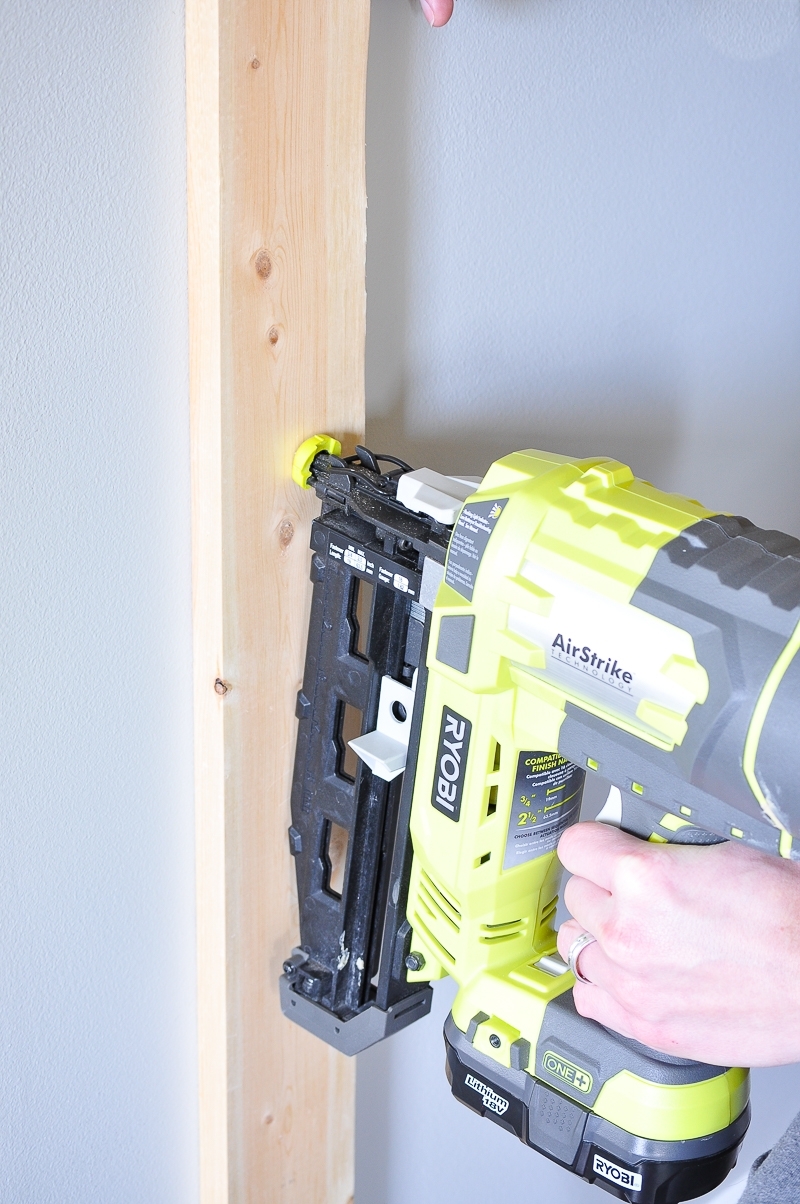
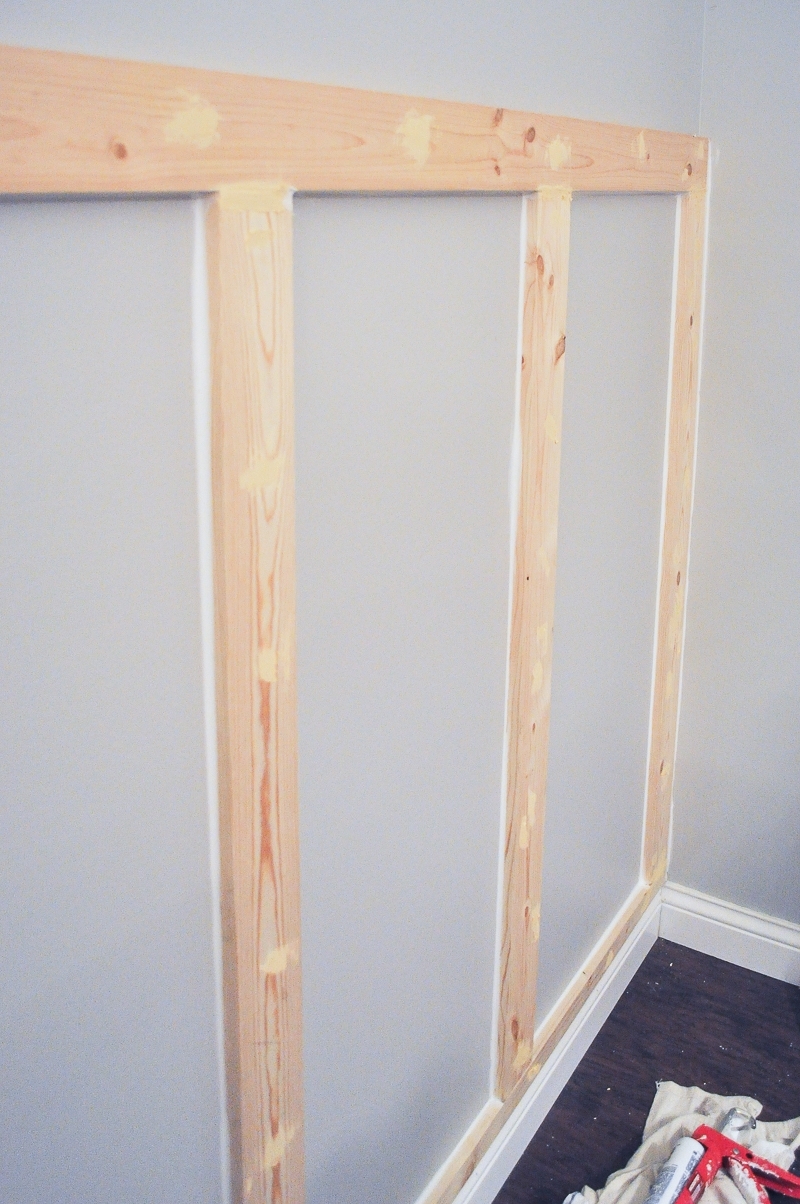
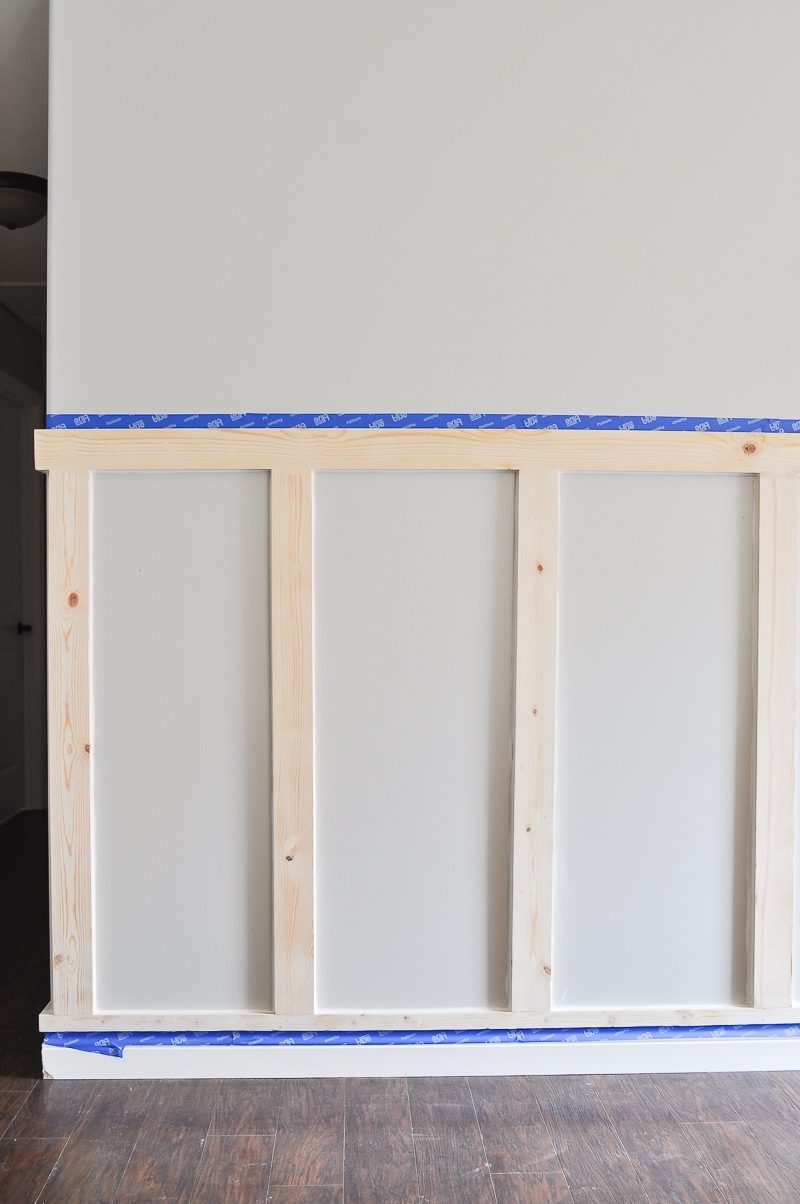
- Next we lined up our 1×4 vertical boards where we wanted them. We had these cut in half from 8ft 1×4’s at Home Depot, so each vertical board measures 4ft. After figuring out which spacing would look best (15 inches apart) we started to attach them. Then we used liquid nails on the back of each board and our nail gun on the front to attach them. Make sure each board is flush to the horizontal 1×2 on the bottom. Use your level to make sure they are all vertically straight.
- Once you have all of the vertical 1×4’s complete, you can attach the top horizontal 1×4. We did have to fill in a few gaps since all wood isn’t its exact measurement. I used wood filler for these imperfections.
Directions for Filling, Sanding and Painting DIY Board and Batten
- After all the boards were attached, I used wood filler to fill in all the nail holes. Also any gaps where the wood meets each other. Once it was completely dry, I used a sander to sand it down.
- I used paintable caulk on each space where the board met the wall. That way it would look seamless when I painted it.
- After everything was filled in and cleaned up, I taped off the board and batten and was ready to paint. I highly recommend using a regular paint brush to cut into all the corners. Then use a small roller to fill in all the rest.
- I am pretty much in love with the KILZ Magnolia Paint right now. So I decided to use KILZ Magnolia Home True White in a Satin finish. Love this paint!

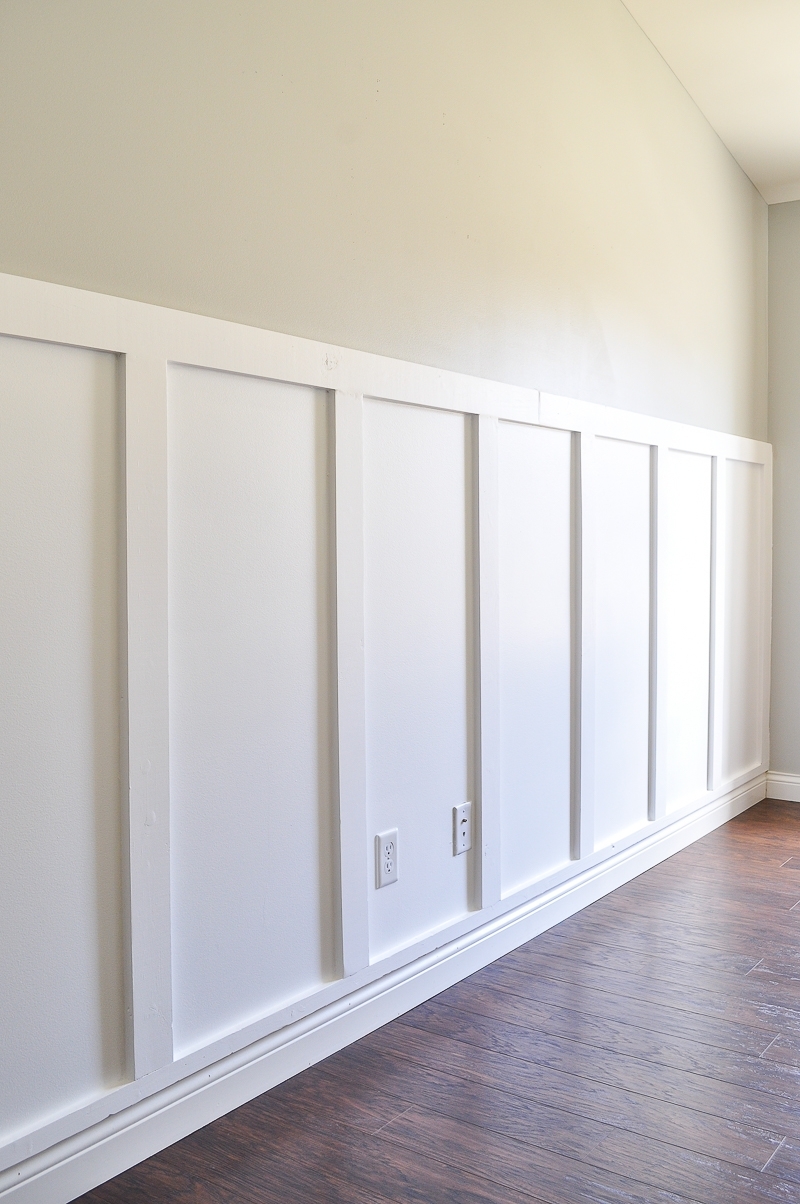
- Once your paint is all dry and finished, remove the tape and enjoy! It really does make a world of a difference in your space!
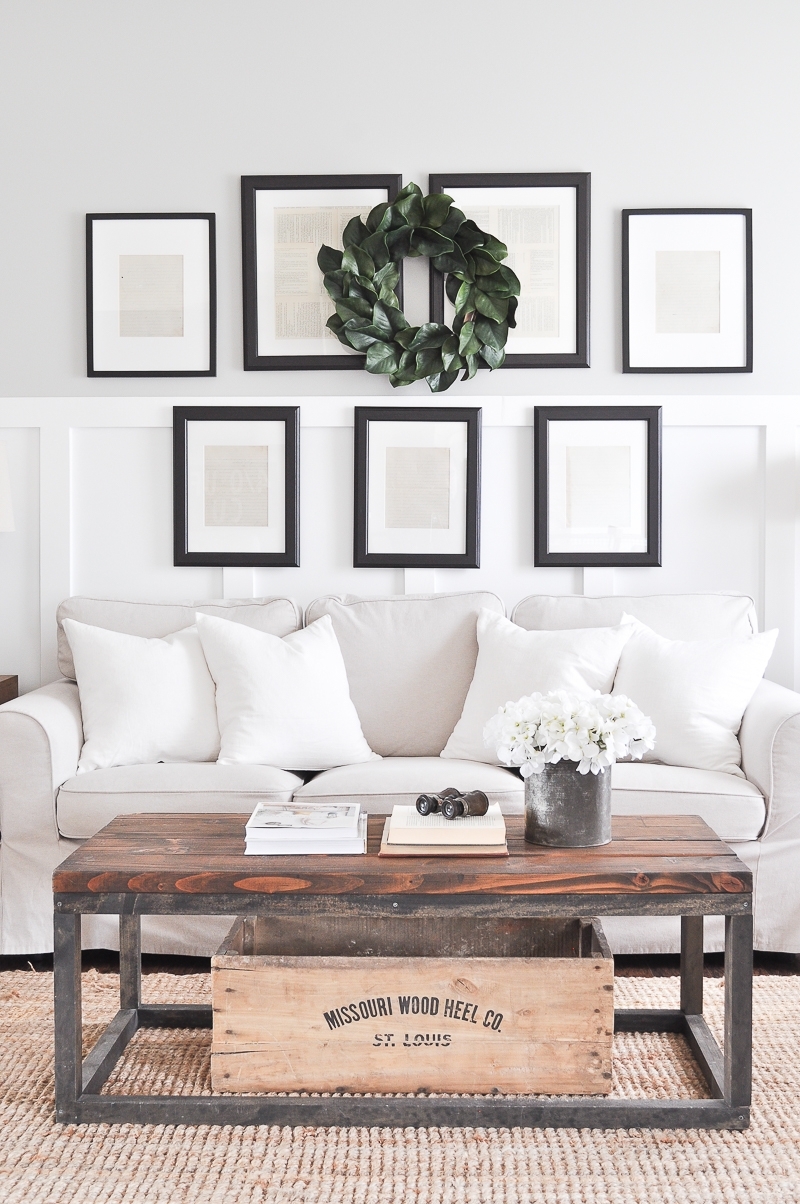
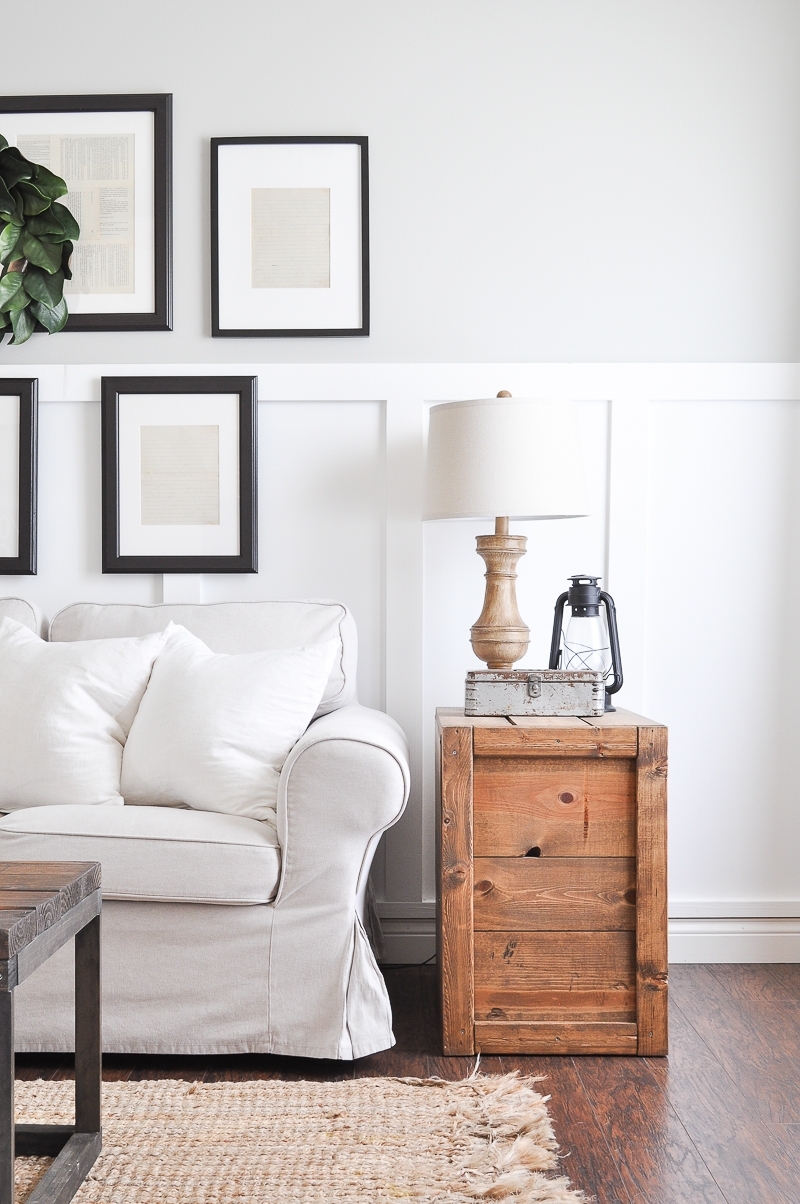
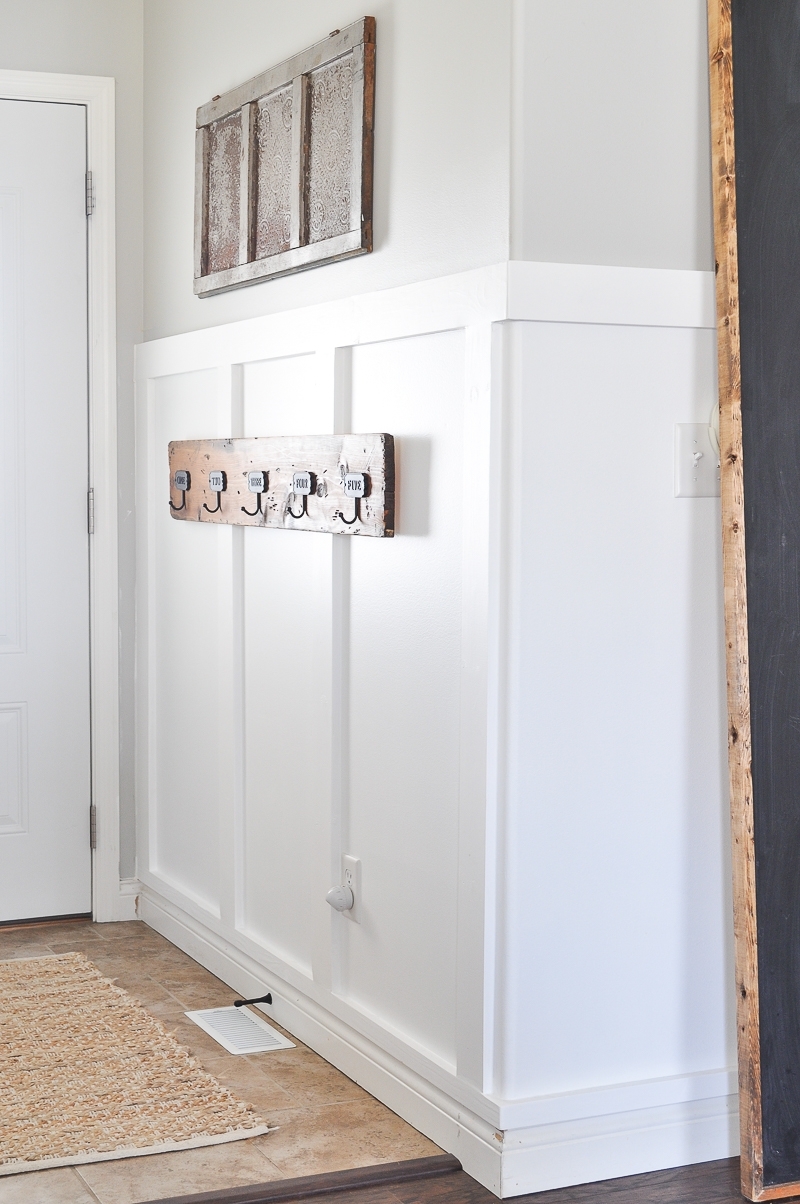
This little update truly changed the look of this entire space and I am so so glad we finished it!
What do you think? Have you added something like this to your home? Or do you plan to? Let me know!
More DIY Posts
- How to Install Vertical Shiplap
- Farmhouse Pantry Makeover
- Entryway Closet Makeover
- Easy DIY Baby Gate
- Industrial Coffee Table
Pin This Post for Later

Hi,
How tall are the ceilings in your pictures?
Our ceilings are 8.5 feet , so how high up should the board & batten go?
Thx Y
Thanks so much for this tutorial! This was super helpful for my husband and I getting the nursery together. The only thing we needed that wasn’t on the materials list was a caulk gun for the liquid nails. Just a heads up to save a trip back to the store 😊
Hi!!
I may have missed it, but how tall is/how high does your B&B go up? And how tall are your ceilings? This is pleasing to the eye!
Thank you!
Thanks Allison! It goes up from the floor 4ft 9.5in or from the top of the baseboard it measures 4.5ft.
Thanks Ashley!! I’m currently undertaking this same project. Your tutorial was the most helpful I have found! It is very DIYer friendly. It came out beautiful!
Hey thanks for the tutorial! I’m currently trying it out in our guest room. The two biggest issues I’m facing are 1. The 1X2s I ordered came slightly thinner than the 1X4s and my vertical boards are sticking out past the horizontal ones on the bottom!!! Should I just sand down the bottom part to make it blend? It won’t be perfect but maybe won’t be too noticeable?
2. My “common board” I ordered is very raw/rough, and jagged, and some has natural wood holes or gaps. You didn’t mention having to sand imperfections out of your wood. What grit sander did you use? And how can I paint that raw wood? Won’t there be issues? I’m new to this stuff. If you can advise I’d be grateful!!
Thanks for sharing! Your project came out great. Would love to do this in the house I’m planning on building.
How did you account for the corners?
Question so the 1×2 you put over your baseboard still over hangs your baseboard right? It’s just so the vertical boards don’t?
Ashley, I will need to do a similar camouflage in the transition from baseboard to horizontal board like you did. My question is regarding that 1 x 2 piece. How far is it “overhanging” your baseboard and when you are in the room can you even notice that overhang? I have 1/4 inch baseboards at the top so working with a thin area and wanted to know. Thank you!
I agree. I don’t like that Quarter round trim piece they added at the bottom. It looks like it would trap dust and be difficult to clean. I would have just gone straight to the baseboard.
You really a good content writer, am really admire it.
If I have a huge window in my living room and I want to do the whole living room, would I do just verticle boards under the window even though they are not going to be 4′ high or would you just not do anything under the window? thank you much
Definitely do under the window for balanced look. If your window has framing be sure the framing is wider than your vertical boards or it won’t look right. If you use MDF board pre primed for your stile boards it measures slightly thinner than common 3/4 board so that would work great. If your window is frameless all you need to do is add a window sill that is cut wider than the sill so your stile boards fit under it and this would also add character and give you a sill to add small decor or some candles etc. I have same issue with 2 large windows on a 30’ wall and frameless windows but a wood sill is already in place. Haven’t done mine yet but can’t wait.
This is really too good about the board and batten tutorial thanks sharing this article
Wonderful piece of content I discovered these days its about domestic agency and decoration academic. I like every one of your thoughts approximately extensive and batten academic. Your home is looking so beautiful and best. This submit is surely an inspirational source for all readers including me. thanks for sharing this amazing article.
This is so helpful and amazing tutorial of board and batten. I really enjoy this great reading. Thank you for sharing this article.
Great tutorial. I really enjoy this great reading article. Thank you for sharing it.
wow this is really too good abou the board and batten tutorial thanks sharing this article
Wow this is really too good about the board and batten tutorial thanks sharing this article
Amazing article, loved reading it. i really like your blog.
WOOW its really amazing .
You made my day , its nice to read this .
Thank you so much
Looks great but I would have 45 the ends of the verticals so it would be flush with the floor molding.. I think that would have looked much better and cleaner but all in all great job and thank you for sharing.
Wow this is really to good information about the board batten tutorial thanks haring this article
Your blog seems so refreshing, it was wonderful reading it.
Hey hank you you made my day .
You write in very well way
I really like your way of writing.
Thank you so much for this post
This is really to good and help us information about the board and batten tutorial thanks sharing this article
This is so amazing and helpful reading for me. I really enjoy this reading. Thank you for sharing it.
Wonderful piece of content I found today its about home organization and decoration tutorial. I like all of your ideas about broad and batten tutorial. Your home is looking so beautiful and nice.. This post is really an inspirational source for all readers including me.
This was really helpful because I was hoping I could leave my baseboards but wasn’t sure how to make it work. This explained it so well and it looks beautiful too. Thank you!!!!
Hello,
I hope you are well
What price for the sponsored post at this site
And what for a price for Casino, Gambling and CBD oil
Send me a do-follow sample
If you have any more websites please send me
I am waiting for your positive reply
Thanks & Regards
I realize that this is an older post, but I wanted to comment on the idea of using the 1×2’s over the baseboard trim! I’ve avoided using any sort of board and batten or shiplap because of my baseboard moldings. Thanks for the tip- yours look great!
I love that! Thank you for sharing, and hope it was helpful!
You say you added the 1×2 a top the current baseboards. My question is, did you just put it right at the top of the baseboard or did you have to miter the backside? I get you would need to miter the corners, but was wondering if any other adjustments were needed.
If I have a huge window in my living room and I want to do the whole living room, would I do just verticle boards under the window even though they are not going to be 4′ high or would you just not do anything under the window? The space under the window is about 2 feet.?? I love this
Random question but what length nails did you use? Definitely trying the 1×2 trick so I don’t have to take off the baseboards!
Looks great going to do it in my fixer upper house im working ony
thanks to sharing such information with us. I hope you will share more information in future about home renovation Lahore.
My walls are textured do they have to be worked on, or can they just be primed and painted with the paint you used?
If you are okay with them still being textured I don’t see why it wouldn’t work! I have seen people add sheets plywood to the walls BEFORE they added the battens so it was smooth..if that makes sense…?
Absolutely beautiful! Starting my foyer this week. How tall is the board and batten on the wall? The height is perfect.
Hi Ashley, Great tutorial!Your home is so beautiful. I think we can do this, be great in dining room. Beautiful job.Thank you for the inspiration as always.
Great tutorial. I think we can do this, be great in dining room. Beautiful job.
Looks so much brighter and makes such a difference, beautiful!
Glad you like it! It definitely brightens up the space!
Great tutorial Ashley. I love board and batten. Your home is so beautiful. Thank you for the inspiration as always. 🙂 Julie
Thank you Julie! Such a sweet thing to say 🙂
Beautiful job!! What color grey is on your walls?
Thanks so much! It’s called Dolphin Fin by BEHR! I love it!