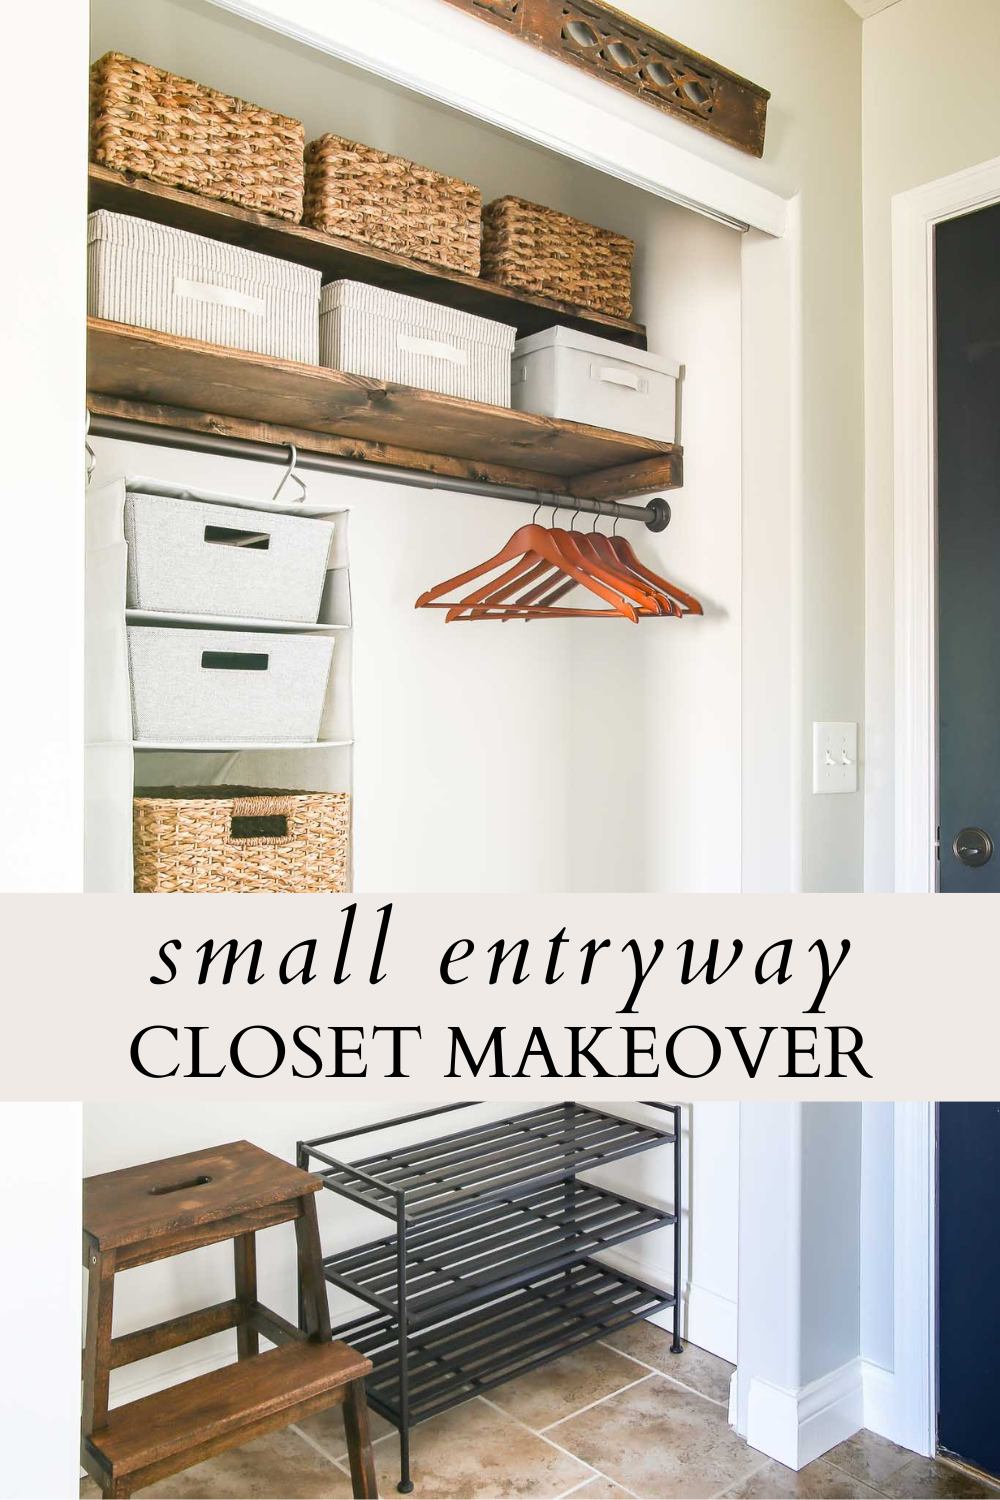
Entryway Closet Makeover
An entryway closet makeover replacing builder-grade wire shelving with custom wood shelves, and maximizing space to store and organize outdoor and other household items.
Another boring builder-grade space in our home got a little makeover recently. Enter our small entryway closet makeover!
It’s not as exciting as making over a room, but figuring out how to improve problem areas in our house like this one is one of my favorite things to do.
Any area I can transform and create a better system for storage and organization is a priority. Our house is small, and every nook and cranny counts!
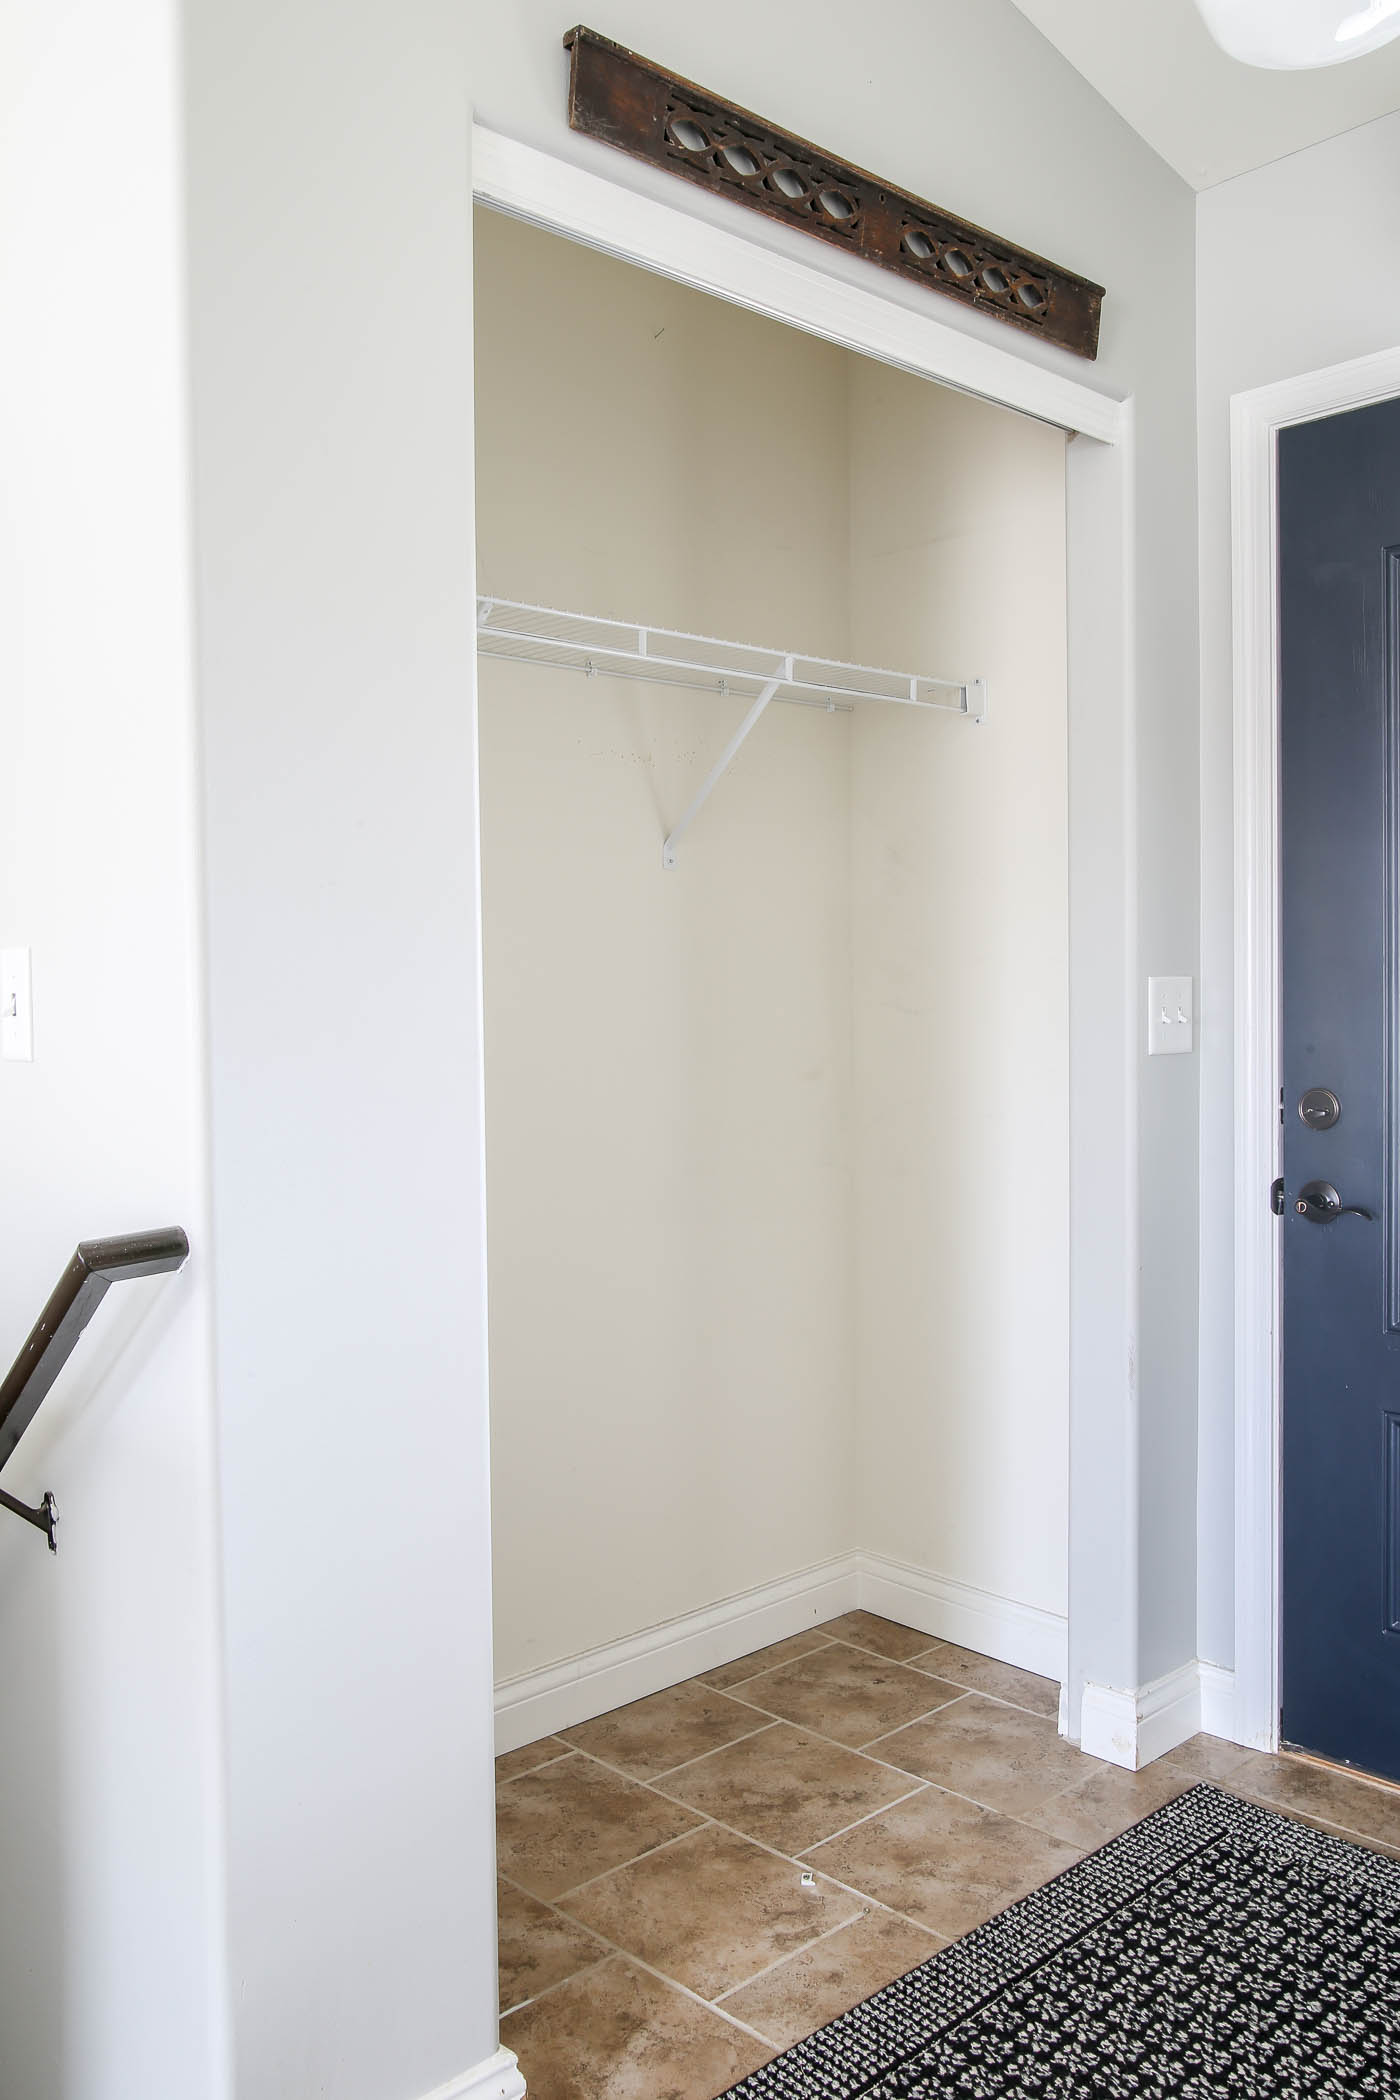
Entryway Closet Makeover – The Before
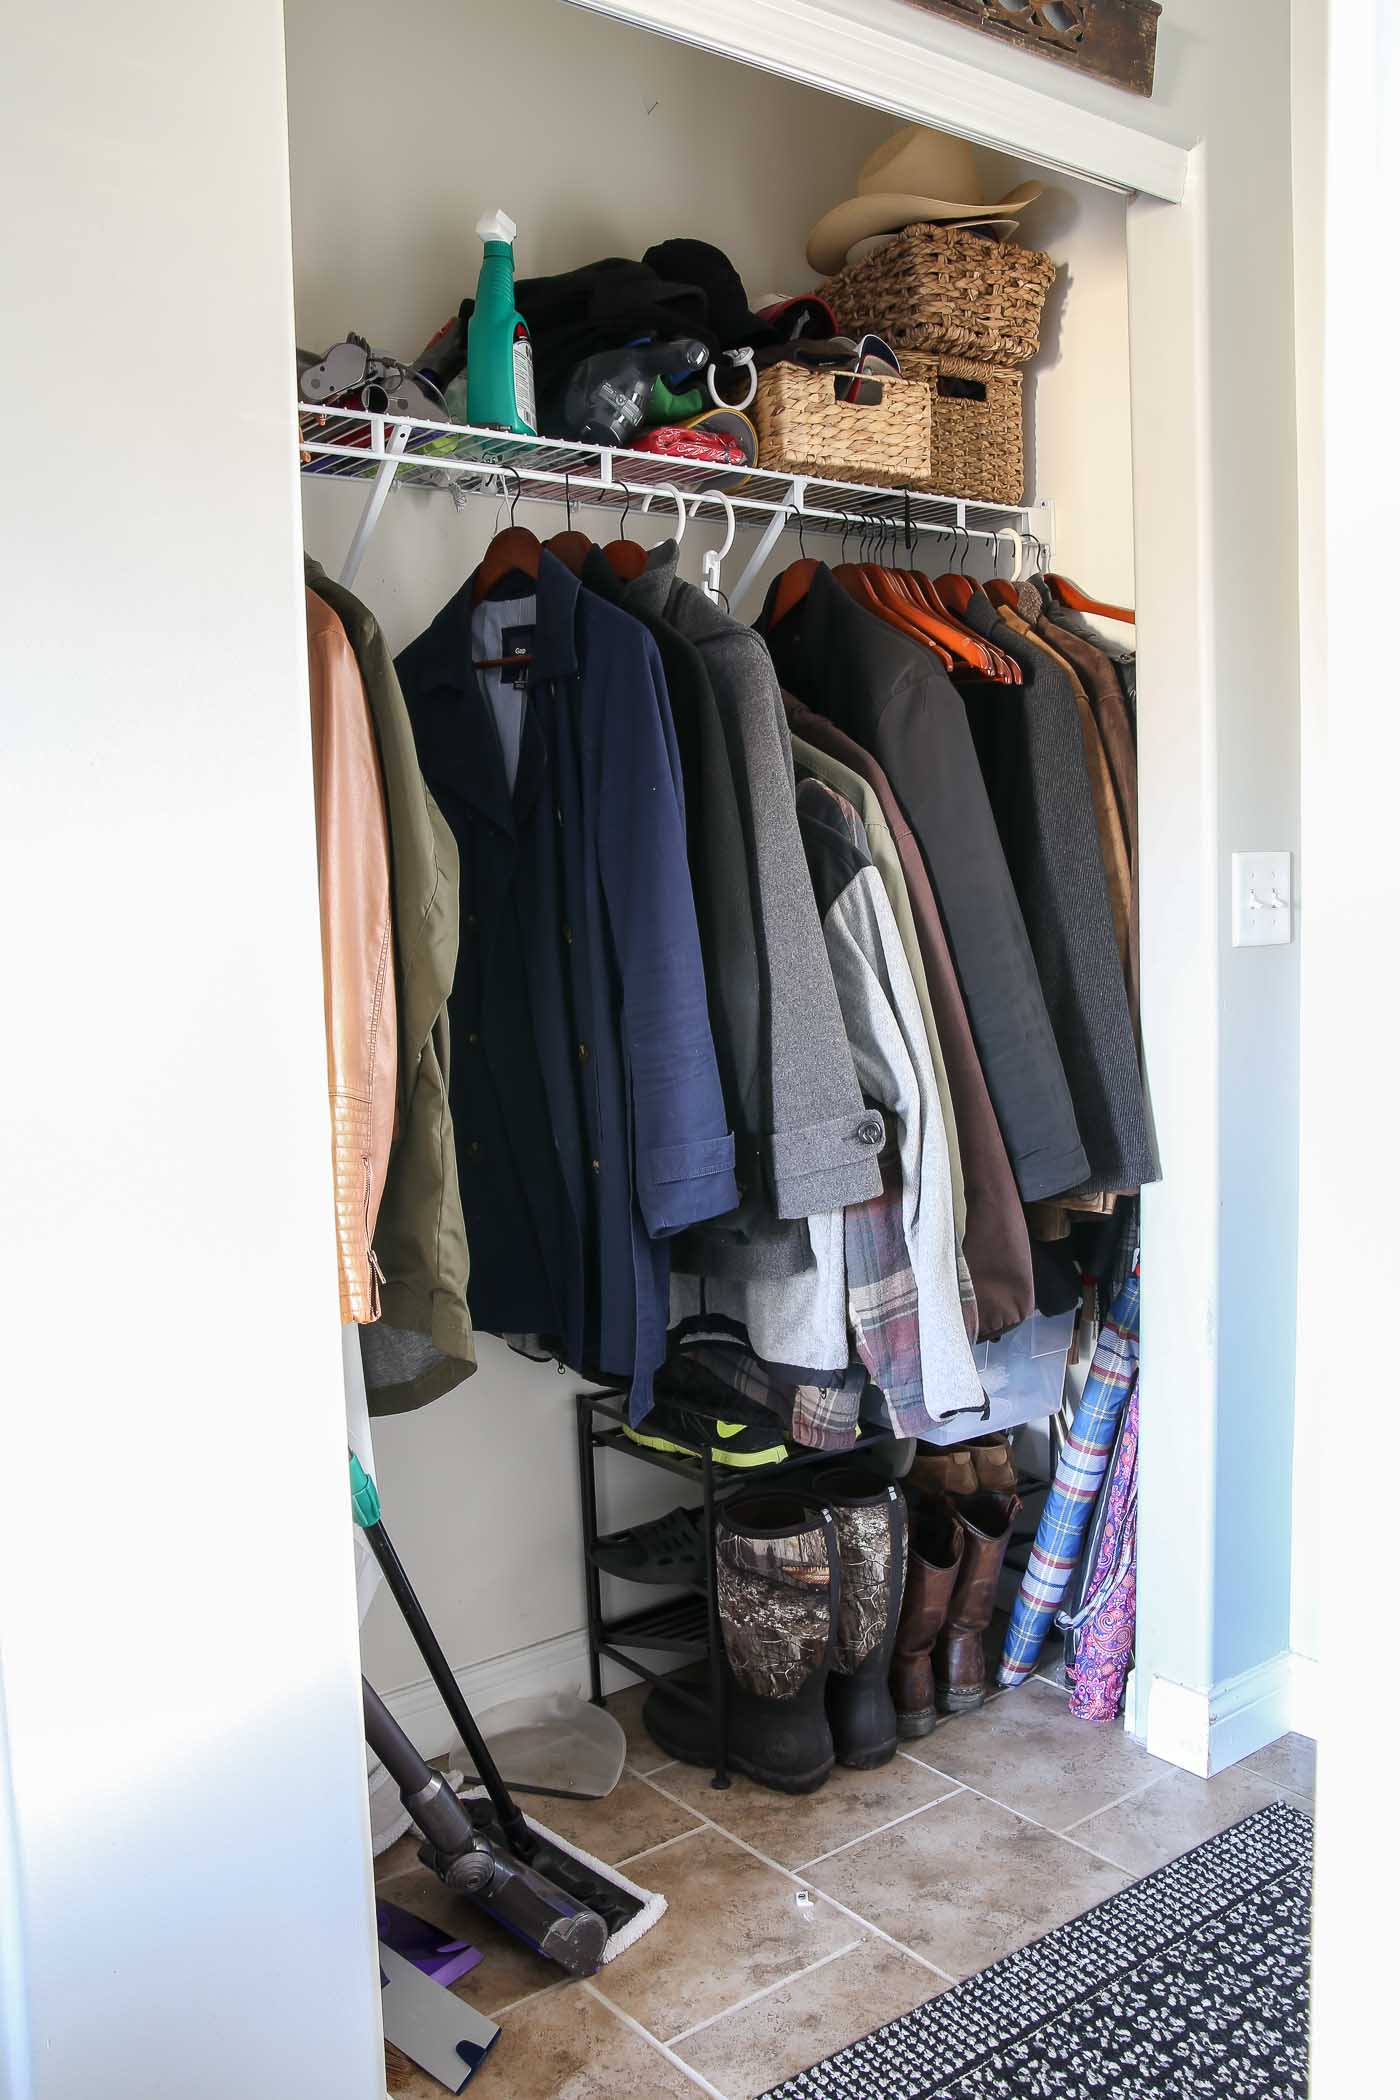
This space was a mess (I removed the doors so you could see just how messy!). You know, just one of those closets that was like a catch all for random things.
Our house doesn’t have much when it comes to closet storage. Actually this closet is the only one other than those in each bedroom and our tiny linen closet.
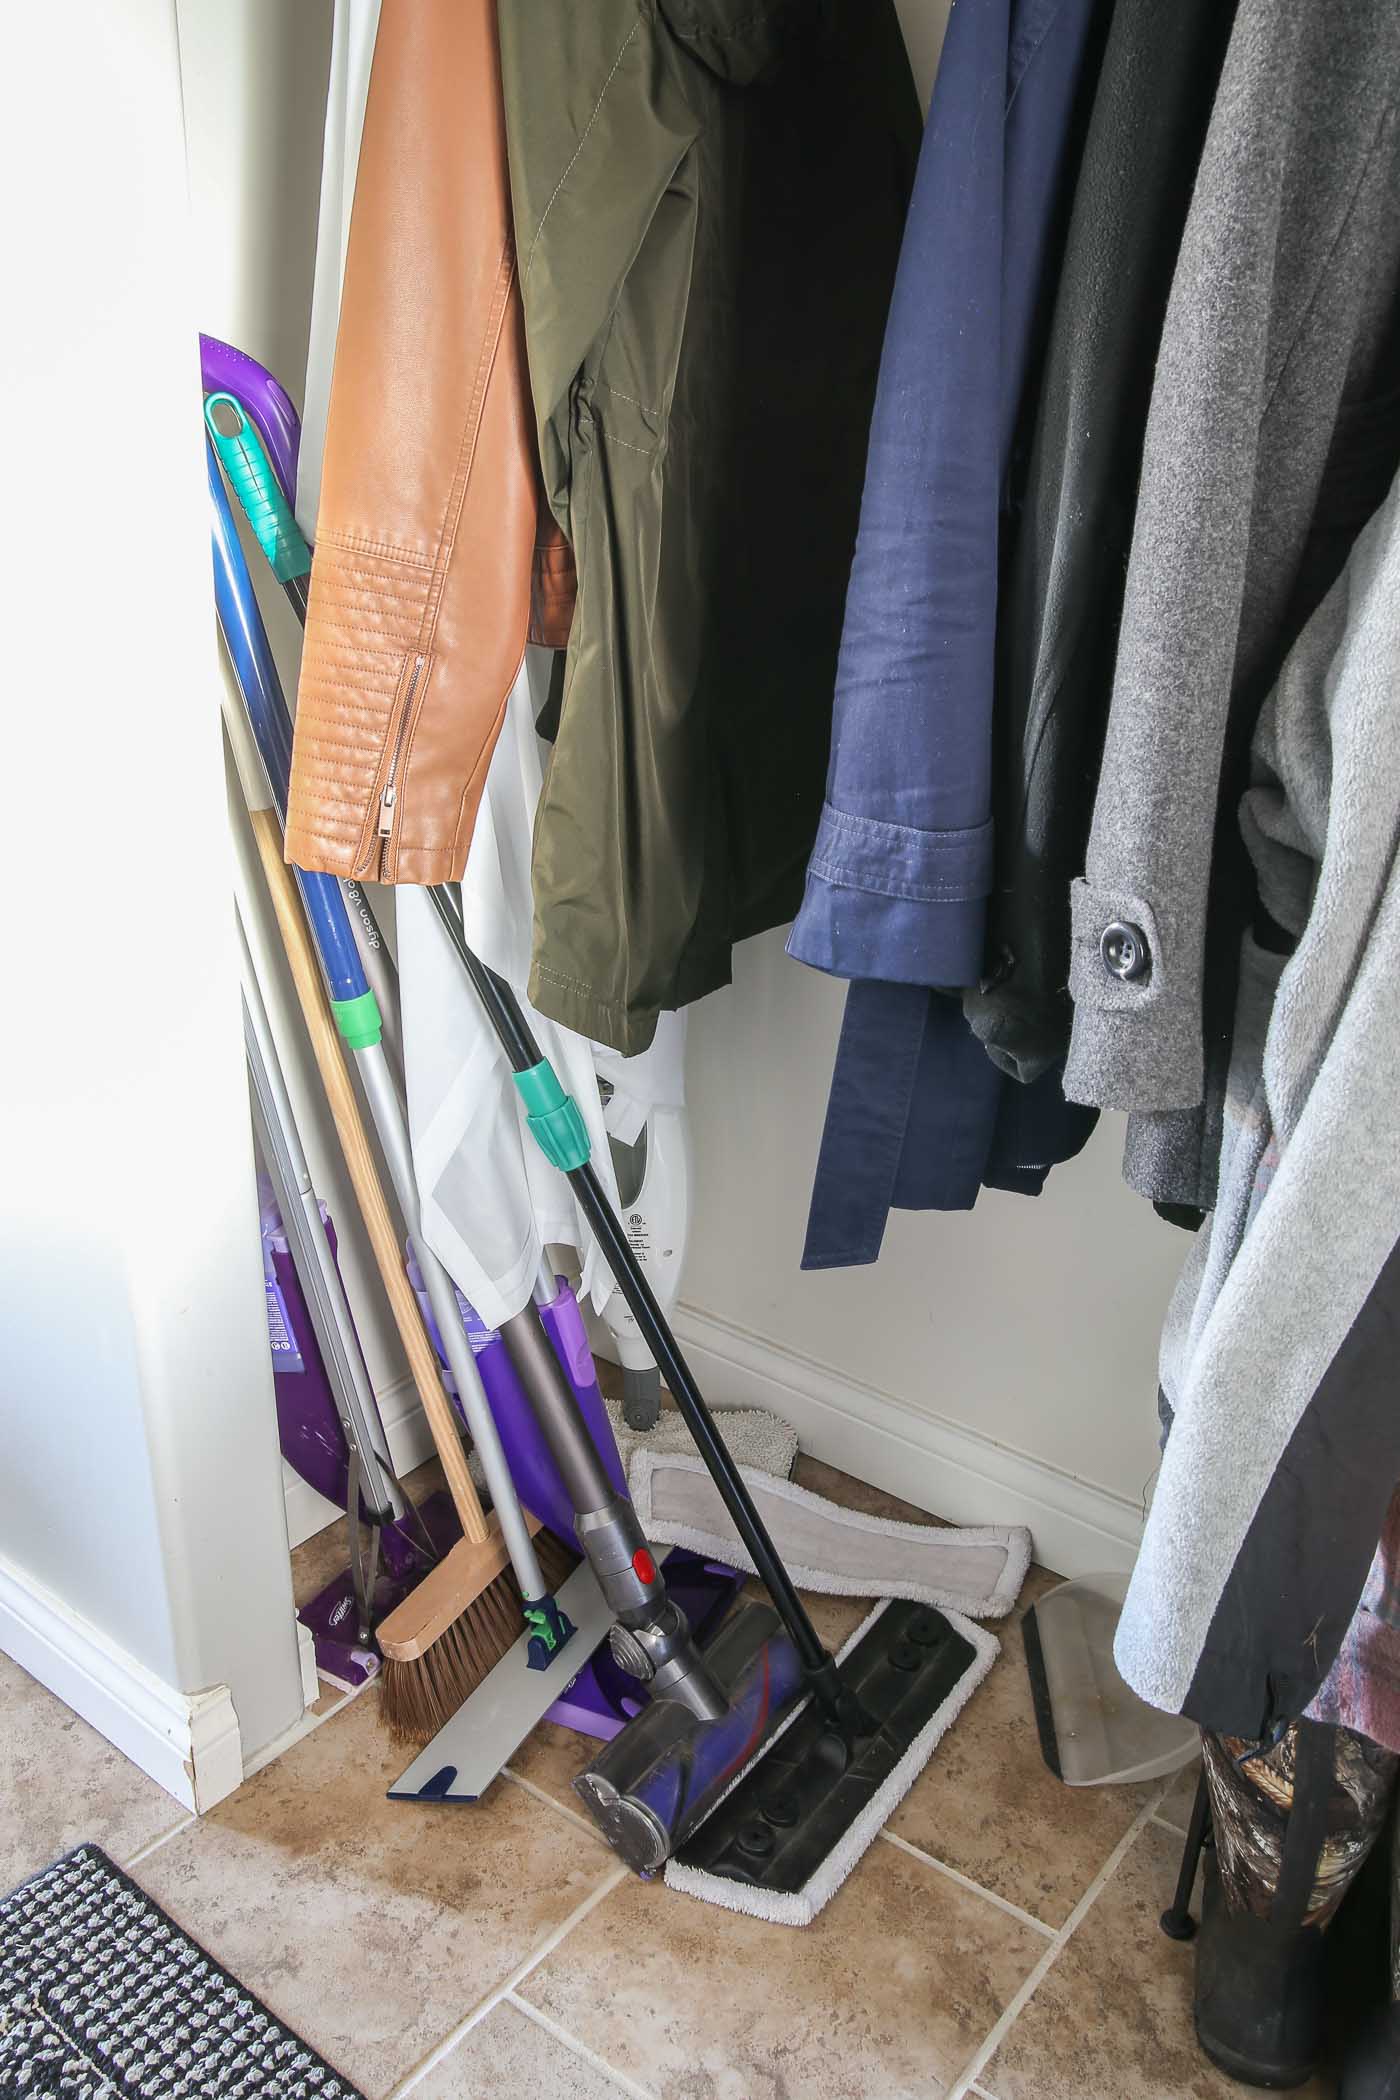
It holds our coats and any other outdoor accessories like gloves, hats, scarfs, etc. I also store all of our mops, brooms, vacuums, and some other cleaning supplies in there as well.
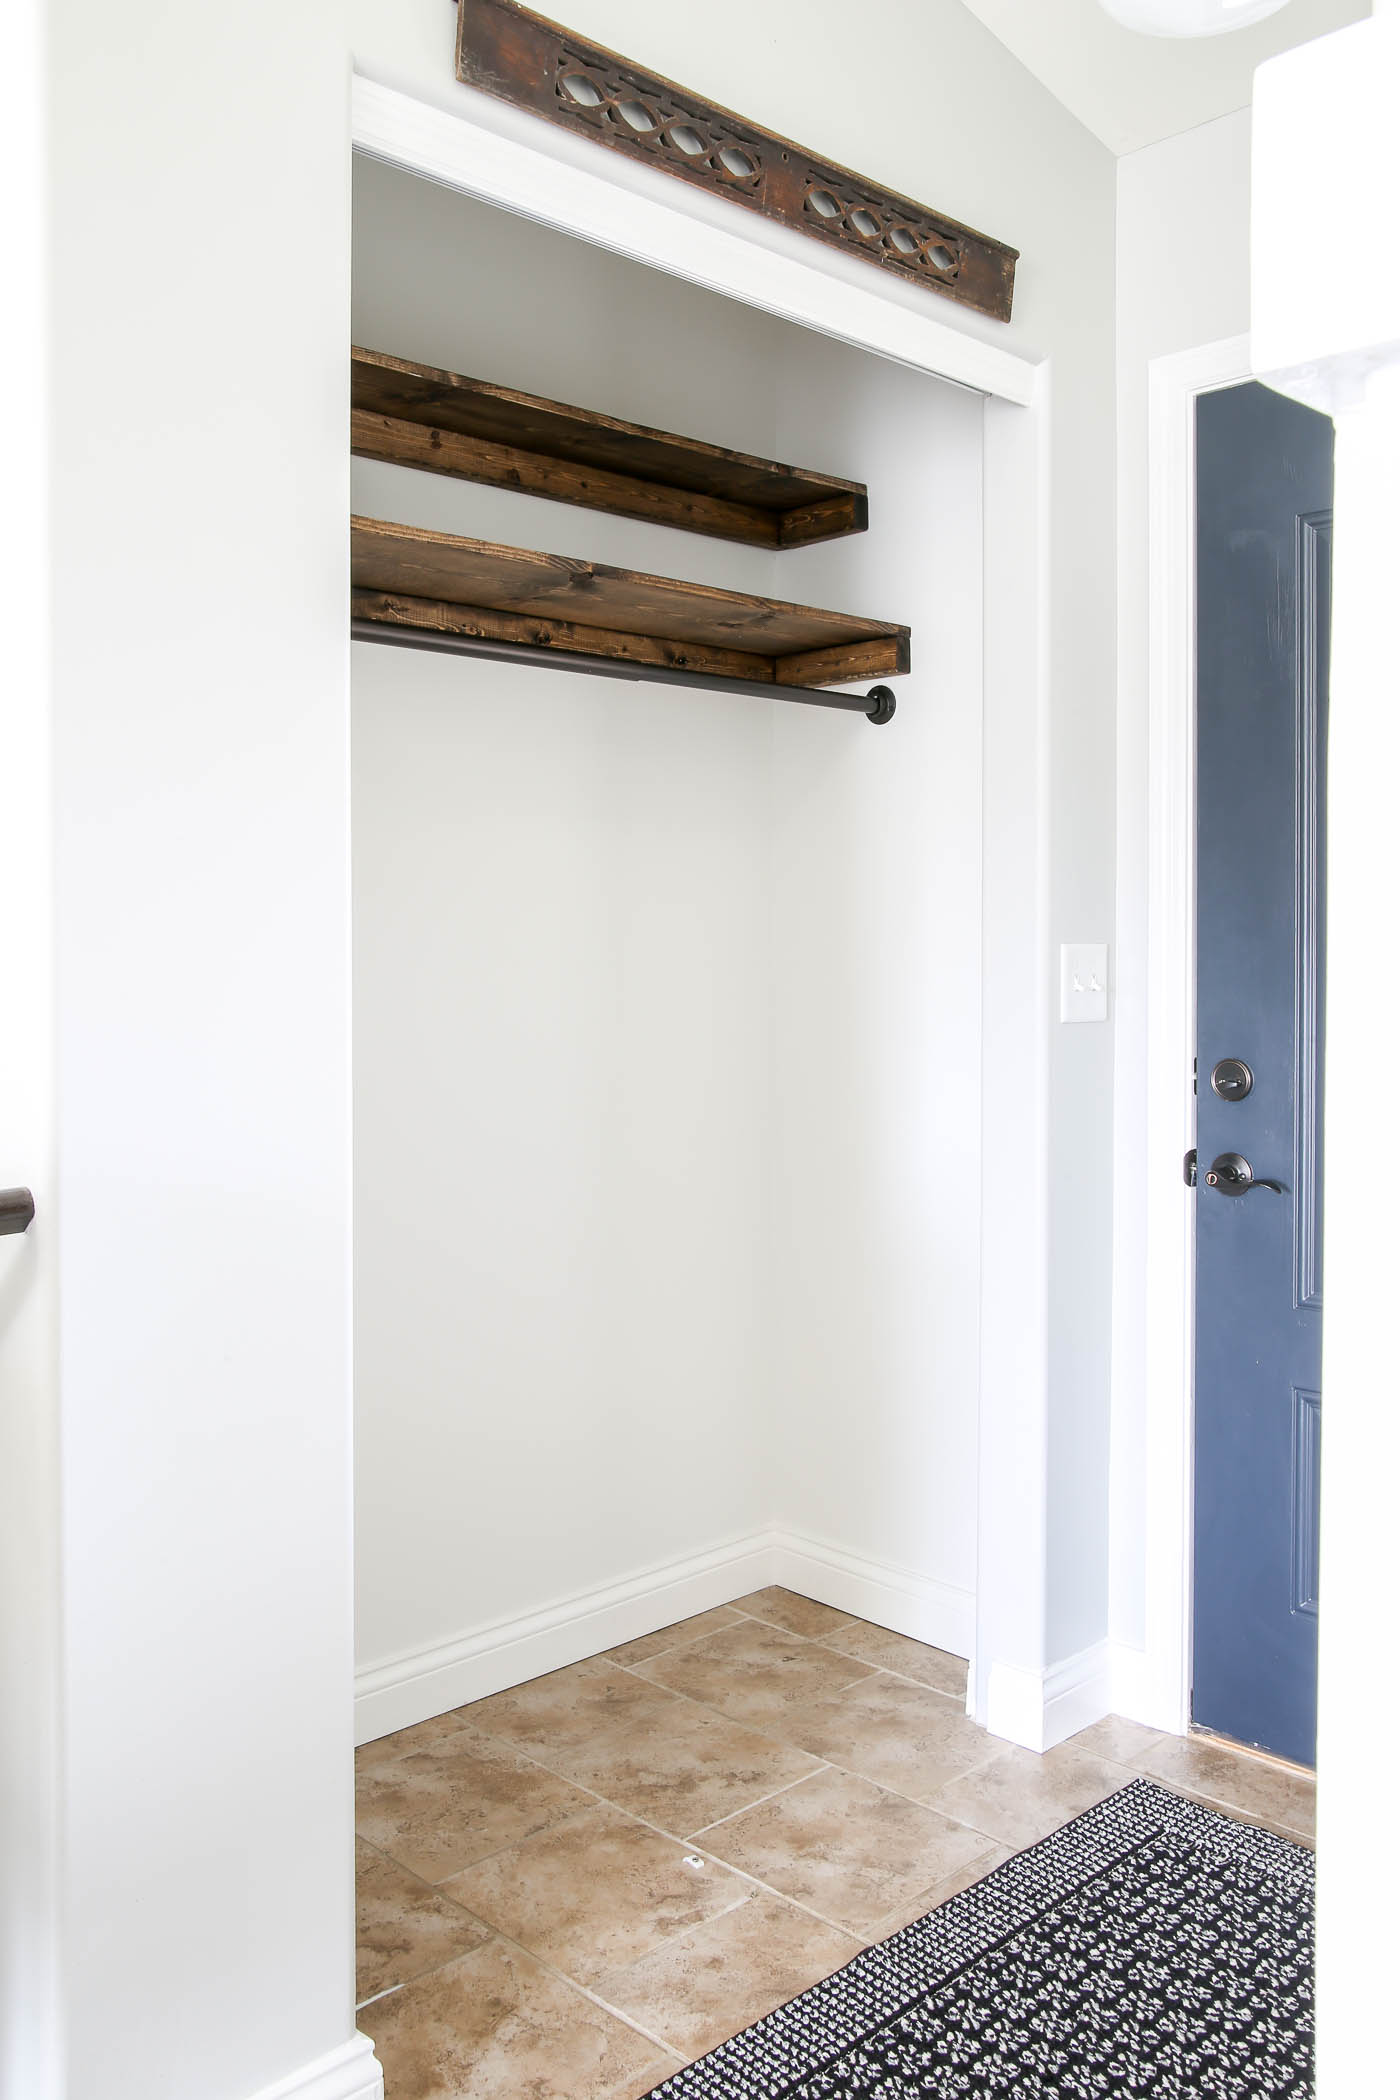
Building Custom Wood Shelves
My plan was to repaint the closet with a fresh coat of white paint, remove the white wire shelf, build custom wood shelving, and then just maximize and organize this closet as much as possible.
So after painting, I started by making two wood shelves, replacing the one we had.
I used 2×3 inch boards for the supports on each side and the back, making sure to use drywall anchors where there were no studs.
For the actual shelves, I used a 1×2 inch wedged behind a 1×12 inch board for the bottom shelf, and a 1×2 inch wedged behind a 1×6 inch board for the top shelf.
Obviously, you can custom these sizes to whatever you need, and the 1×2 inch boards aren’t really needed, I just wanted them a little bigger than what I originally planned so I added them for a little bump.
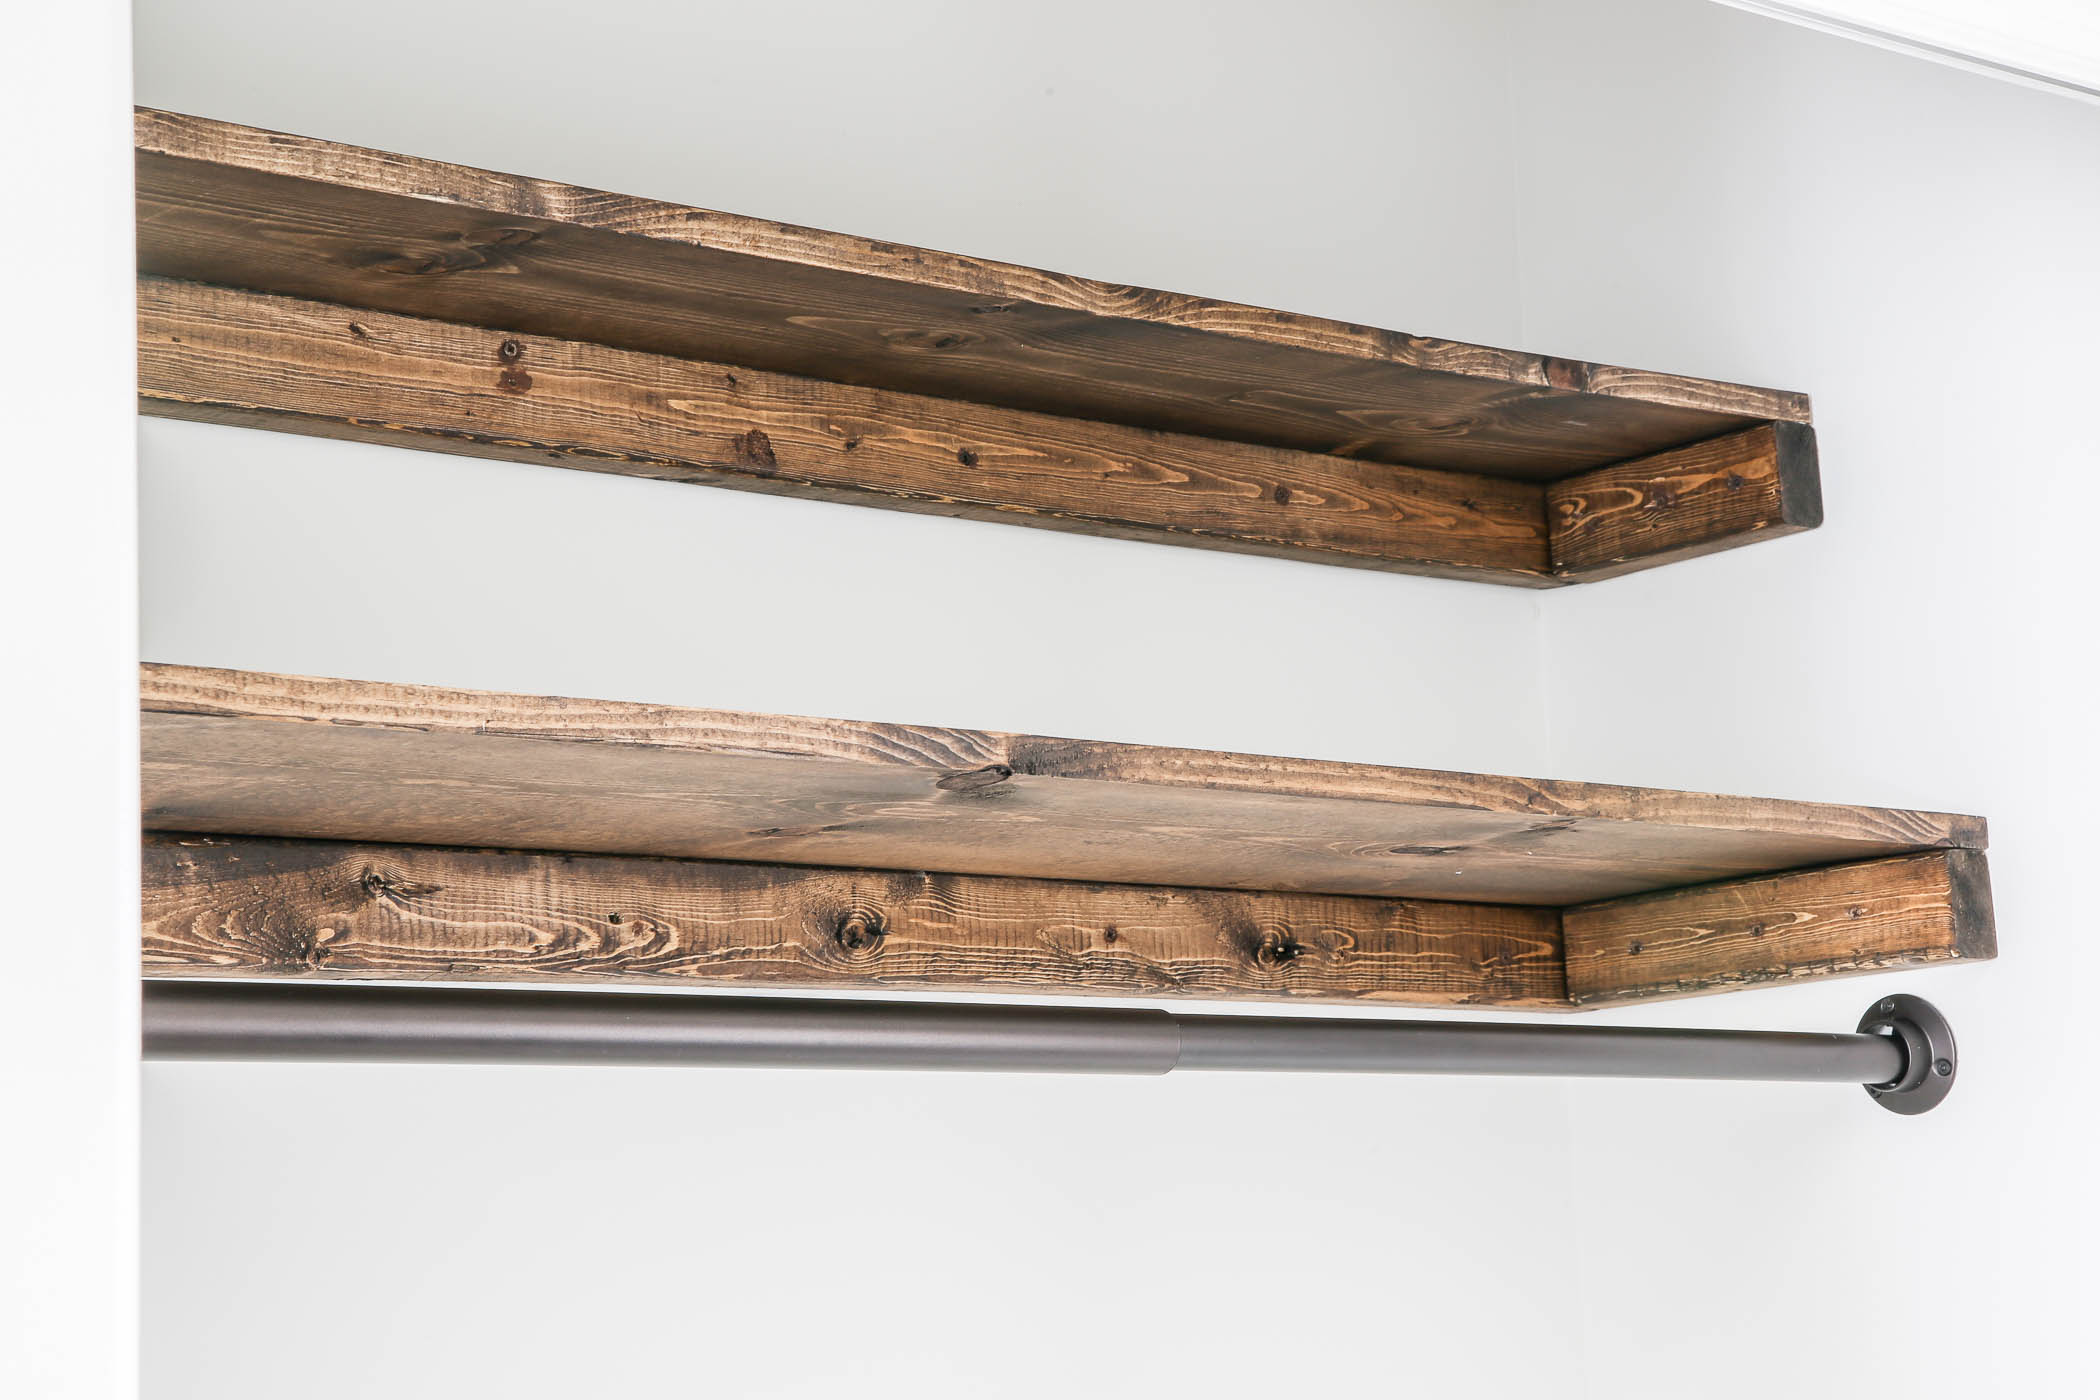
After I cut and sanded each board, I stained them all with Minwax Dark Walnut wood stain and let them dry overnight. Then I just laid the board on top of the supports to create the custom shelves.
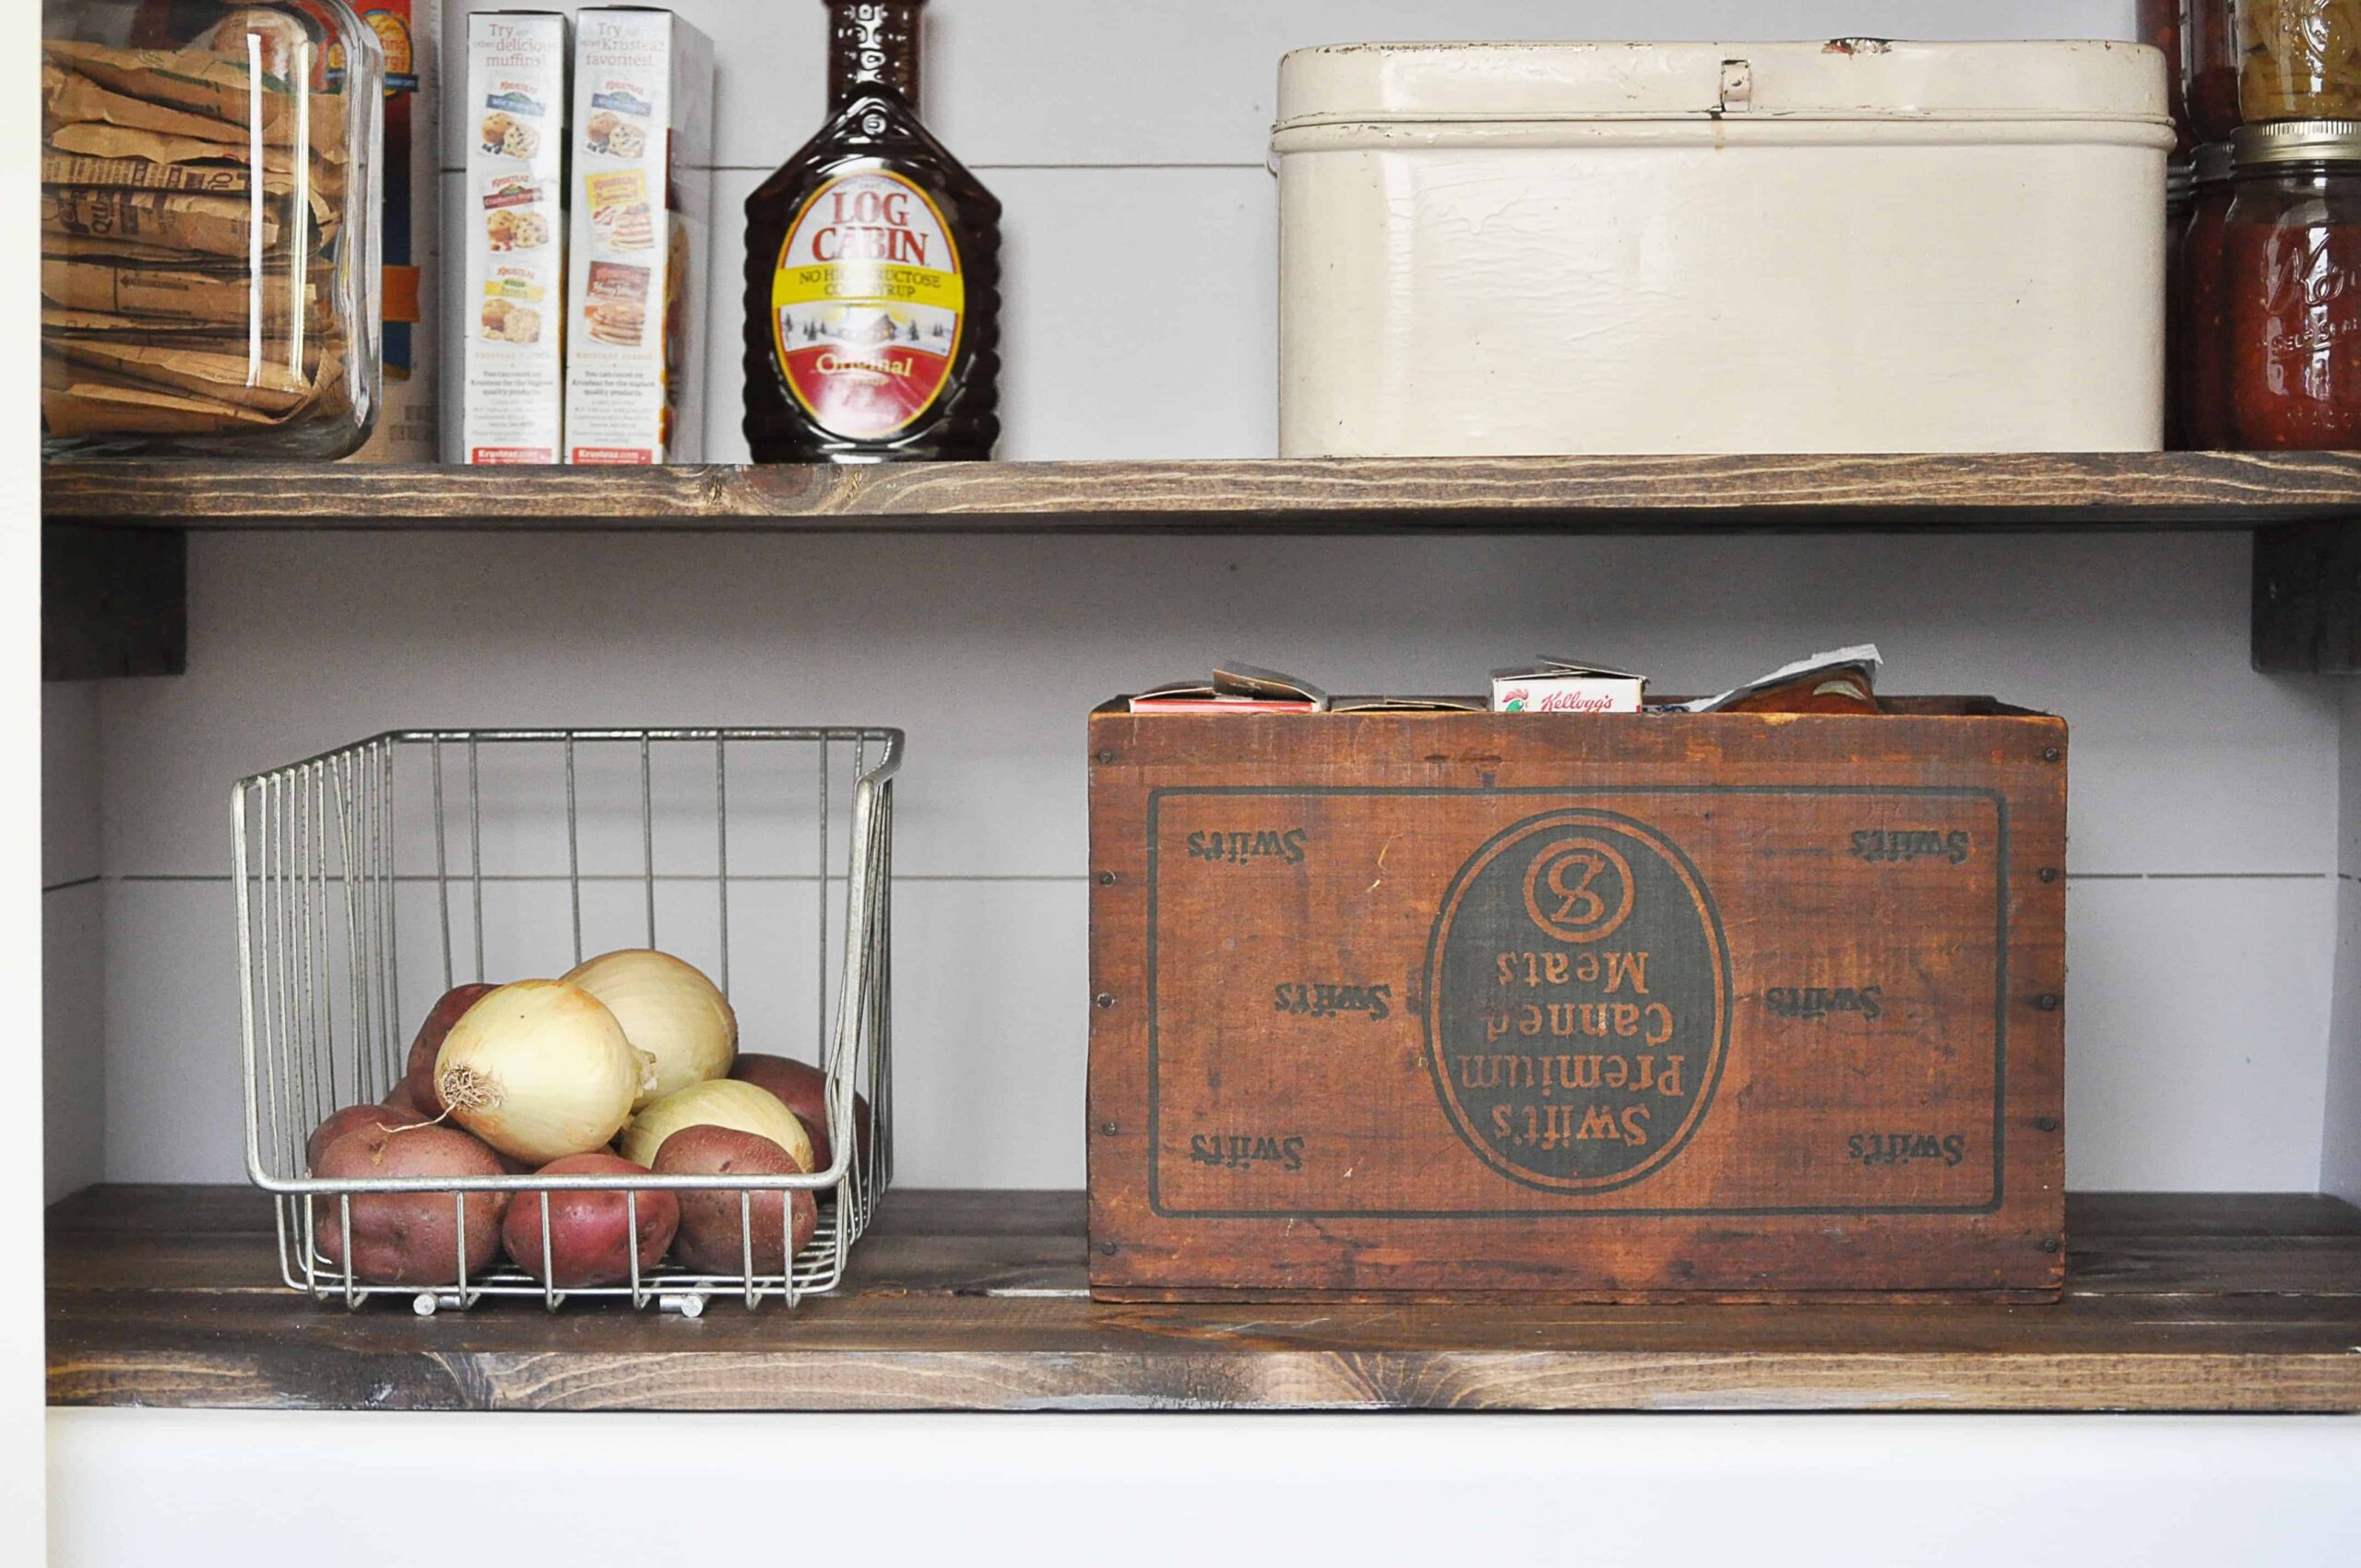
You can either screw or nail them into the 2×3 inch support boards, but like we did in our Farmhouse Pantry Makeover, we didn’t secure them, just in case I need to move a board or something in the future. They stay put unsecured just fine.
We then installed a heavy duty adjustable closet rod with sockets right under our custom shelving.
Maximizing Entryway Closet Space and Organization
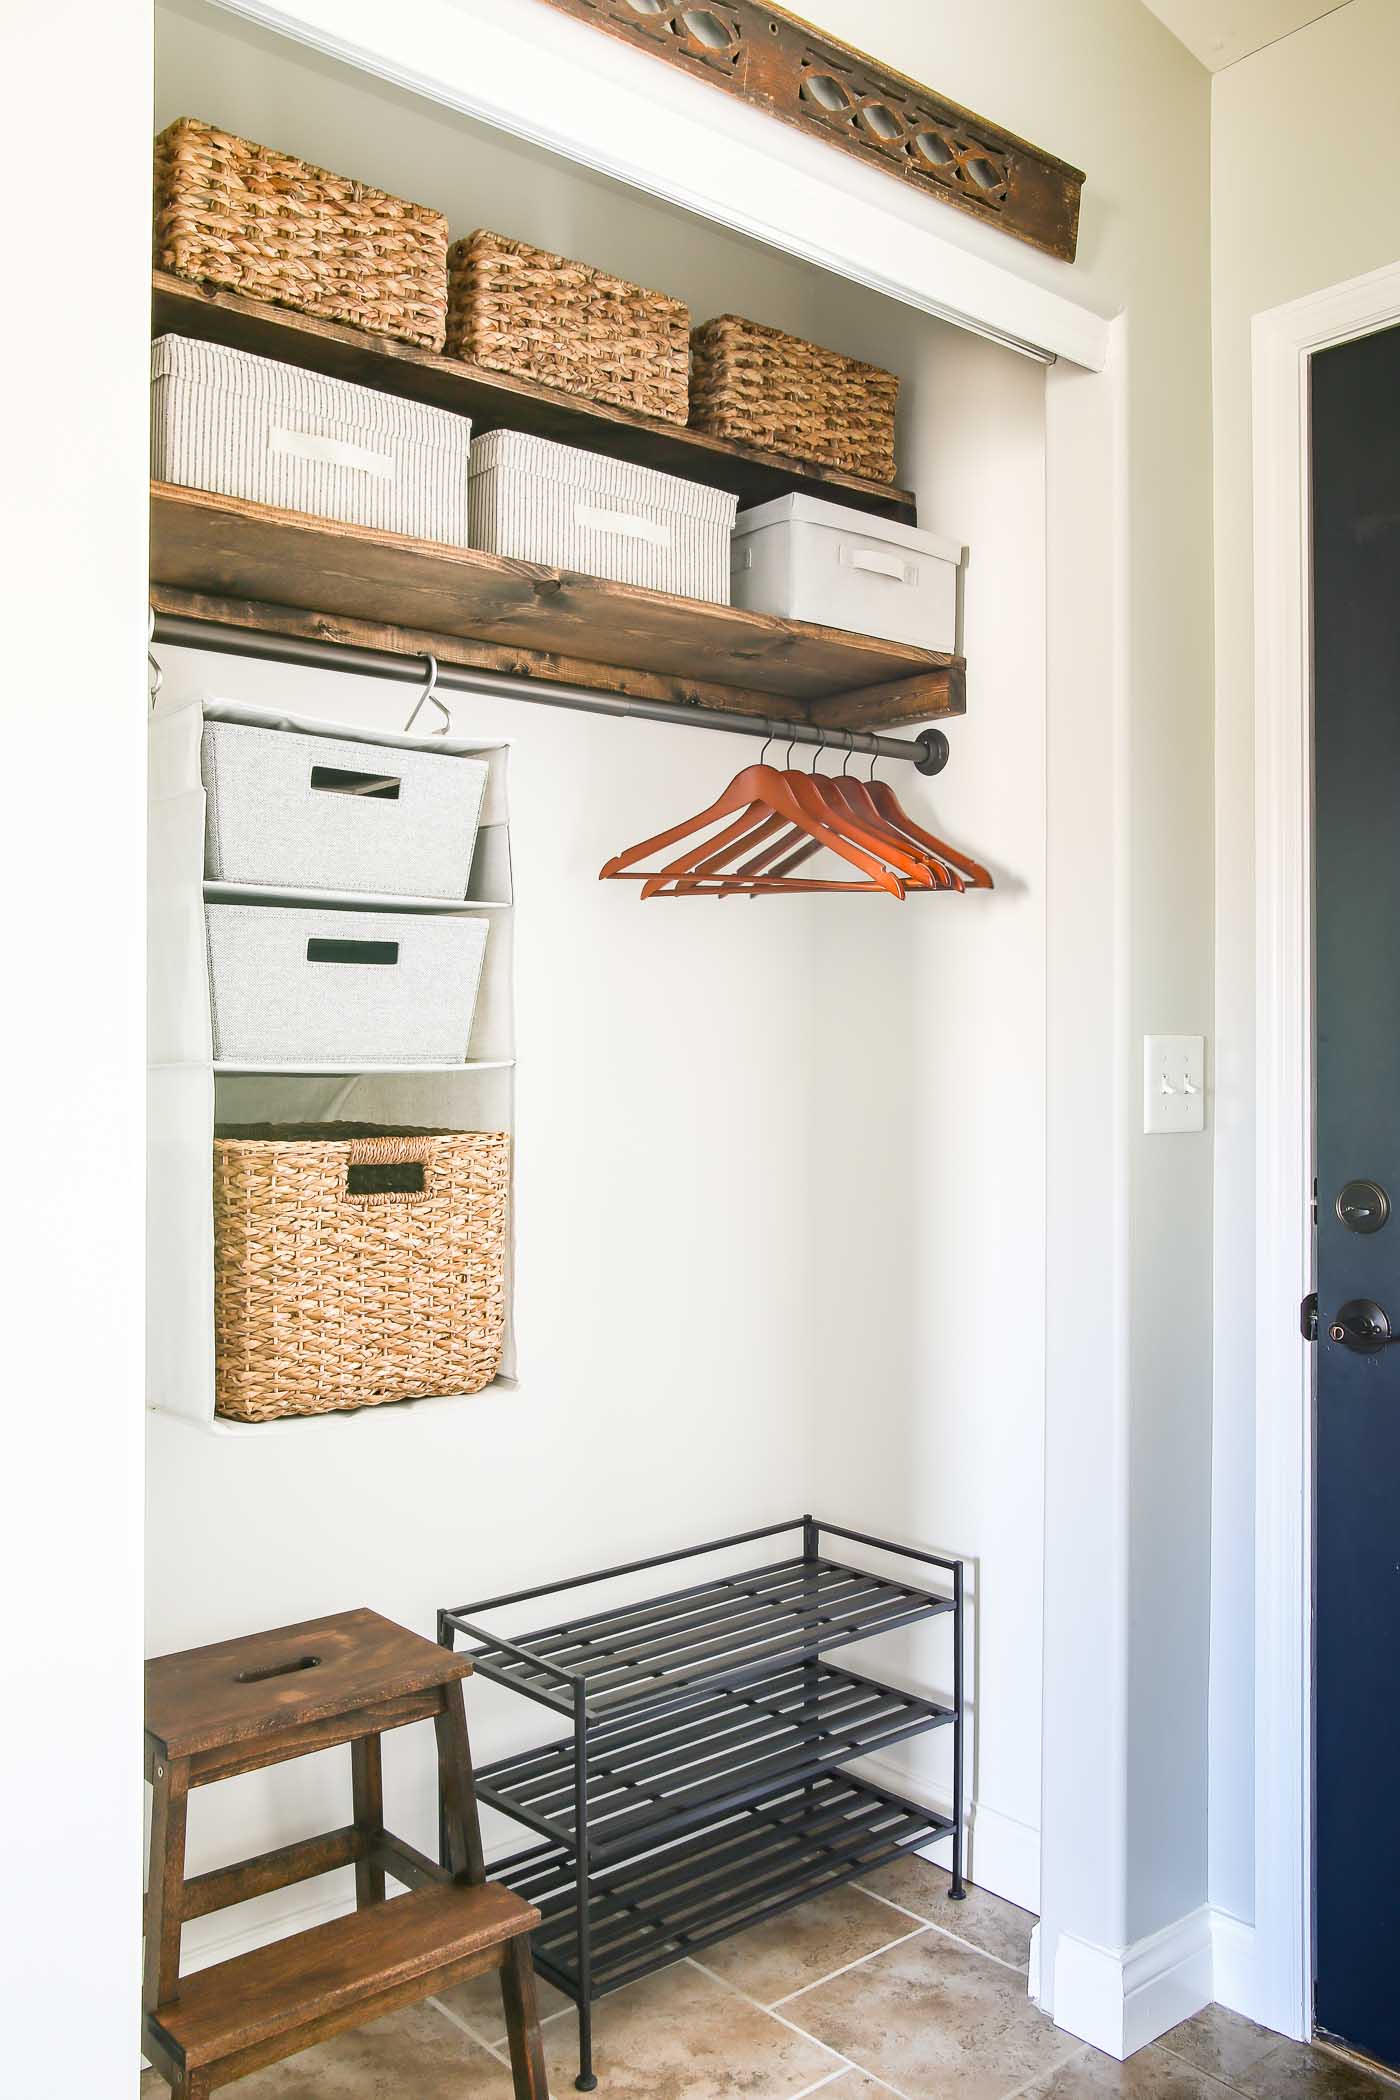
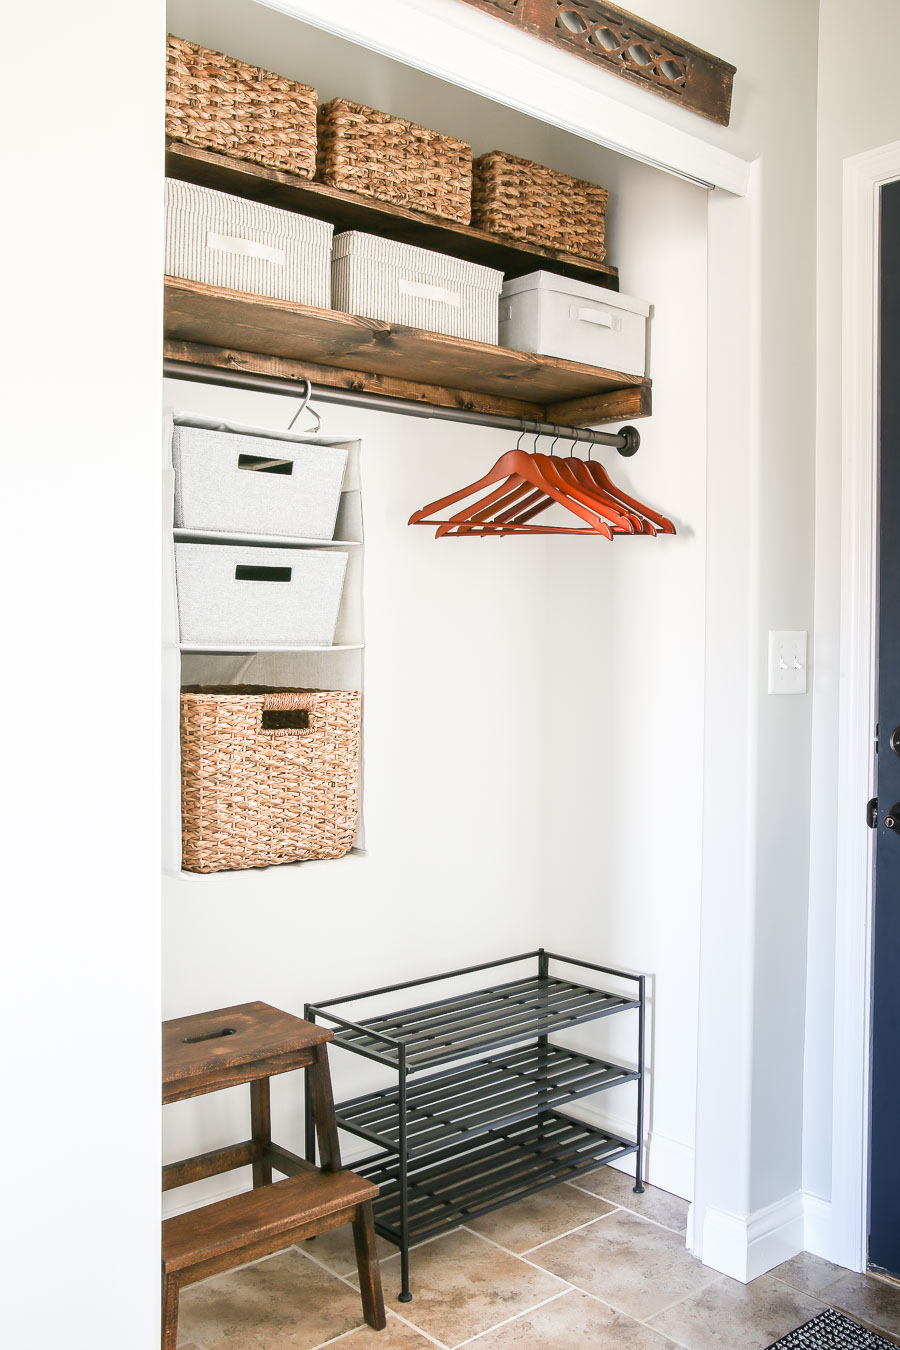
Since this closet it fairly small, I wanted to maximize the space and get as much stuff neatly organized in there as I could. I started with adding in that second top shelf that wasn’t there before. Then I just brought in organizers from there.
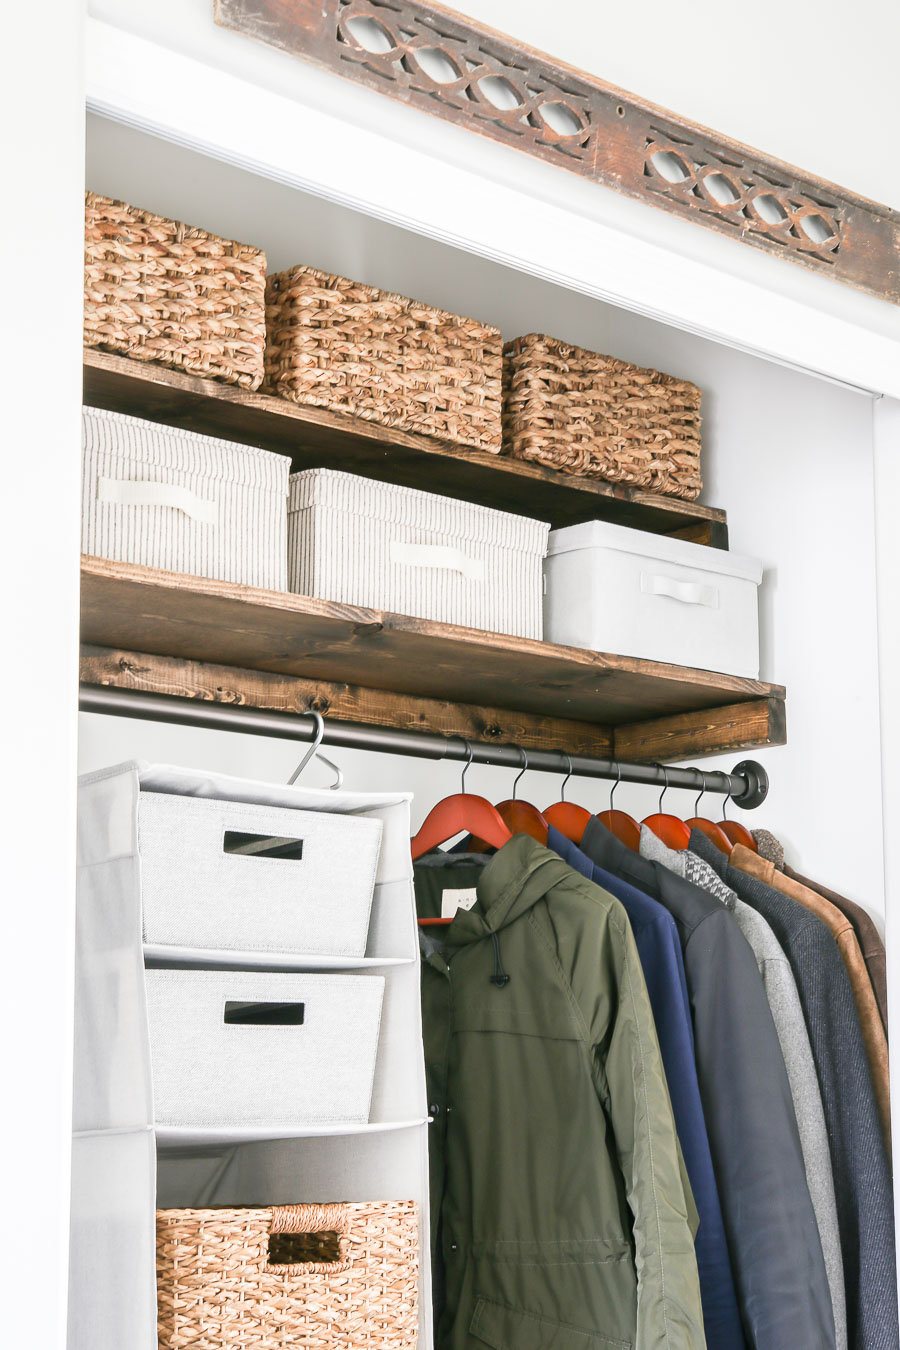
Four baskets fit perfectly on the top shelf for gloves, scarfs, and any other outdoor winter accessories. I only filled two of them so I have two empty for other possible storage in the future!
I brought in two different sized fabric organizing boxes (these grey ones and these striped ones) for all of of my husbands baseball caps and other hats of his. They fit perfect!
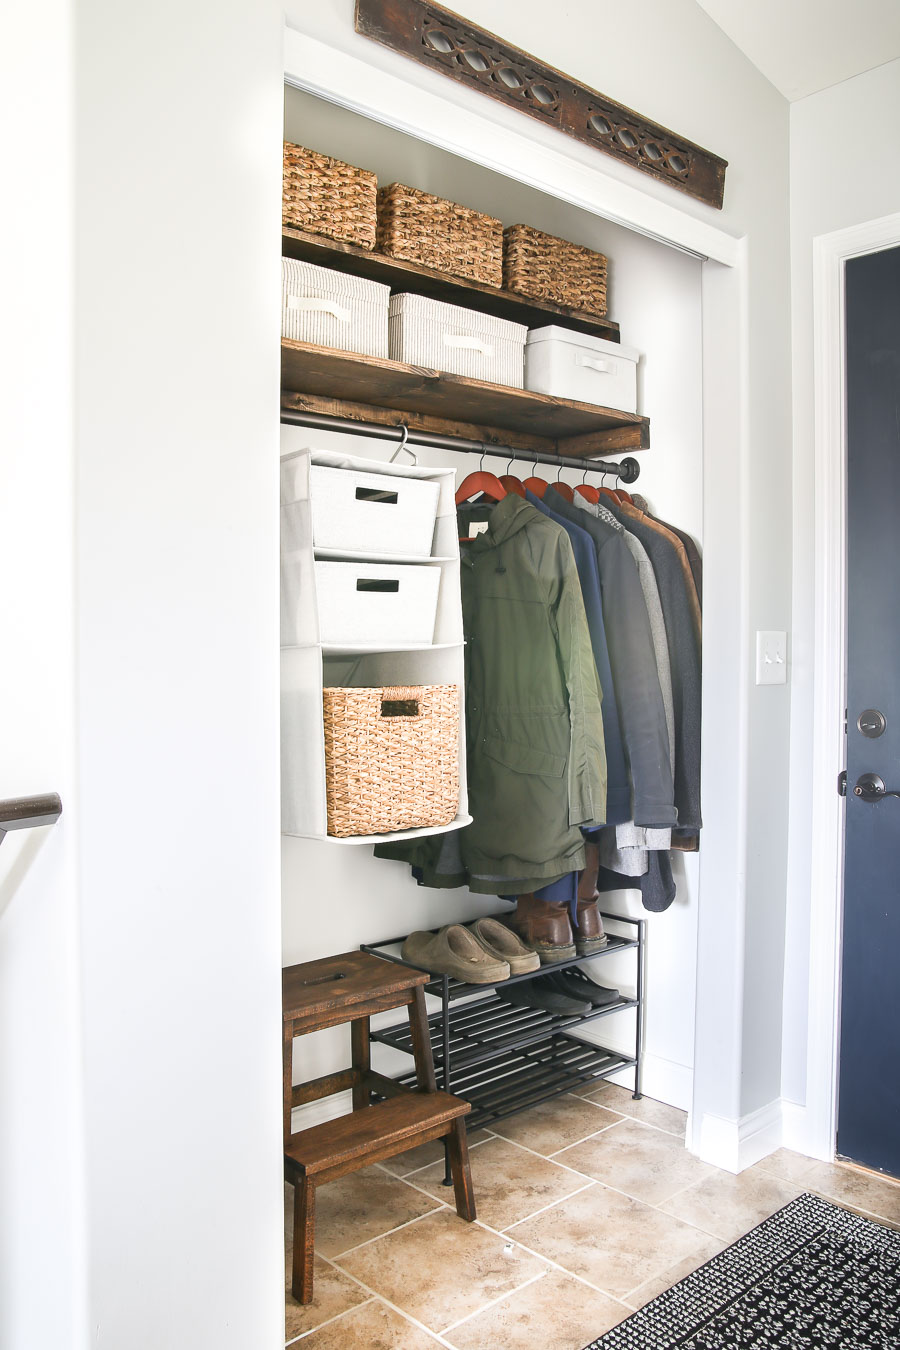
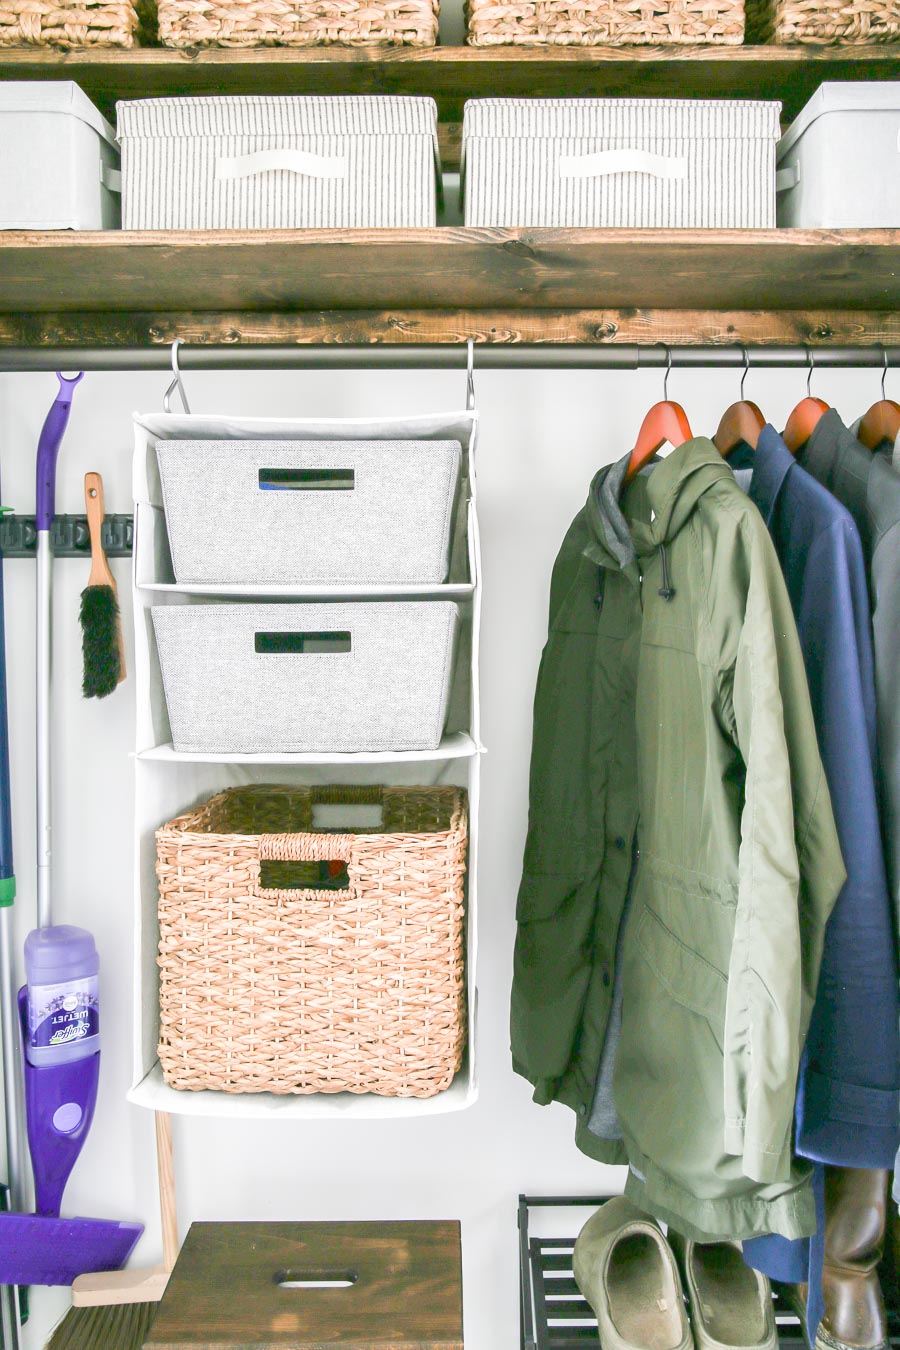
I have the right side of the closet rod for just our coats and jackets, and a shoe rack (like this one) underneath them for outside shoes.
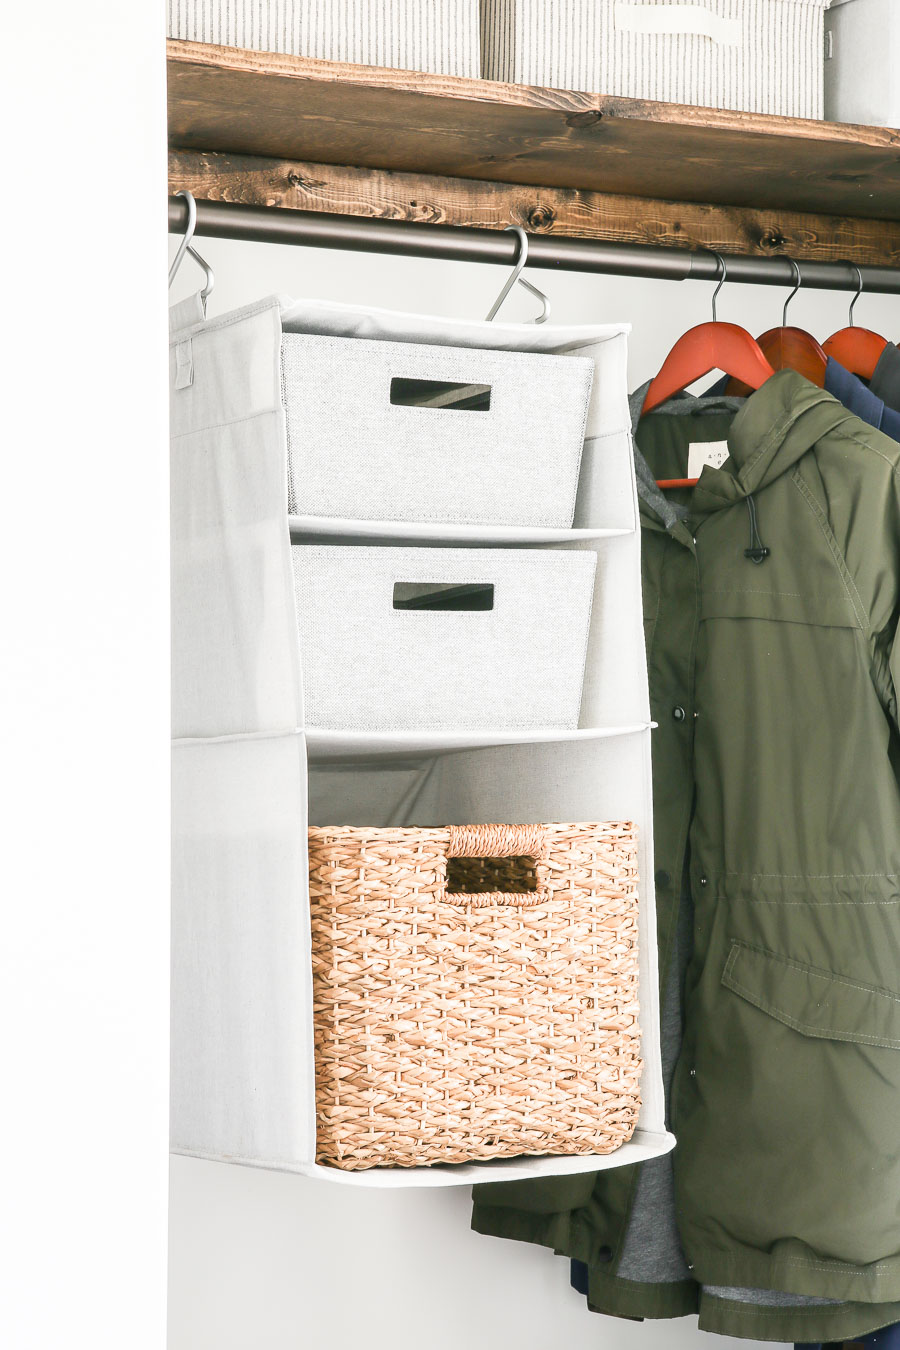
Then I added this awesome hanging fabric storage organizer in the middle for extra storage. Game changer!
Guys, I am obsessed with this thing. It is perfect for any closet and there are all kinds of baskets and fabric boxes that you can mix and match to fit in each cubby. I used these two fabric bins and this basket.
And it’s just ten bucks! I bought a few of them for other closets, one that is even larger! In this one I’m storing all of my mop pads, vacuum accessories and attachments.
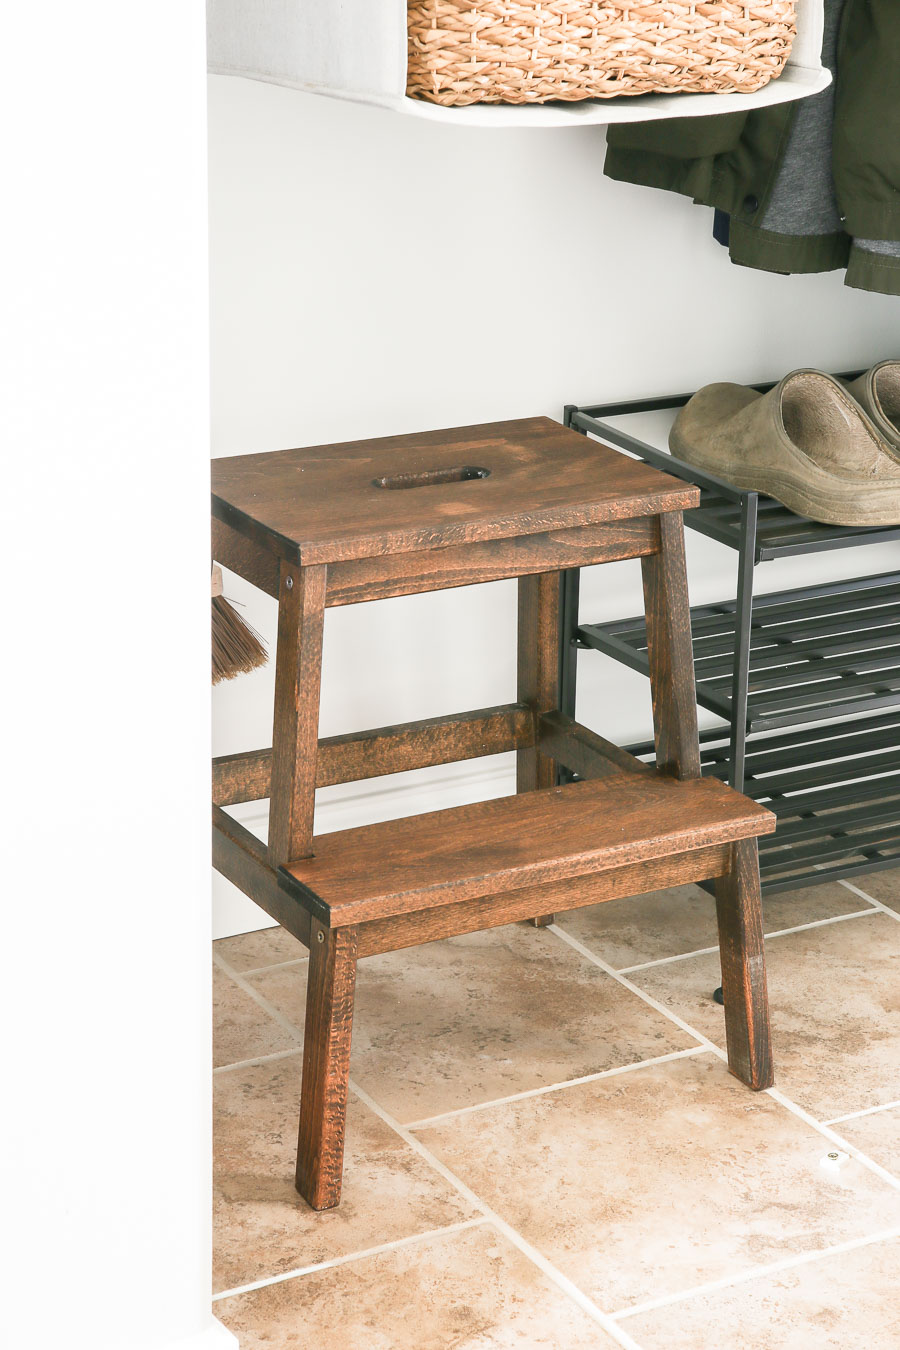
I now can store our step stool in this closet too, which is a huge deal for me! This little guy just travels all over the house and is always in the way when I am not using it.
It’s the little wins, am I right!?
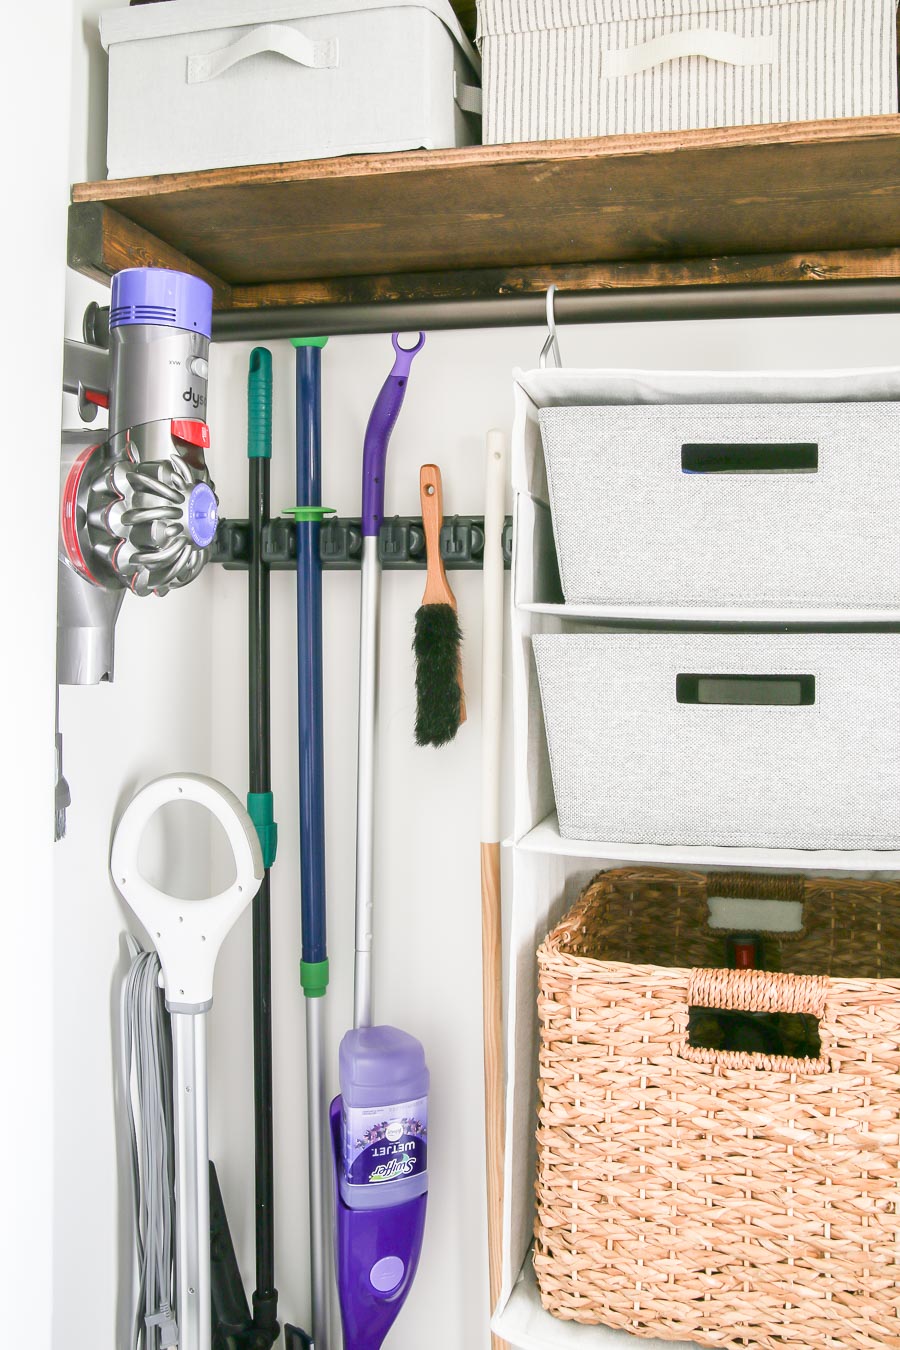
To the left of the hanging storage organizer, I bought this broom holder and tool organizer for all of our brooms and mops, so they just aren’t shoved in the corner like before.
I also finally mounted our Dyson vacuum dock as well to hold that with a few easy to grab attachments.
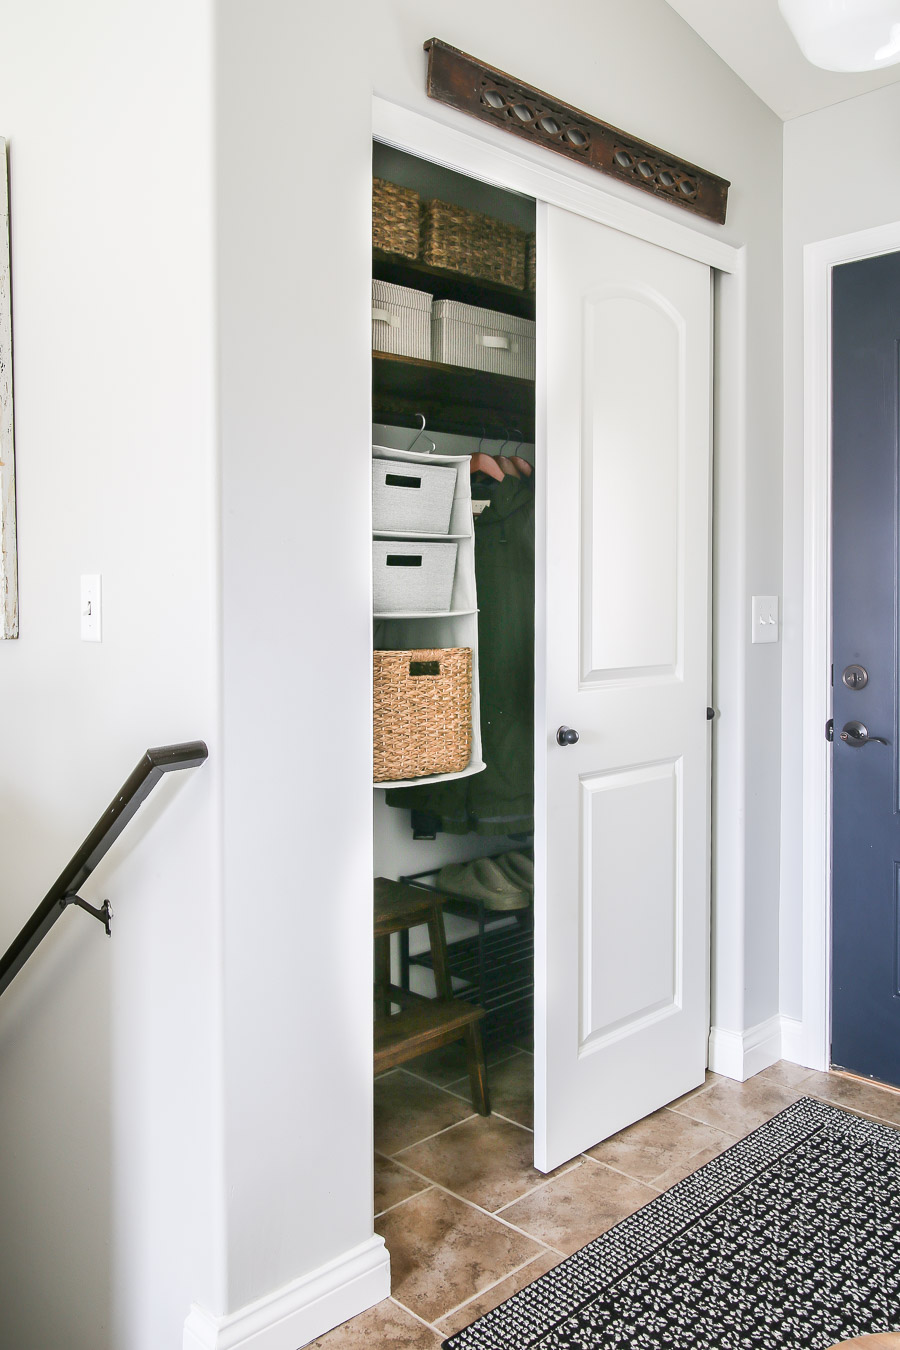
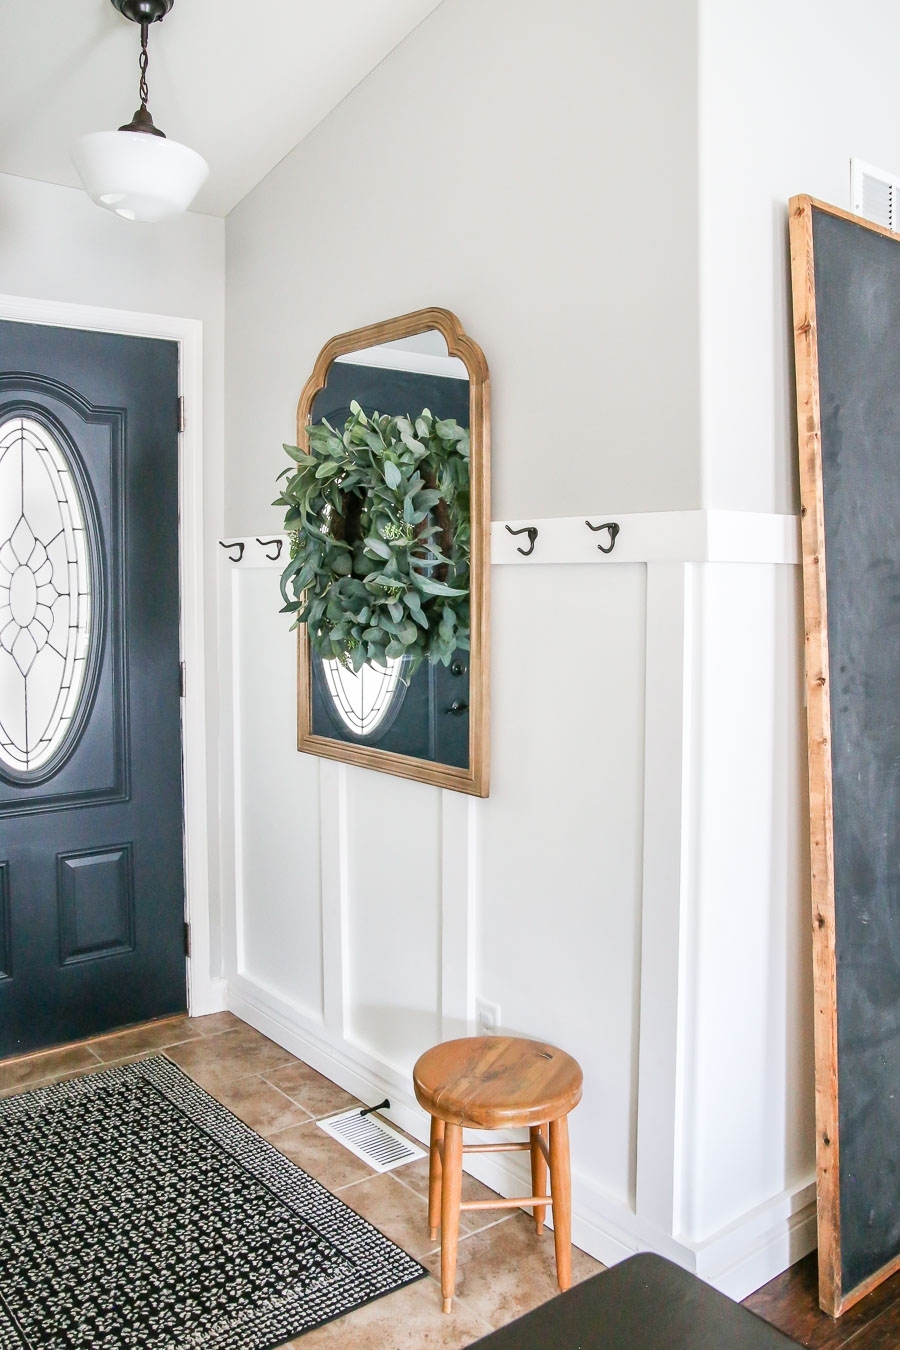
Entryway Closet Makeover – The After
Overall, I am pleasantly surprised with how much I was able to get organized in this little entryway closet of ours.
You really just have to get creative with the space you have. Think of all options, making sure they are functional and make sense!
Shop This Post

Simular Posts
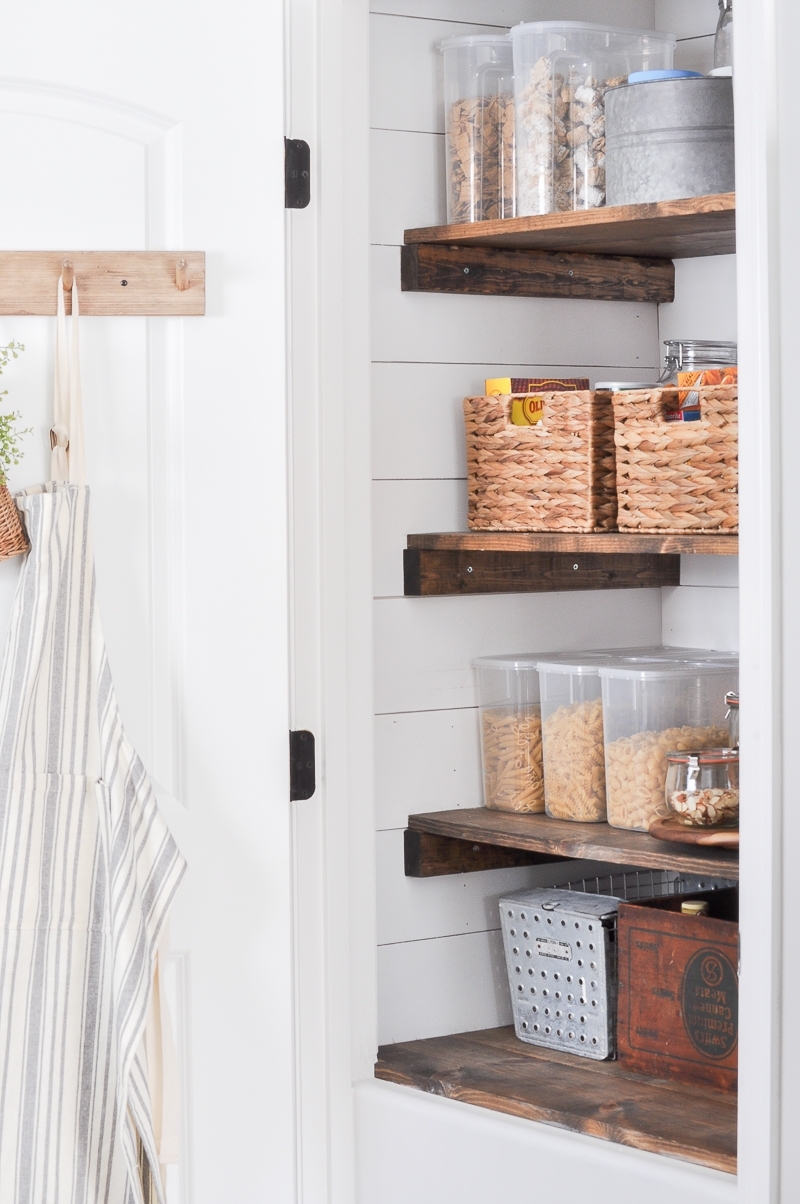
- Farmhouse Pantry Makeover
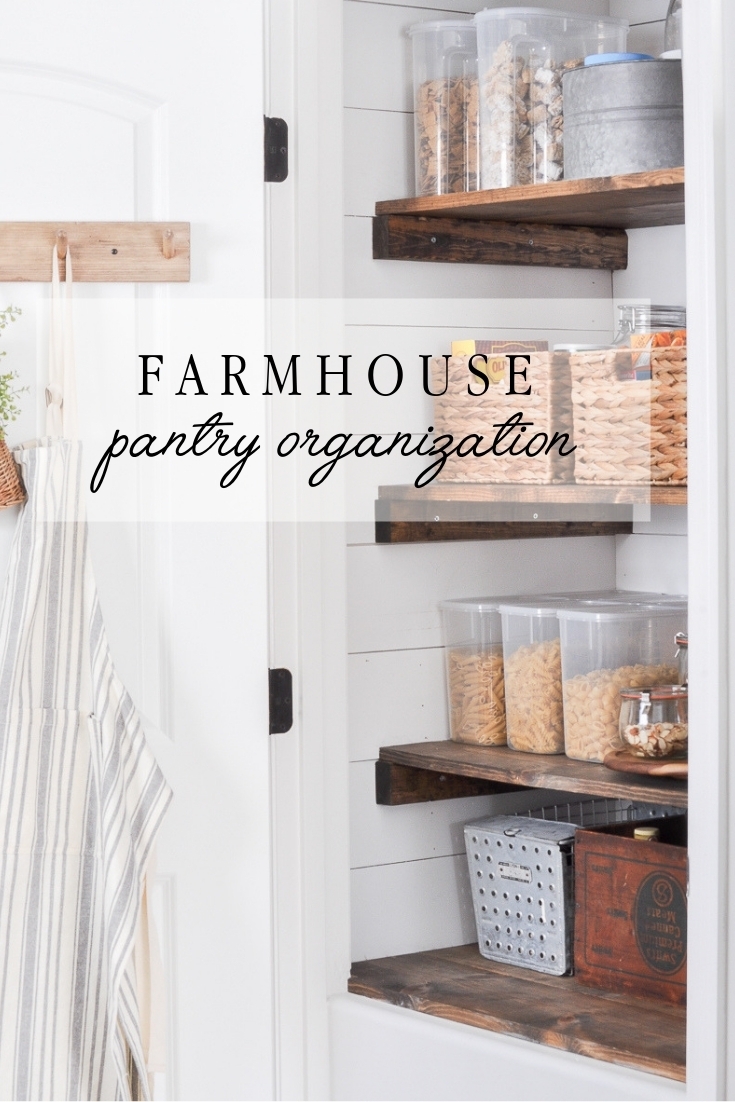
- Farmhouse Pantry Organization
- How to Organize Spices
- How to Organize Greeting Cards
- How to Store and Organize Candles
Pin This Post for Later

I love this! Especially using the hanging storage thing to separate the coat area from the cleaning items. I was working on design ideas to have my husband build me something in my eventually but in the meantime I am going to do something like this. I thank you for sharing!
Your closet make over looks amazing! I have done a similar project like that myself, but haven’t gotten around to posting it yet. Don’t you love the Dyson vacuum!! I have enjoyed reading your blog! I hope if you get a chance you will pop over to mine! http://www.thecozyhomestead.farm Happy blogging!
So affordable, practical and an approachable project for anyone. I loved the spice cabinet redo. Thanks to you my spices look great and much easier to find.
Love how this turned out!!!
Great Job. I have one of those hanging storage items in all my closets. I just put things into them without the storage containers. It certainly looks much better with the containers in each area. Thanks. Take care. As an older woman, I am staying put in my home at this time.
Great job! I love how you incorporate all textures 🙂
Love this! Great job Ashley!!
Wow! This closet makeover is amazing!! Those hanging storage organizers can really add space.