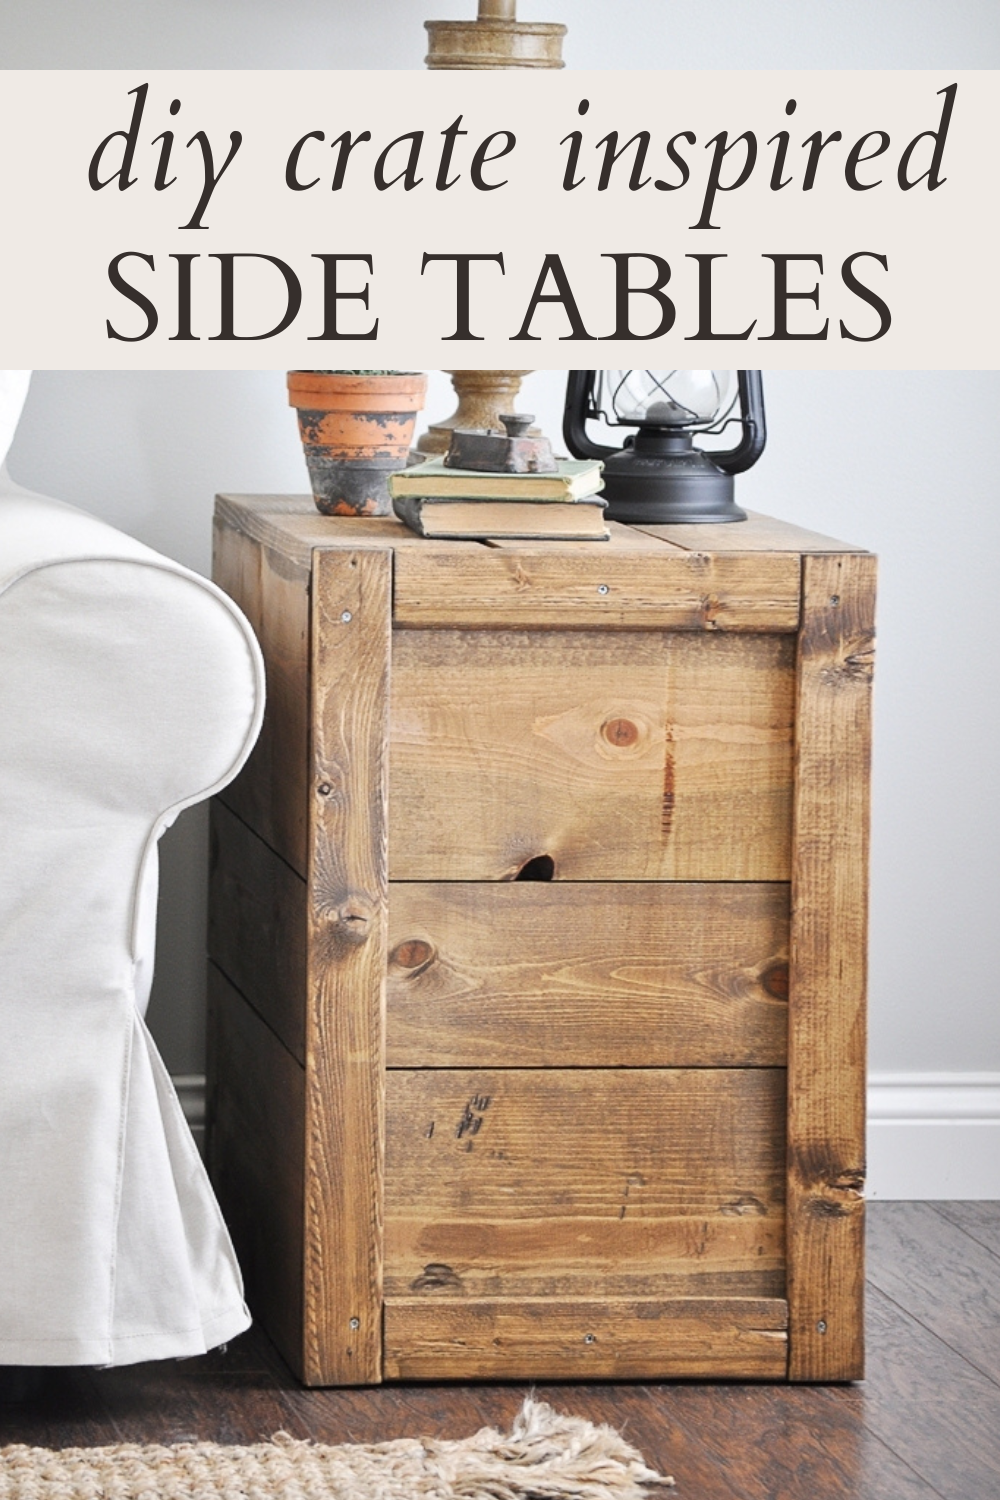
DIY Crate Inspired Side Tables
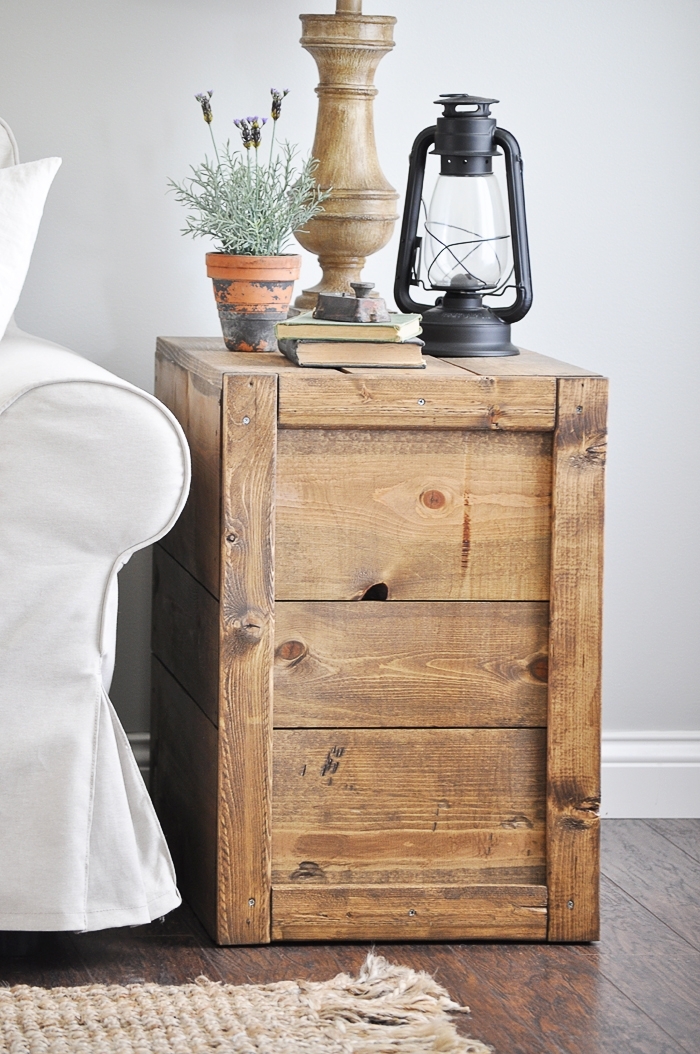
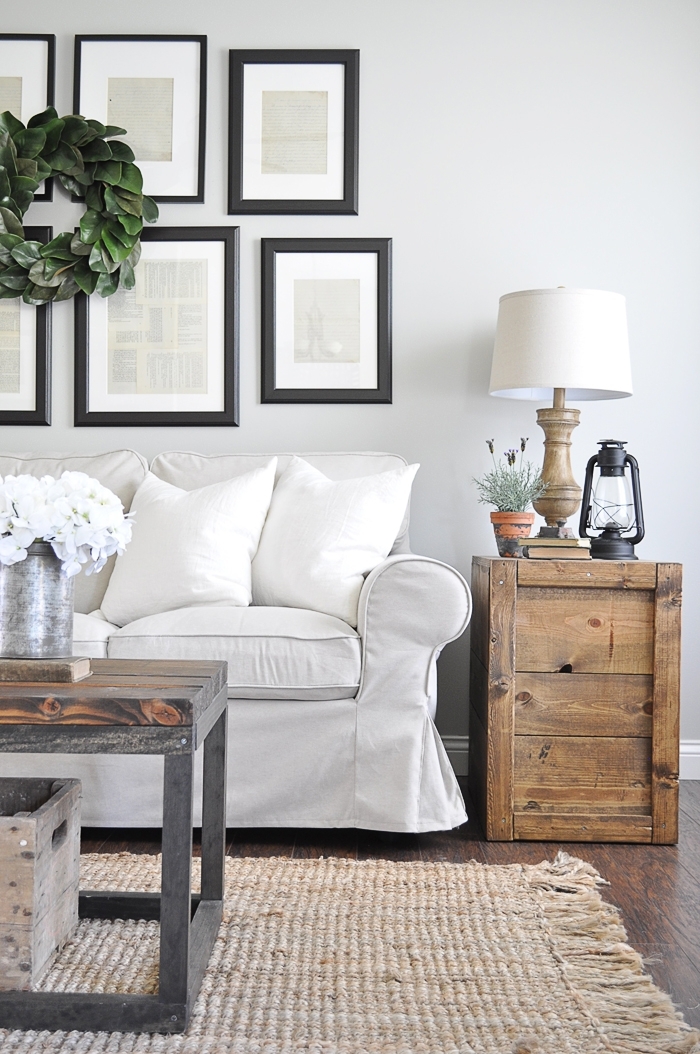
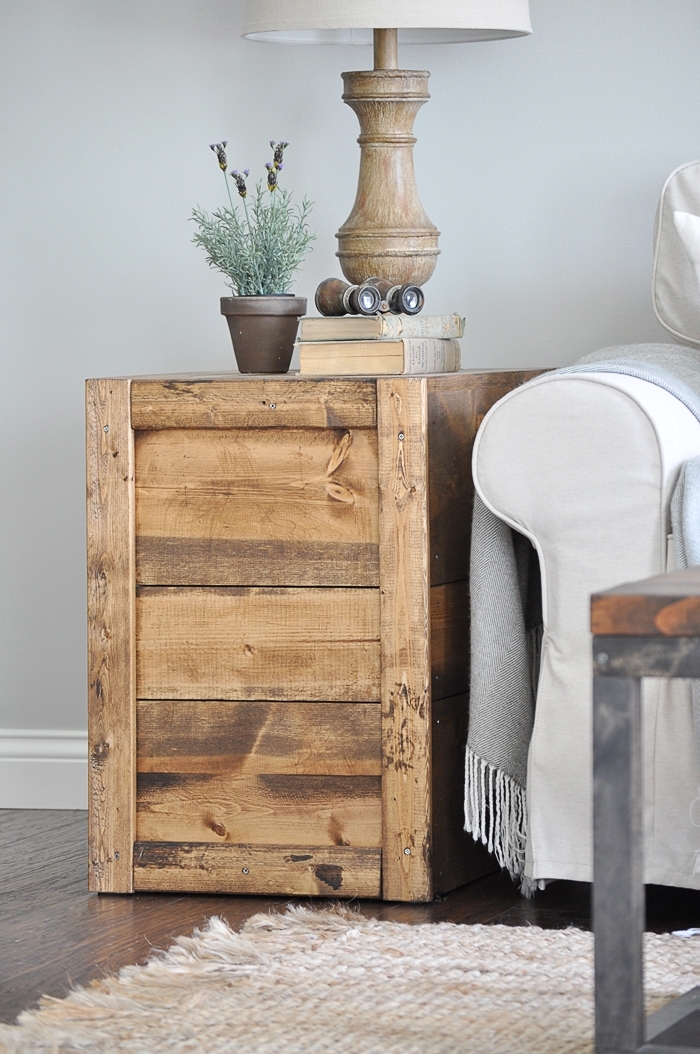
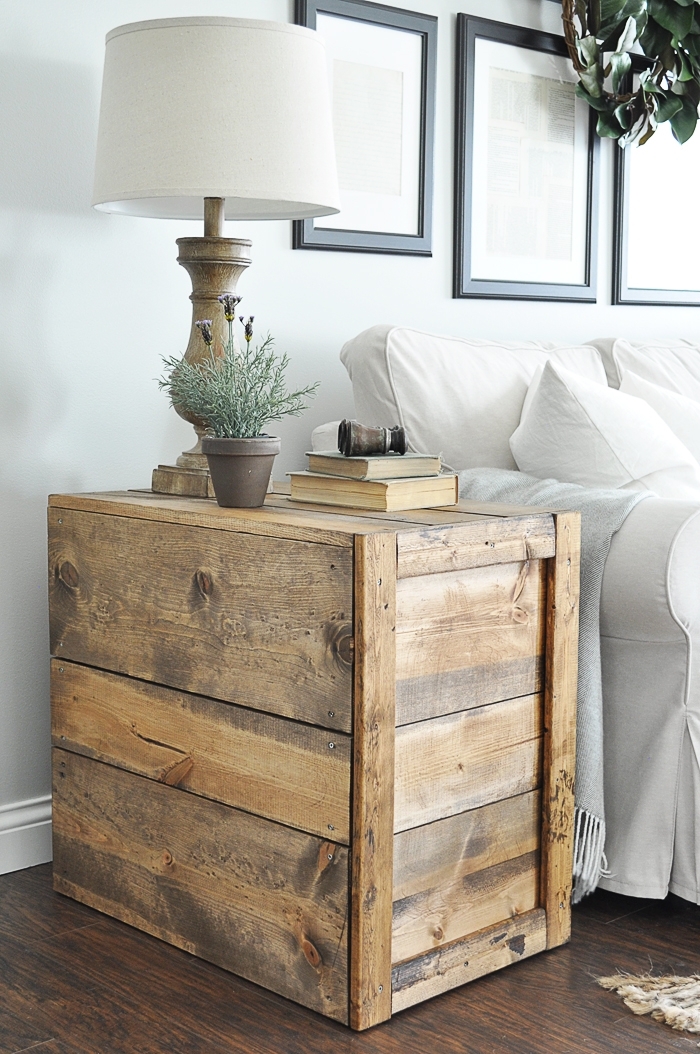
Build these DIY crate inspired side tables for a rustic, yet classic look. They can go with any style and are easy to recreate and customize.
There have been so many times that I fall in love with a furniture piece while out antiquing, but know I could probably duplicate it for a more affordable price. So I pass, and I put it on my to-do list.
The amount of pictures and screenshots saved in my phone are endless. But they are great to look back on to draw inspiration when needed.
On a recent antiquing trip, I came across a pair of large vintage shipping crates that I thought would work perfect as side tables. They were a bit pricey, so I took a picture of them and moved on.
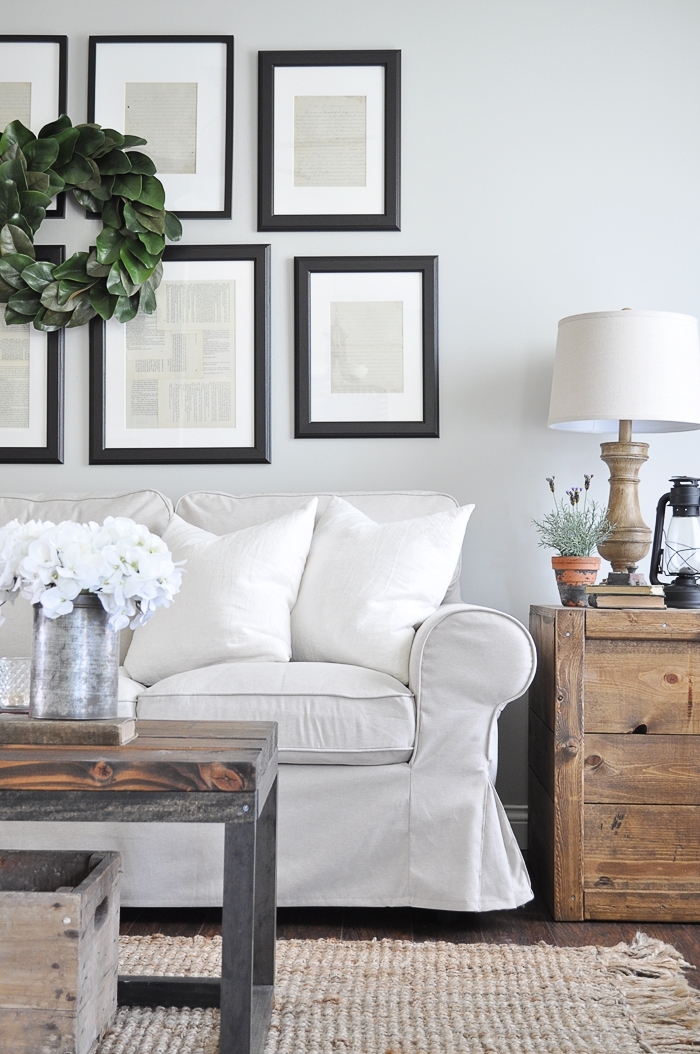
A few months later we got new furniture for our living room and I was wanting to change out our side tables too. So this was the perfect time to try and DIY those expensive vintage shipping crates I fell in love with.
Update: We still have them seven years later as our living room side tables! They are perfect, very sturdy, and we absolutely love them.
Supplies Needed for DIY Crate Inspired Side Tables
Note: Supplies are for one side table. You will need to double wood materials for two side tables. We used measurements based on the size we wanted the tables to sit next to our couch, so this is completely customizable to whatever size you want your side table(s) to be.
- Saw
- Drill and Drill Bit/ Screwdriver
- Wood Screws (we used 1-3/4in, 1-1/2in, 1in)
- Wood Glue
- Measuring Tape + Pencil
- Nickels (for spacers)
- Sander
- Wood Stain or Paint
- Polycrylic
- 2 – 8ft 1x6in common boards
- 2 – 8ft 1x10in common boards
- 1 – 8ft 1x3in common board
- 1 – 8ft 2x2in wood strip
Wood Cutlist
TOP:
- 3 – 1x6in boards cut to 26-1/2in
SIDES:
- 2 – 1x6in boards cut to 26-1/2in
- 4 – 1x10in boards cut to 26-1/2in
FRONT:
- 1 – 1x6in board cut to 15-1/2in
- 2 – 1x10in boards cut to 15-1/2in
- 2 – 1x3in boards cut to 25in
- 2 – 1x3in boards cut to 12-1/2in
BACK:
- 1 – 1x6in board cut to 15-1/2in
- 2 – 1x10in boards cut to 15-1/2in
INSIDE:
- 4 – 2x2in strips cut to 24in
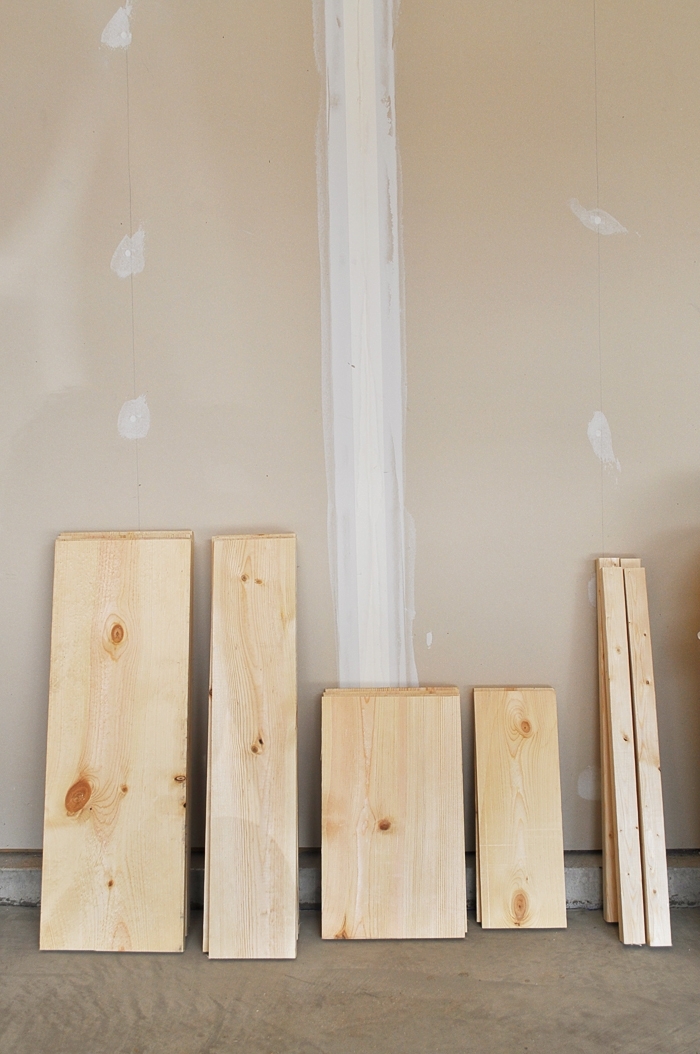
Directions for DIY Crate Inspired Side Tables
- Measure out and cut all of the wood with a miter saw (or whichever saw you are using). For our side tables, I based the height to meet the armrest of our couch, at 25 inches tall.
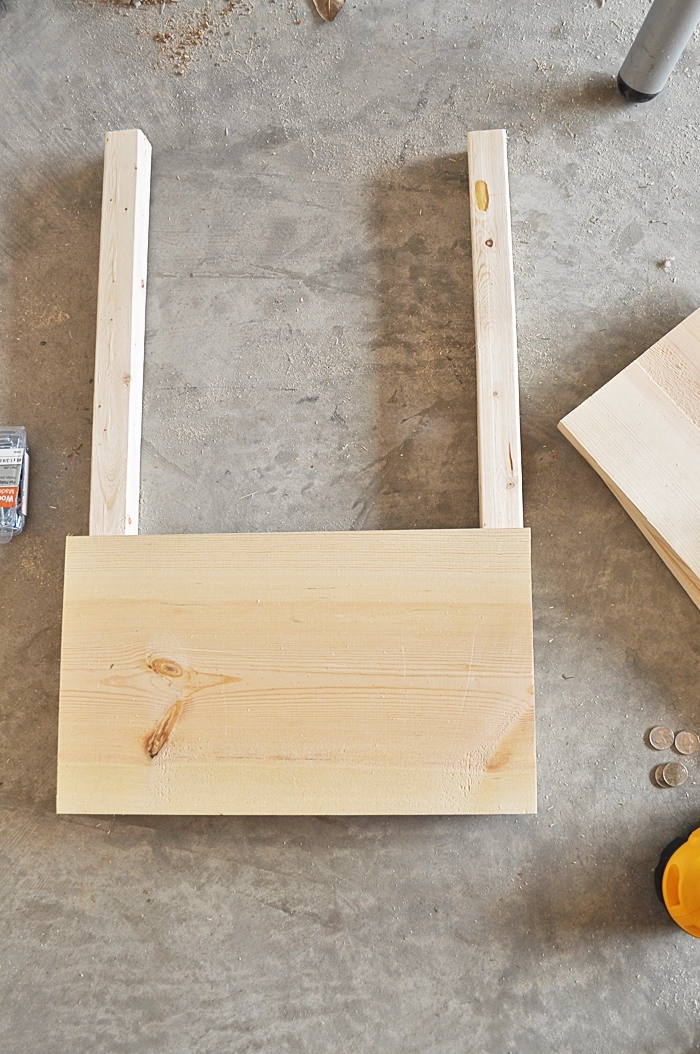
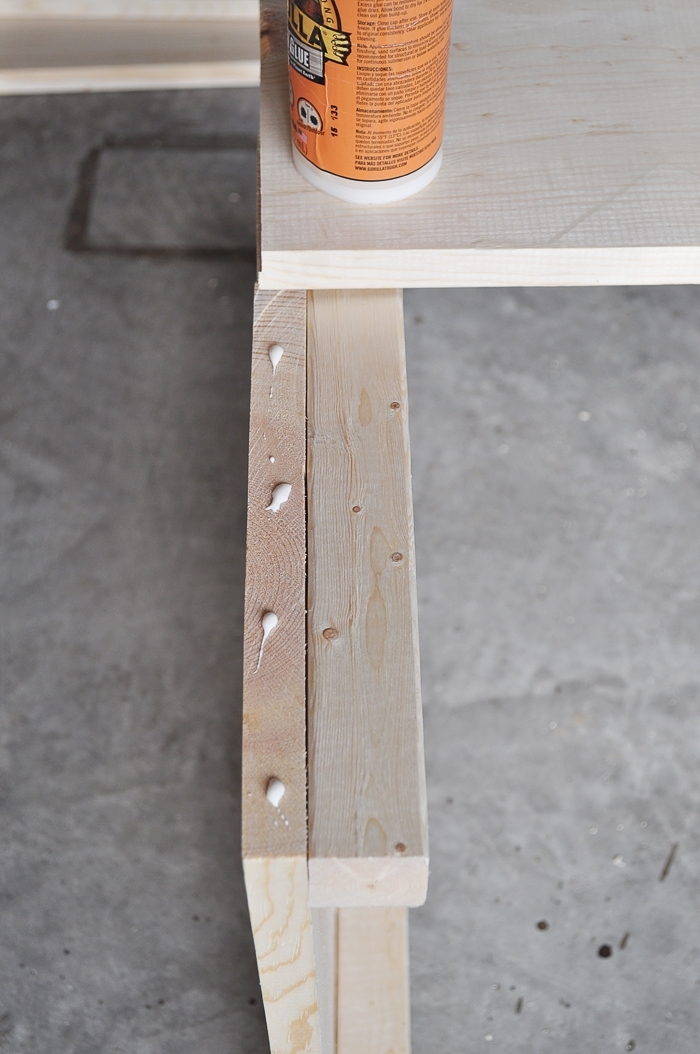
- Once all wood pieces are cut, start building the front and back of the side table. I laid down two of the 24in 2x2in wood strips and attached one 15-1/2in 1×10, followed by one 15-1/2in 1×6, followed by one 15-1/2in 1×10.
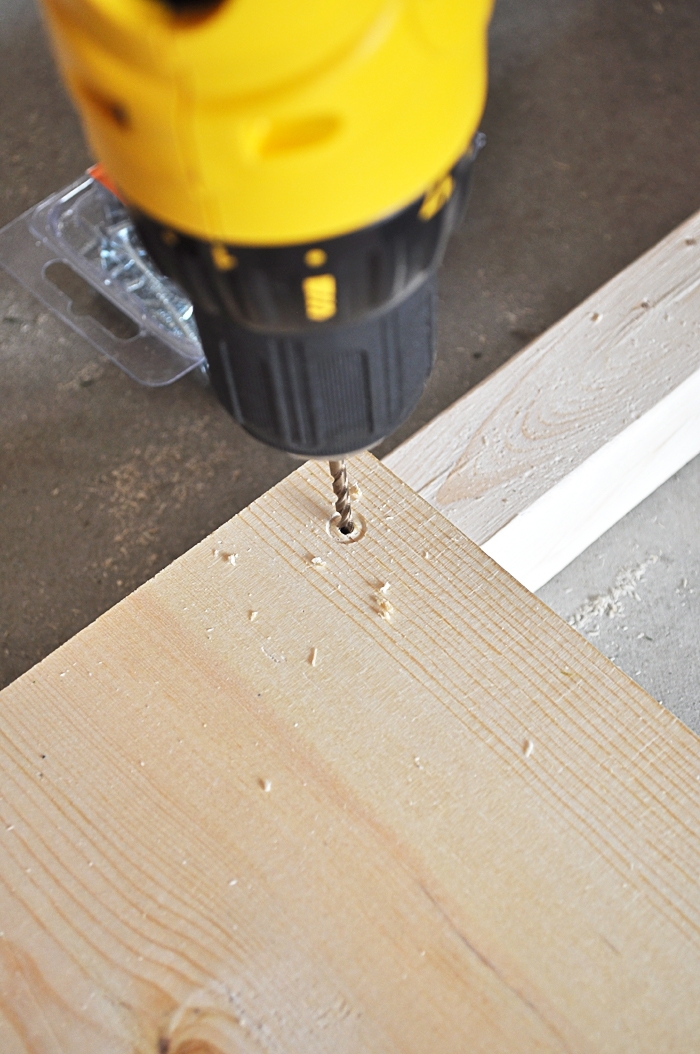
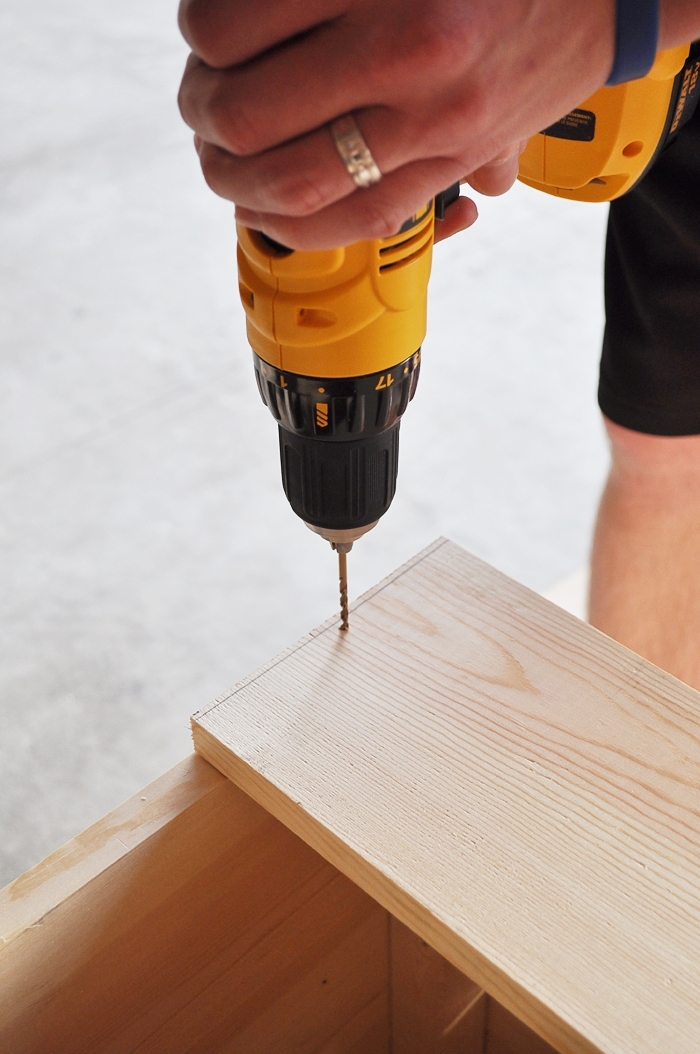
3. To attach the boards, drill two pilot holes in the upper and lower corners of the boards on each side to make it easier for the wood screws to go in (and to ensure the 2x2in boards don’t split).
We used 1-3/4in wood screws for this part.
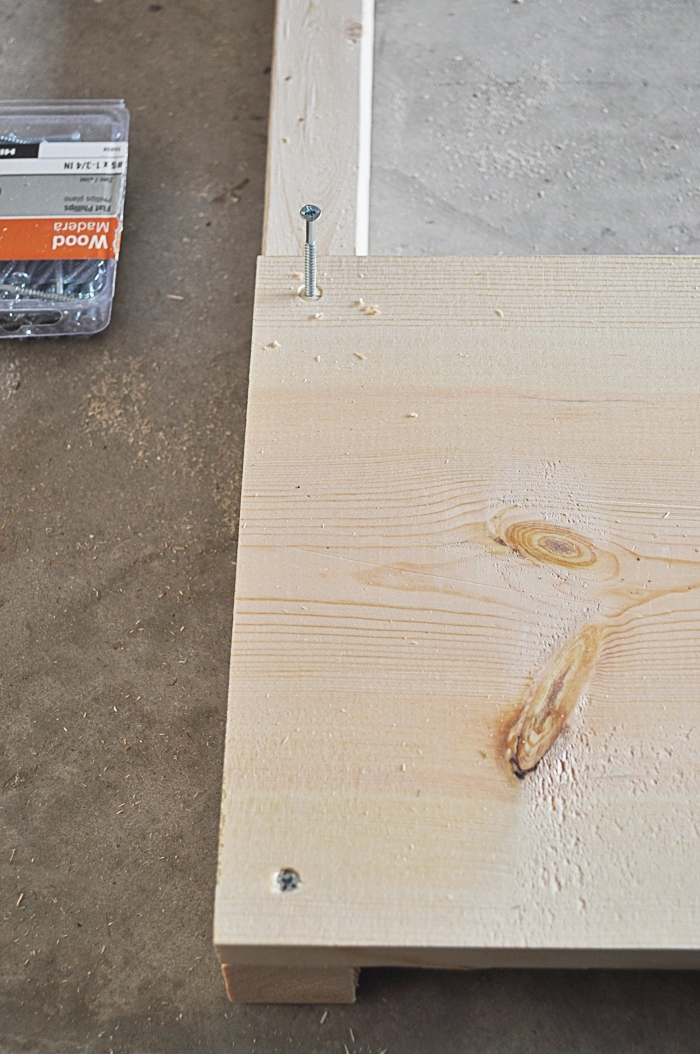
I used nickels as spacers in between each board to give it more of the vintage shipping crate look I was going for. I didn’t want the boards to be flush against each other.
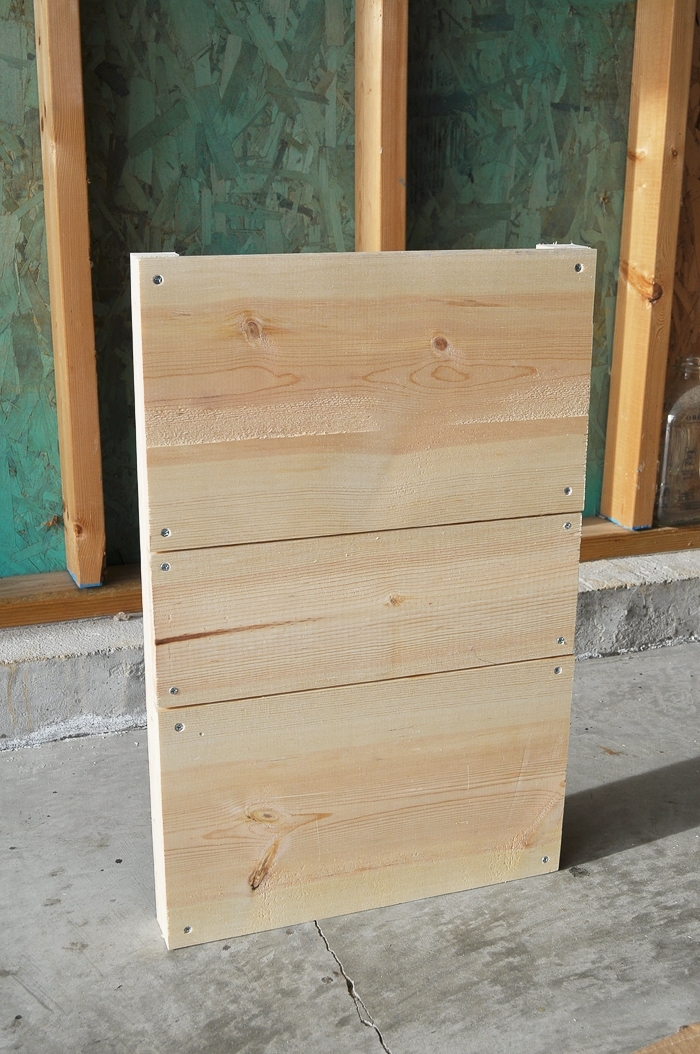
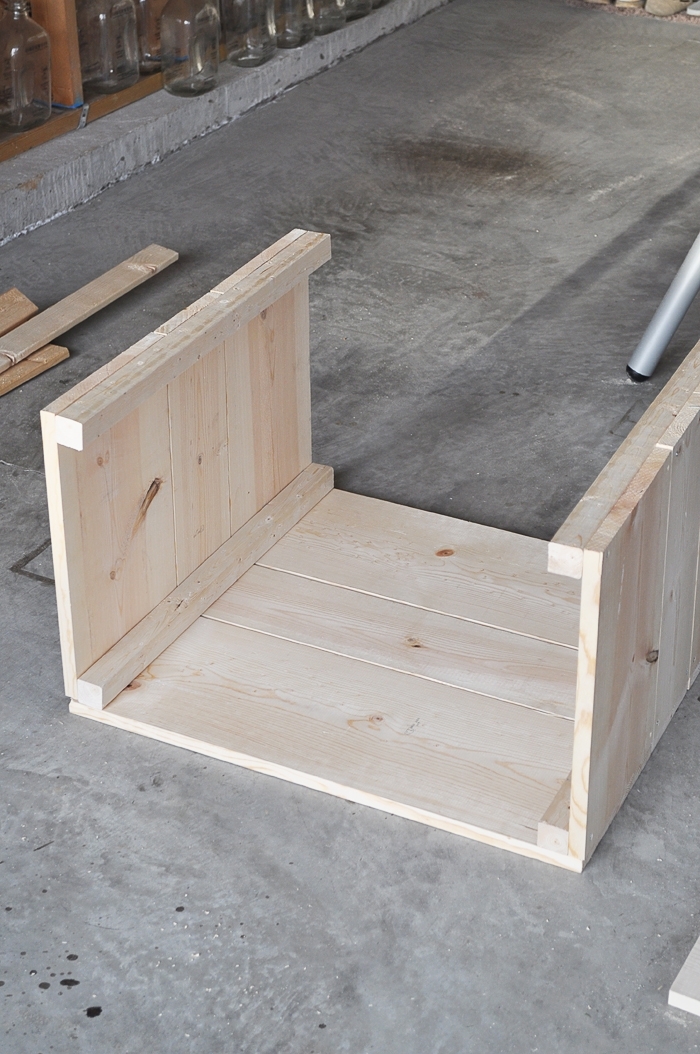
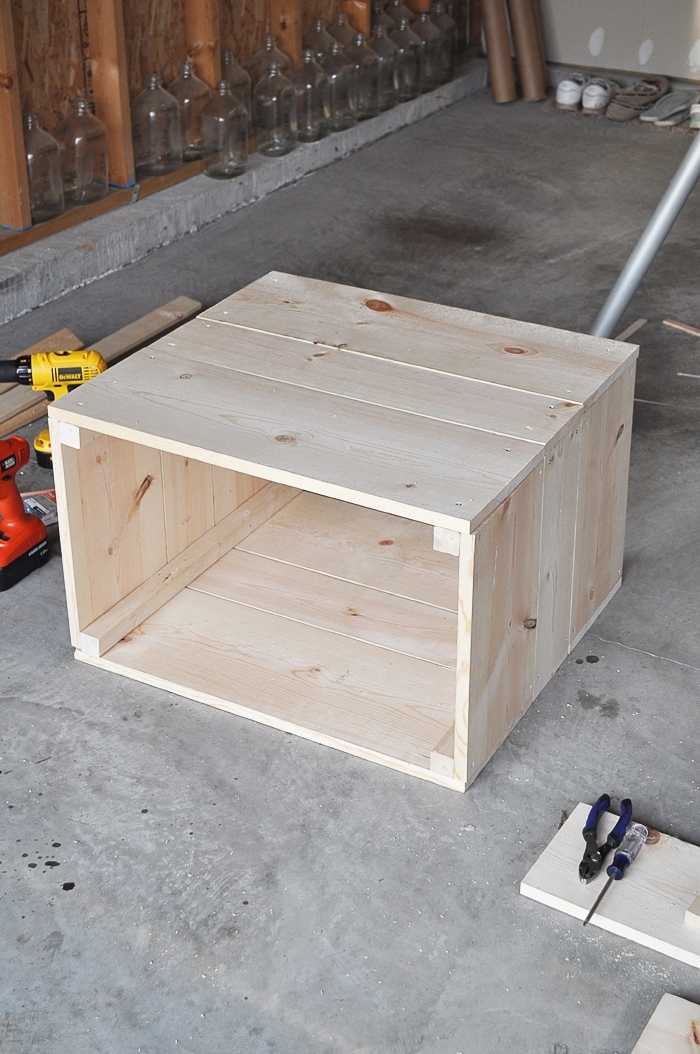
Here is what the front and back of this piece should look like one it is assembled. And you will have two of these for the front and back parts of the side table.
Attaching the Sides of the Table
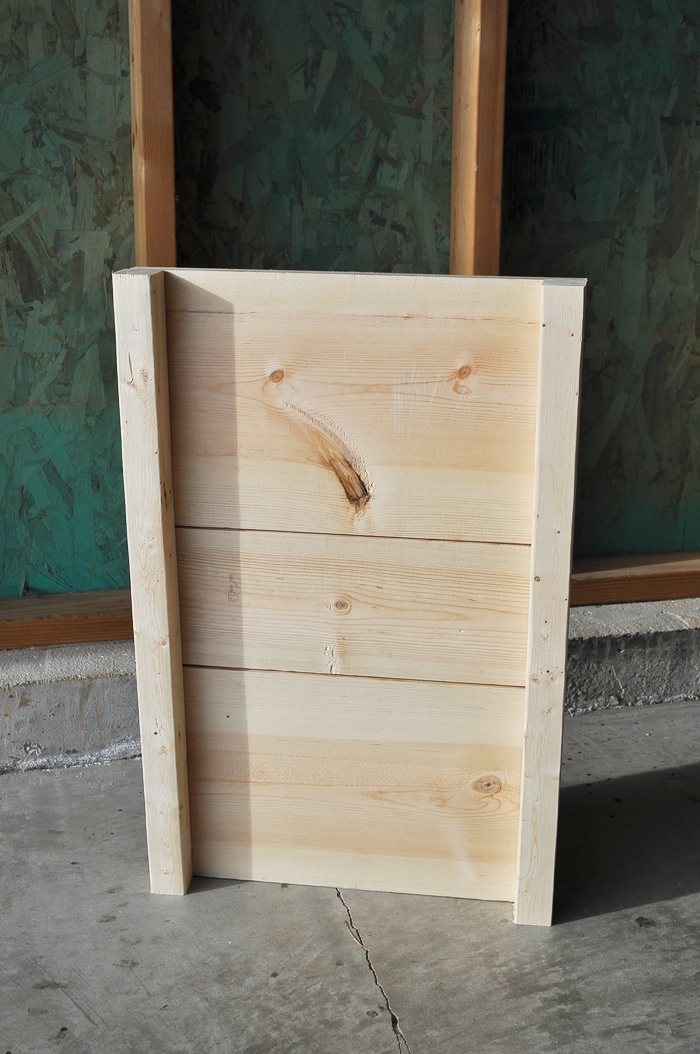
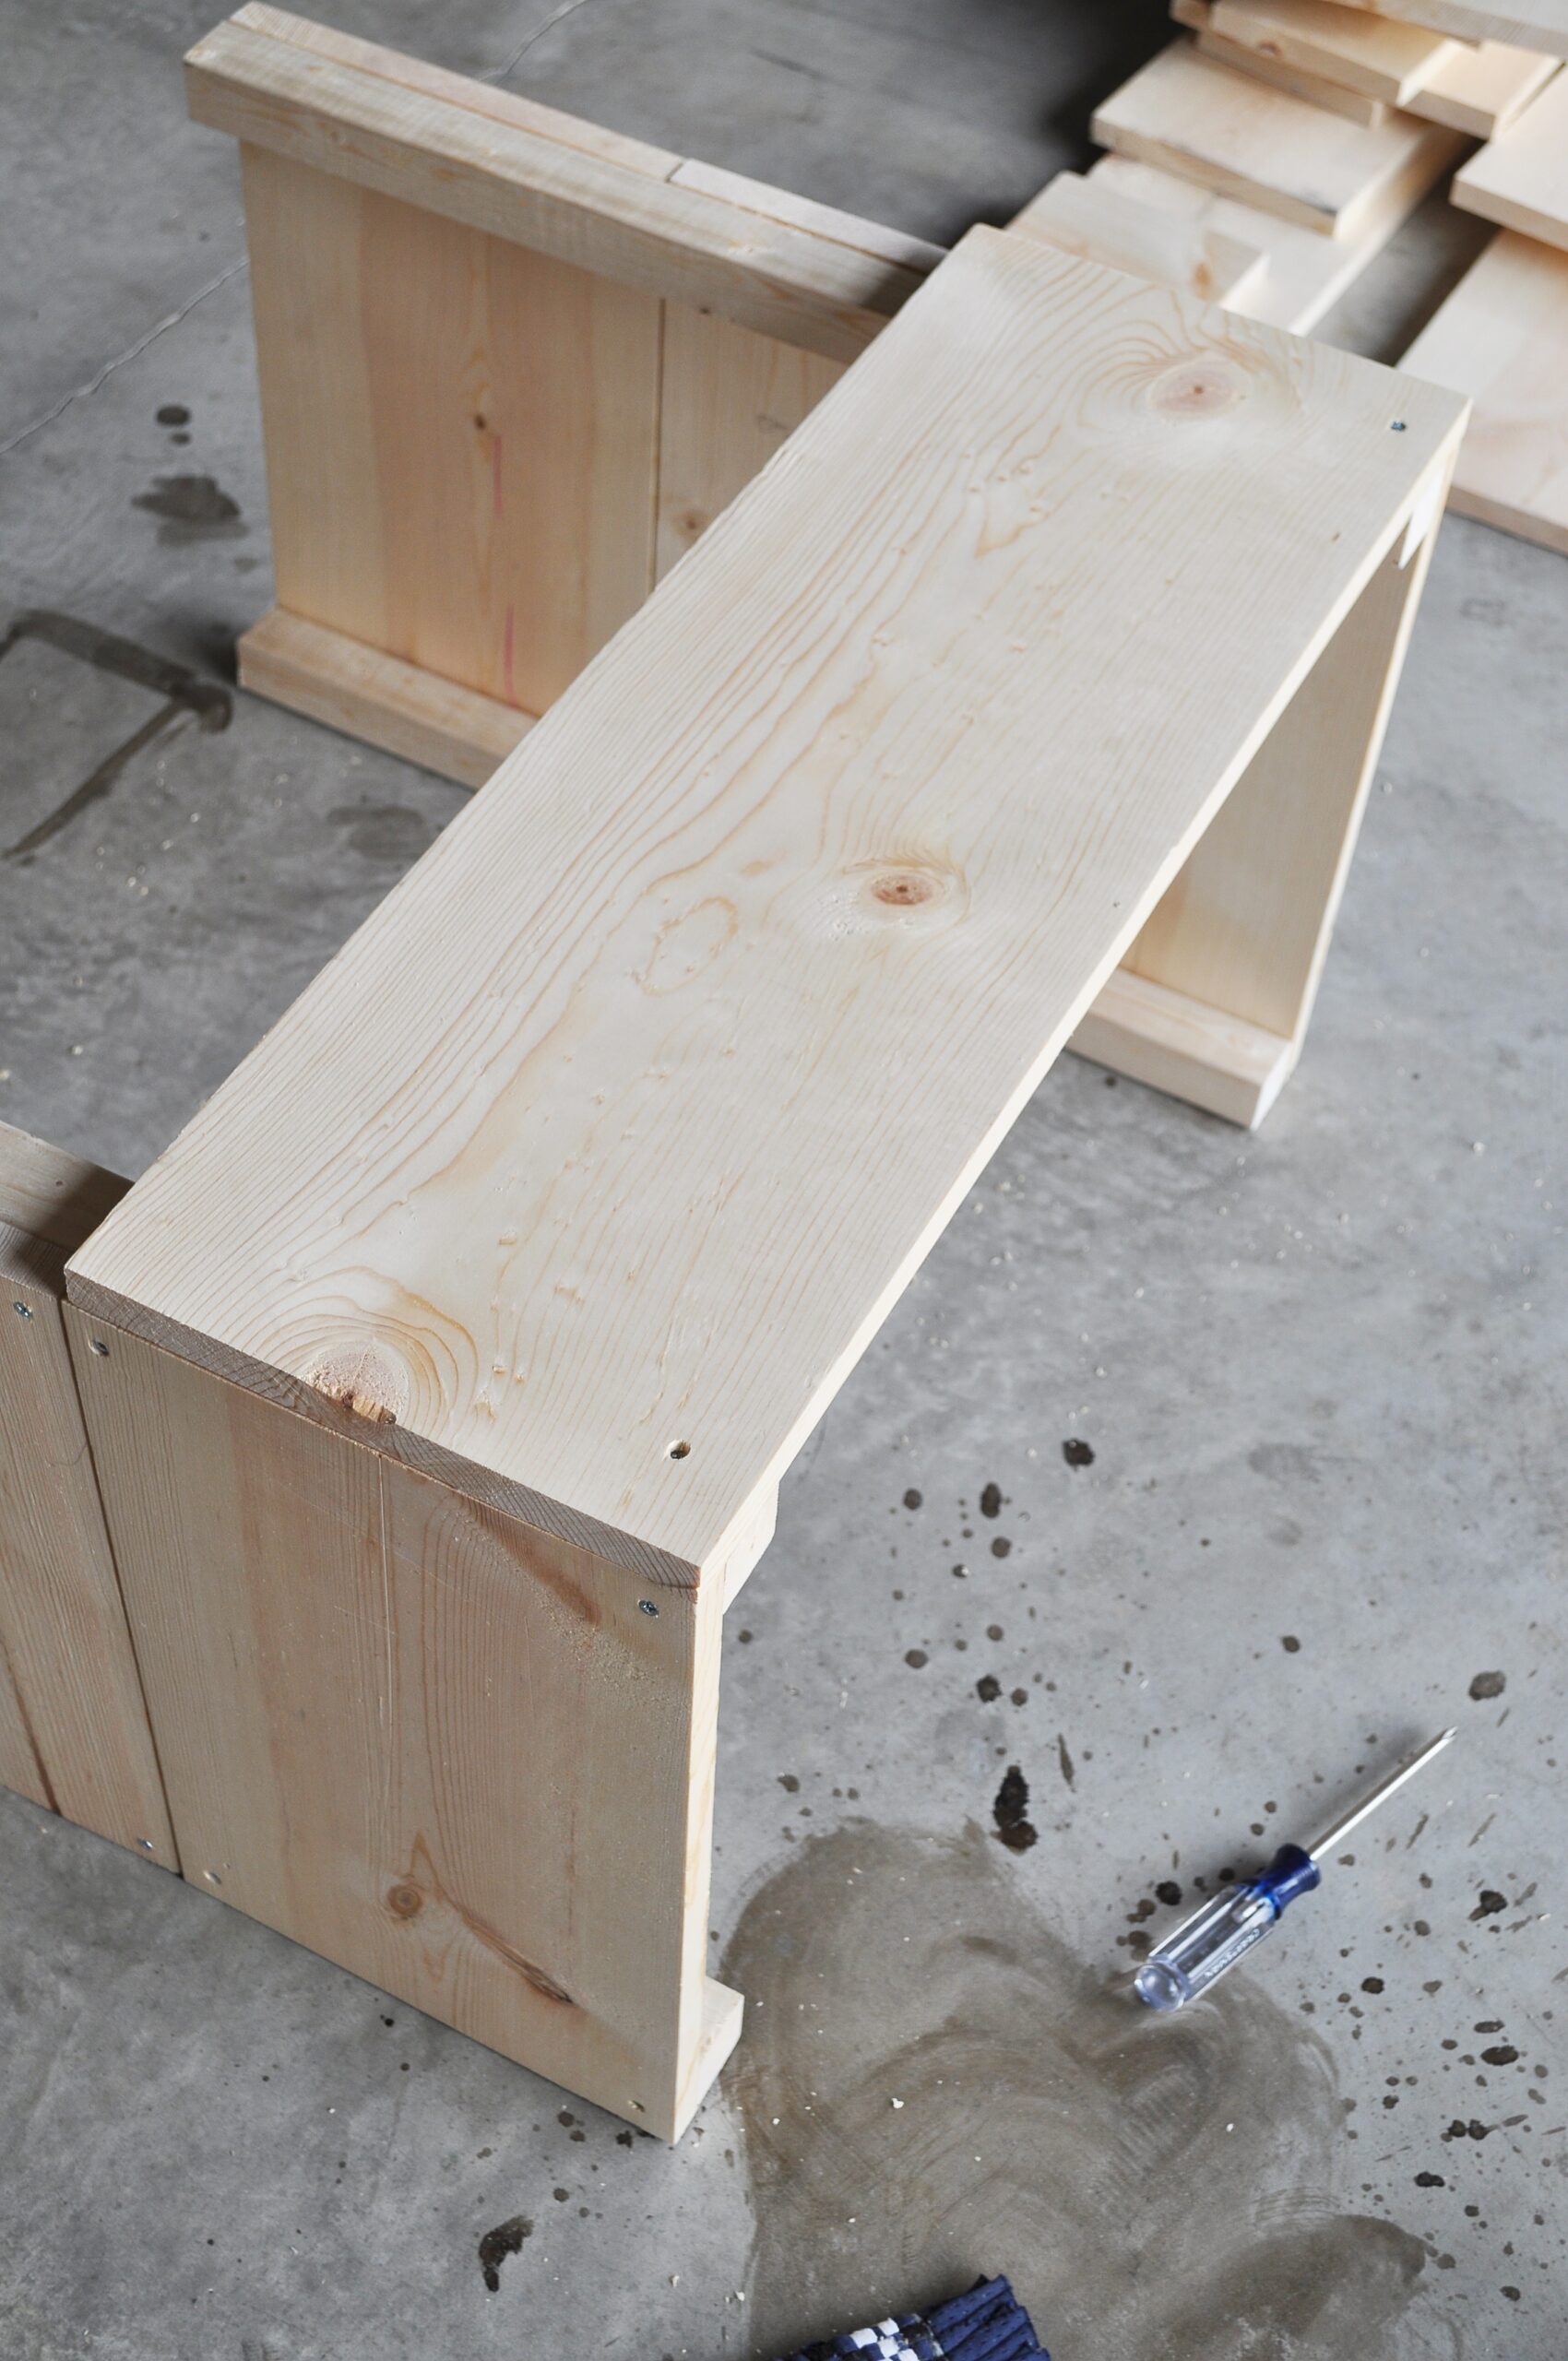
4. Next attach the sides of the table. Position your front and back pieces on their sides with the 2x2in boards facing each other – as pictured below.
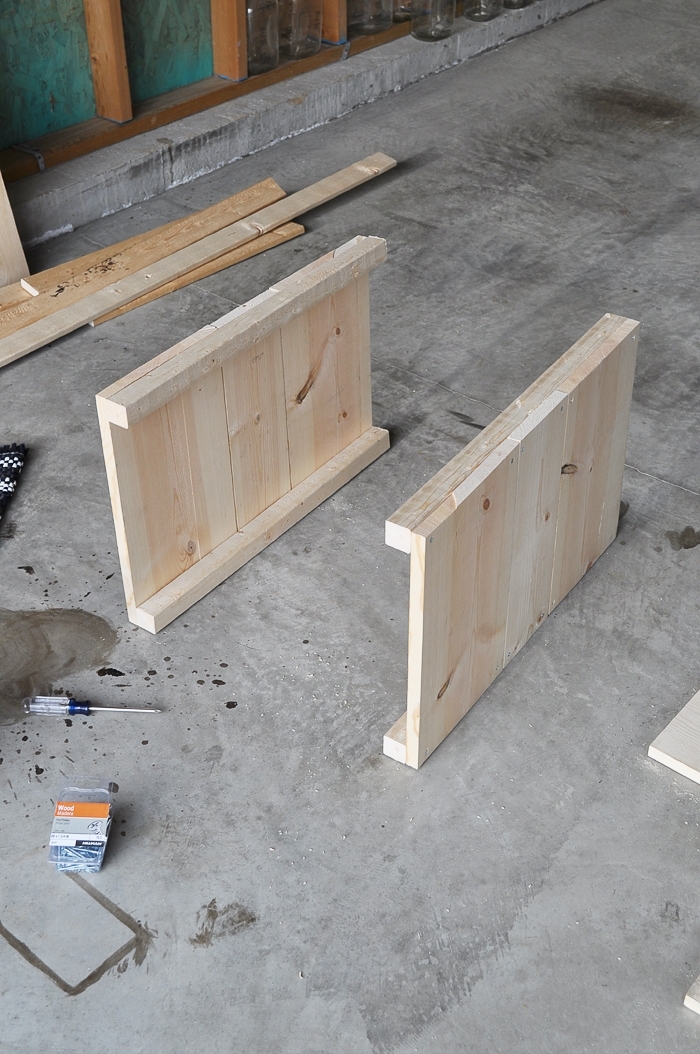
The side boards will be attached as the others were, one 15-1/2in 1×10, followed by one 15-1/2in 1×6, followed by one 15-1/2in 1×10.
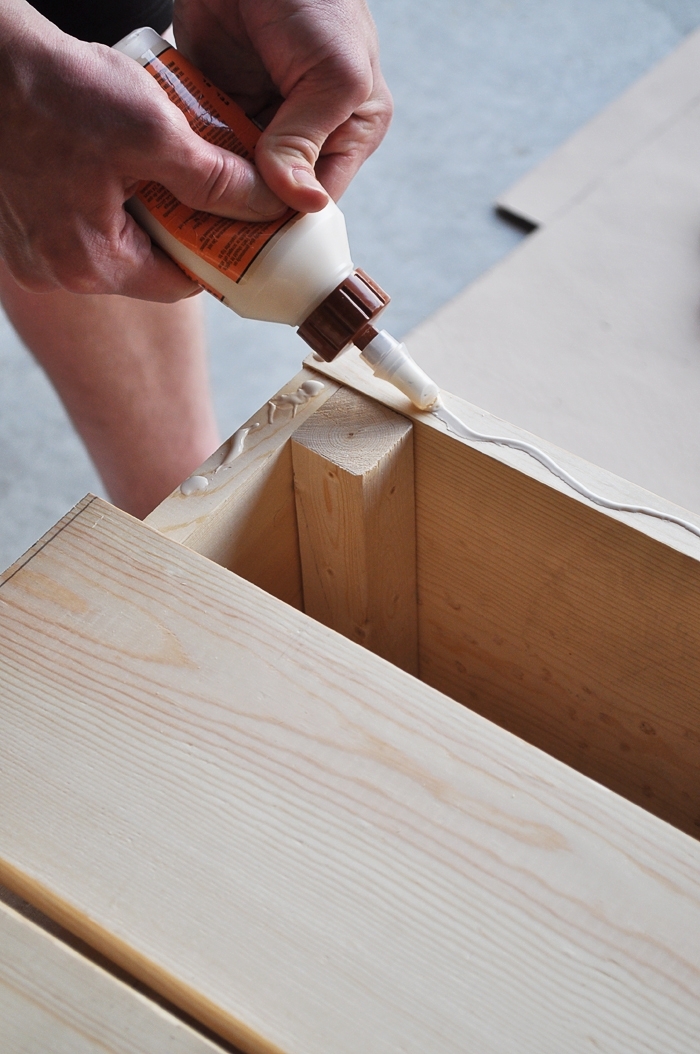
It’s very important here that these be attached with the wood screws to the front and back sides 2x2in boards and NOT the 1×6 or 1×10’s. Therefore I used some wood glue on those boards and then secured the others into the 2×2’s- pictured below.
Repeat the insturctions above, two screws on each side of the boards into the 2x2in’s, use nickels to space, or just line them up with the corresponding boards from the front and back pieces. Once you are finished with one side, flip and repeat on the other side.
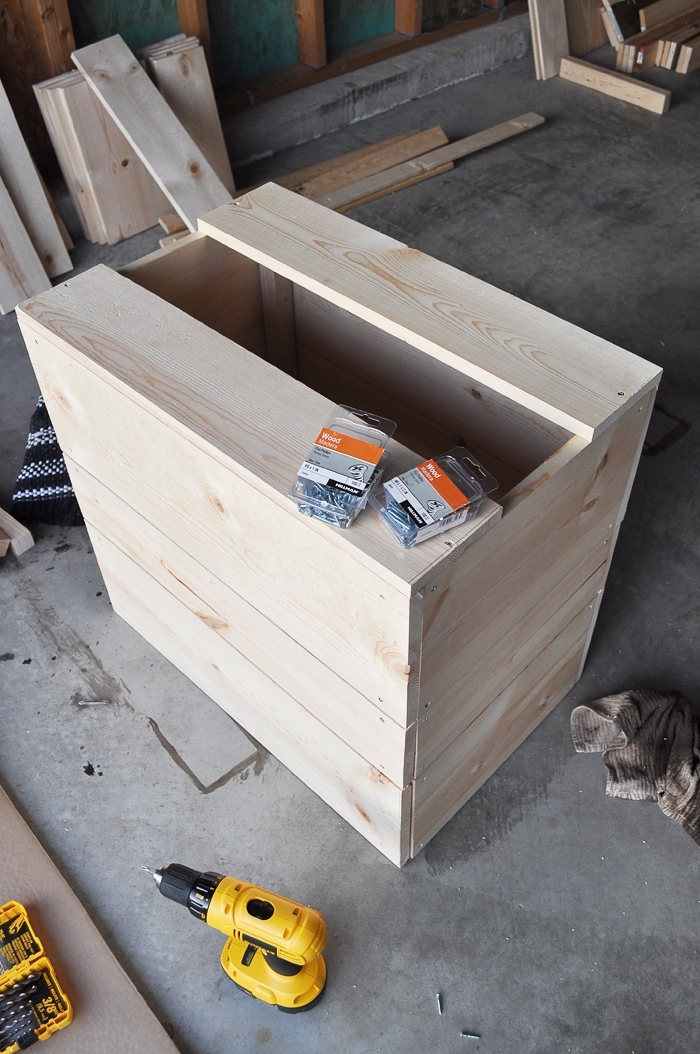
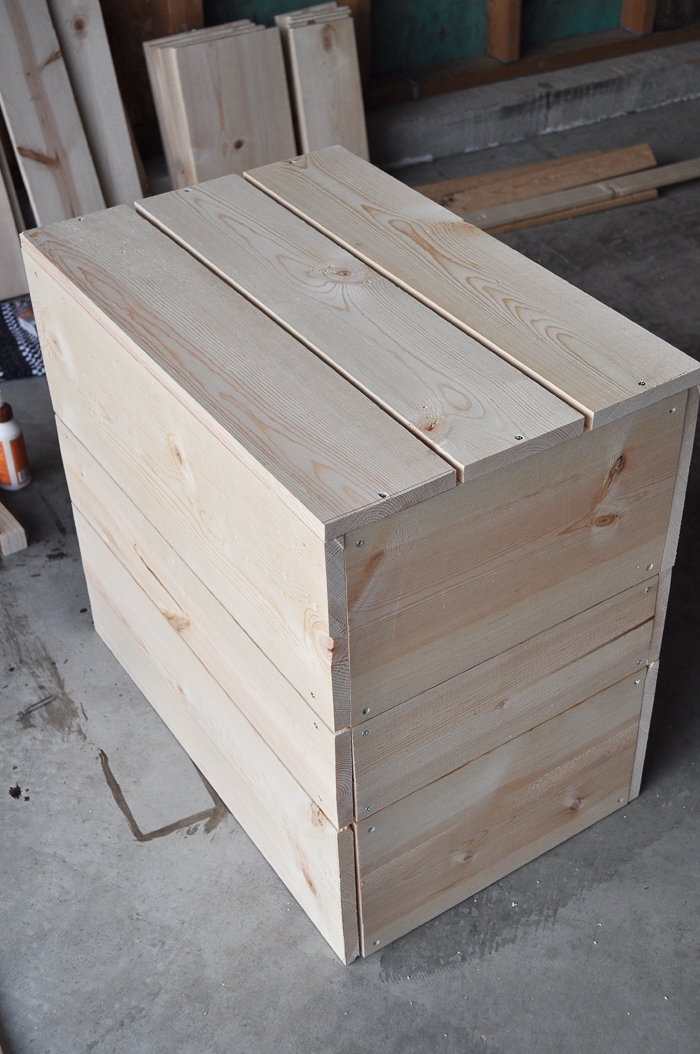
Attaching the Top of the Side Table
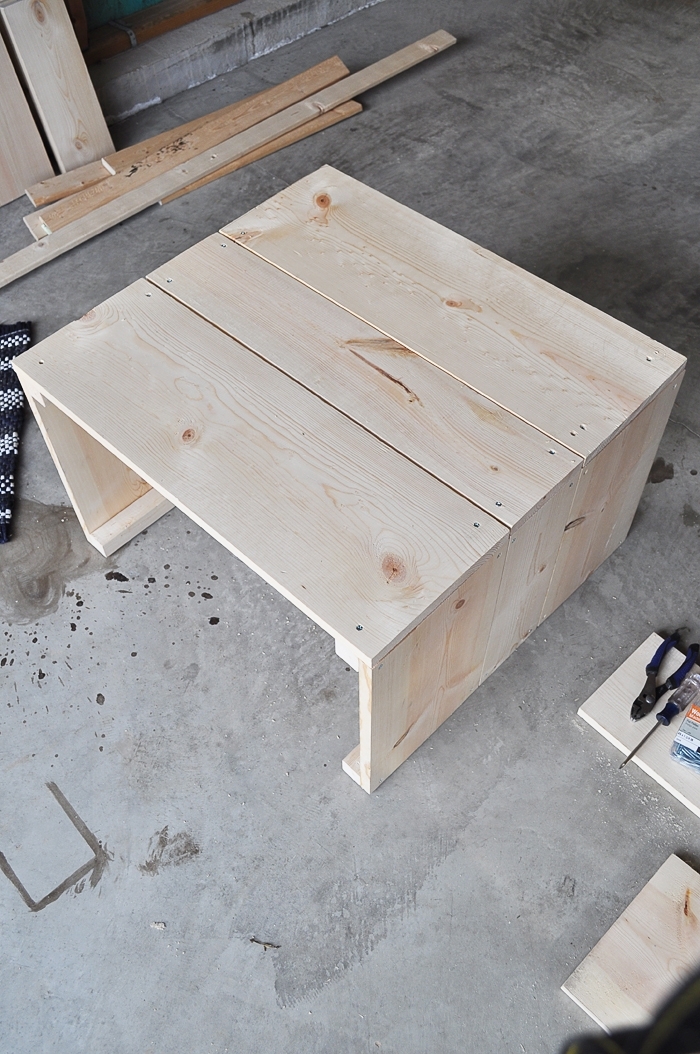
5. Once the base of the side table is complete, it is time to attach the top. I again used wood glue on the top 1x10s, but this time VERY CAREFULLY drill into these to attach the three 26-1/2in 1x3in boards.
Drill pilot holes, but this time use the 1-1/2in wood screws, two in the middle of each board going into the front and back 1x10in boards, as shown below.
To get even gaps for the table top, I attached both top side pieces first so I could evenly space the middle board.
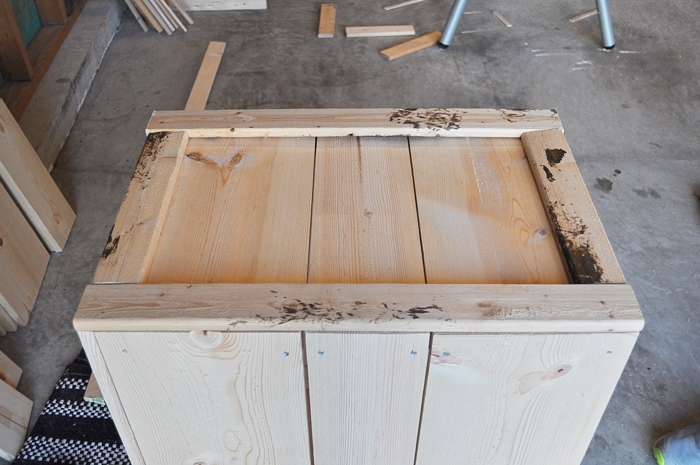
6. To get the vintage shipping crate look, I used some scrap 1x3in boards I had laying around for the molding on the front.
Cut two at 25in that get attached to the front sides, and two at 12-1/2in that get attached to the top and bottom. We used 1in wood screws to attach these – as pictured below.
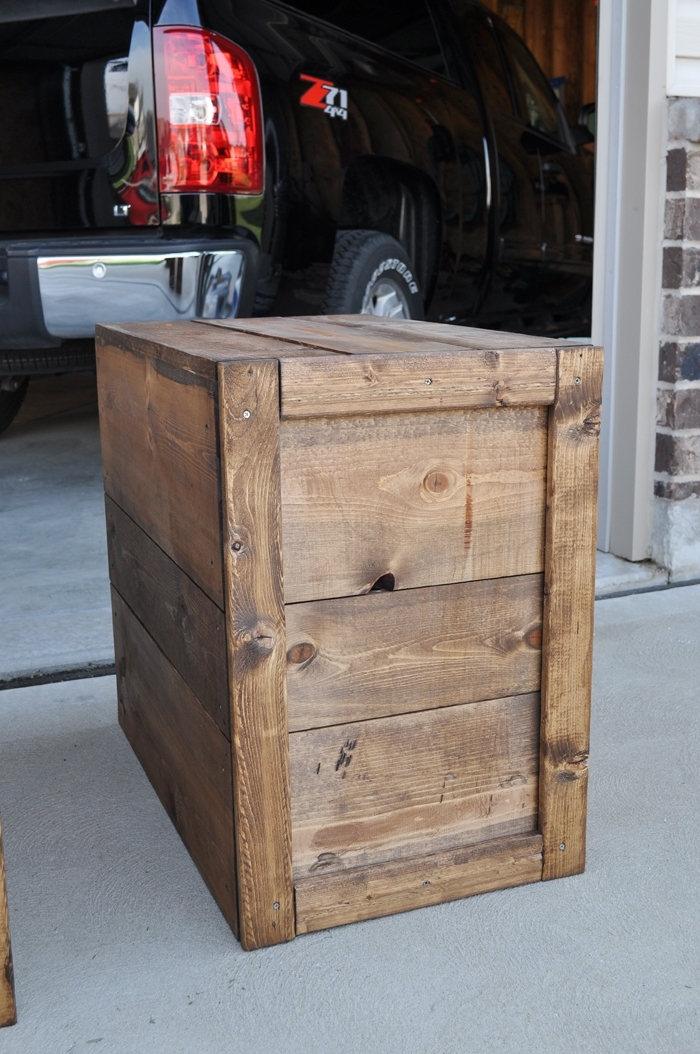
Paint or Stain the Finished Side Table
7. Once the table is built, use a sander or sand block to sand down any rough edges so you don’t have any splintered wood.
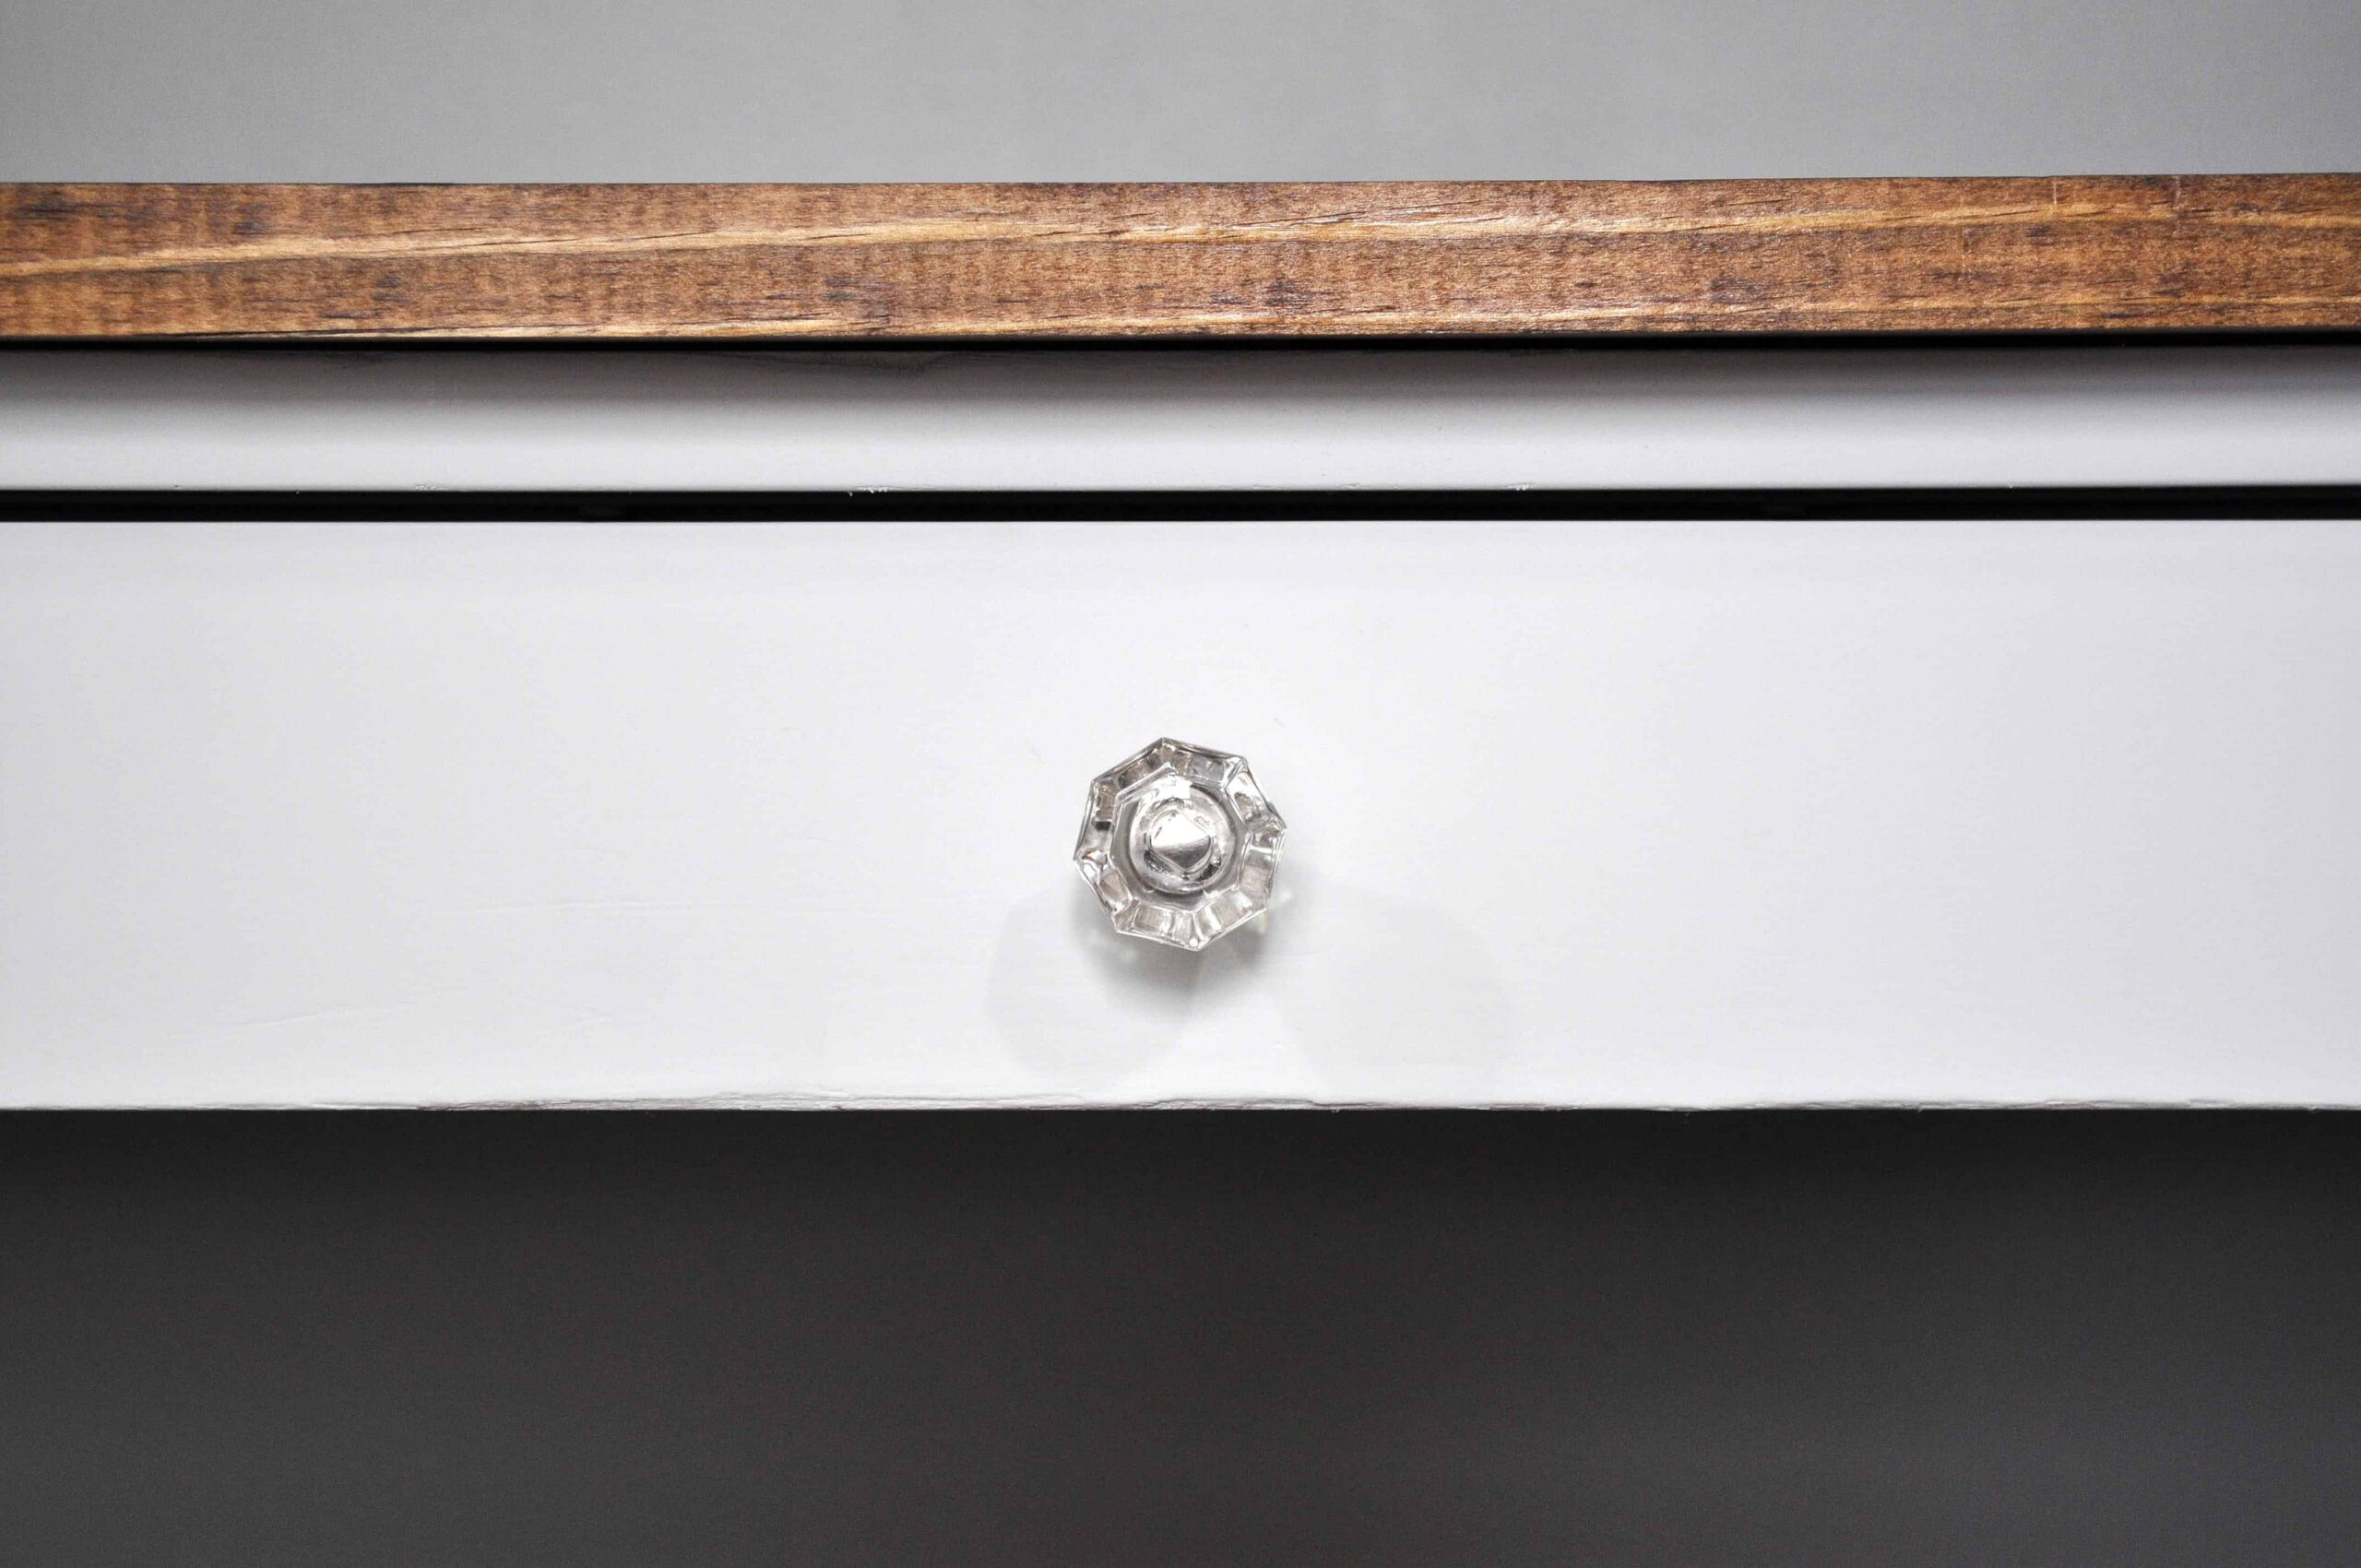
8. Lastly, stain or paint the finished side table(s) however you’d like. I used the stain color Provincial by Minwax on ours. Once the stain is dry you can seal with a clear matte polycrylic.
Personally, I don’t mind the screws showing, and the scratches in the wood. I like to go for an old worn look, so nothing I do is ever perfect.
If you did want to hide the screws you could always drill them a little deeper and cover them with some wood filler. Whatever works for you! This is what works for me, and I love how they fit my space!
These tables took me a Saturday to build. They are super sturdy, and they really work great for our style.
I think we probably only spent under $60 total in supplies, making each table around $30 to make.
Simular Posts
- DIY Planked Wood Nightstands
- DIY Industrial Coffee Table
- Wooden Coffee Table Makeover
- How to Turn a Bookshelf into a Kitchen Island
- Easy DIY Baby Gate
Pin This Post for Later

Thanks for the detailed instructions. I made one for my office. I changed the dimensions a little to fit the room. But it came out awesome. SLAINTE.
What type of wood you used in these?:)
We used just a plan common board or whitewood board (named different depending on which hardware store you go to). It’s the cheapest and I love the how the stain looks with its woodgrain! Hope this helps!
I love this idea so much! I think they’d be a great option inside and out! Thanks so much for sharing them with us on the Creative Circle Link Party!
I love this idea so much Ashley! I’m currently making some too. Hope you don’t mind me giving you credit on my blog. Again, yours look awesome! Best wishes, Julie
First of all, those look amazing. I’m going to attempt them today!
I wanted to know how tall your tables are? I ask because you used two 10″ and. 6″ board… plus boards on top giving the total height to around 26.5″ but the 1×3 piece you cut was only 25″ and seemed to line up fine. Our couch is different in height (only 23″) so I know I have to modify. Just thought I’d ask.
Thanks!
Long time lurker, first time commenting. I absolutely LOVE these!! My Fiancé and I are going to give it a go making these! Thank you soo much for always being a source of inspiration! You’re amazing, keep up the fabulous work!
Thank YOU for making my whole day with this sweet comment! 🙂
They’re beautiful! I love how warm they make your home feel. Congratulations on the Country Living feature!
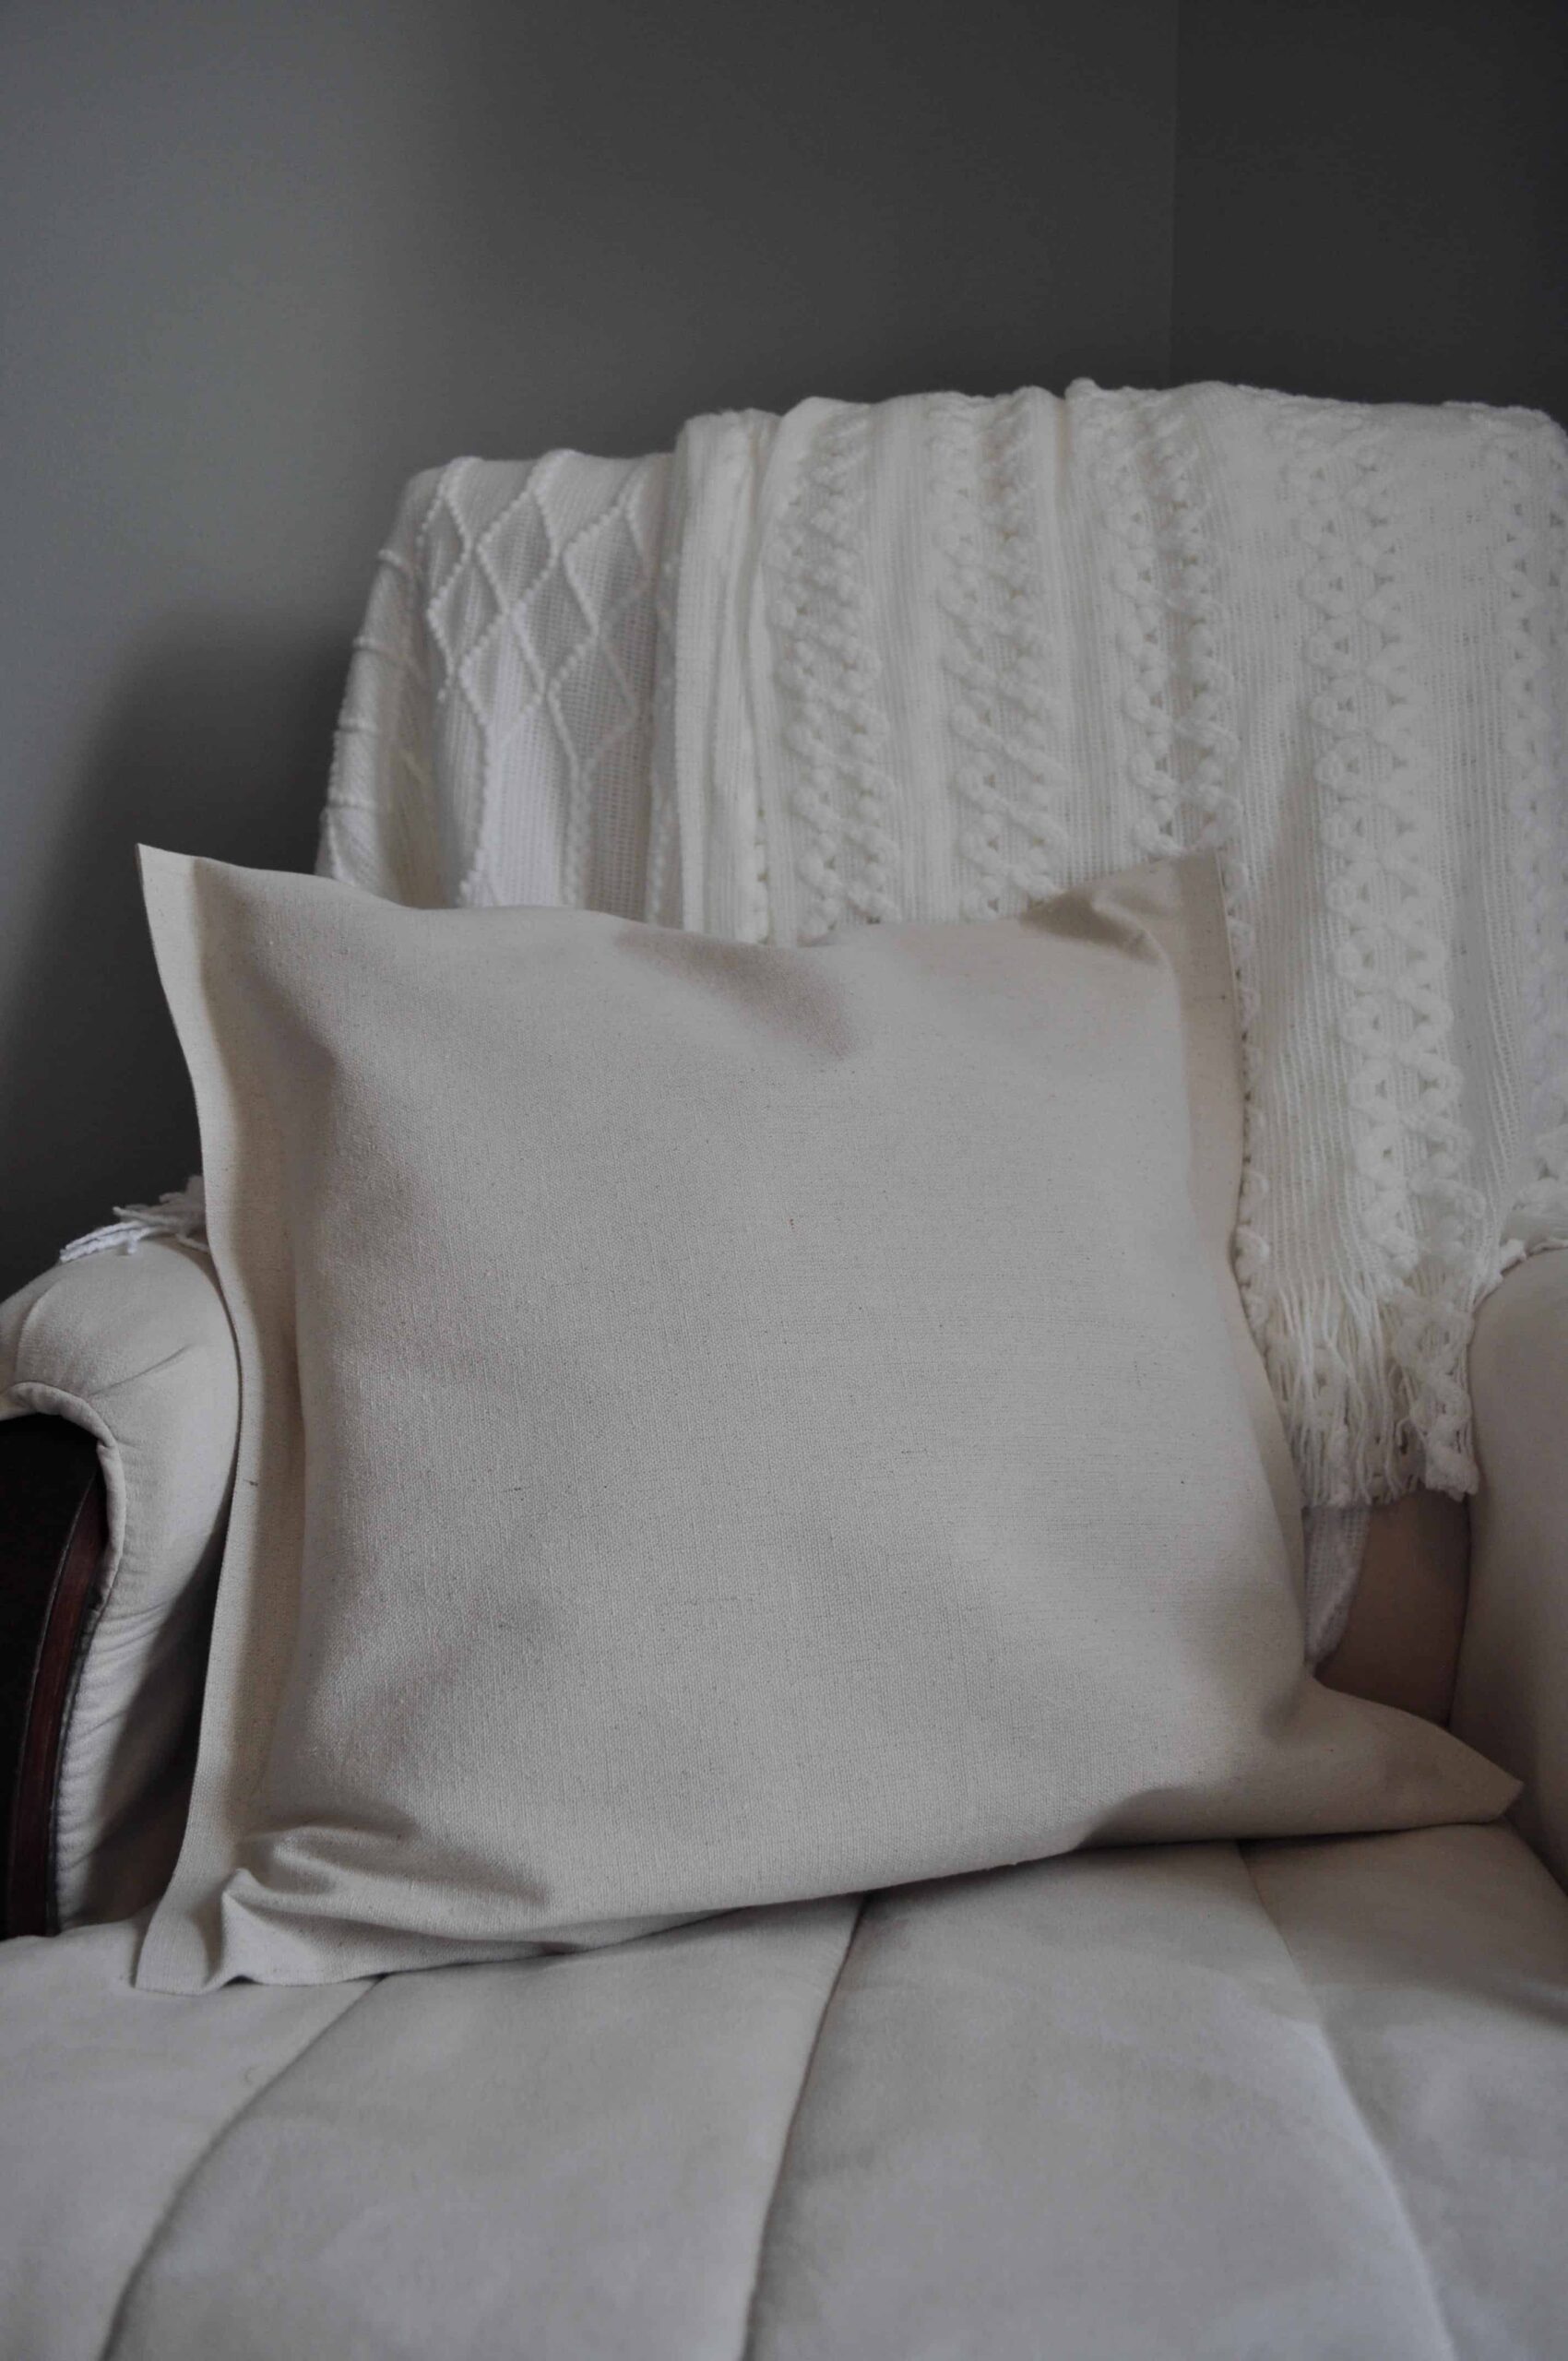
They are gorgeous, Erin!!! And your new white couch looks pretty! Can’t wait to see more! xo
Love!!!
Love! And I want that couch! lol.
The side tables are gorgeous! Thank you for sharing the instructions!
They look great Ashley! Can’t wait to see the rest!
Just perfect for your room! And great directions, too! Now I cannot wait to see the rest with your new furniture!!!
Ashley your side tables are gorgeous ????I Love them!!!