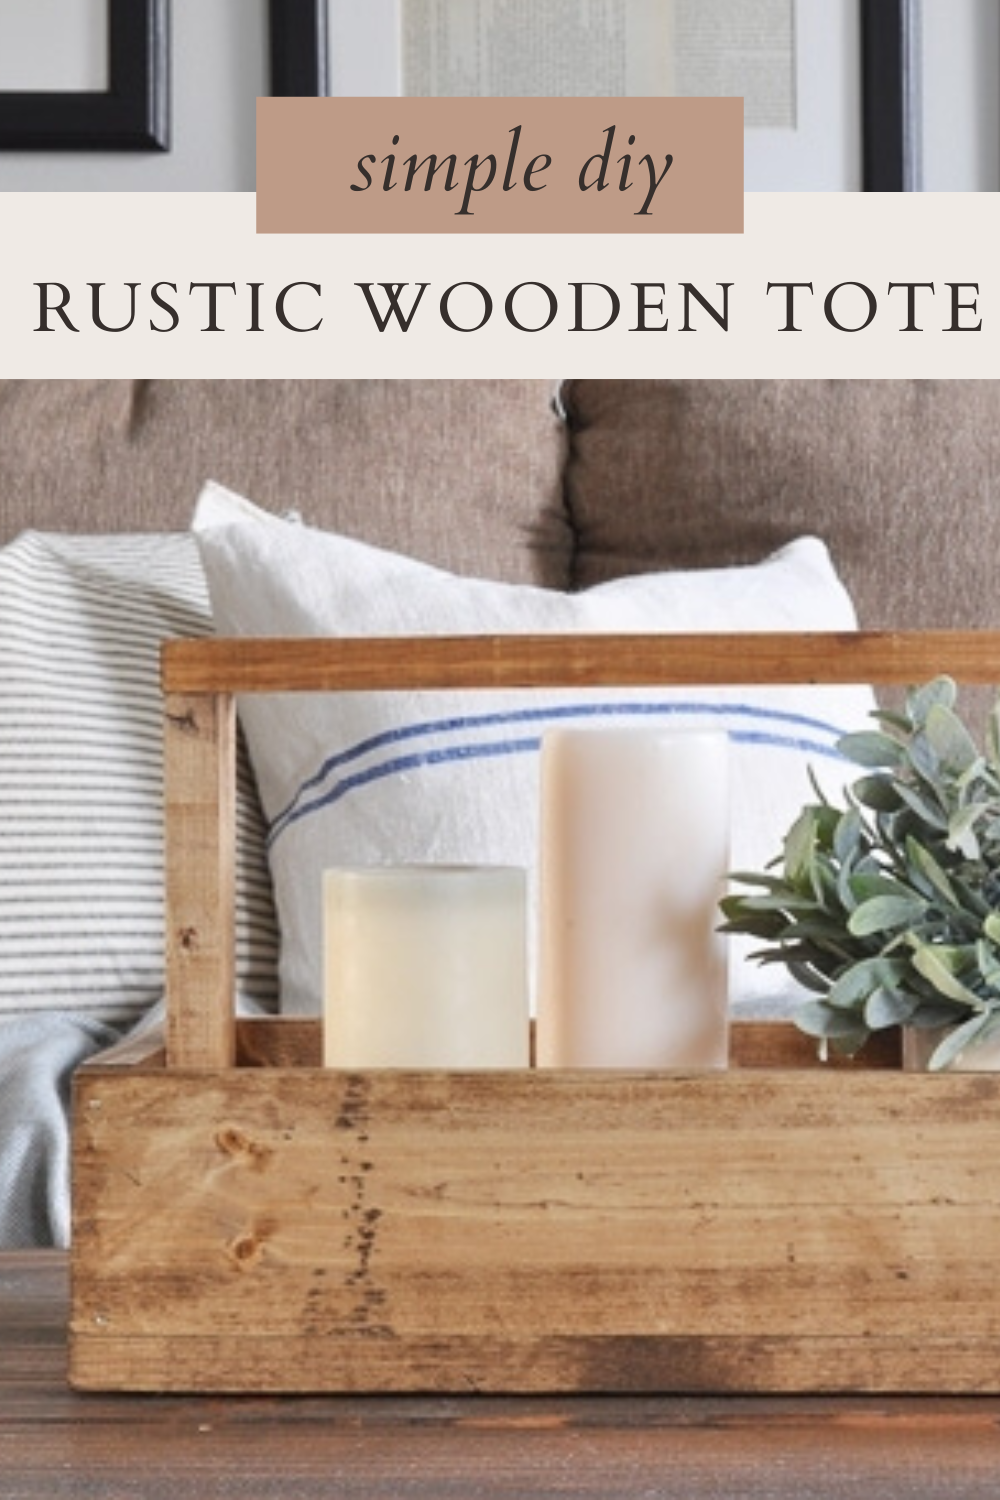
DIY Rustic Wooden Tote
This post may contain affiliate links. For more information please see our disclosure policy.
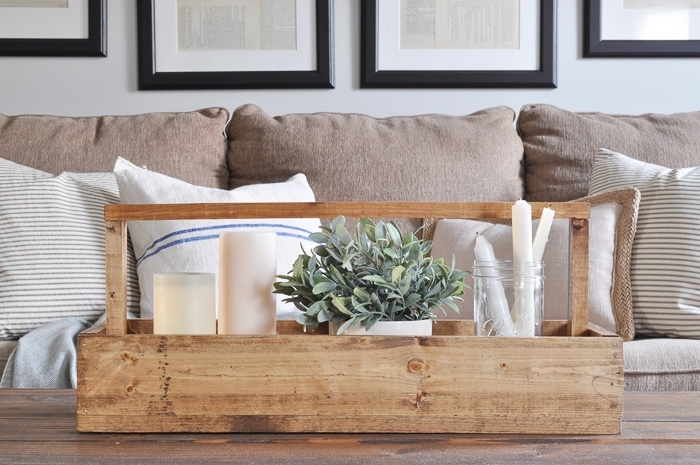
Build this cute little DIY rustic wooden tote to use as decor or use for storage. A great project that you can make any size to fit your needs.
Supplies Needed to Make DIY Rustic Wood Tote
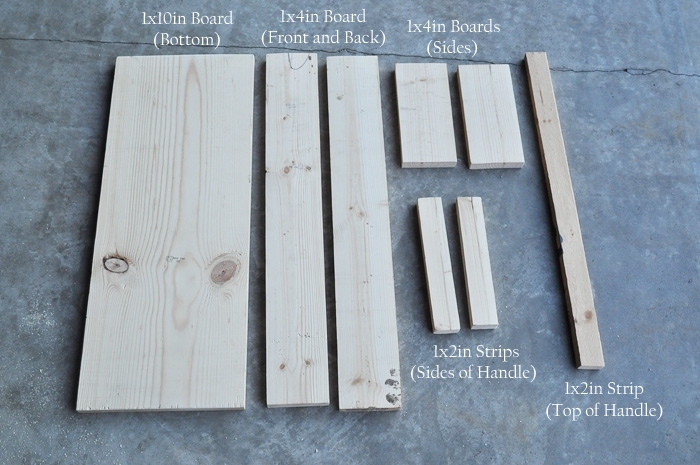
- 1 – 1x10in board cut to 24in long (for bottom)
- 2 – 1x4in boards cut to 24in long (for front and back)
- 2 -1x4in boards cut to 8in long (for sides)
- 2 – 1x2in furring strips cut to 8.5in long (for handle sides)
- 1 – 1x2in furring strip cut to approximately 22-22.5in long (for handle top)
- Saw
- Tape Measure
- Pencil
- Sander or Sand Block
- Nailgun or Hammer/Nails
- Wood Stain or Paint (I used this stain)
Directions Needed to Make DIY Rustic Wood Tote
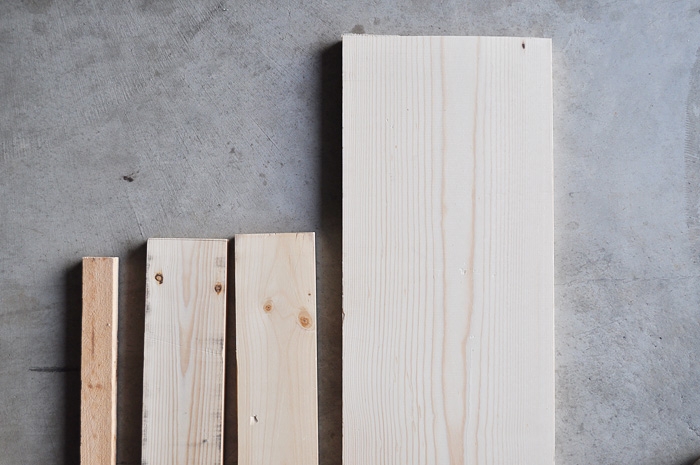
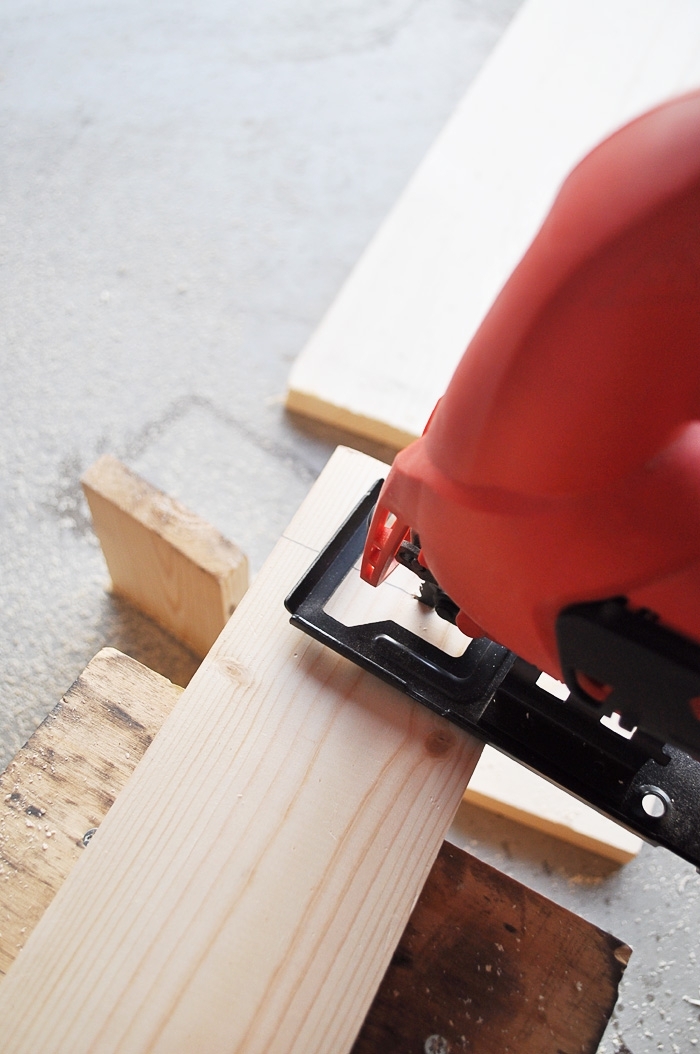
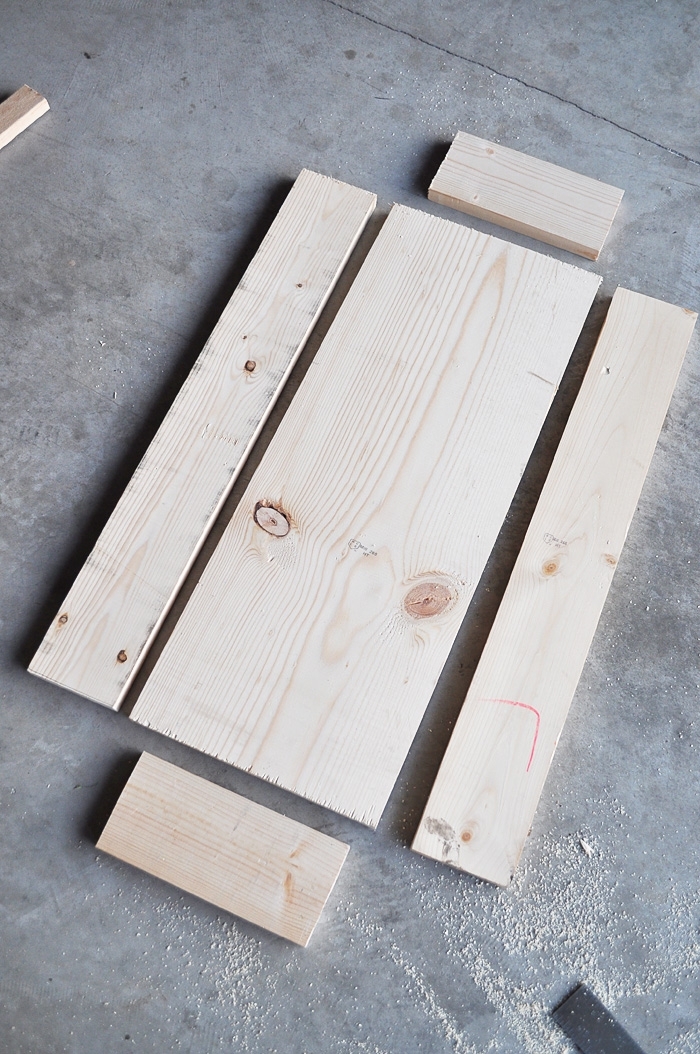
- I started by measuring the boards to the size I wanted my wooden tote to be. You can see the measurements I used in the cut list above in supplies, or the picture below. Once I marked each board, I used my saw to make the cuts.
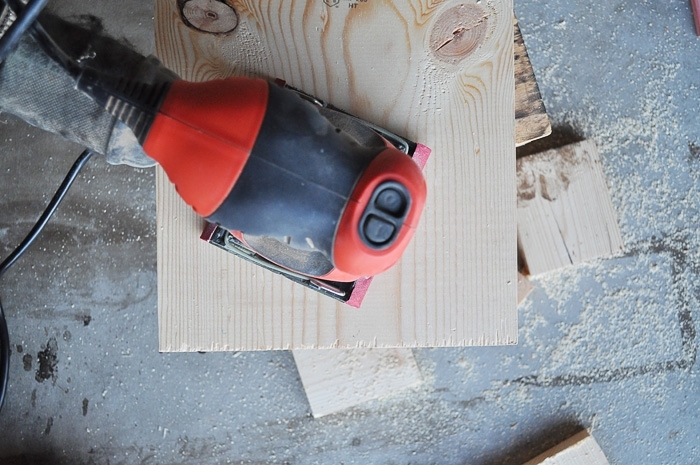
- Once all cuts were made, I used my hand sander to smooth the edges.
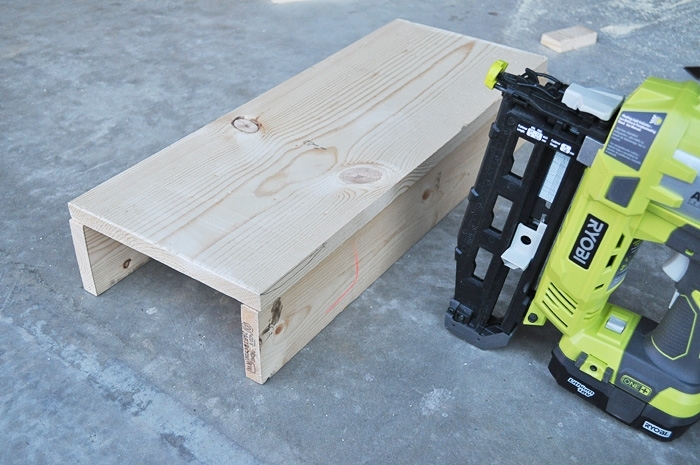
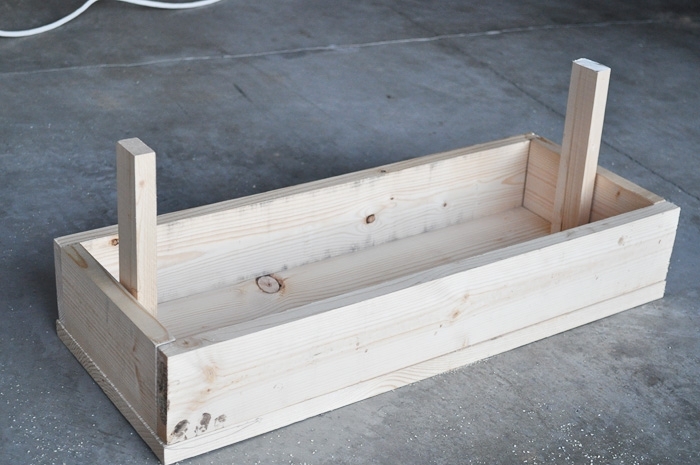
- Next, I assembled the base of the tote and used my nail gun to secure the pieces together. I started by flipping the base over and nailing the two 24in front and back boards on from the bottom of the tote first. Then, I flipped it right side up and attached the two sides.
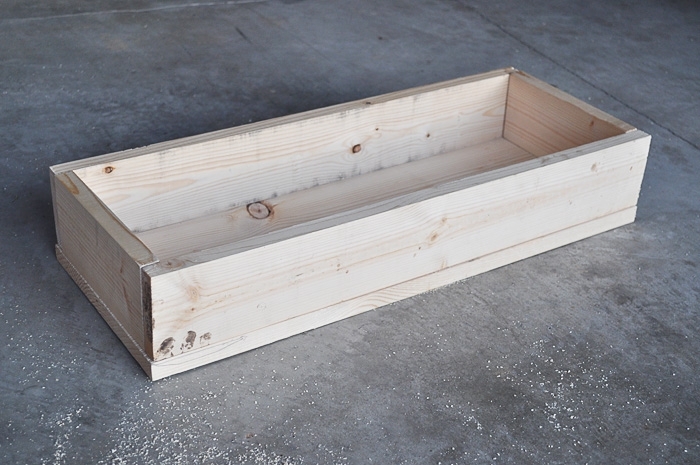
- Then I attached the two side furring strips to the inside of the two base sides, and then the top piece after that to create the totes handle.
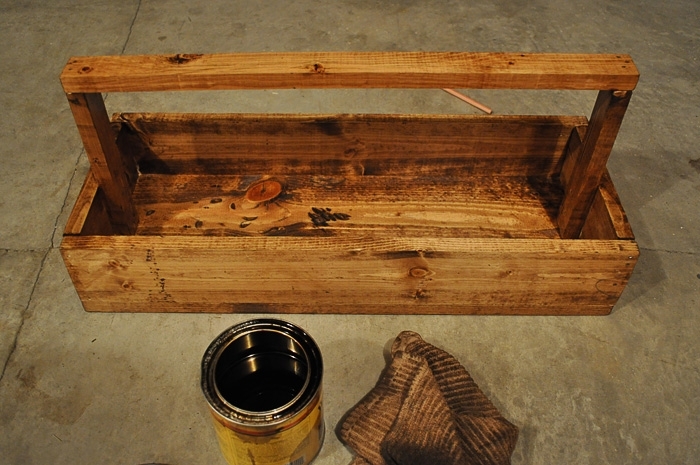
- Last, I put a coat of my (second) favorite stain on it! Please ignore the late night garage picture!
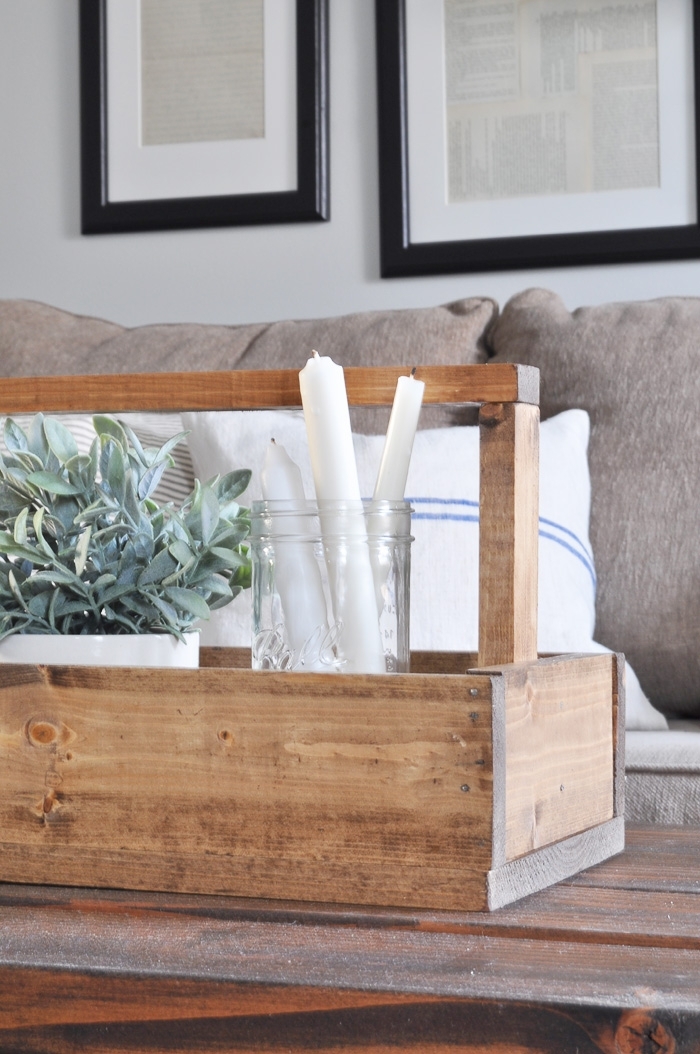
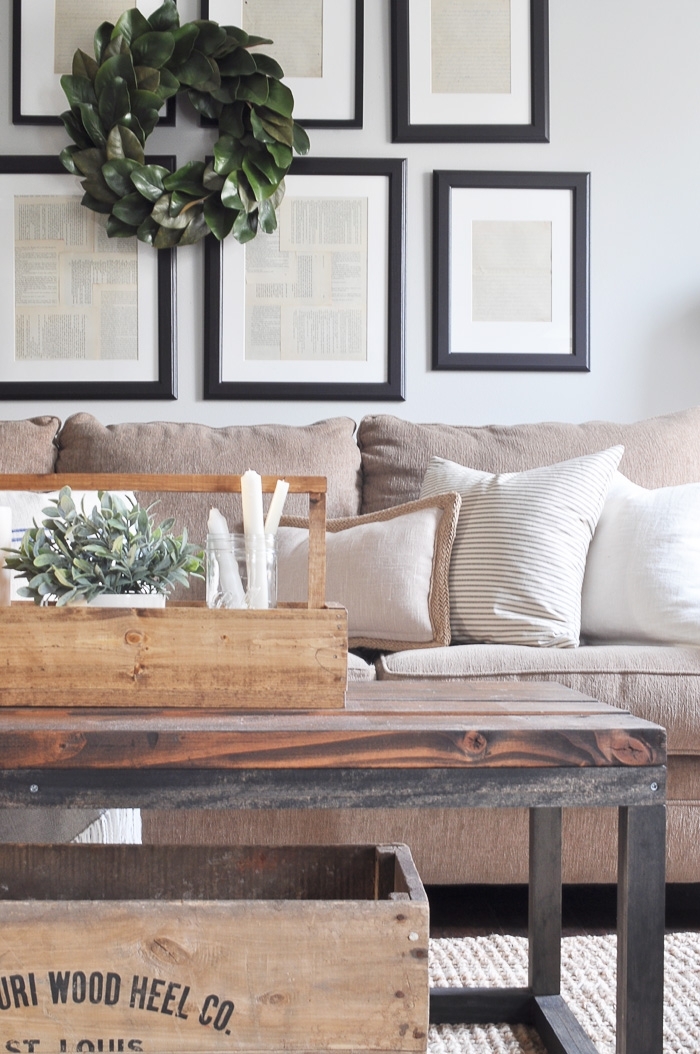
What do you guys think? Pretty easy right? And this can be used for so so so many things. I see a food carrier, crayon box, flower caddy, the list goes on and on. I hope you love it 🙂
Simular DIY Projects
- DIY Wooden Serving Tray
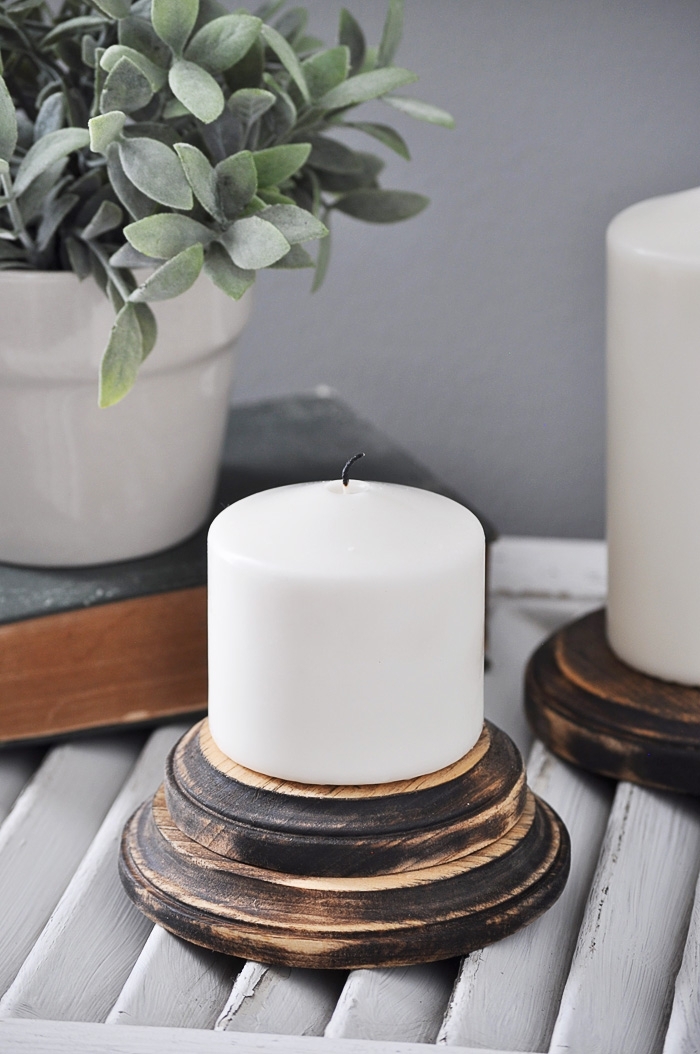
- Farmhouse Candle Pedestals
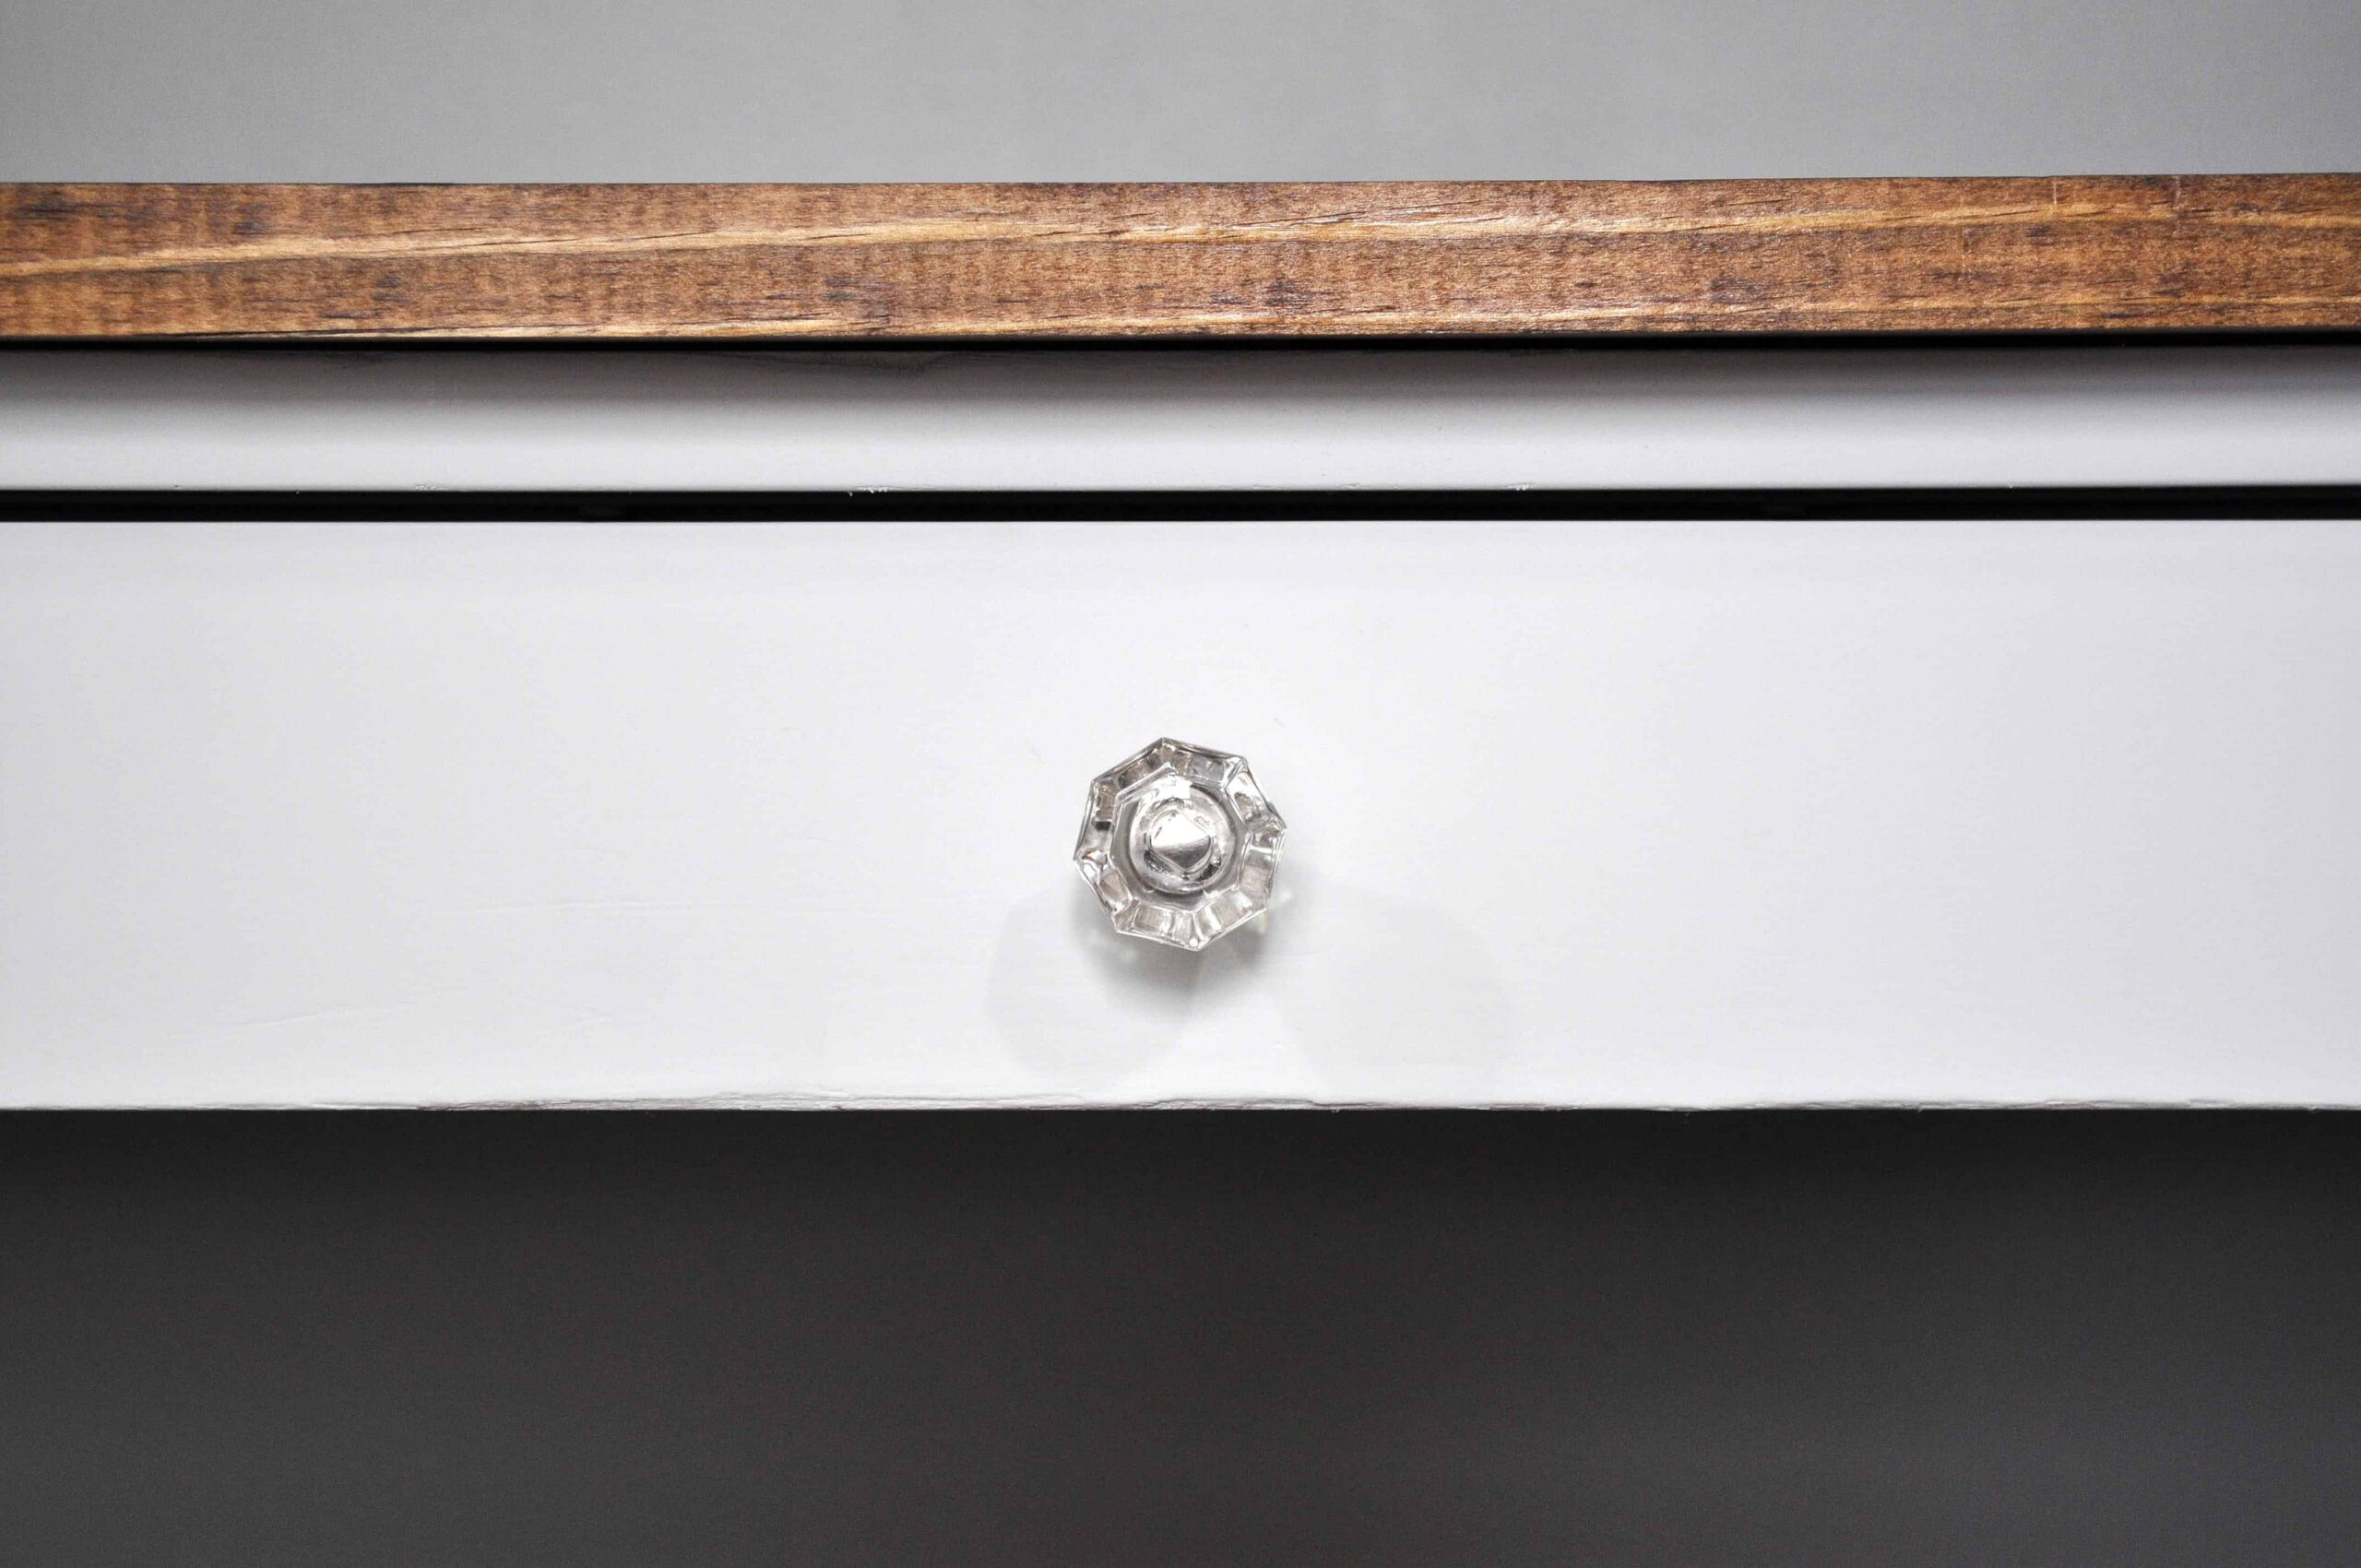
- DIY Planked Wood Nightstands
- DIY Crate Inspired Side Tables
- Wooden Drill Bit Flower Holder
Pin This Post for Later


One Comment