Repainting Old Wooden Furniture [Part One]
If you’ve followed along long enough, you probably know by now that I am huge on repainting old wooden furniture. My favorite projects come from taking something old, cleaning it up, and making it into something new, at least new to me. A solid wooden piece of furniture is gold, if it has the right bones. It never ceases to amaze me what a little TLC can do to something discarded.
Over the years I have learned a few things about restoring furniture and have found a method of repainting old pieces that has worked for me. By all means I am no pro or anything, but there are so many methods and tricks that you kind of have to find what works for you. The big trend these days is using chalk paint, which requires zero prep time and works great on some projects, but man I love the way a dark coat of stain looks under some chipped, distressed paint. And that look takes some elbow grease. So here is my process.
What you’ll need:
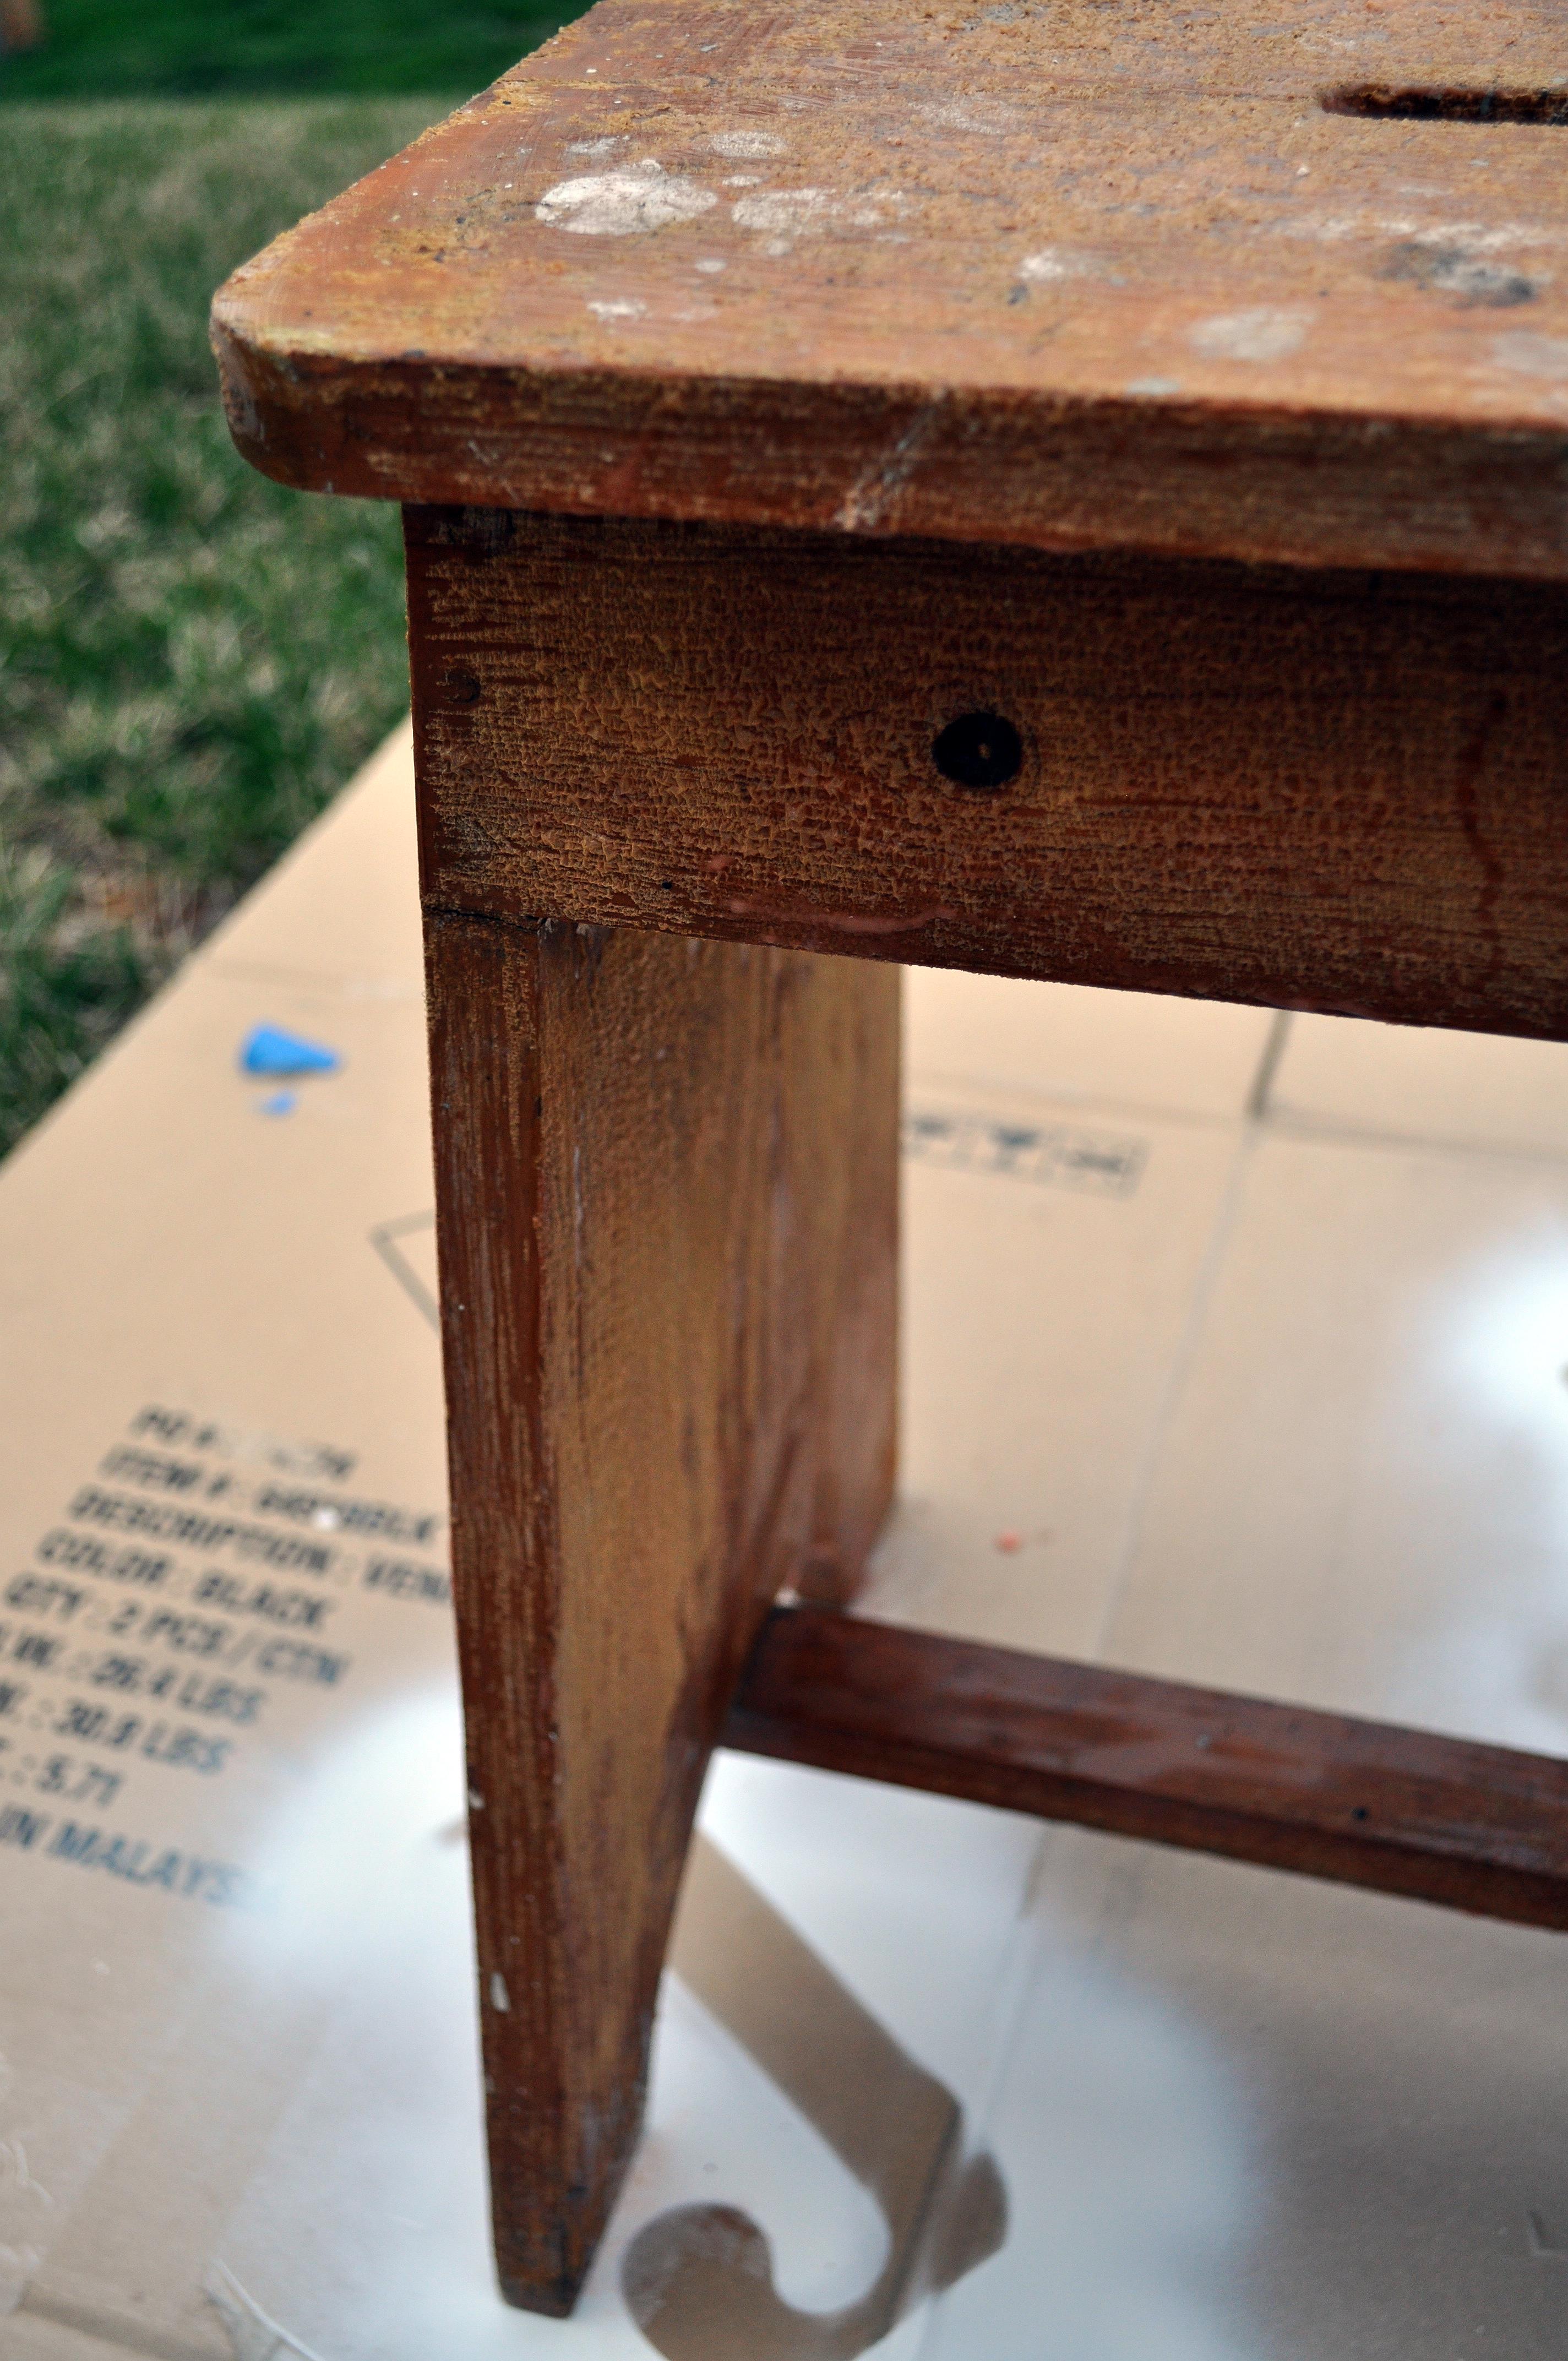
- Piece of wooden furniture you want to repaint – I’m using this old step stool I got at an antique mall
- Latex Gloves
- Paint Brushes
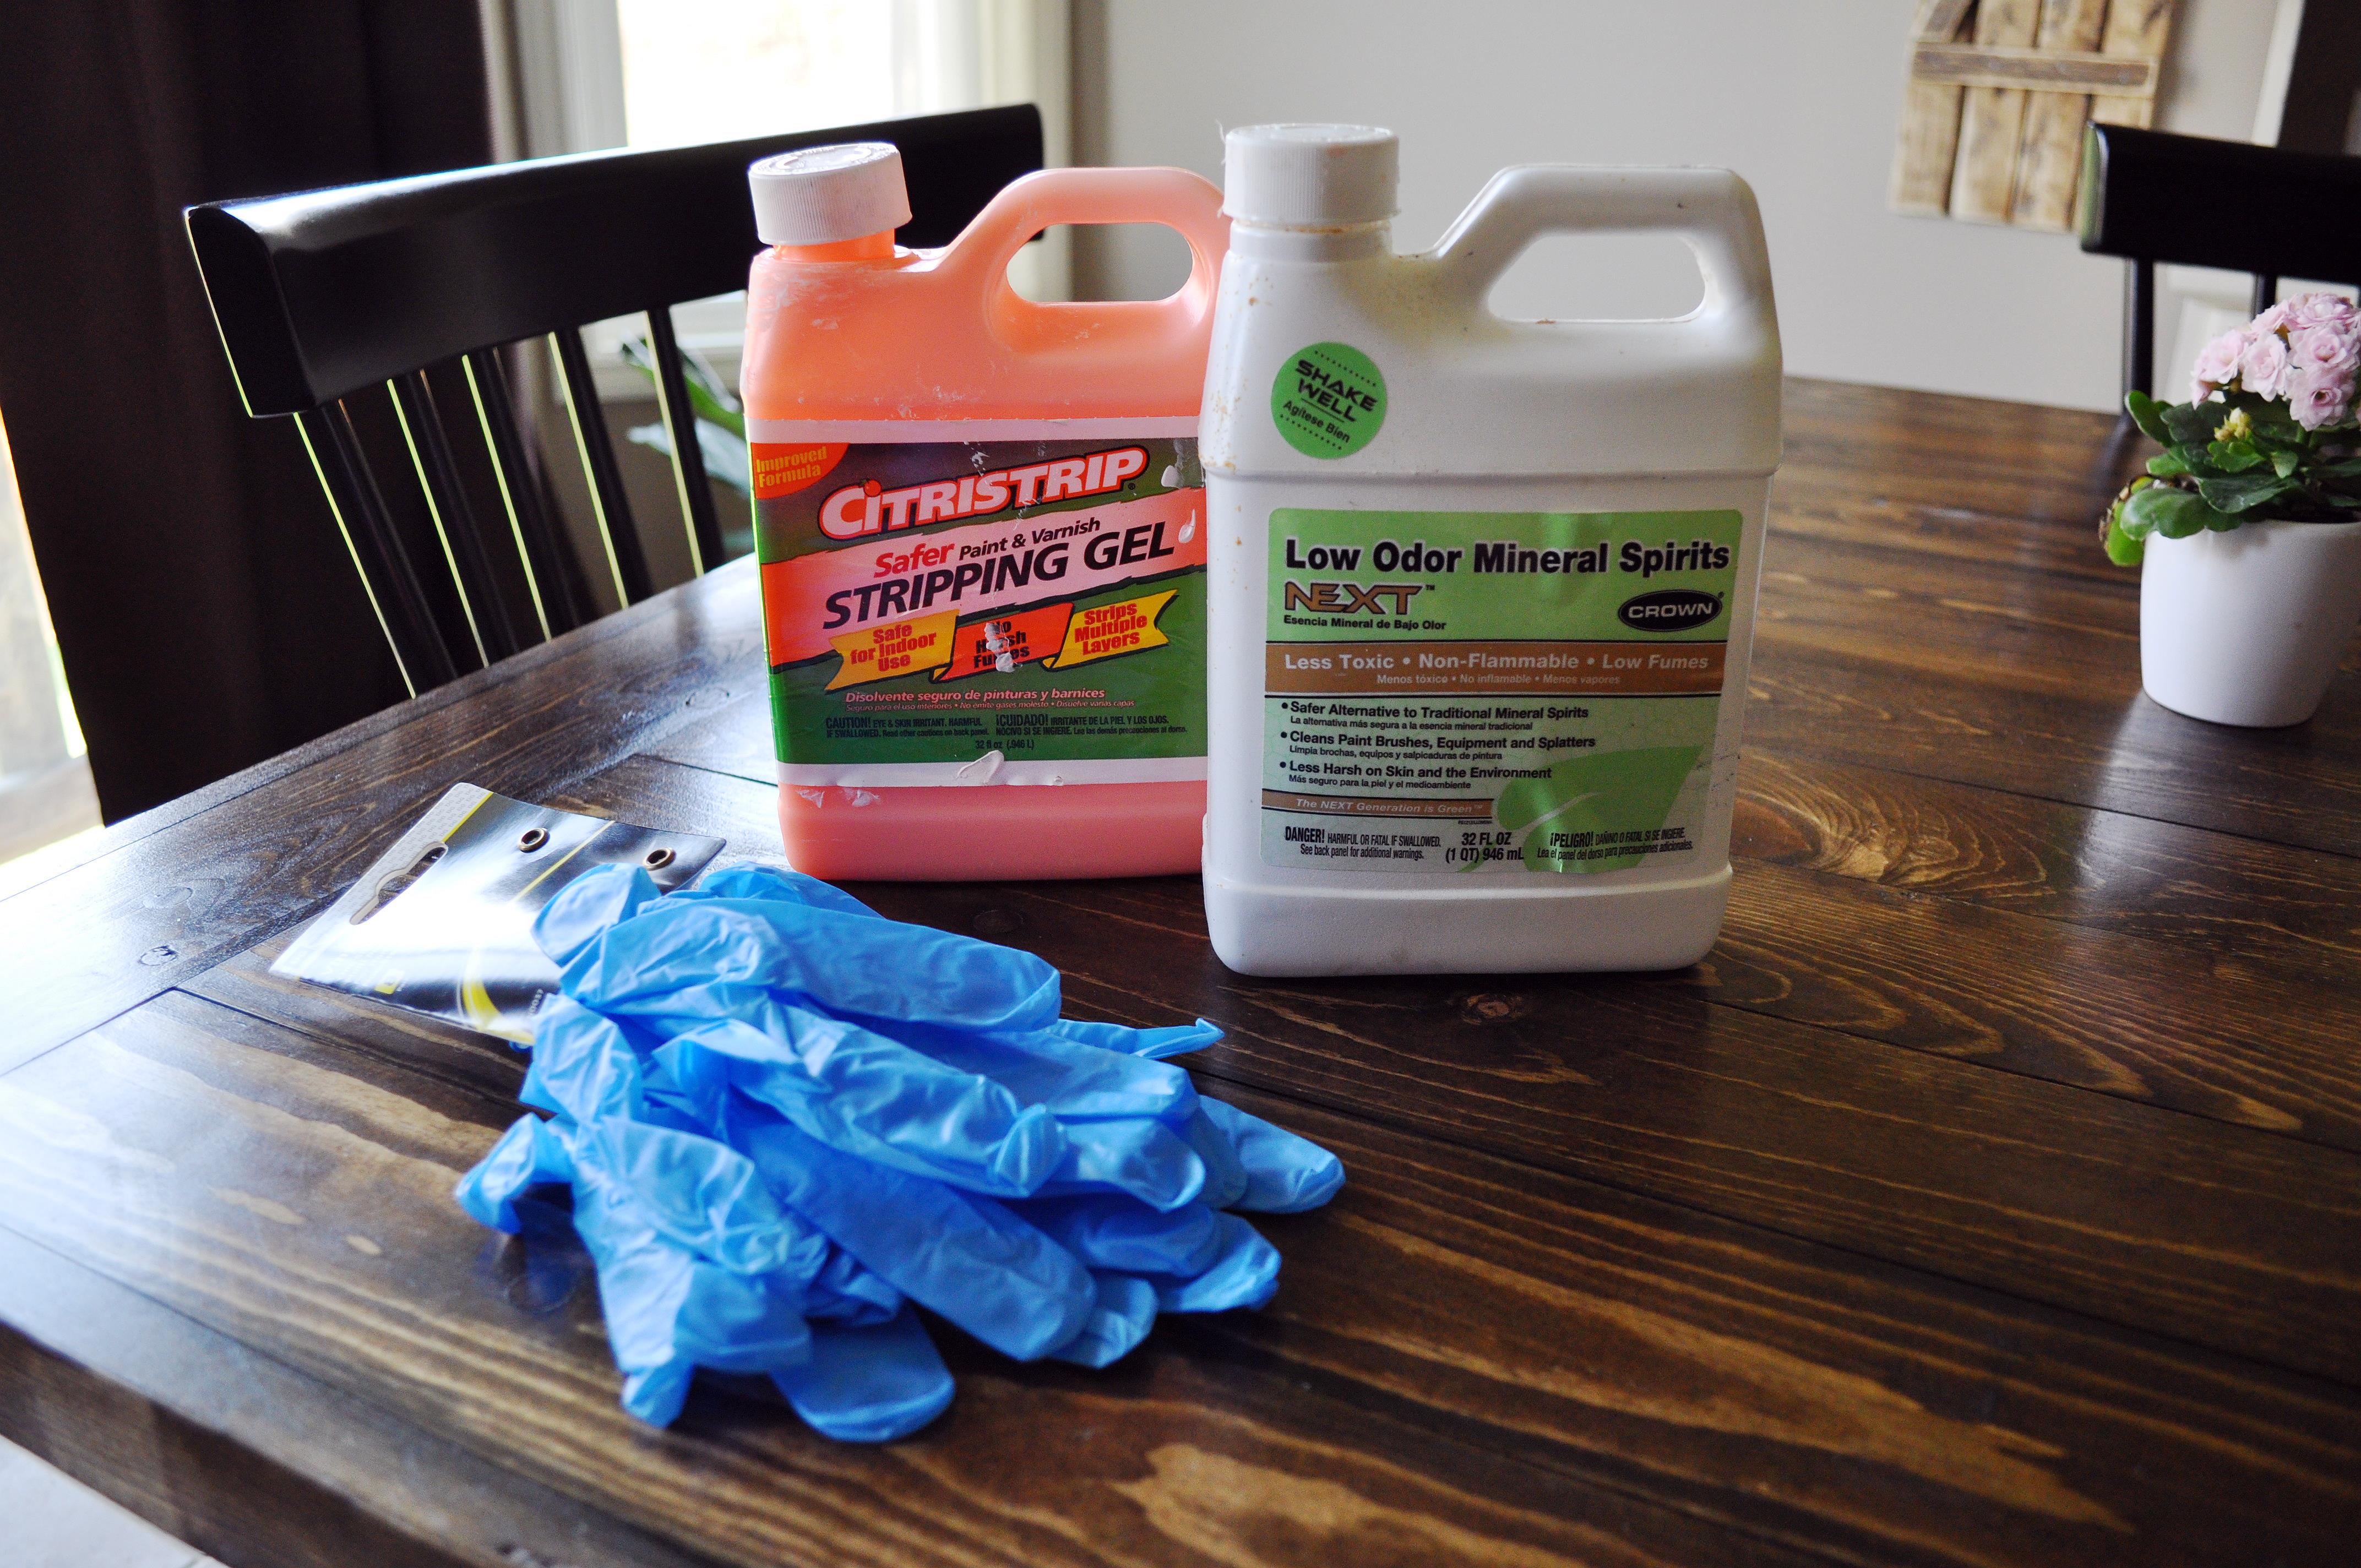
- Paint Stripper
- Putty Knife
- Mineral Spirits
- Hand Sander and/or Sandpaper block
- Wood Stain
- Paint
- Polyacrylic (Optional)
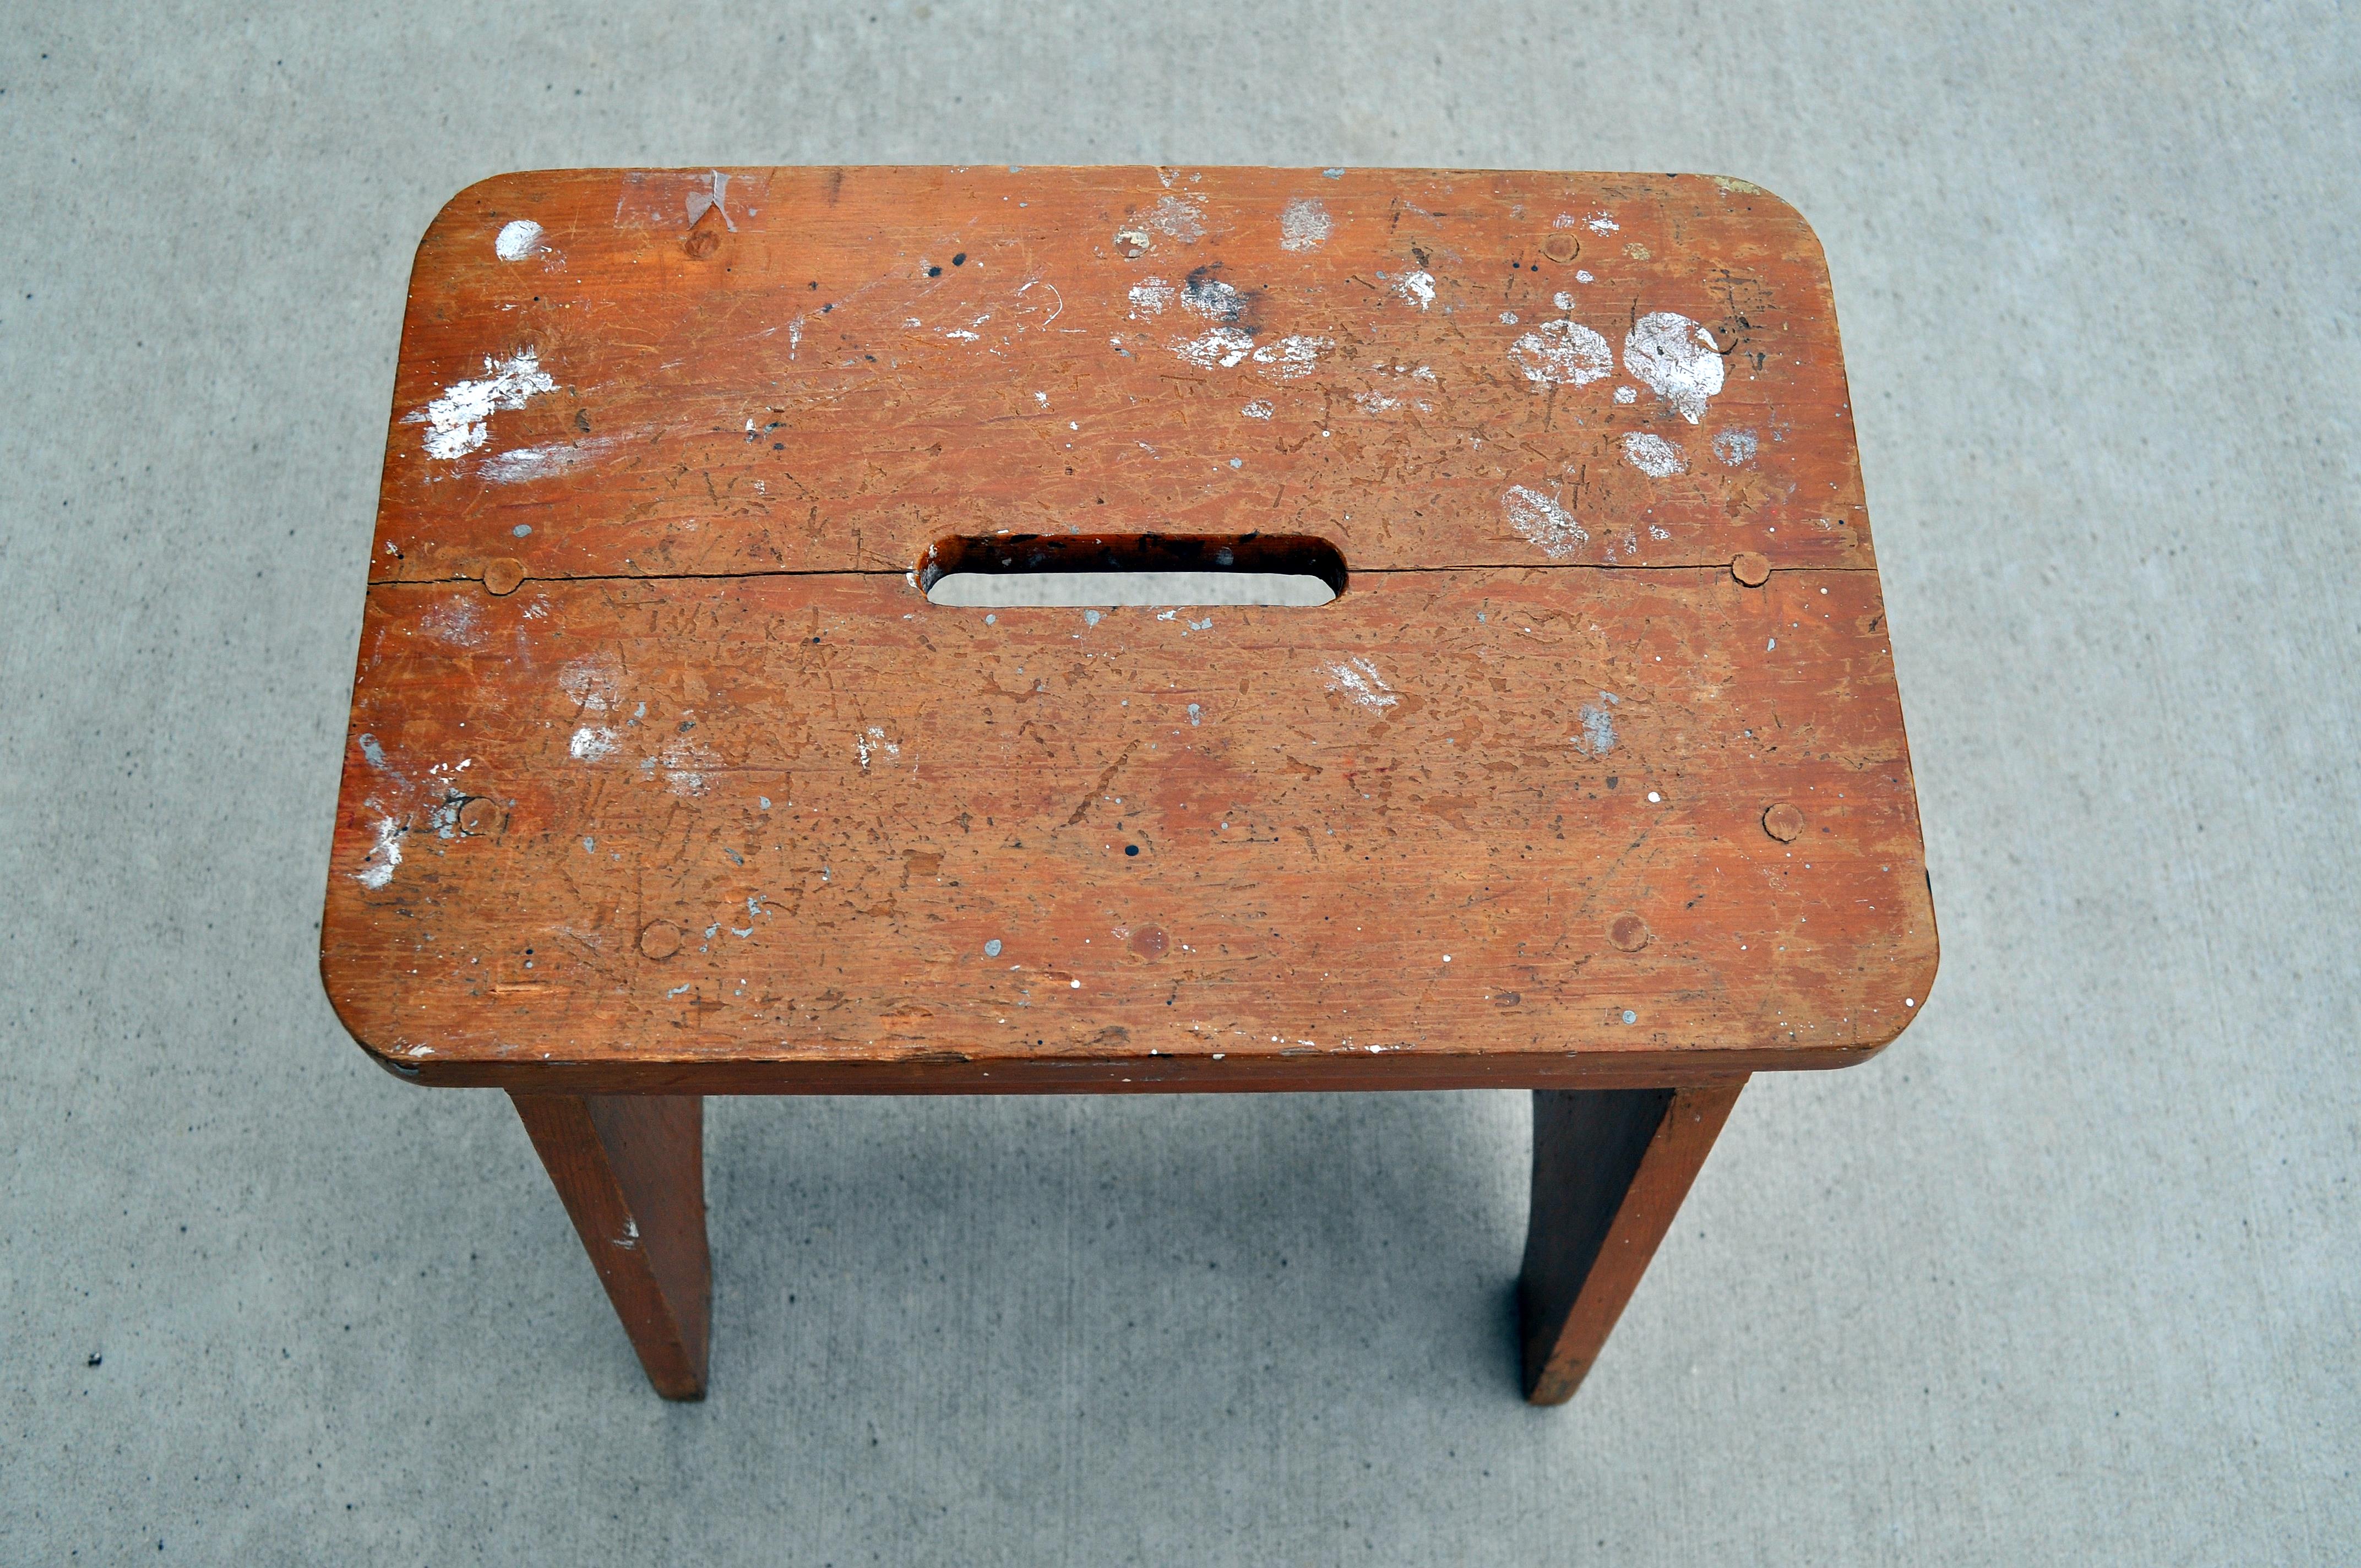
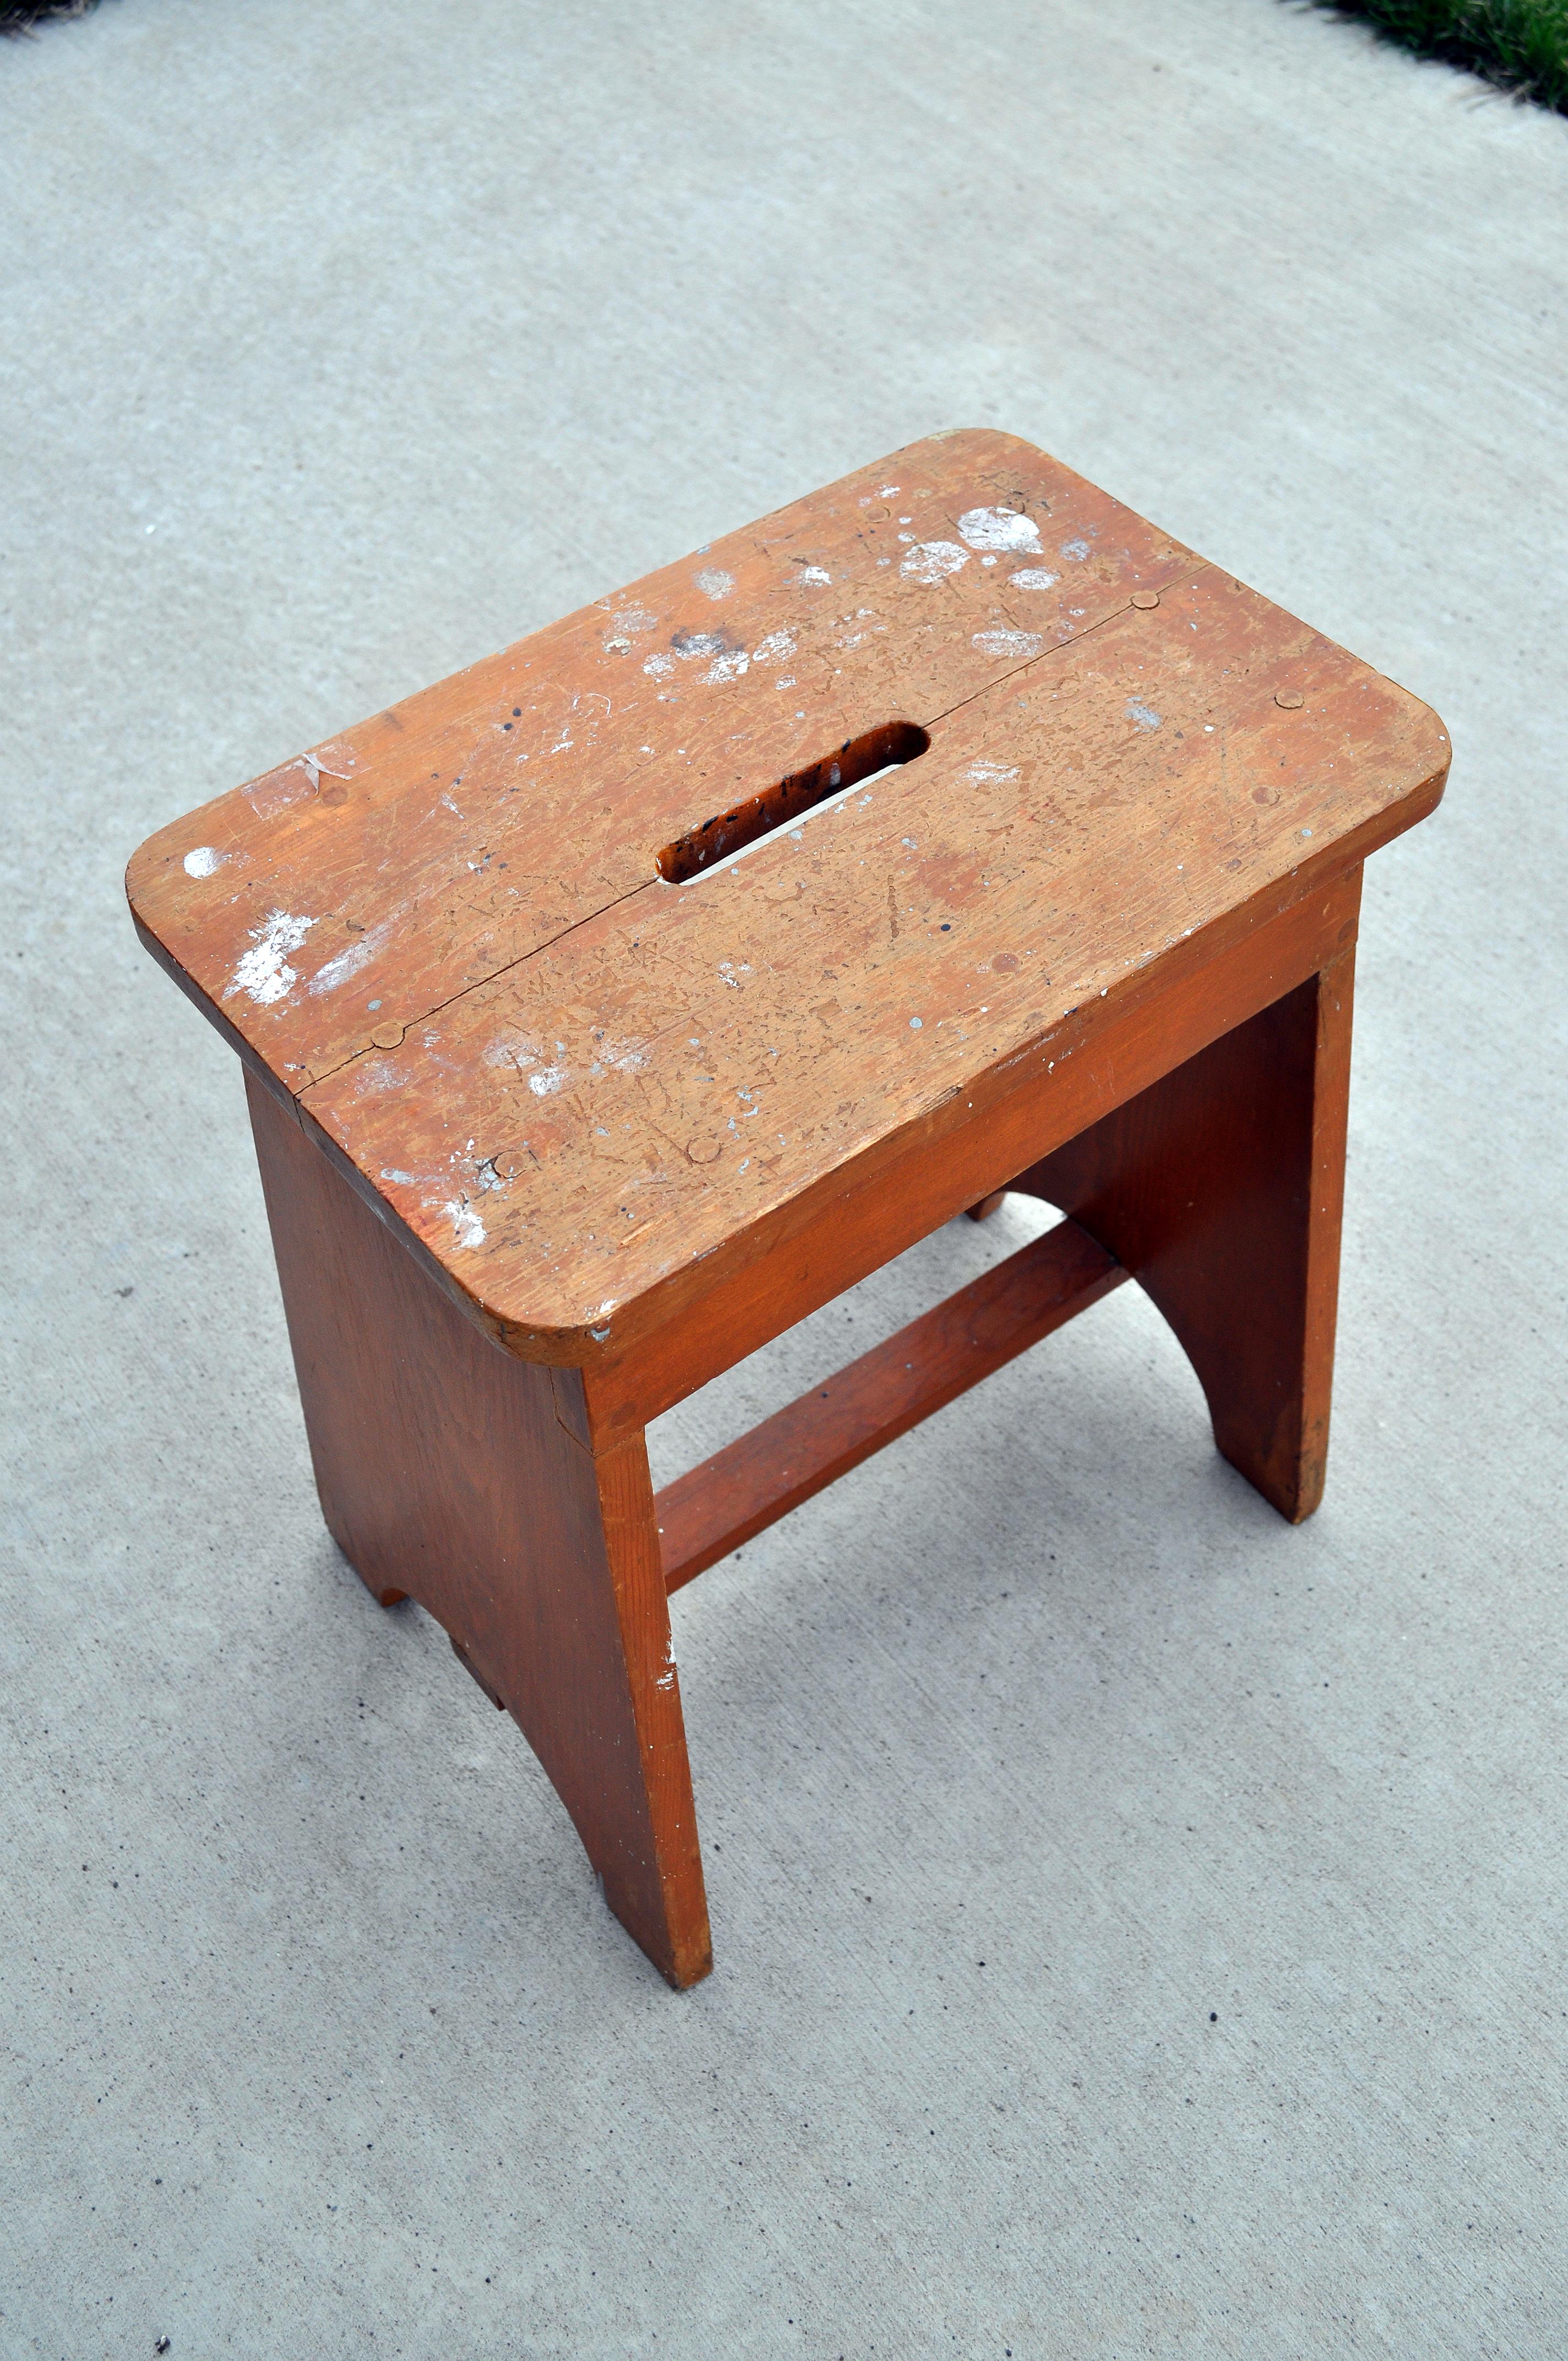
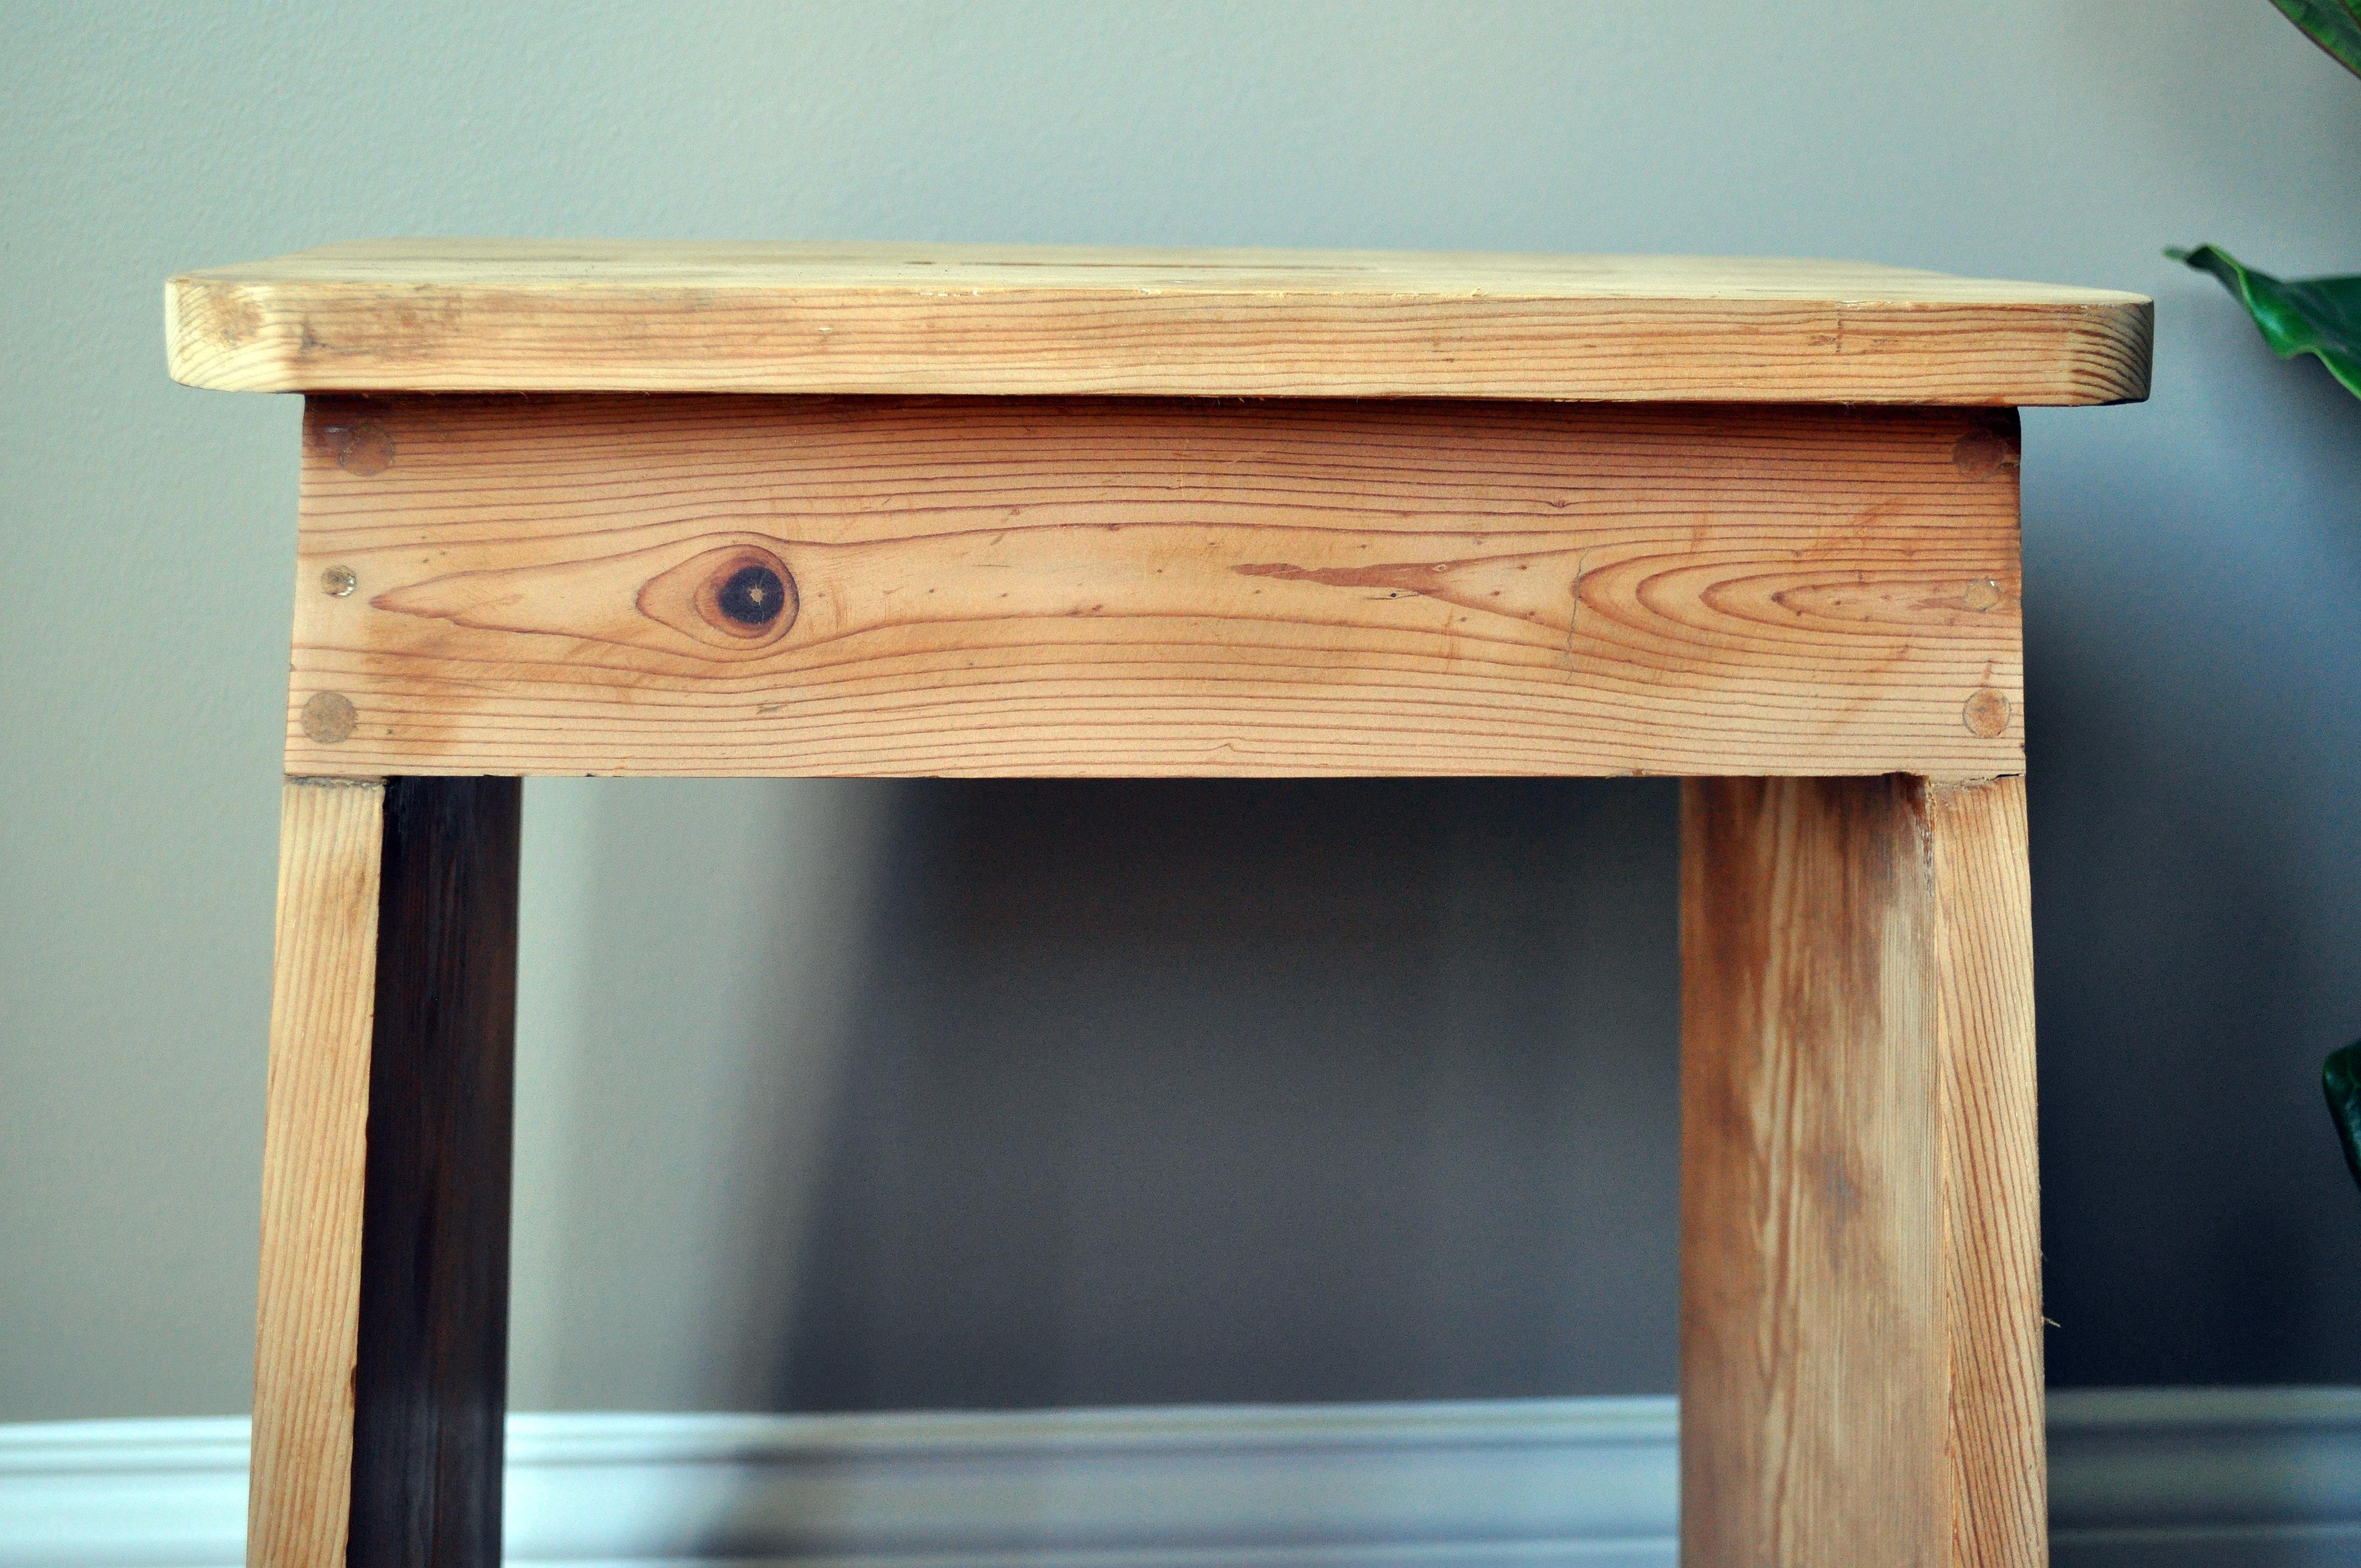
This little step stool had some light brown/orange-ish paint tint to it, honestly I’m not sure what it was exactly. All I do know is that I could see wood grain through the paint in some places, and that is exactly what I wanted to get to.
1. CLEAN IT. I cleaned the step stool with a damp cloth, just to remove any dust or dirt that was lingering on the piece.
2. APPLY PAINT STRIPPER. I applied a thick layer of Paint Stripper all over the stool with an old paint brush. I used Citrustrip Stripping Gel that I bought at Lowes. It has a nice smell to it and you can use it inside without the scent overwhelming a room. It also goes on pink so it’s easy to see if you’ve missed any spots.
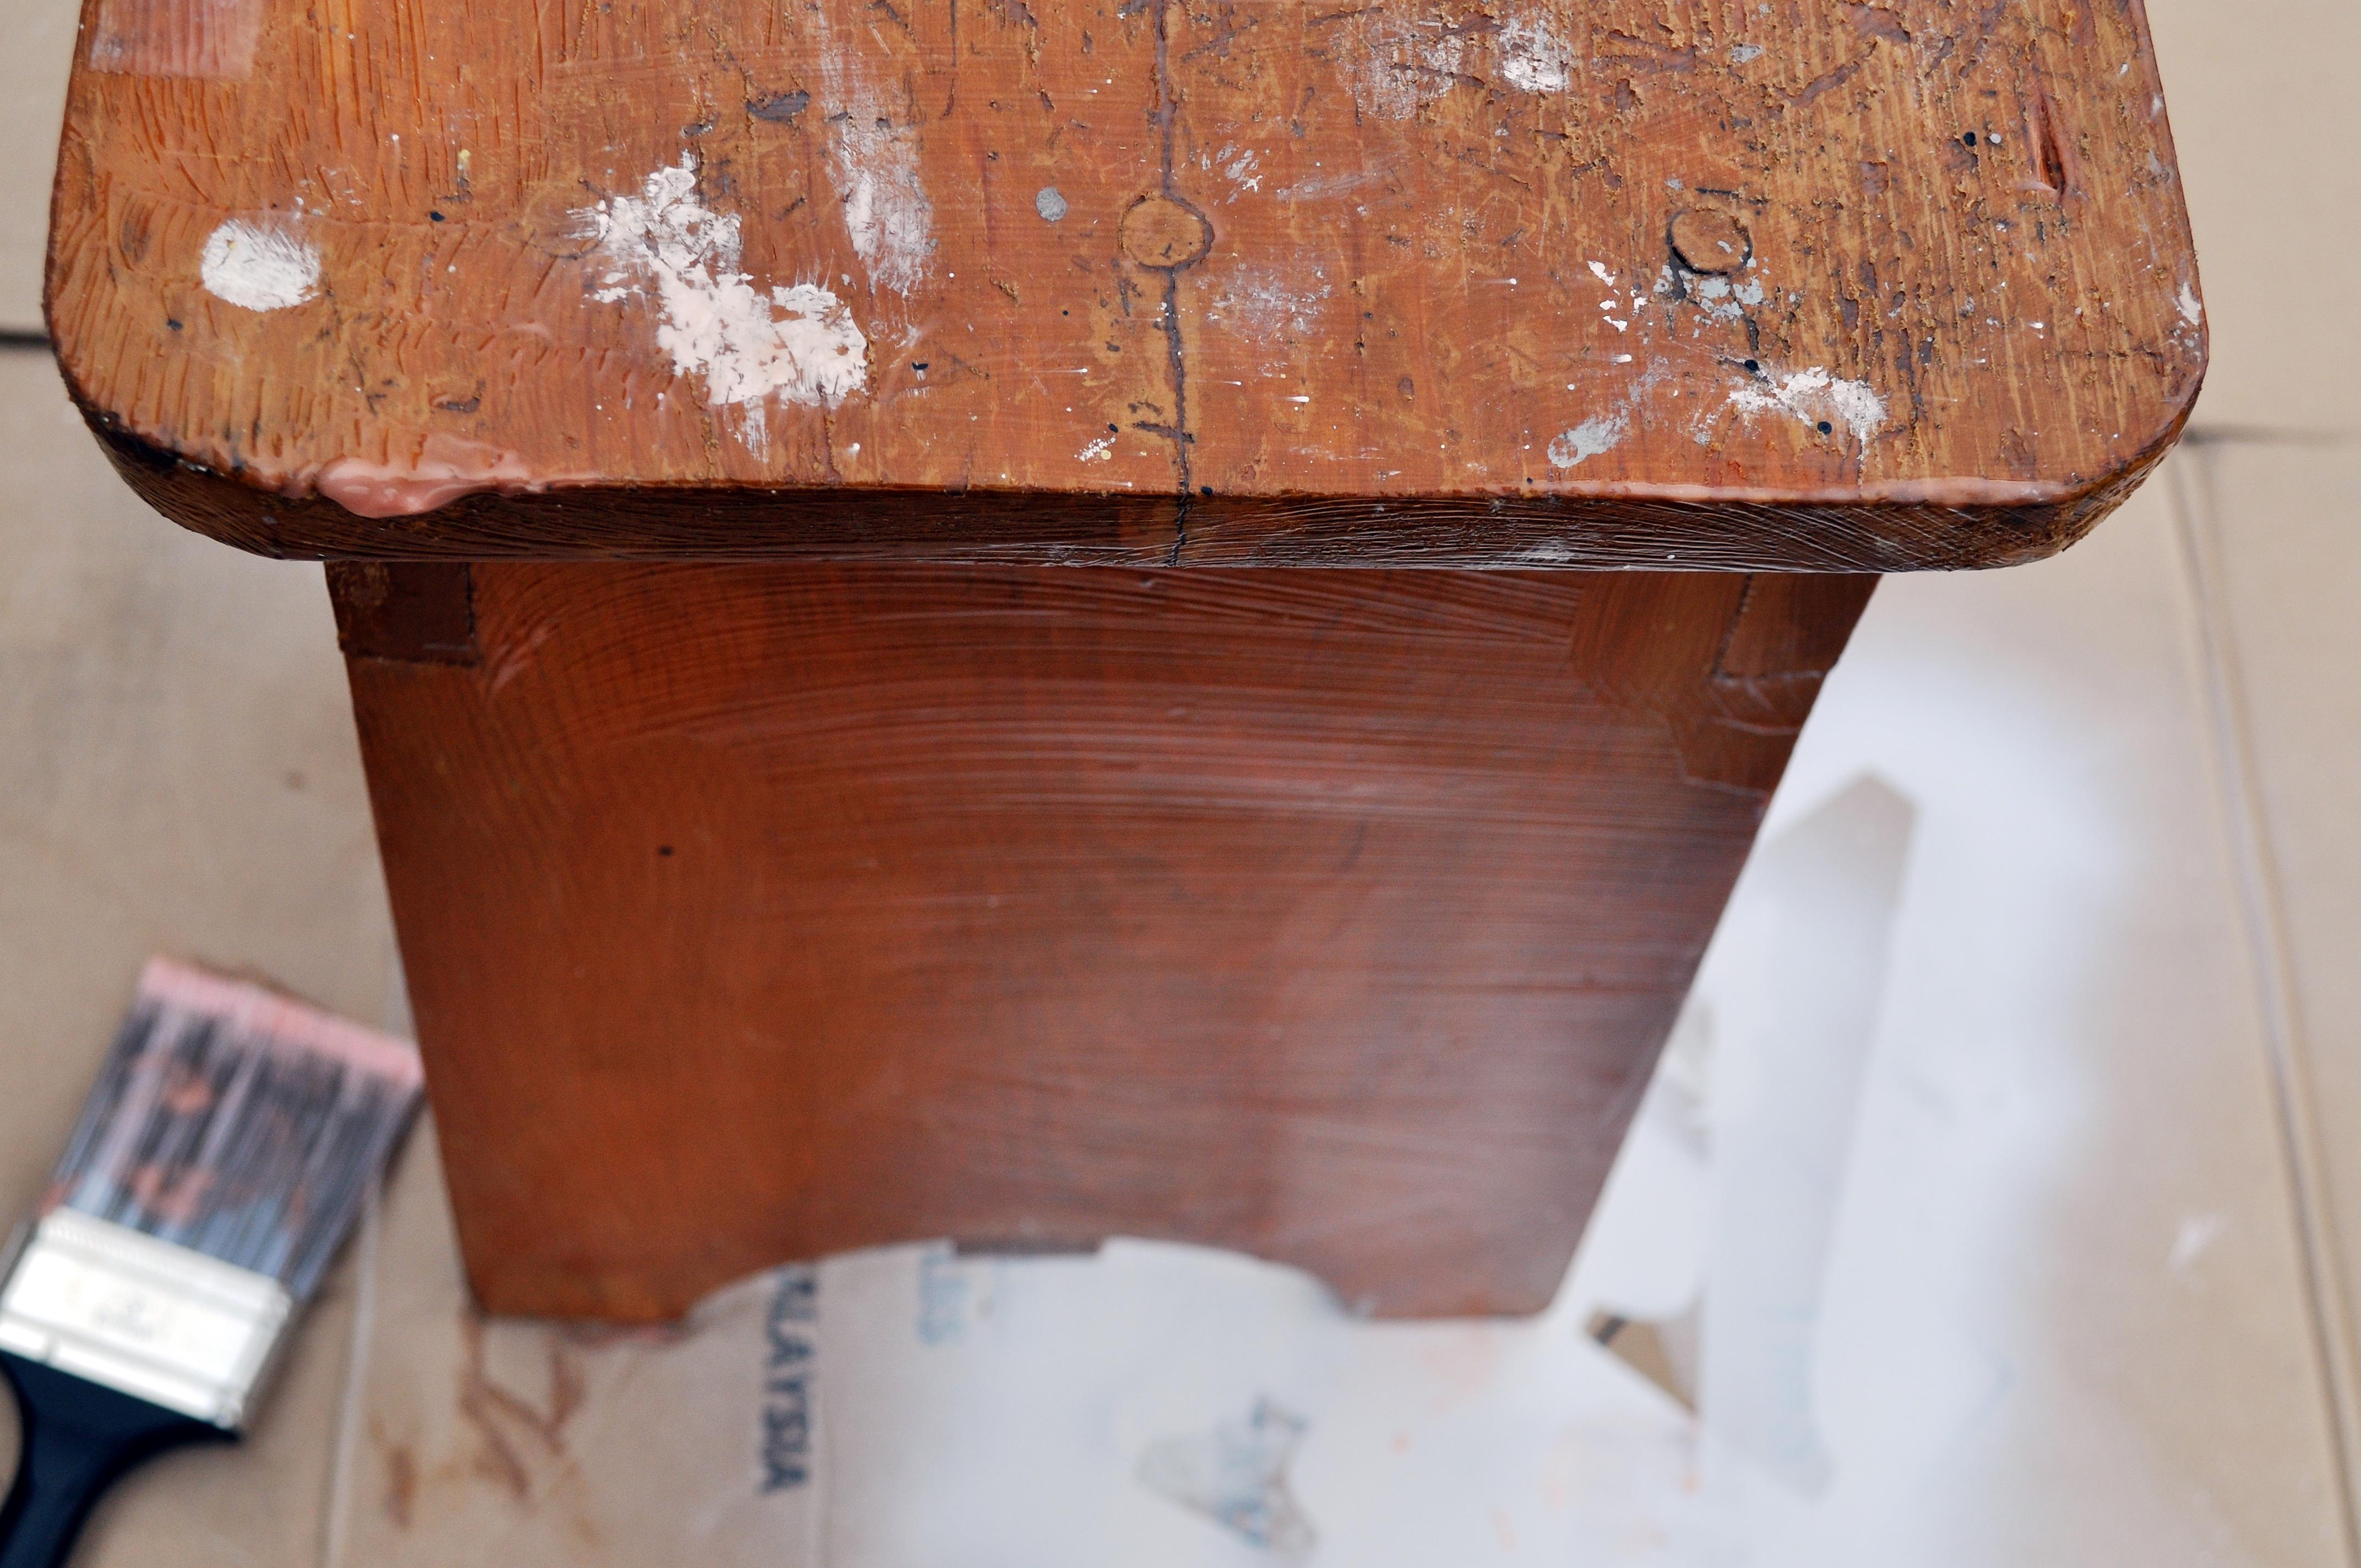
3. LET IT SIT. I usually let the Paint Stripper sit on the piece for at least 20-30 minutes. You will see the paint shriveling up and looking cracked when it starts to work. Depending on how many layers of old paint is on the wood, you may have to repeat the process a time or two.
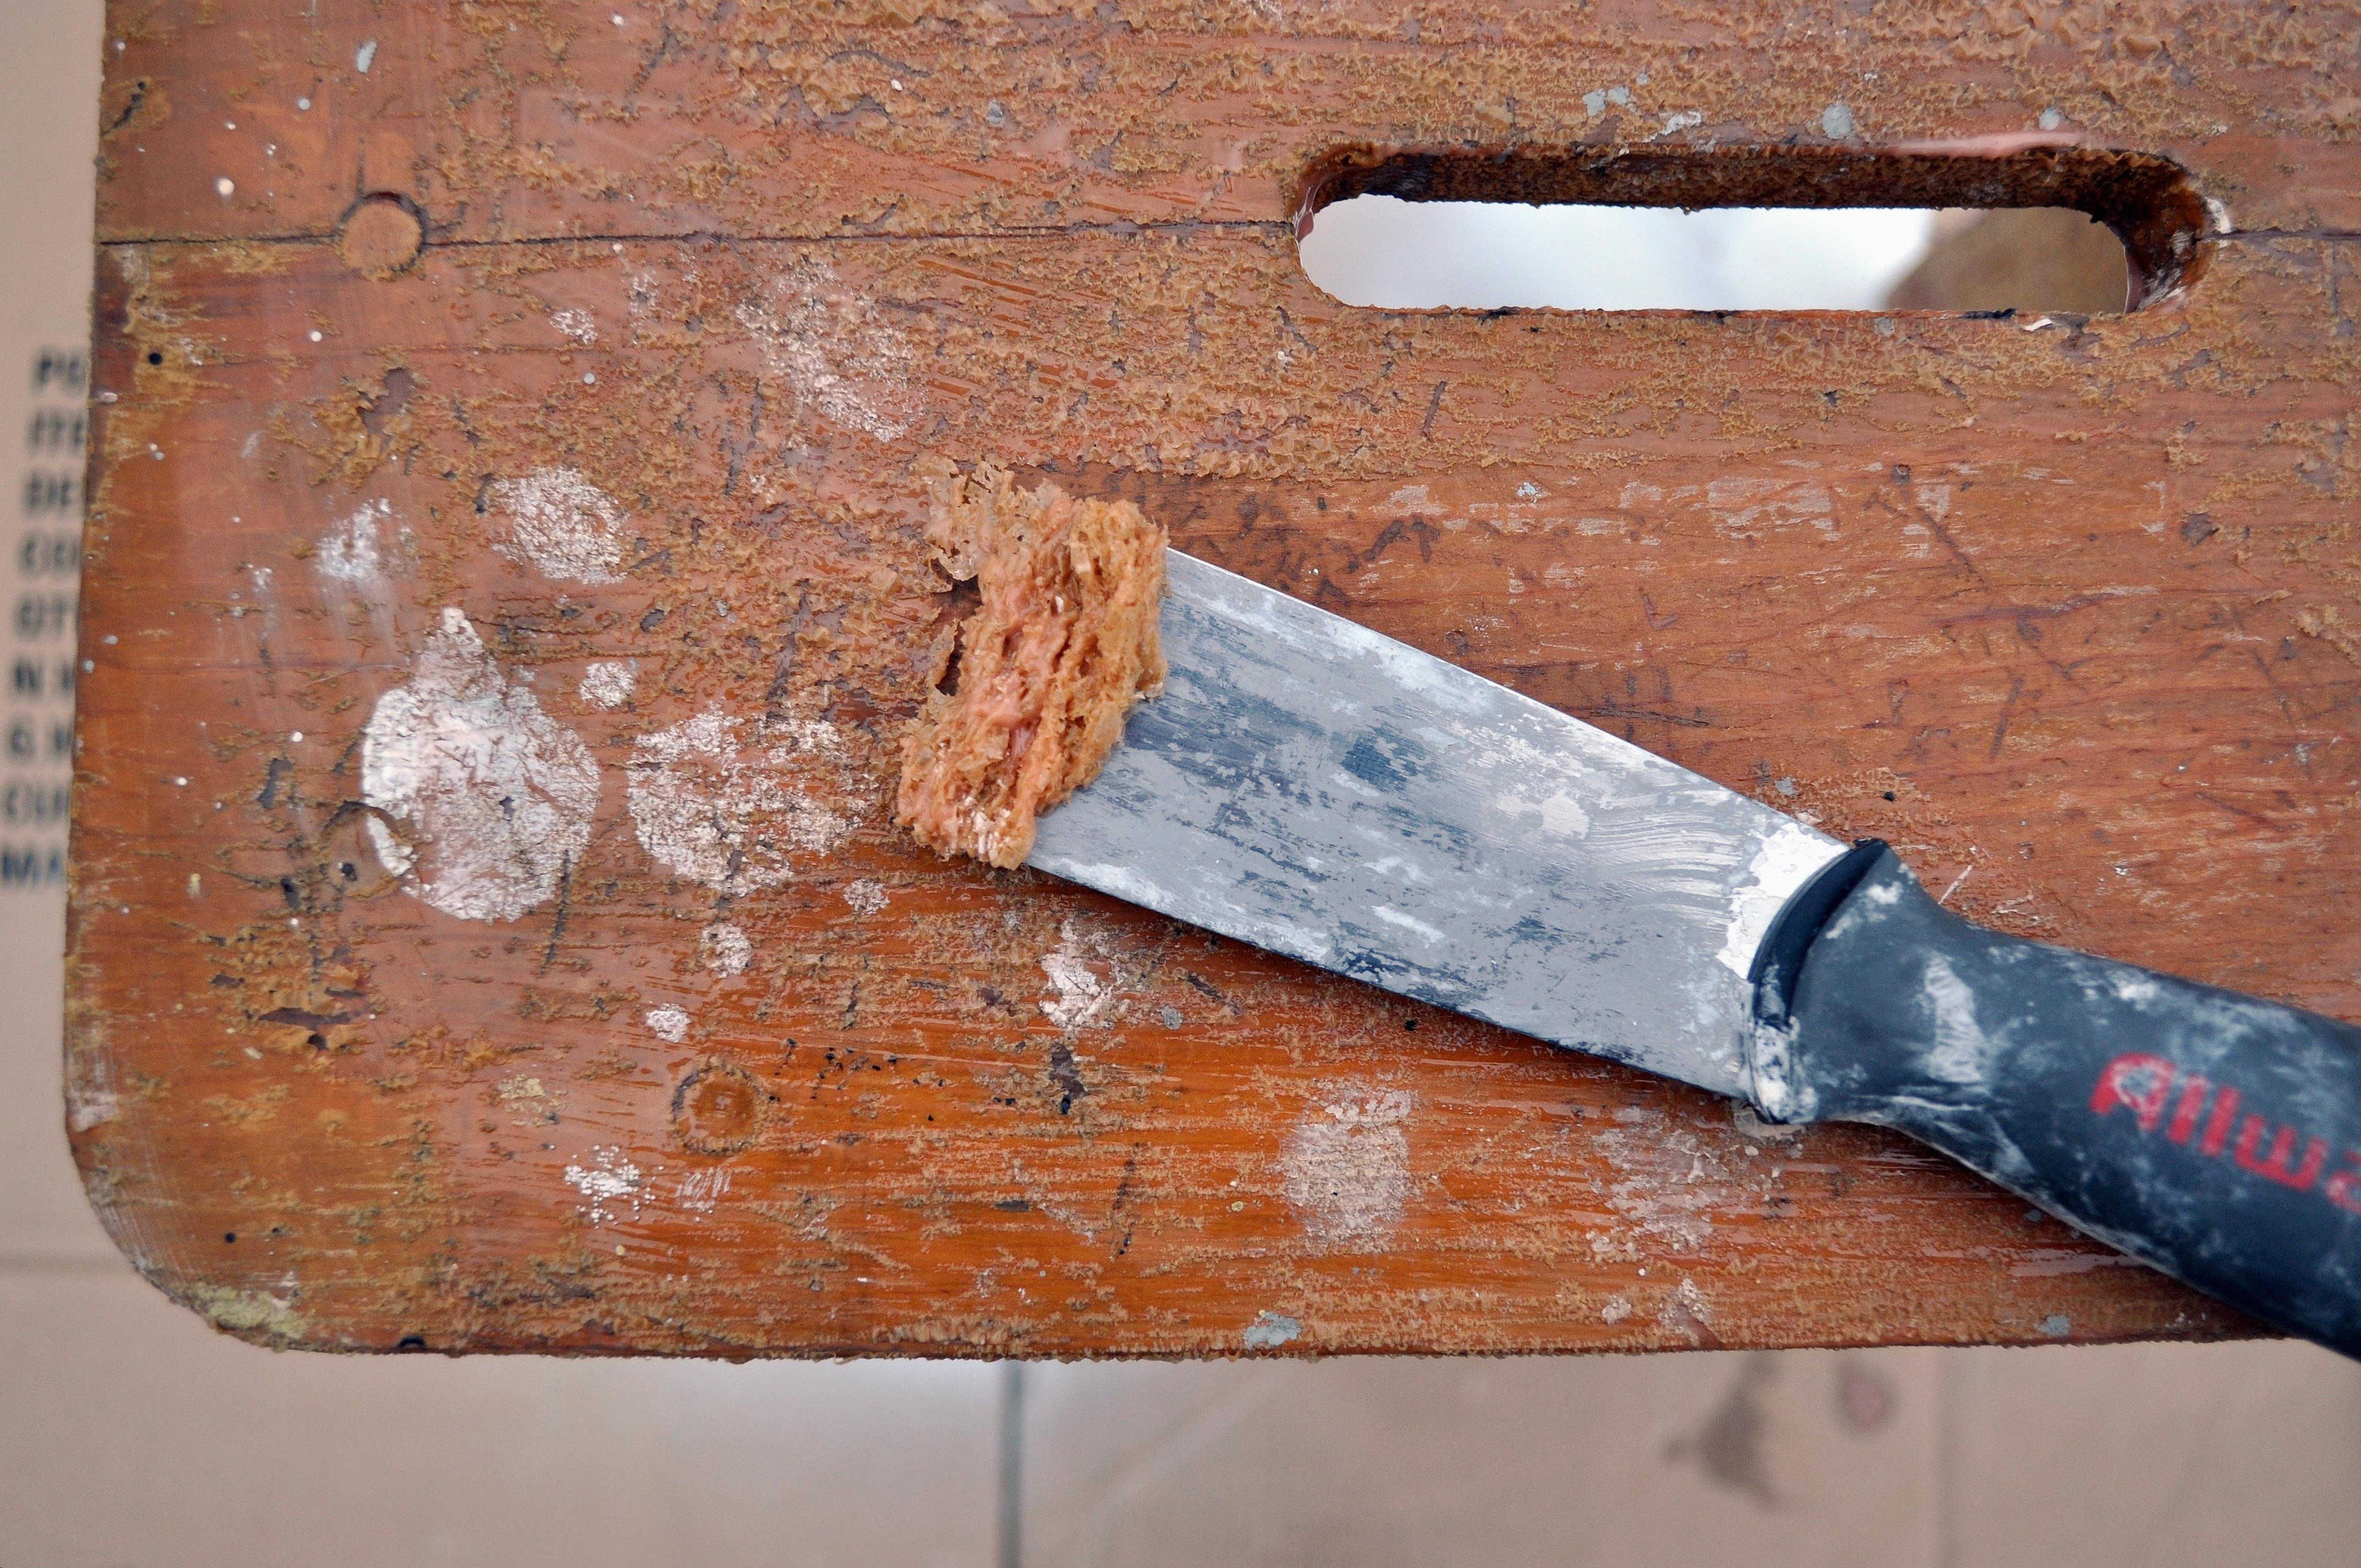
4. SCRAPE IT. Next, take a putty knife and scrape the paint off of the wood. I work with the wood grain in long stokes, making sure not to press down too hard so you don’t scratch the wood. But let’s be honest, scratches here and there don’t bother me! It gives the wood more character in my opinion.
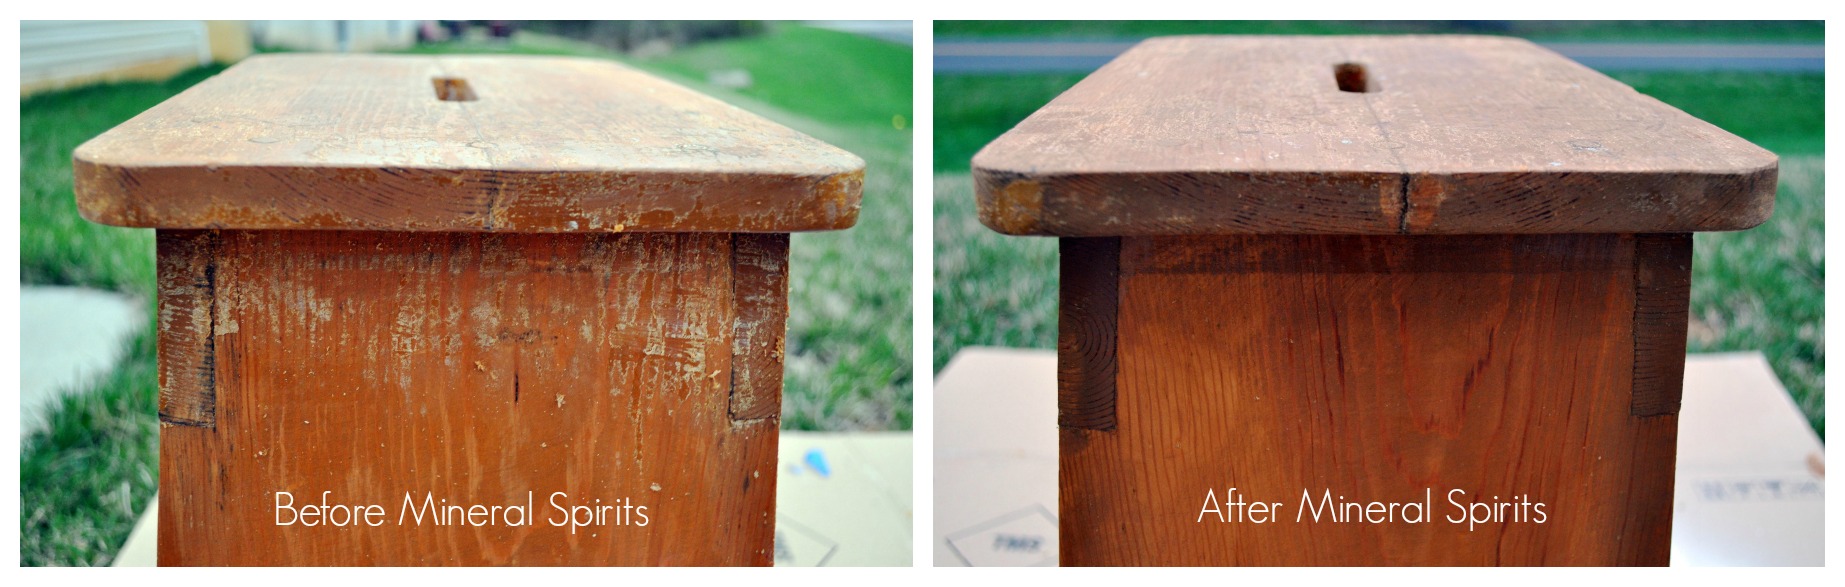
5. APPLY MINERAL SPIRITS. Once you have most of the old paint scraped off, take an old rag and apply the Mineral Spirits to the piece of furniture. I use Crown Low Odor Mineral Spirits that I also bought at Lowes. This will get off any of the paint you couldn’t scrape off and really give the piece a good cleaning.
6. SAND IT. Now it’s time to give the wood a good sanding. I used a Hand Sander with Fine or Medium grit sand paper on this stool, but if you don’t have a sander, you can always use a sanding block. It will take a little more elbow grease but at least you are getting in a great workout!
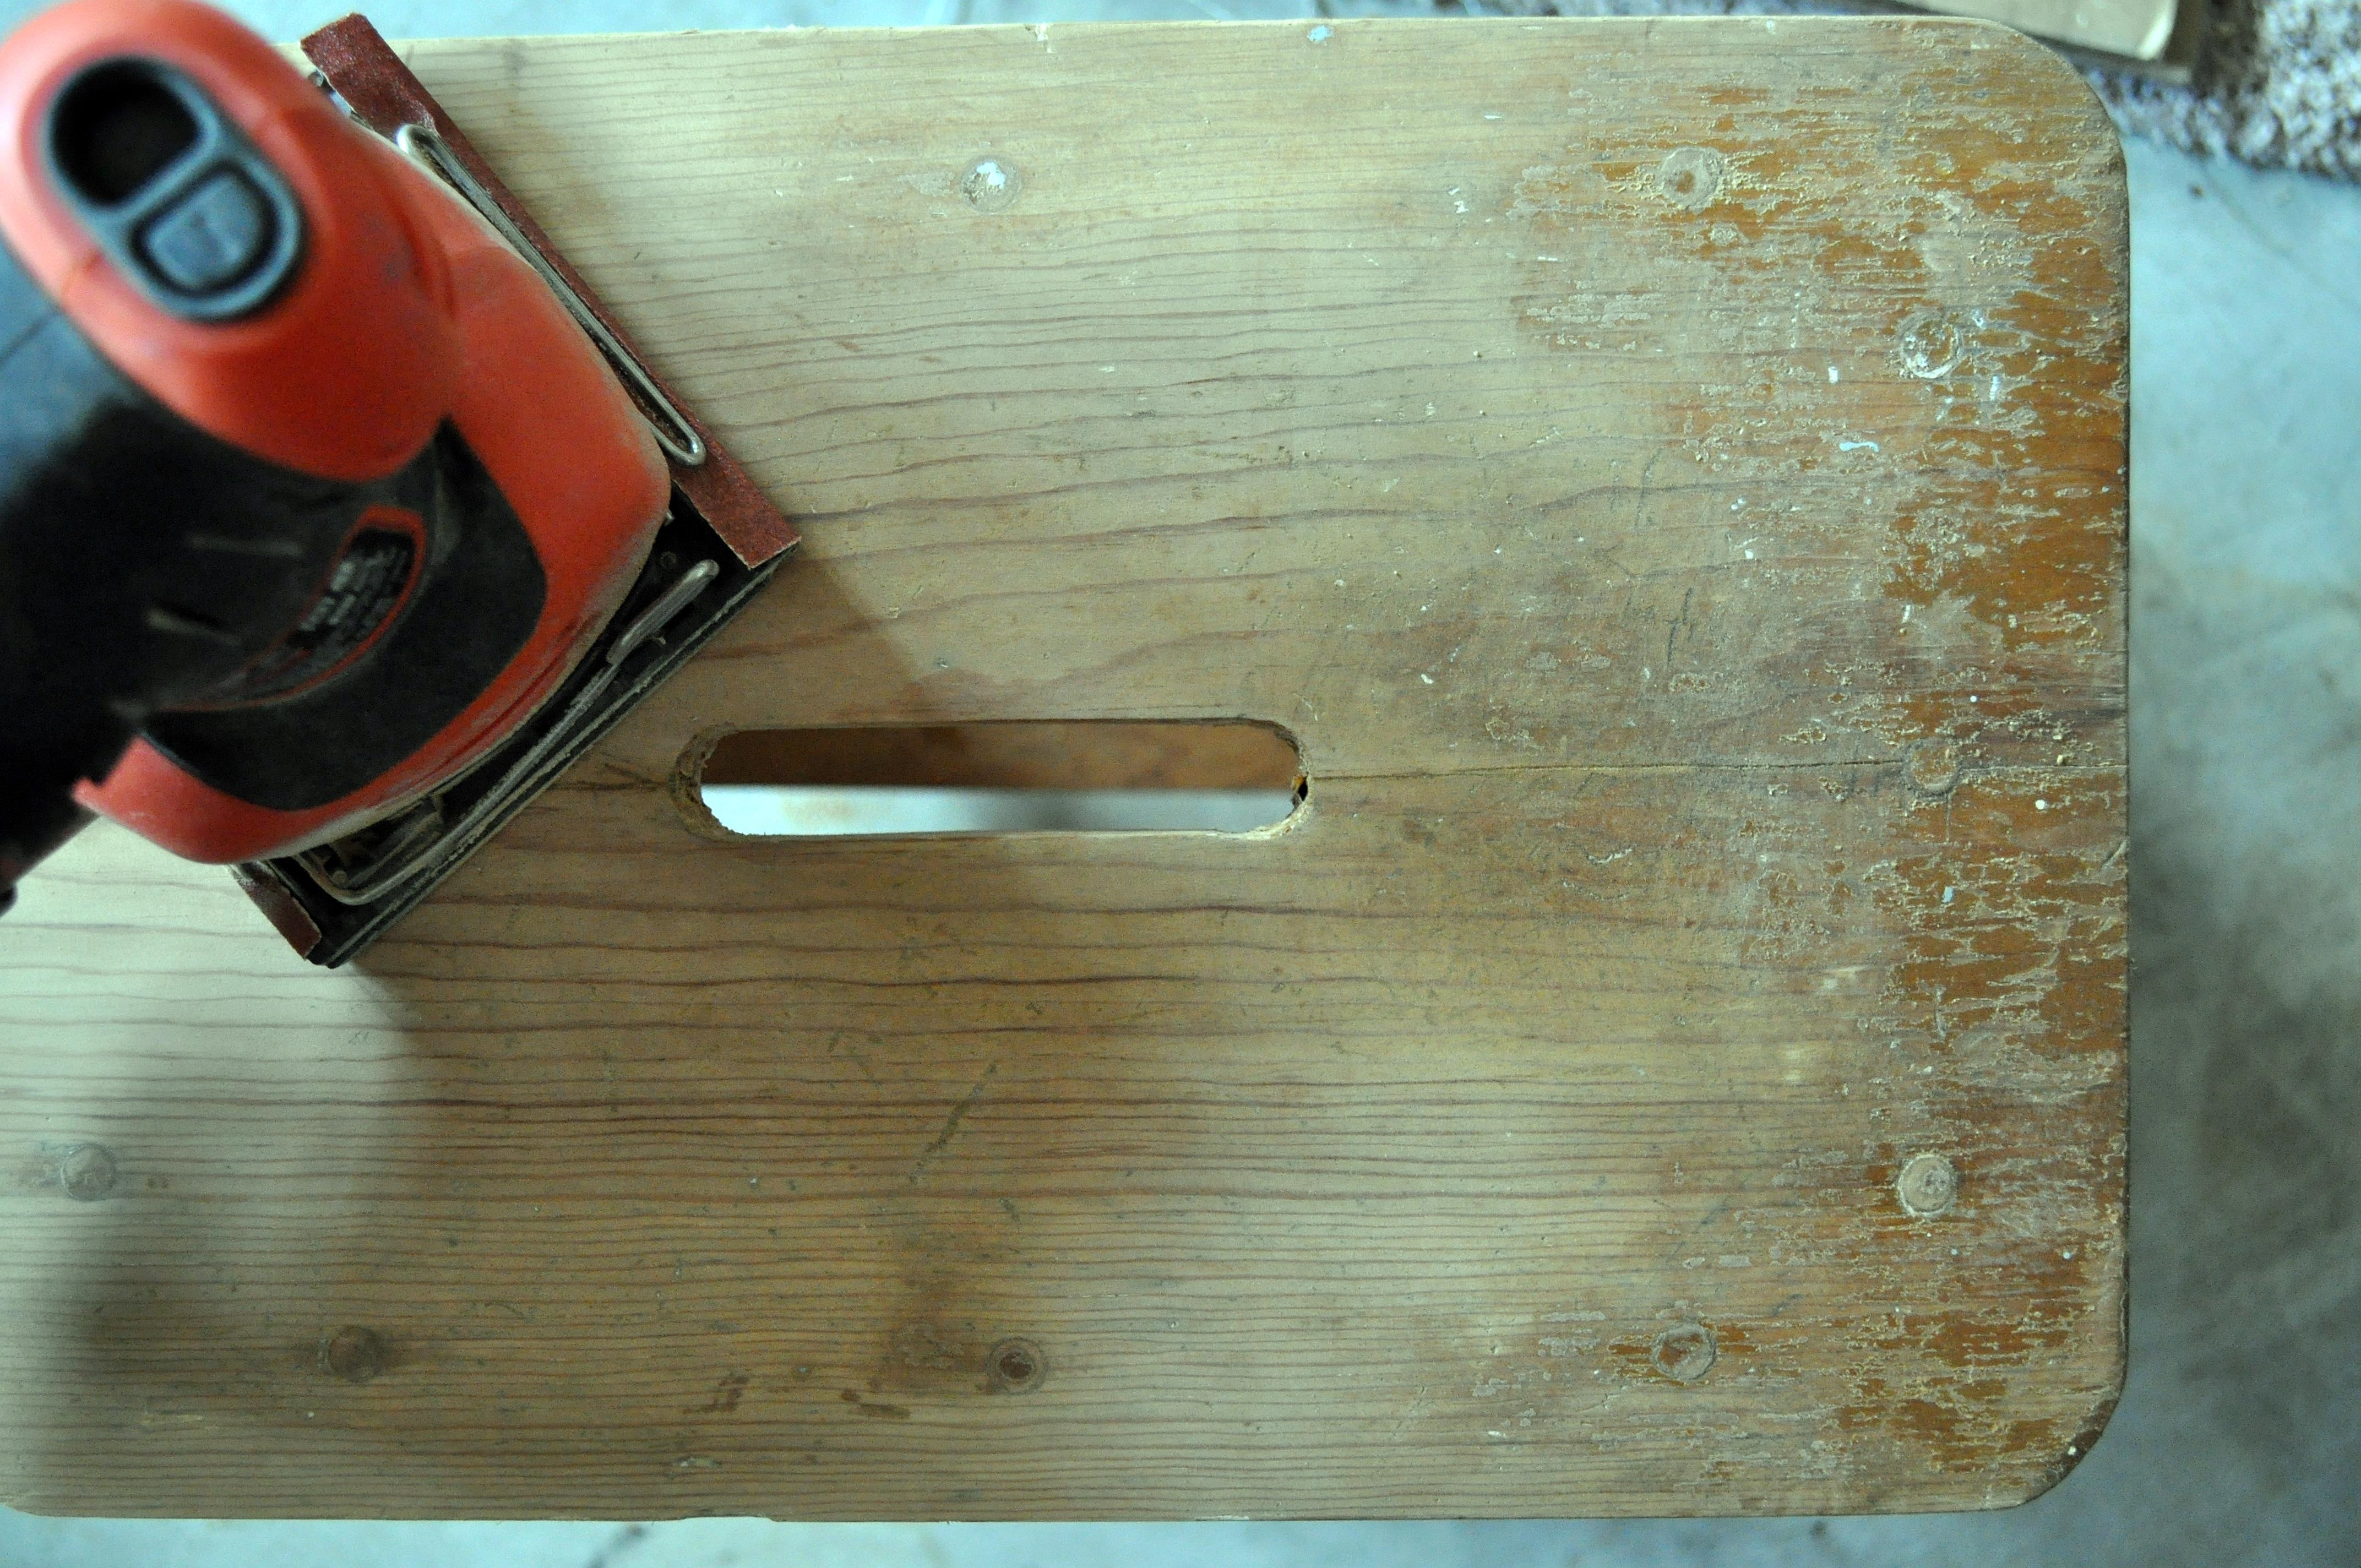
7. CLEAN IT, AGAIN. I used a damp cloth to clean off the dust from the sander. You can also use a cheesecloth which works great after sanding to wipe away any residue.
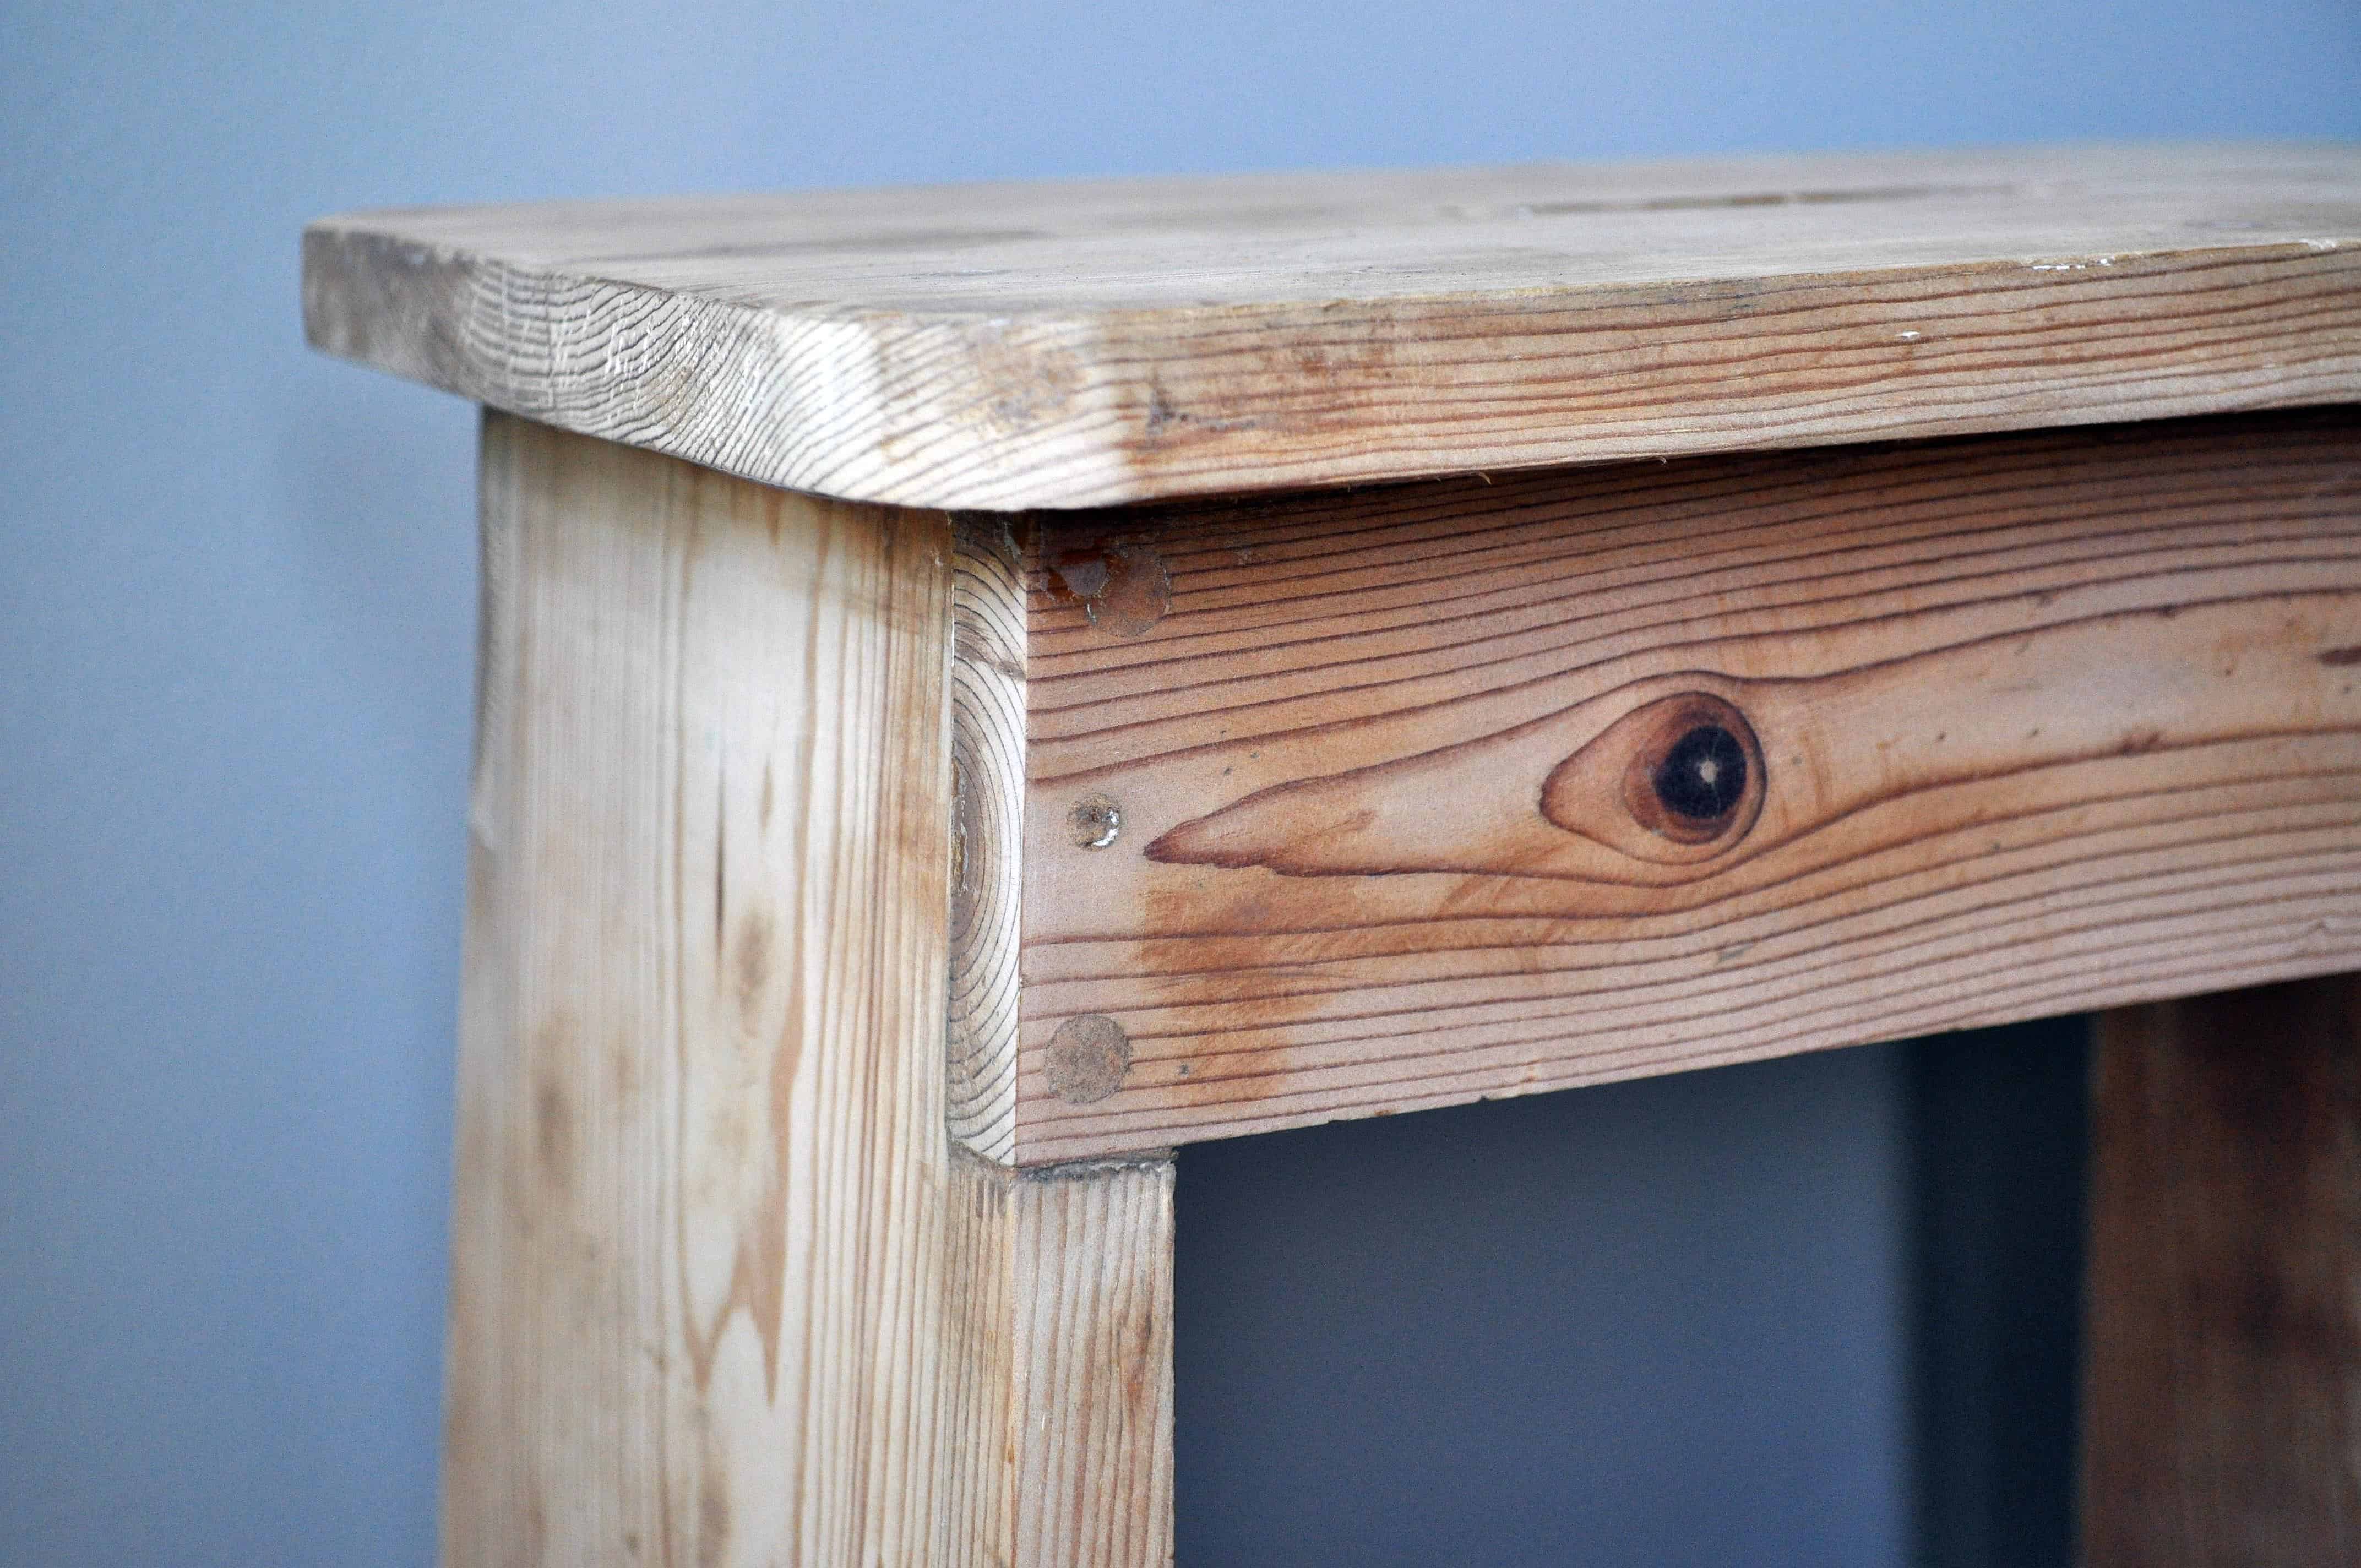
Isn’t that wood grain GORGEOUS! I’m not gonna lie, I though about just ending the post with this and leaving the stool raw. I even messed around with it in my guest room for a few minutes.
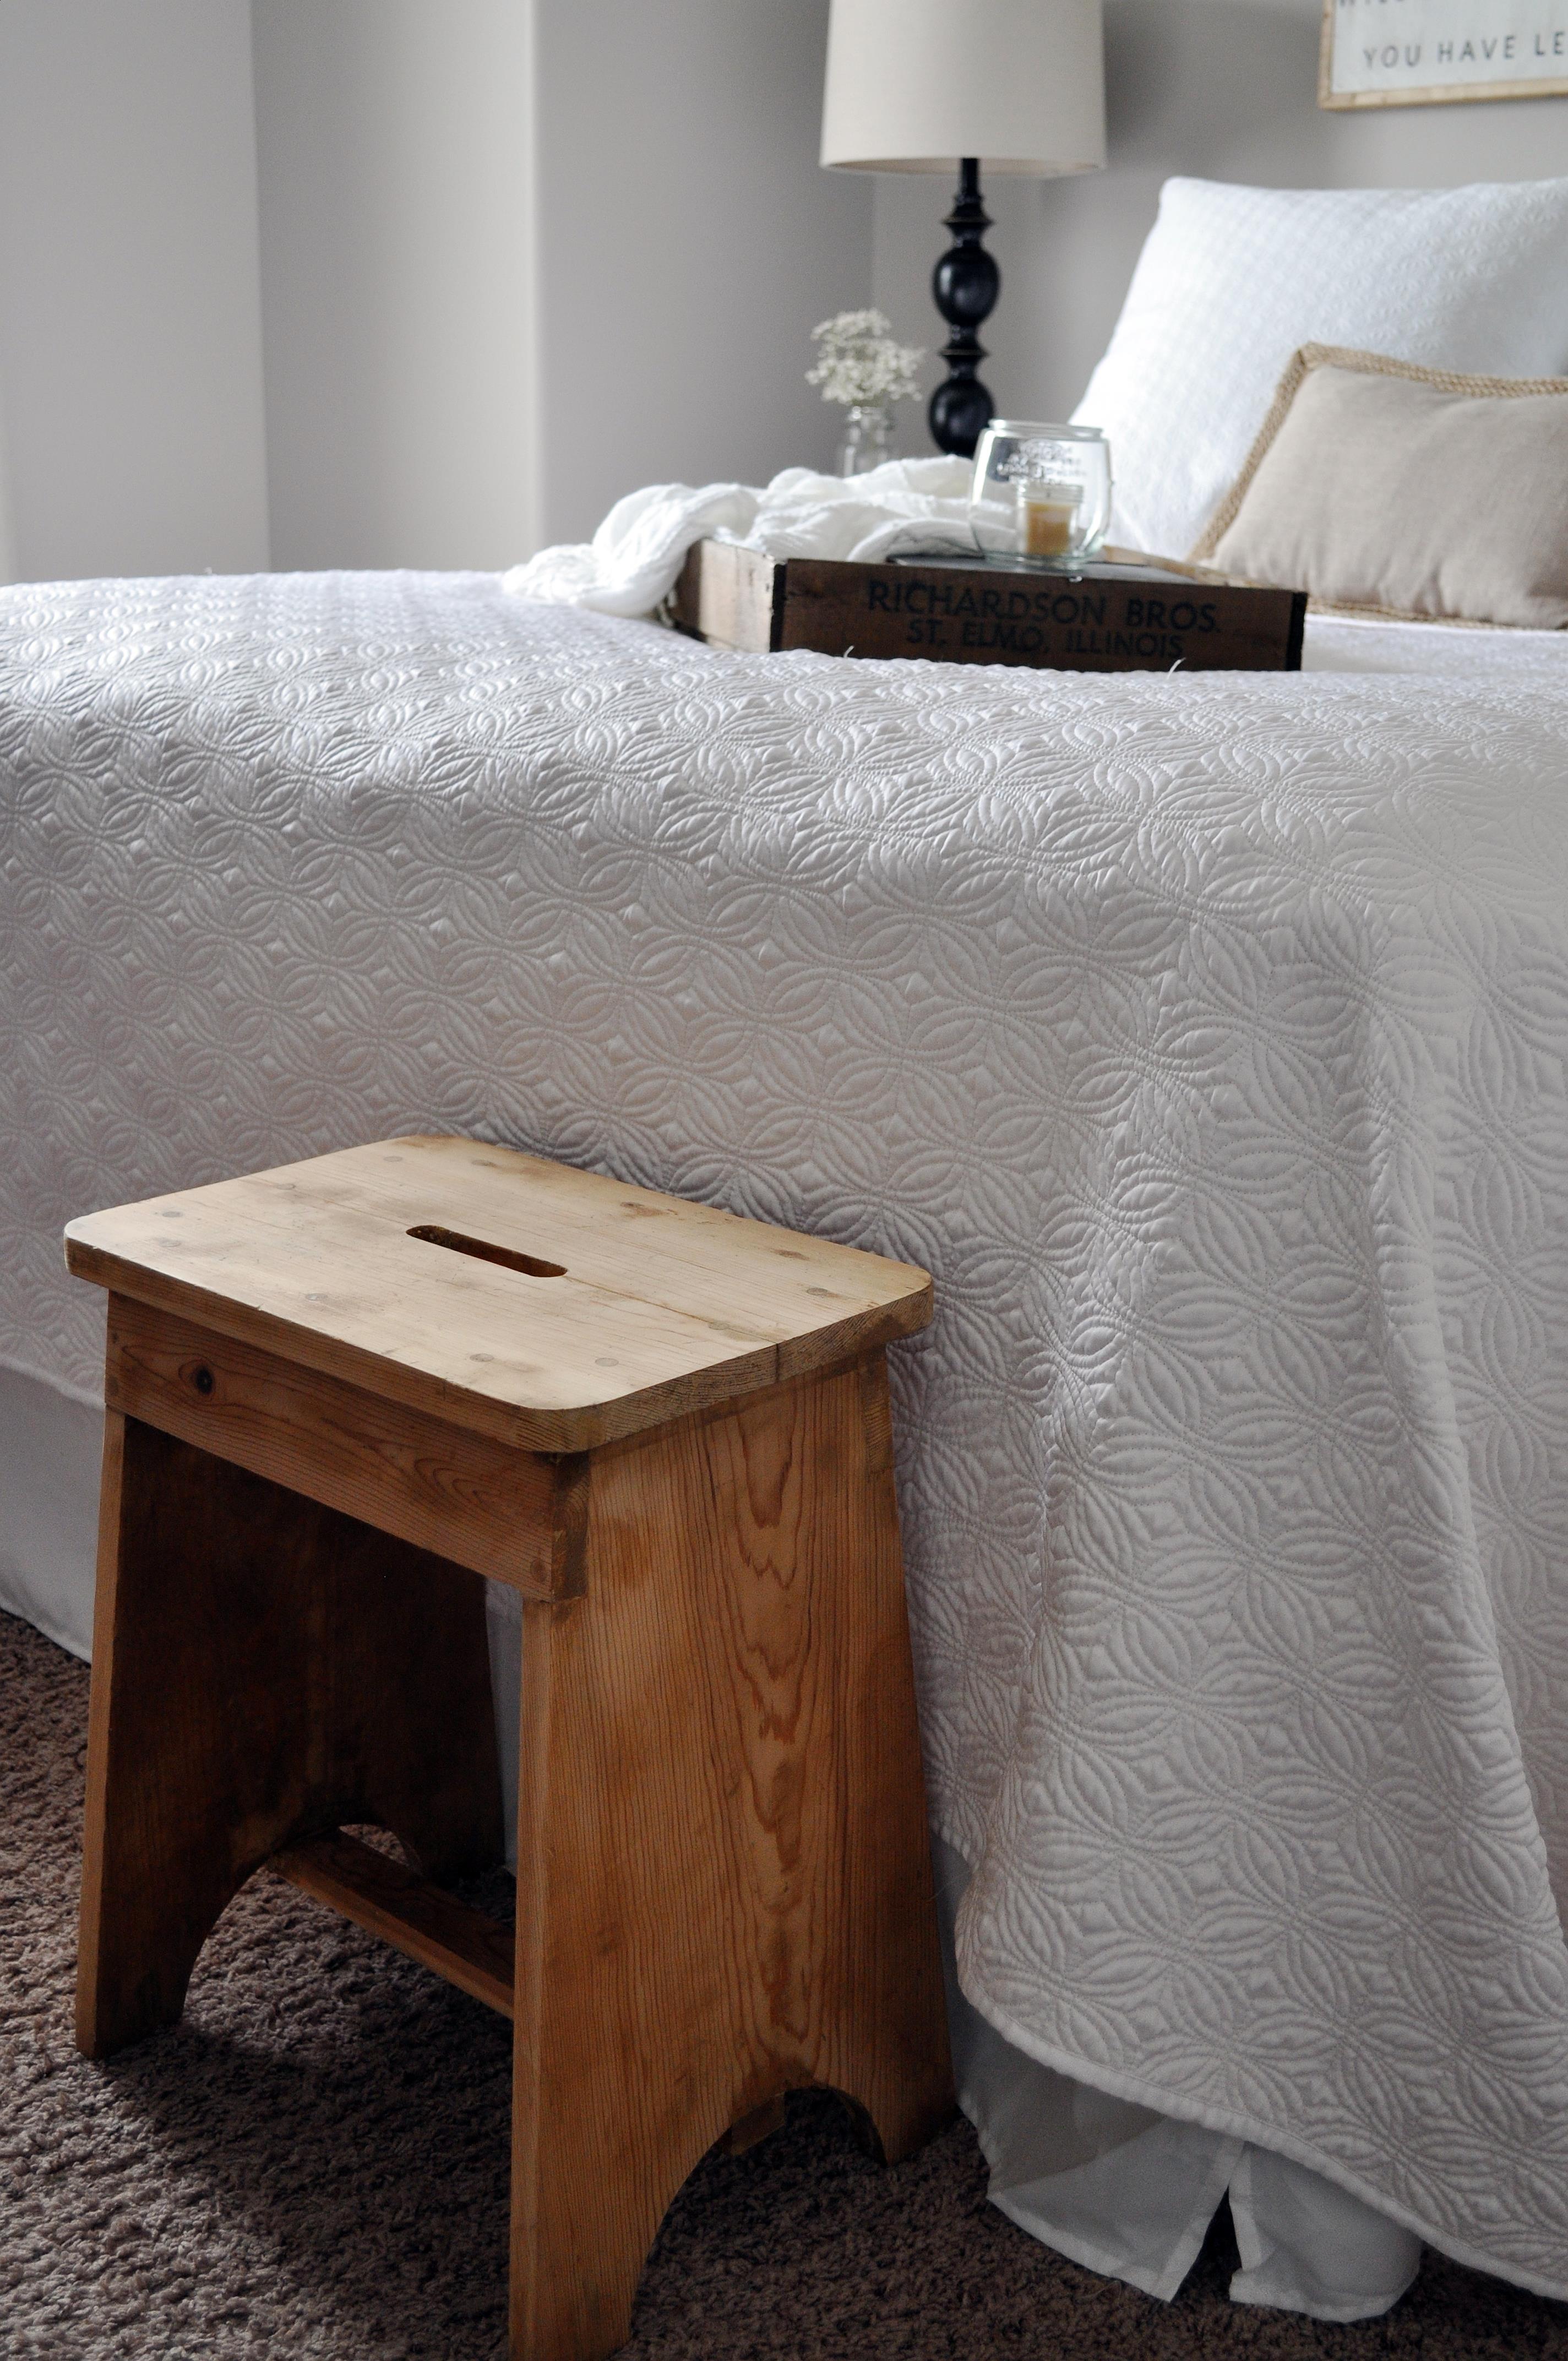
However, it needs a nice coat of stain and some pretty paint, and a little distressing. Stay tuned for Part Two to see how this little stool with so much character turns out!
Also, follow along on Instagram & Facebook for extras!


Love it Ash!
Thanks Kasey!!! Xoxo!