Rustic Blanket Ladder
I have been wanting a blanket ladder f o r e v e r. Every time I come across an old ladder in an antique shop I just want to buy it so badly! The same thing stops me every time. That little thought that pops into my head that asks how easy would this be to make? A lot of things I come across that I love and want end up being the easiest DIY projects that have turned out just as good. This one is one of those projects. So so simple, and way cheaper than it would have been to buy. This is why I love being a DIYer. I get to make and create things completely tailored to my specific taste. When a project turns out exactly how I imagined, it doesn’t get any better than that. So here we go, the easiest DIY Rustic Blanket Ladder ever!
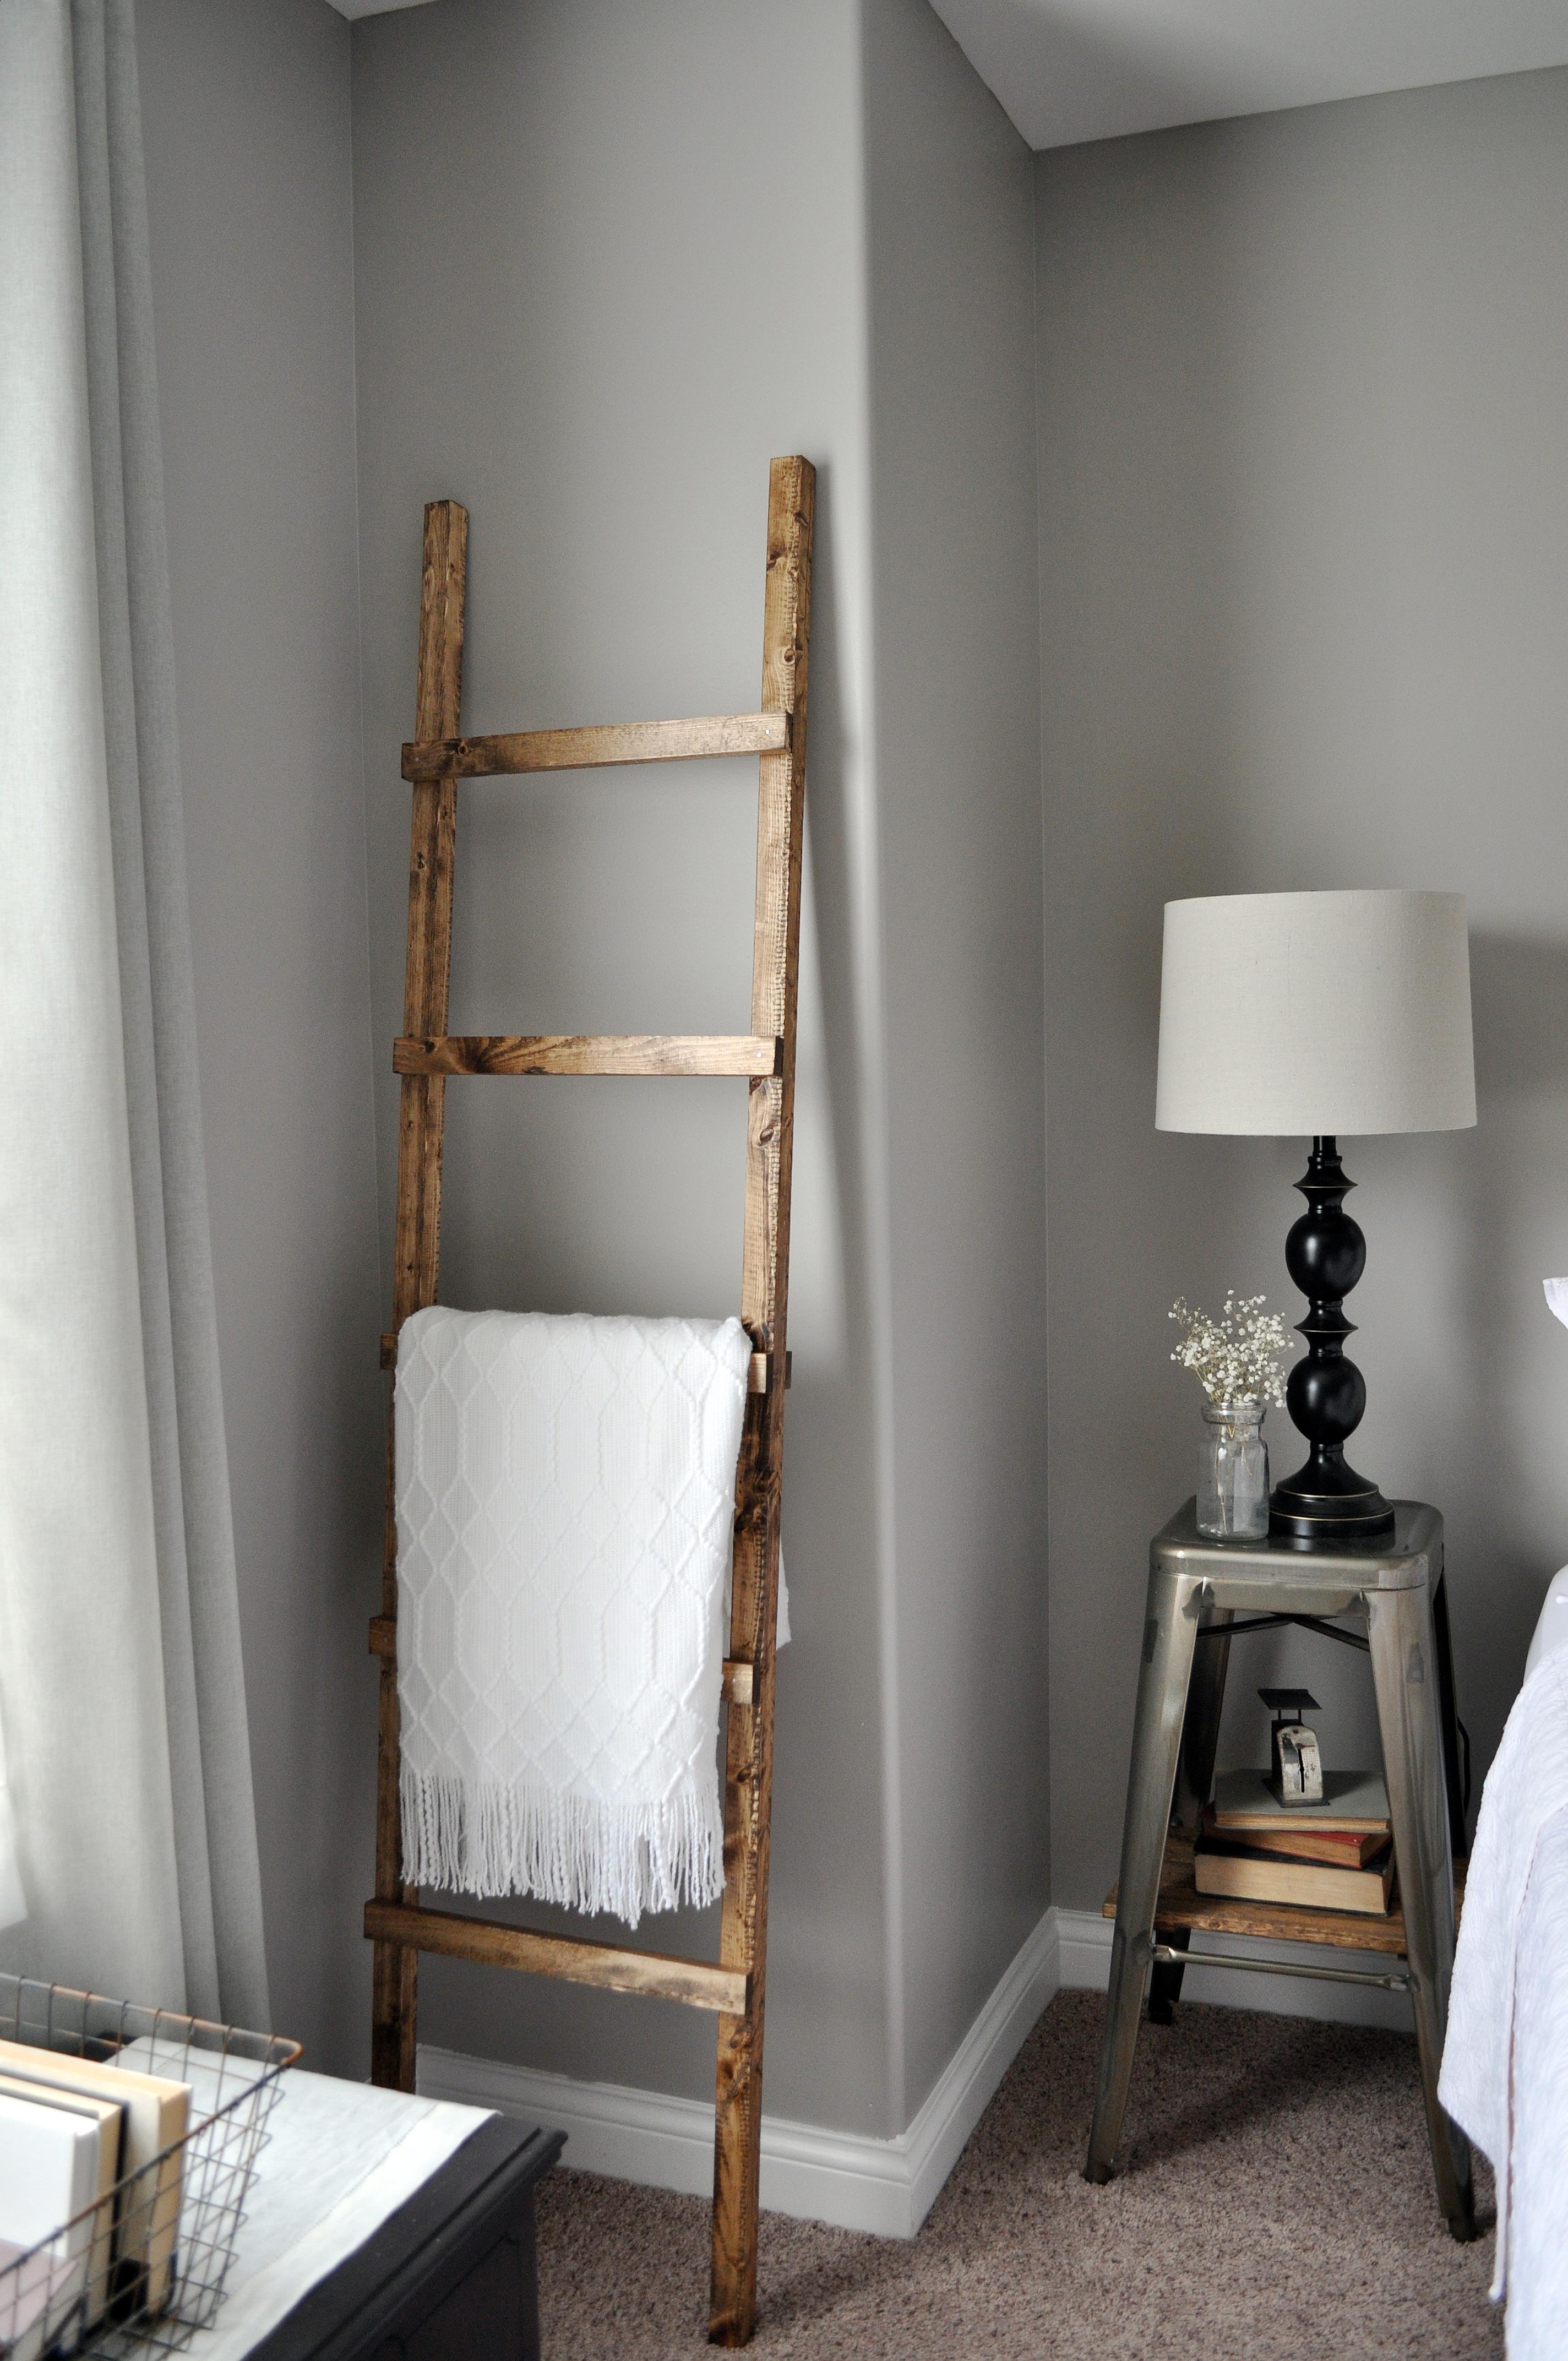
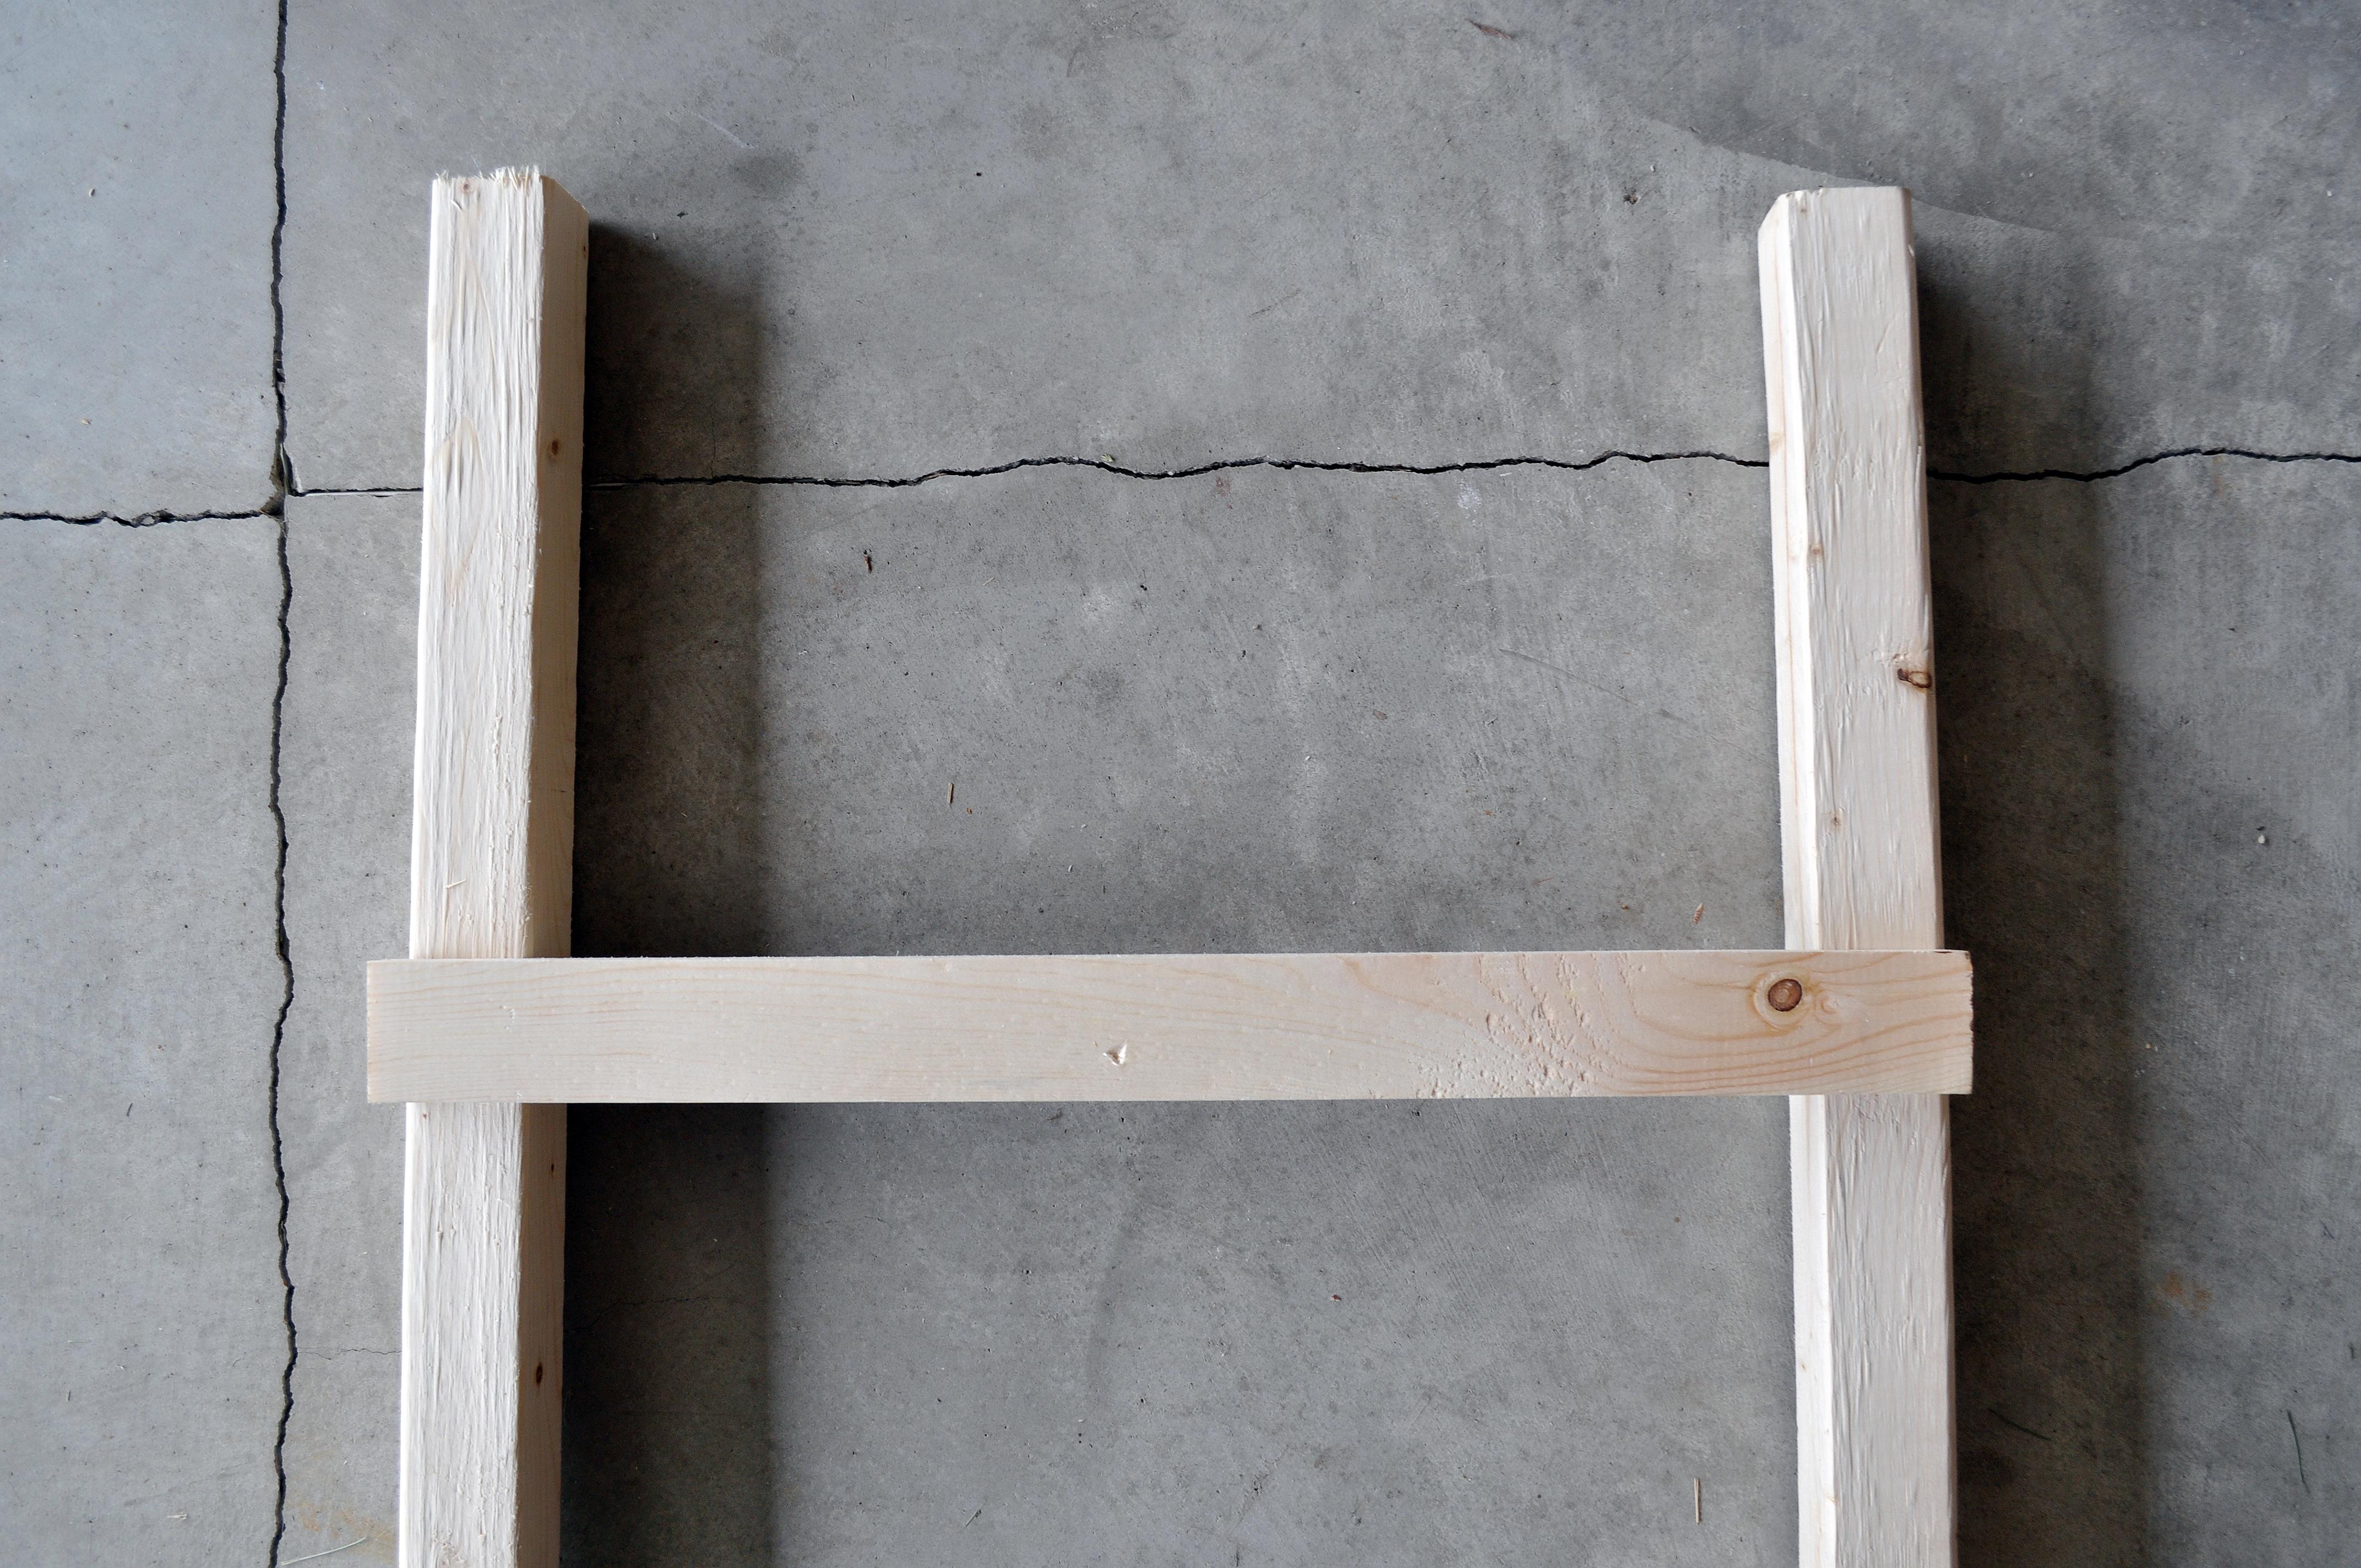
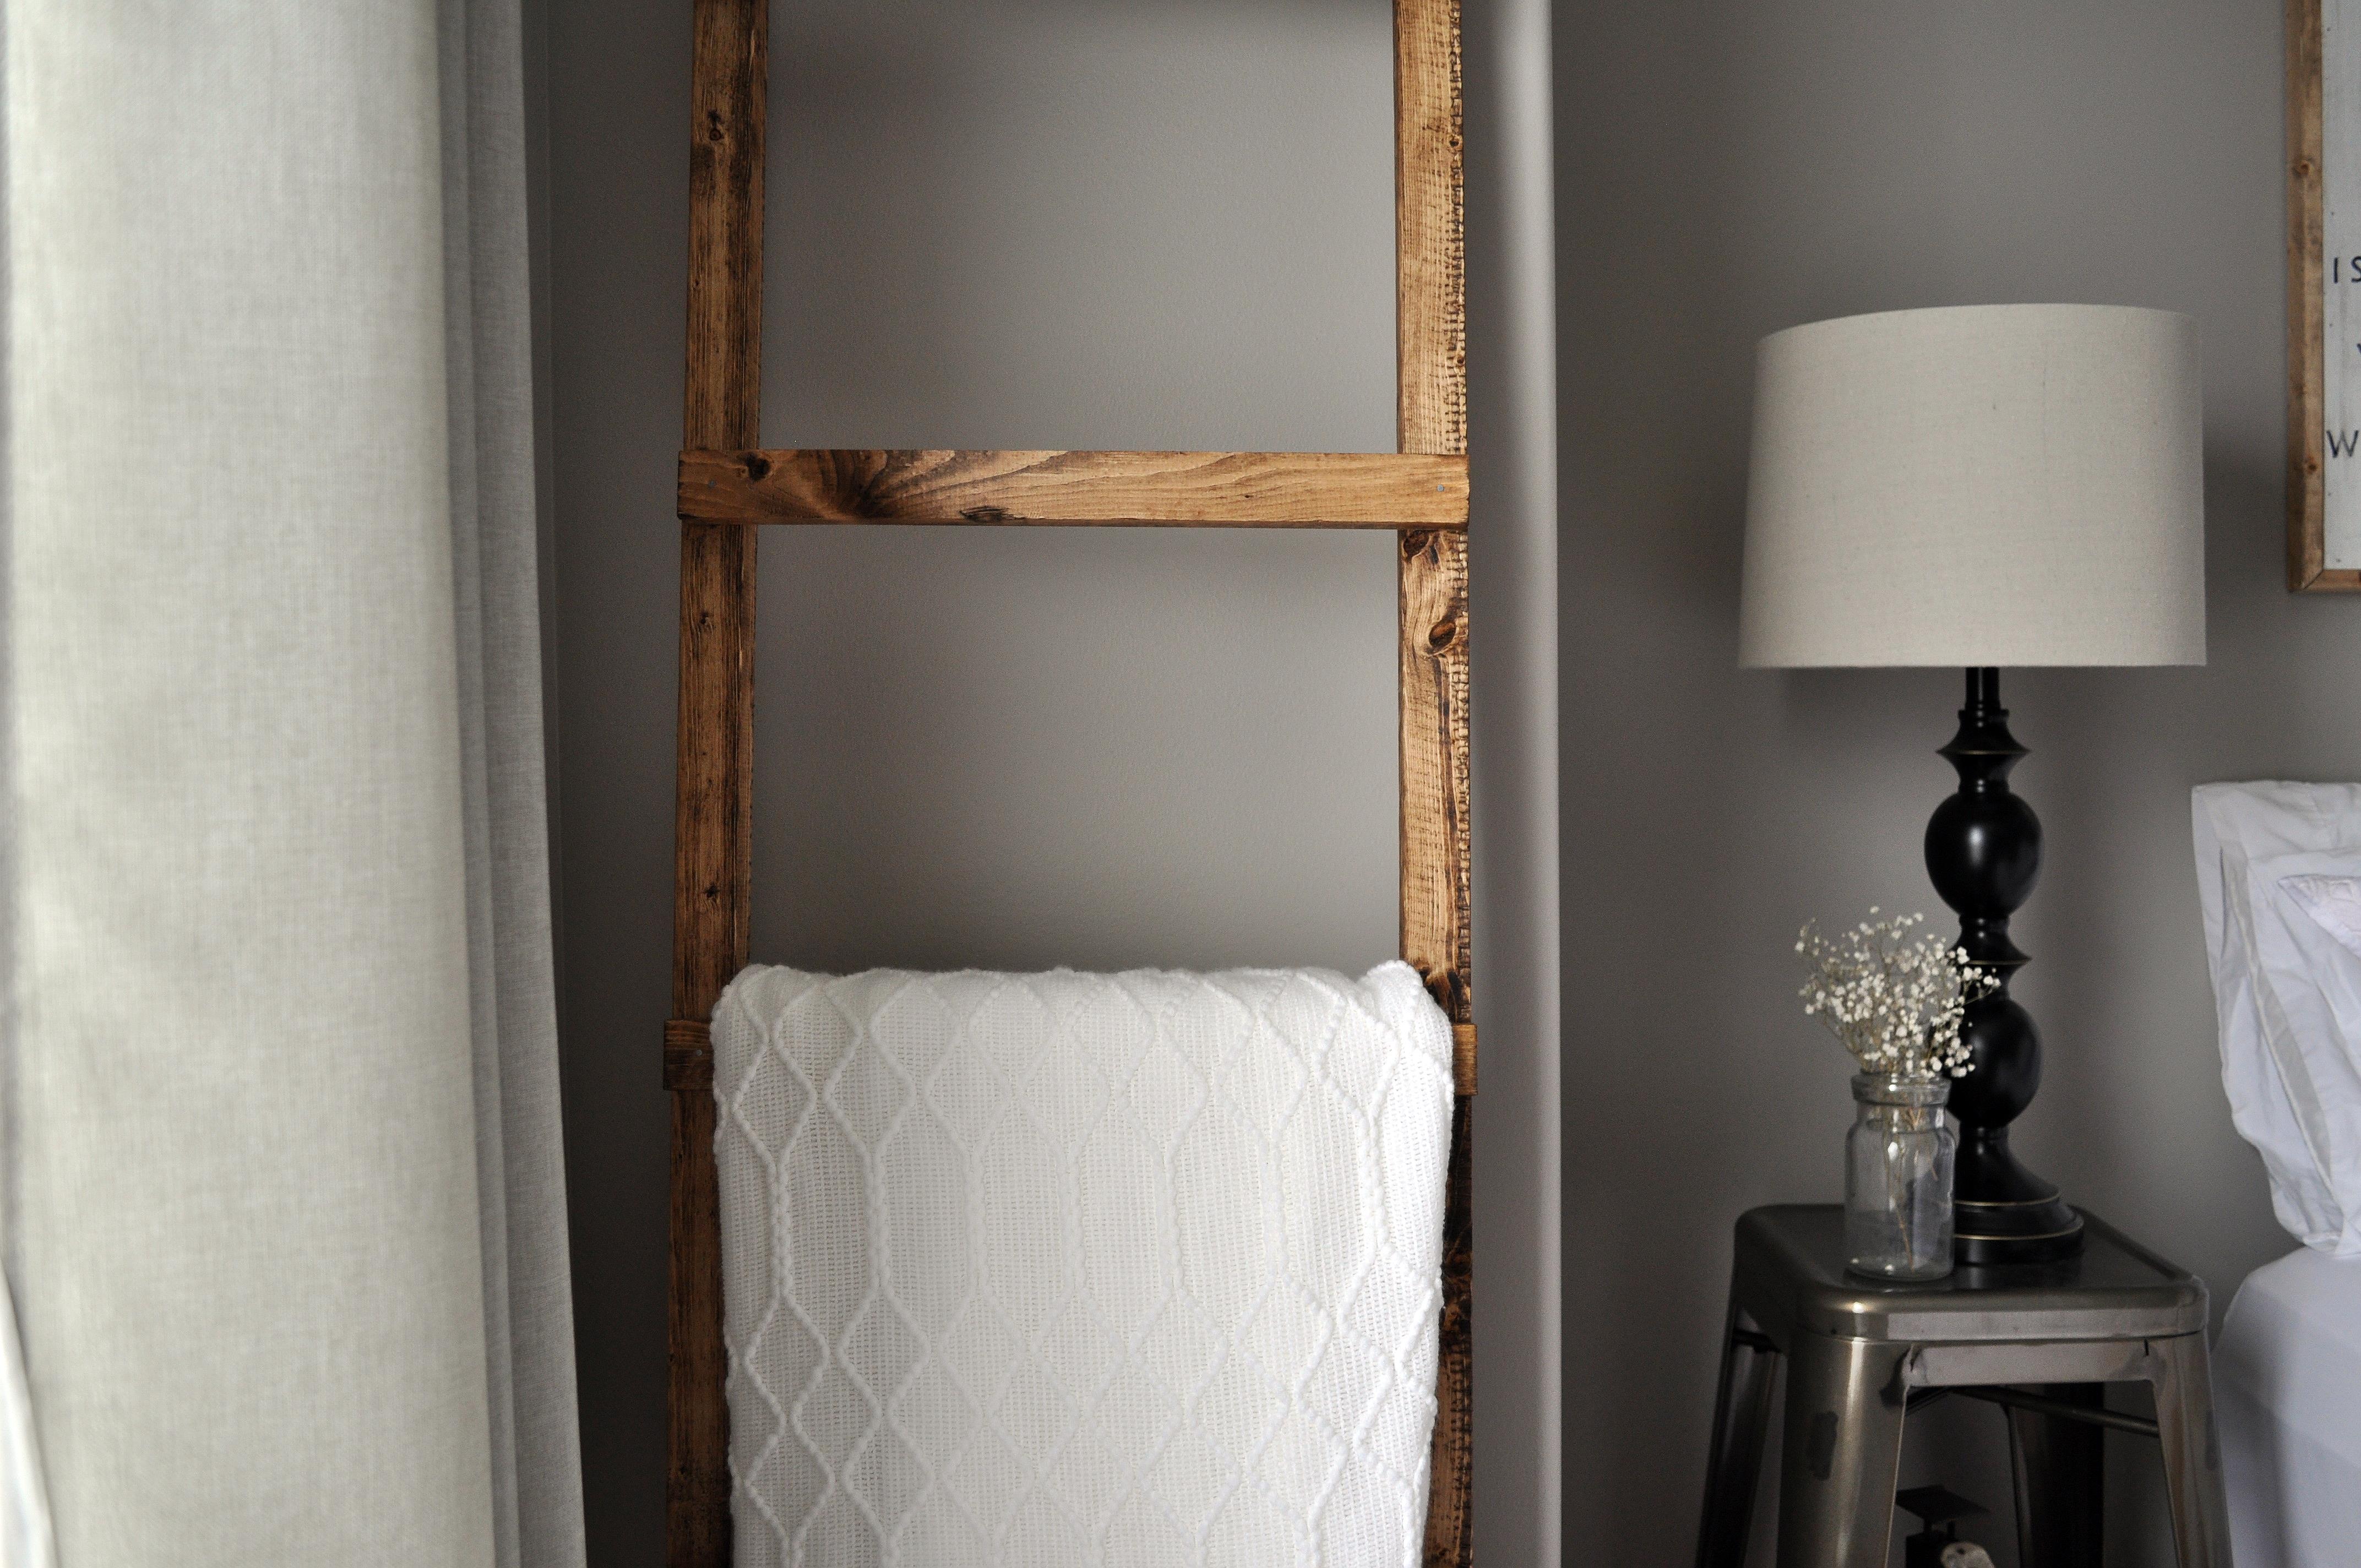
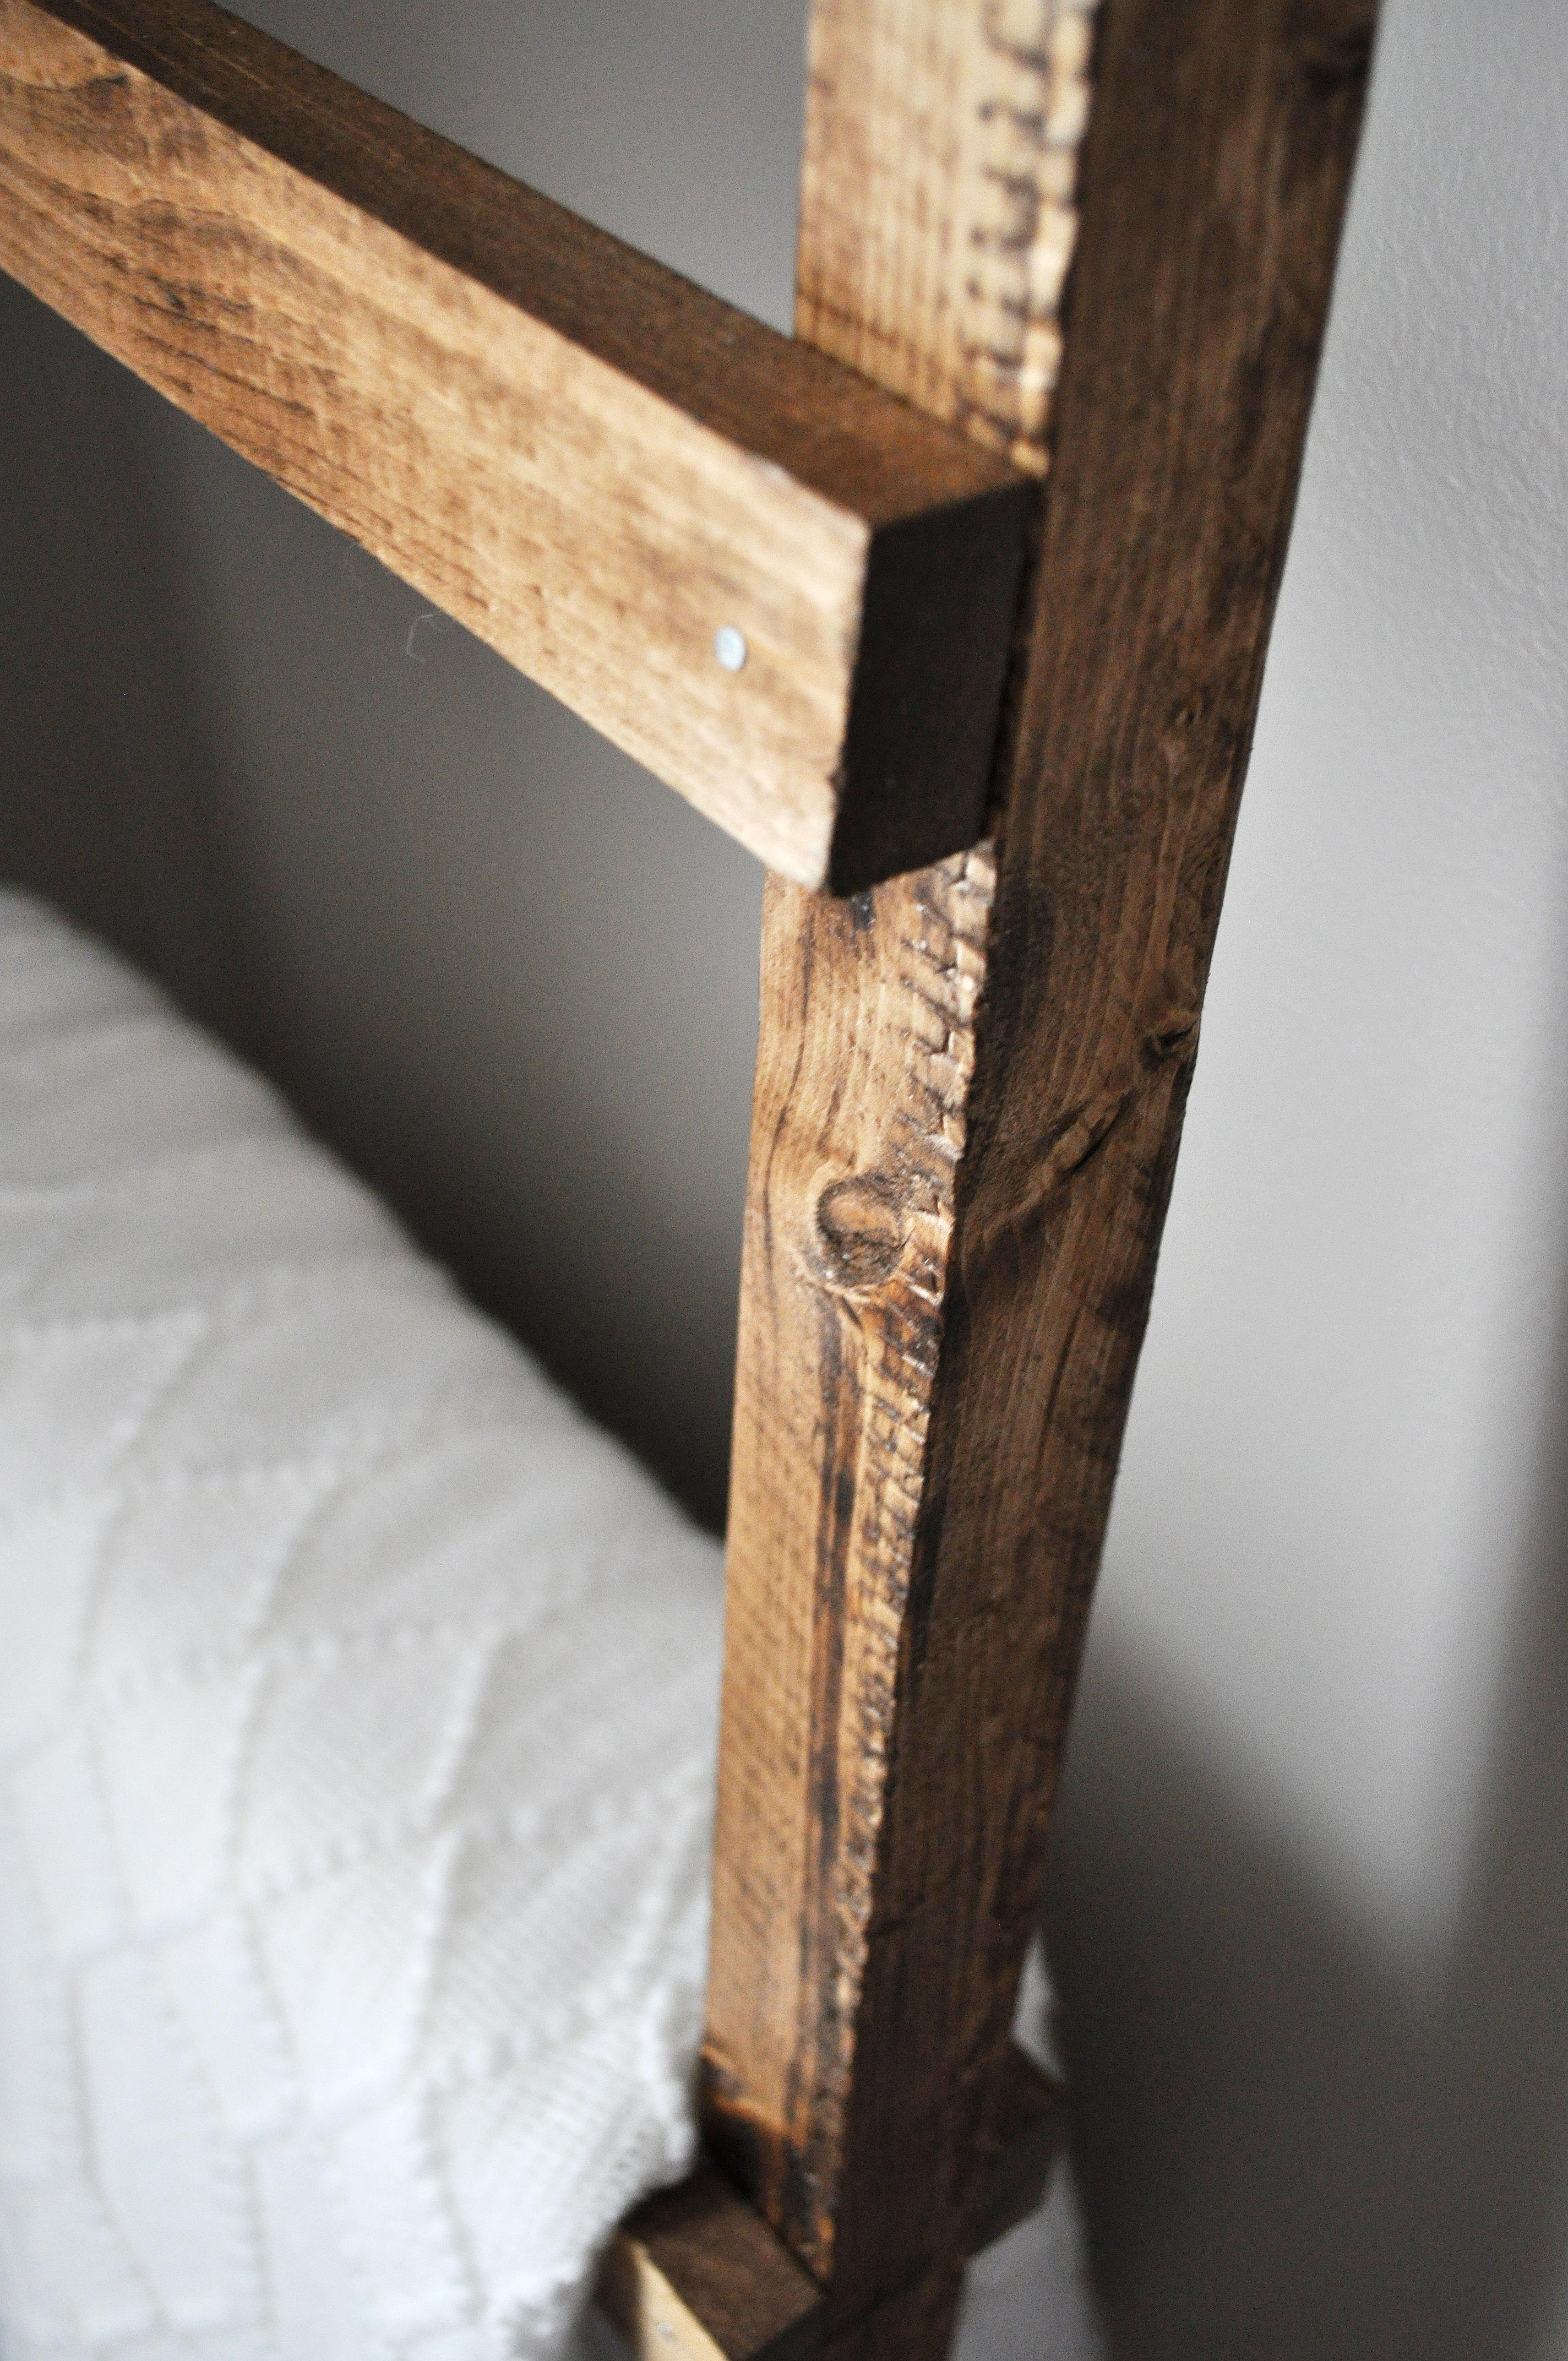
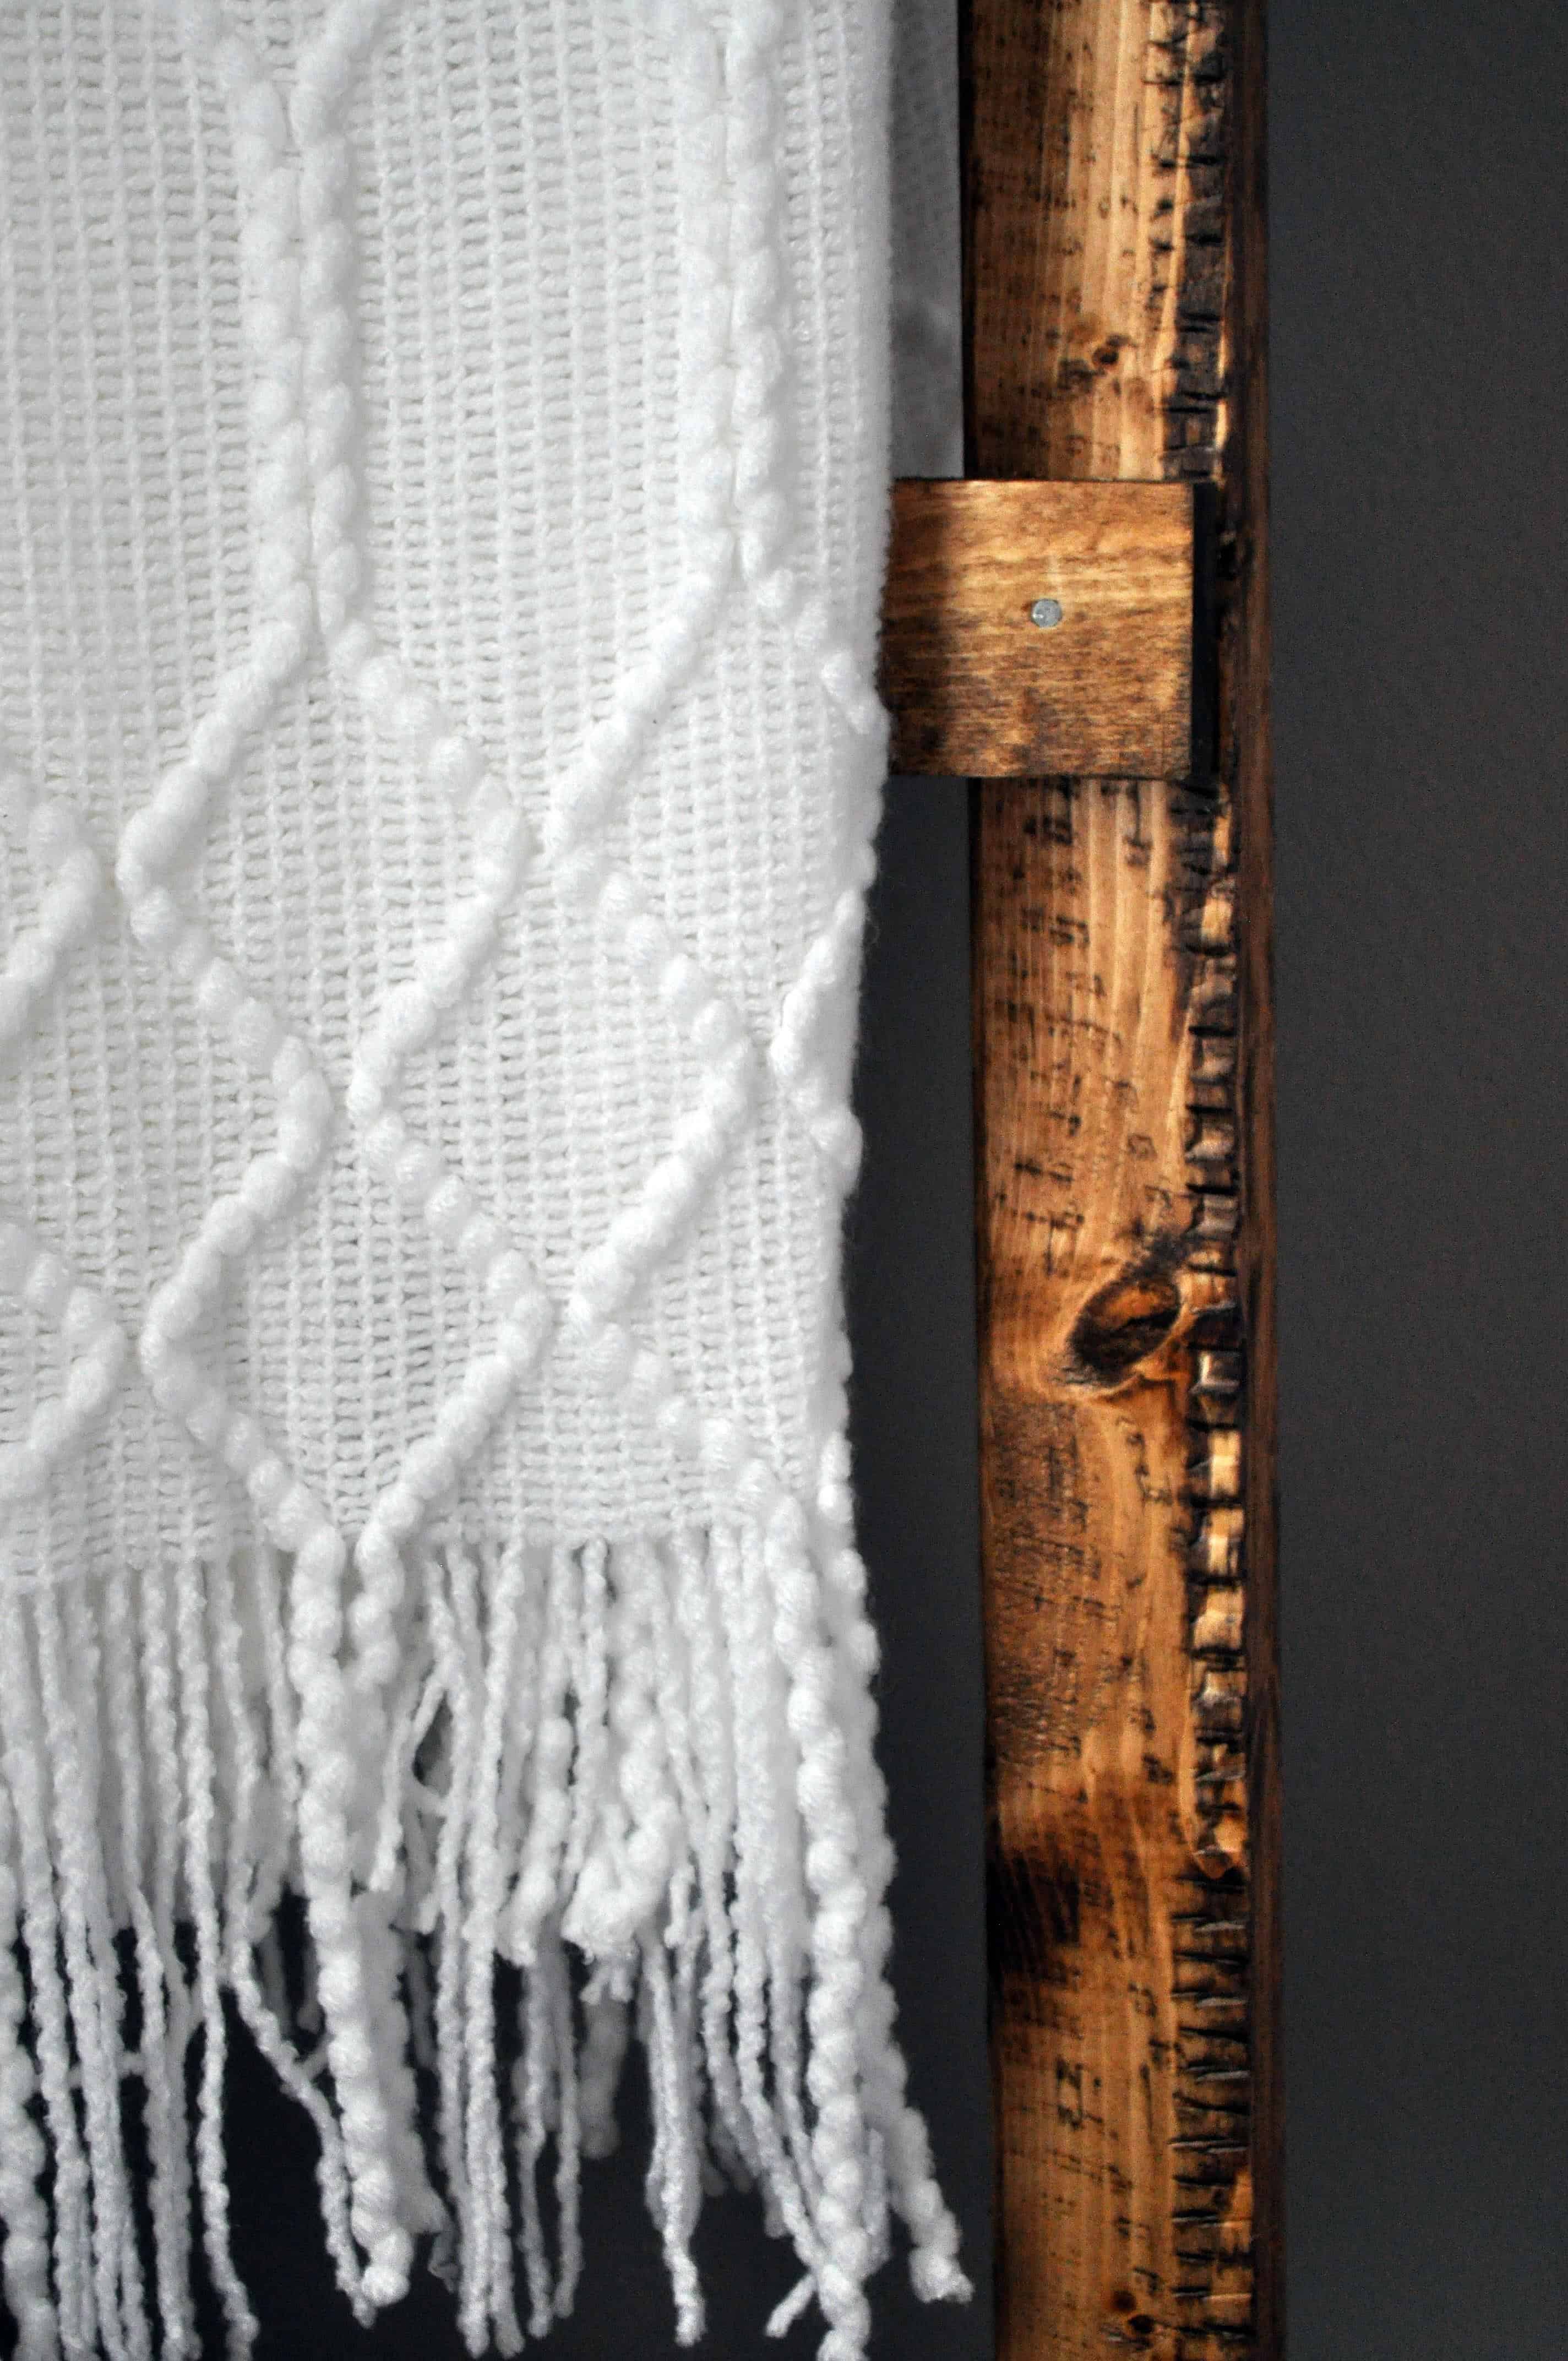
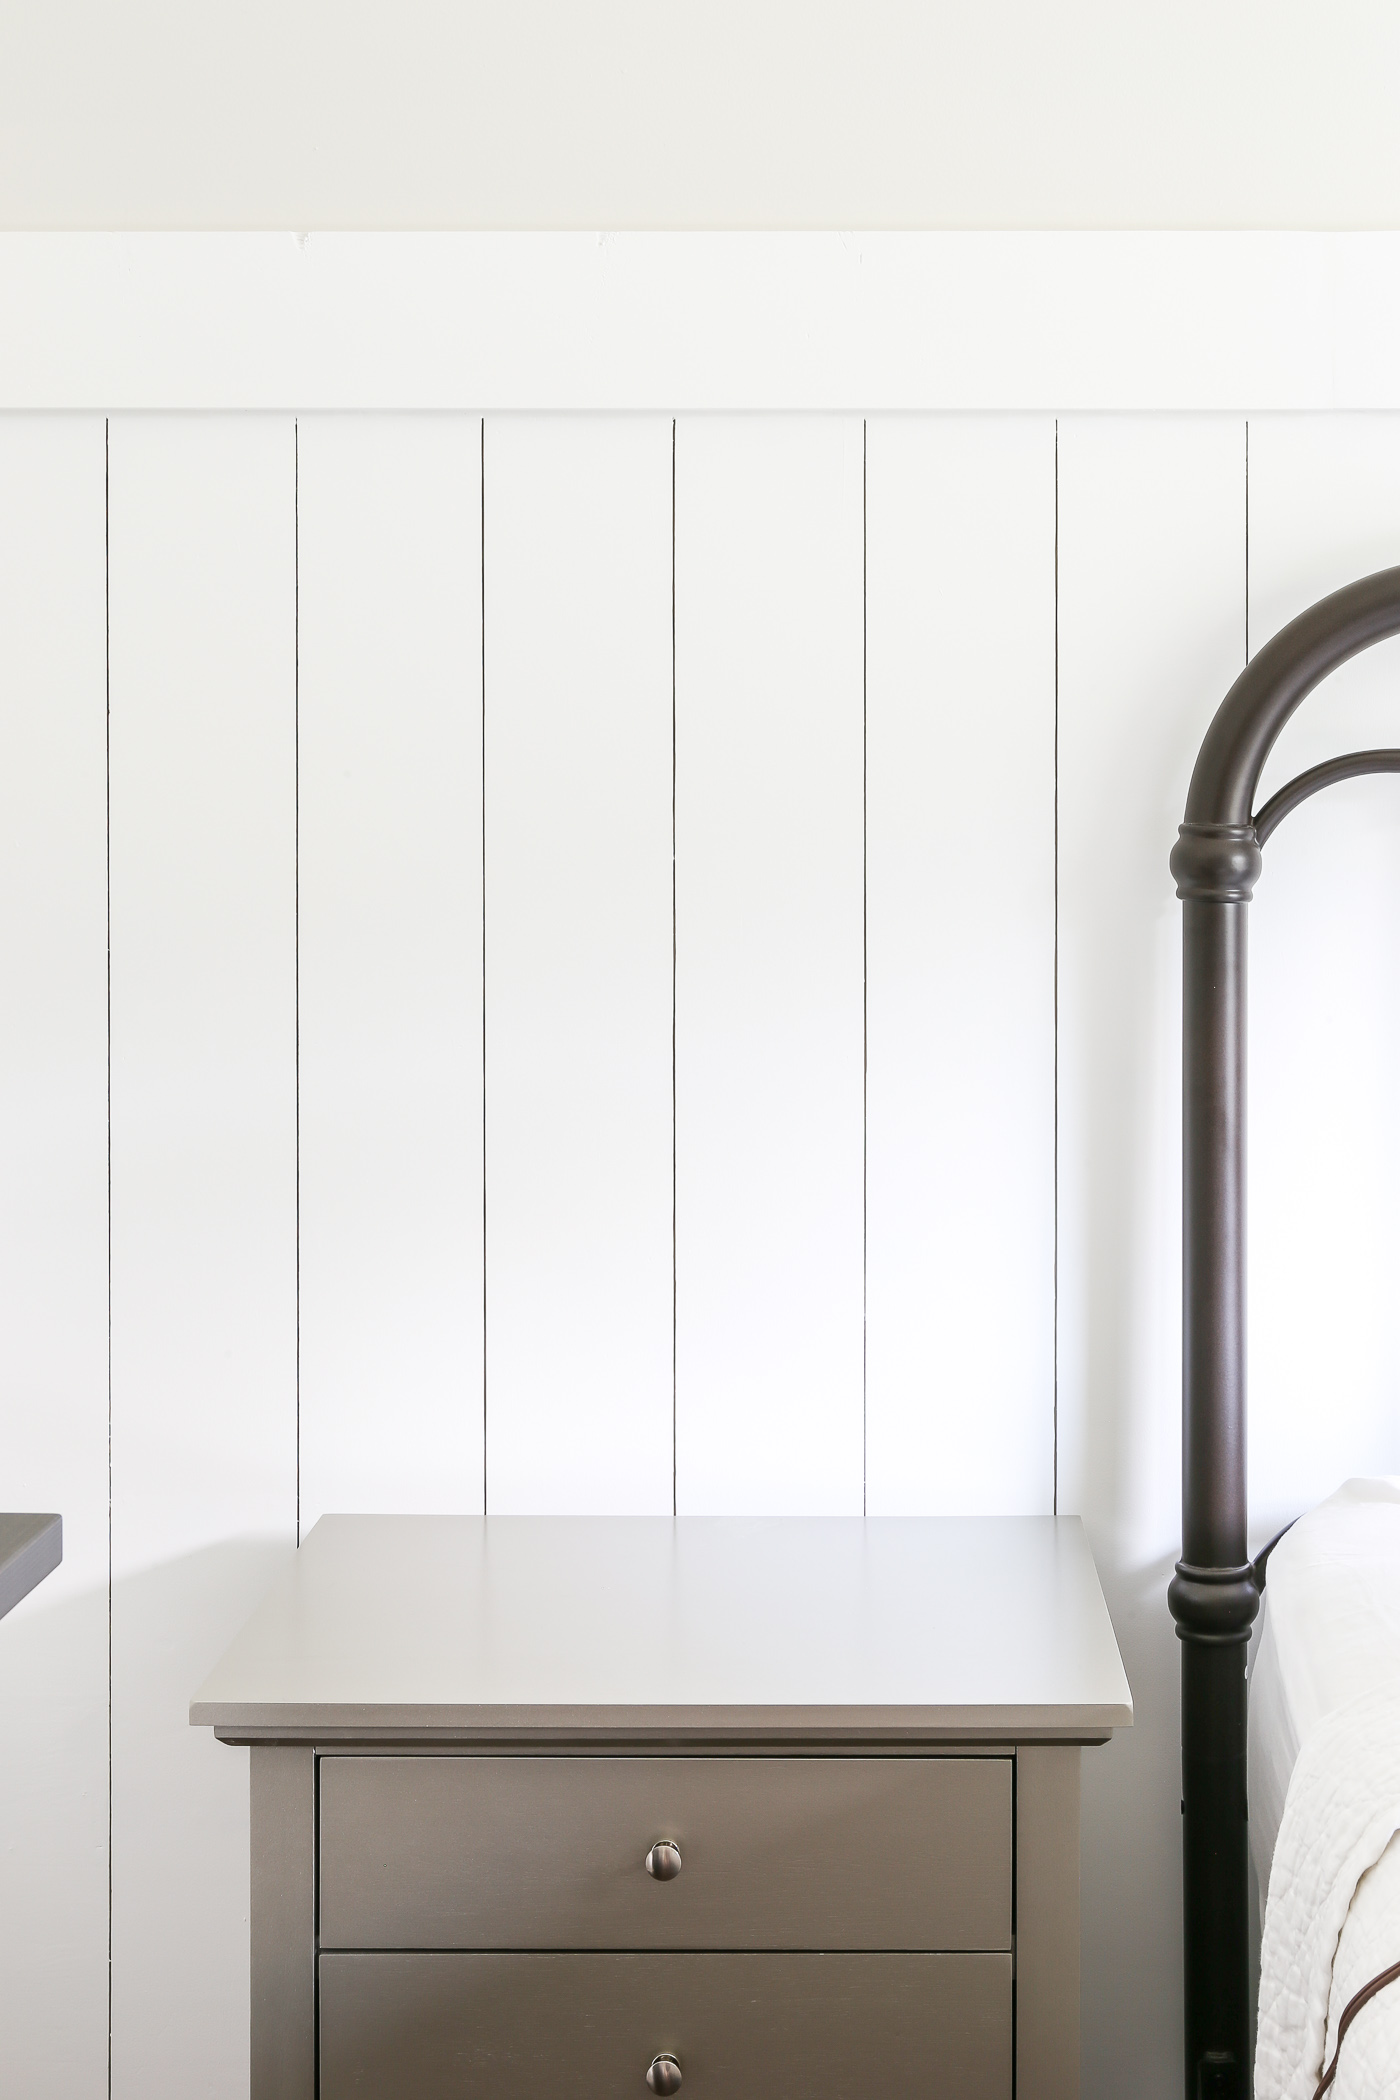
I headed to Lowes and grabbed some wood that I thought would work best for the look I was going for. I wanted the ladder to be tall but not too chunky, if that makes sense. I ended up getting Common 2×2 Premium Furring Strips for the two legs, and 1×2 Top Choice Whitewood Board for the steps across. We cut the strips to 6ft tall and each of the five steps were 17in across. I spaced them how I wanted them and just nailed them on top of the legs rather than to the insides. I like how it made the ladder look a bit more rustic.
I used Minwax Provincial wood stain on the ladder, which might be my new favorite stain. Well at least for now! I like the lighter look of it on this wood.
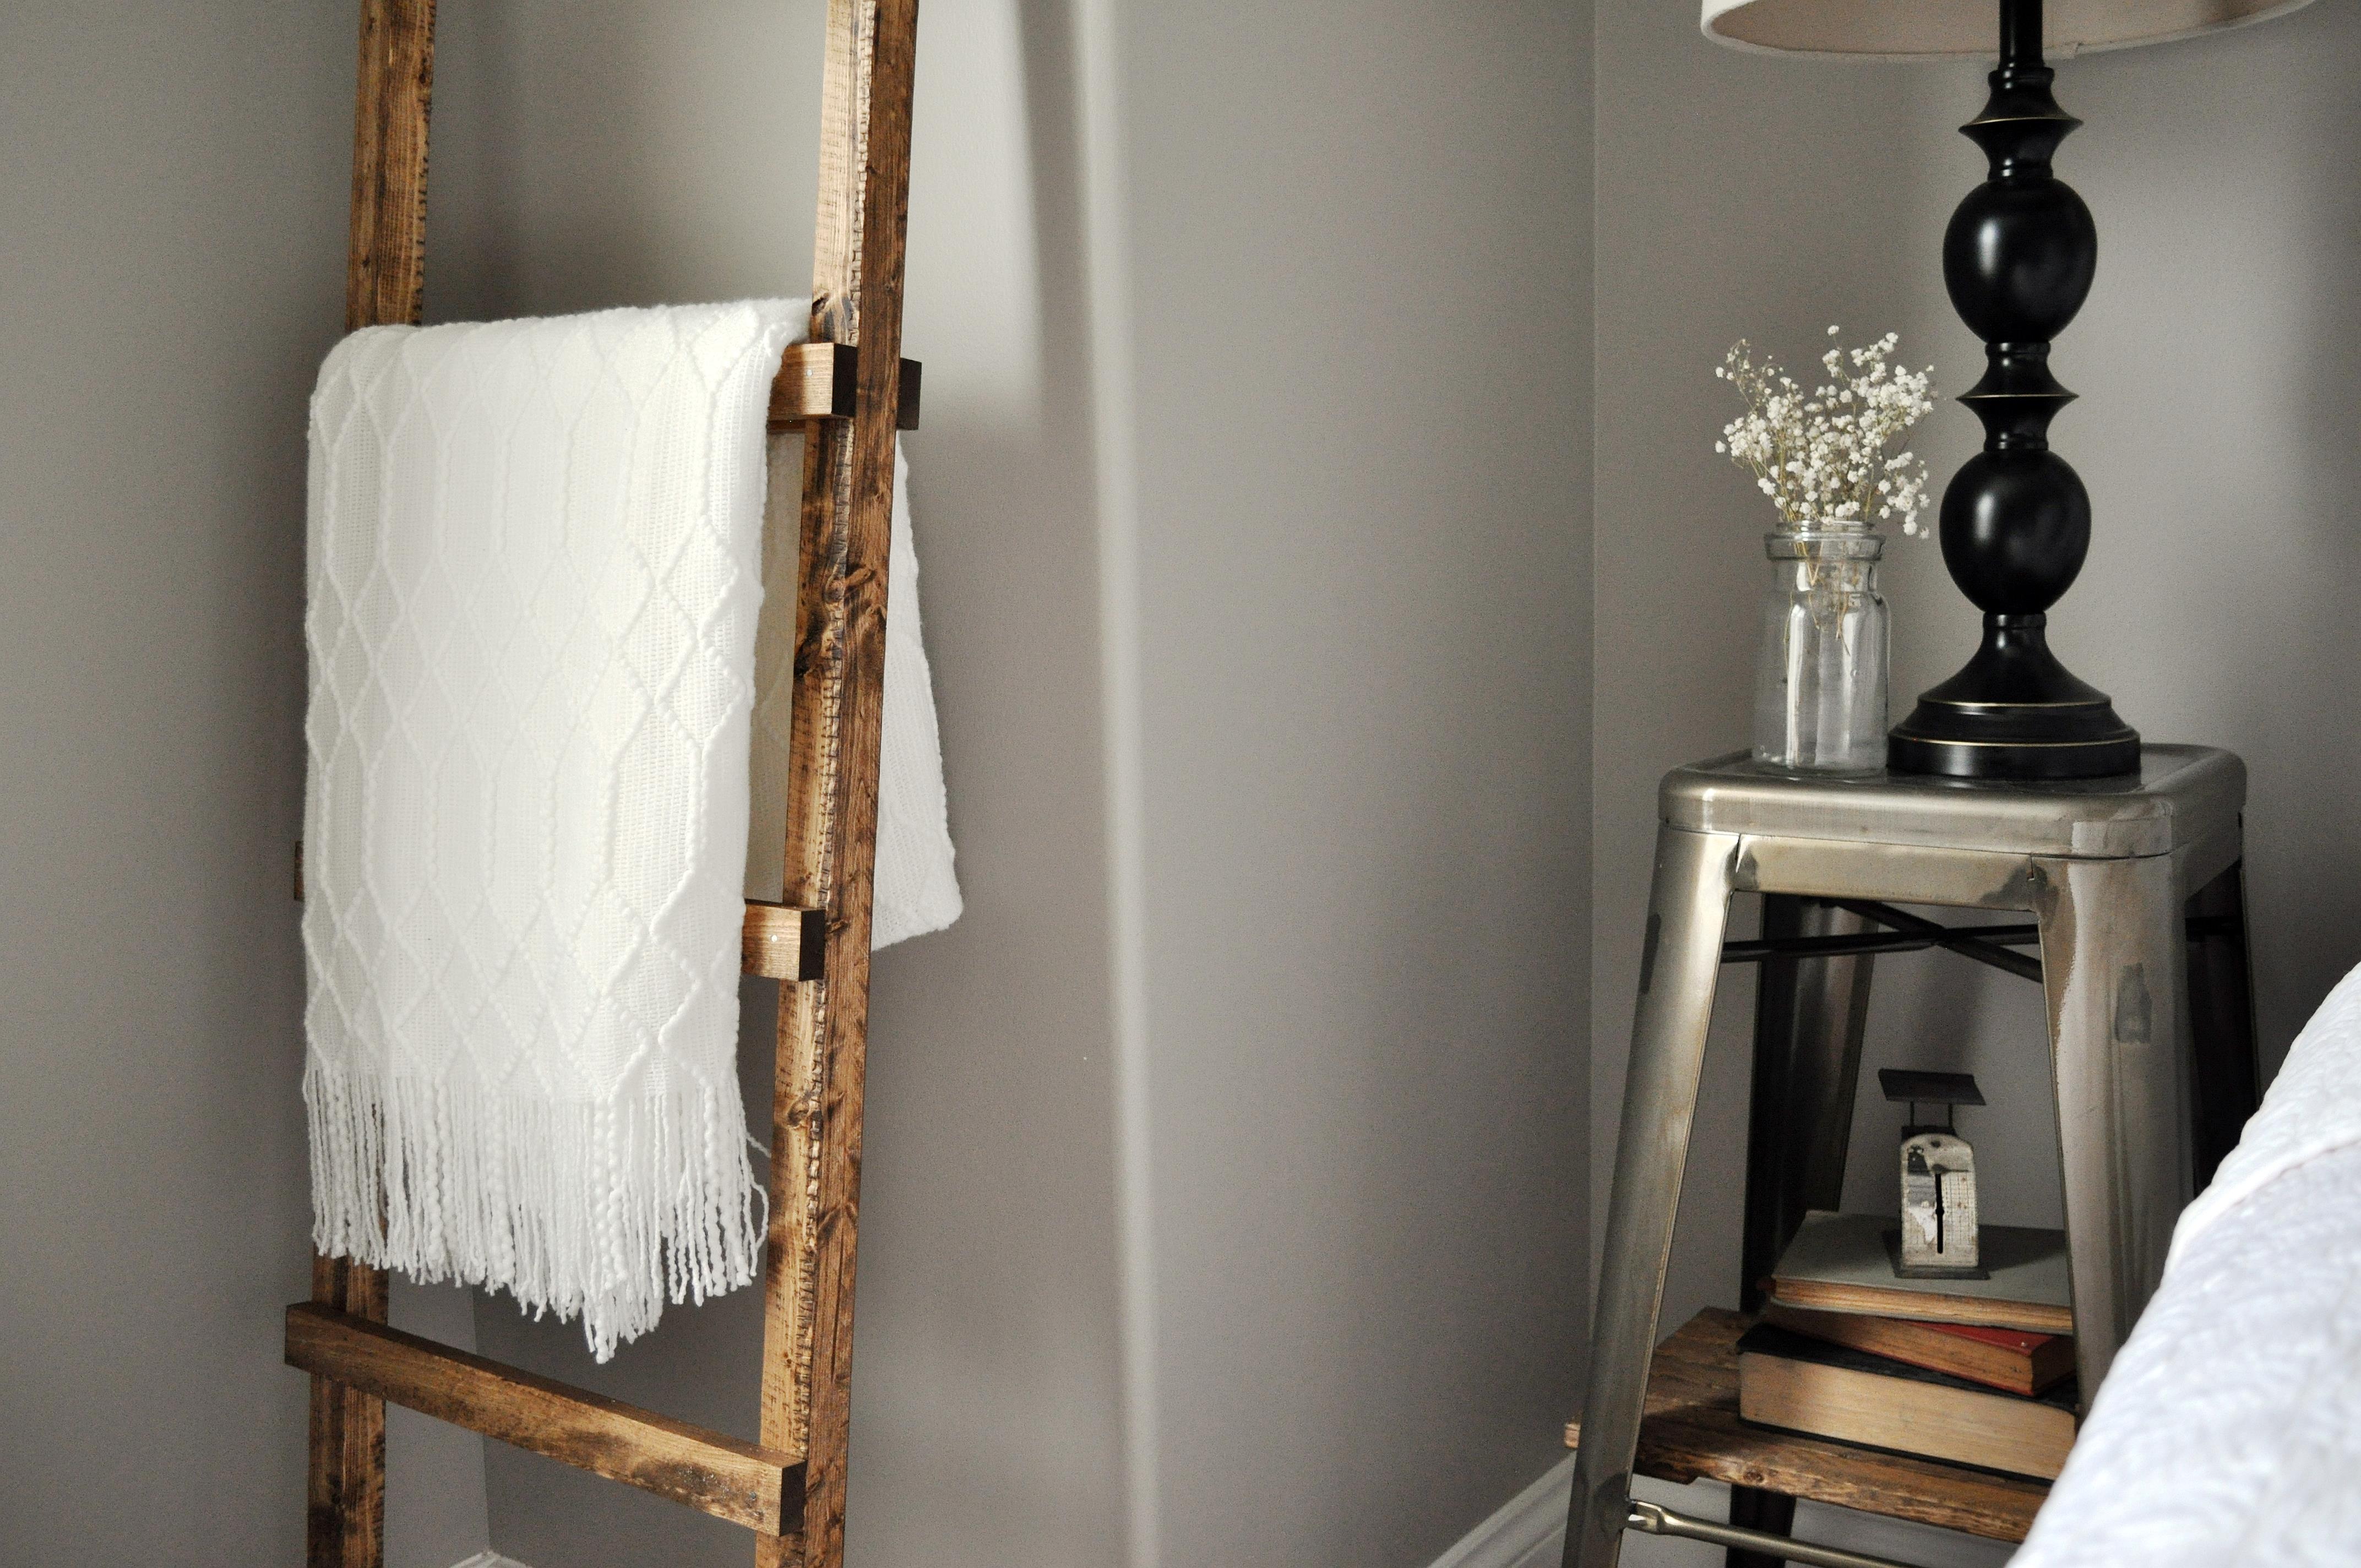
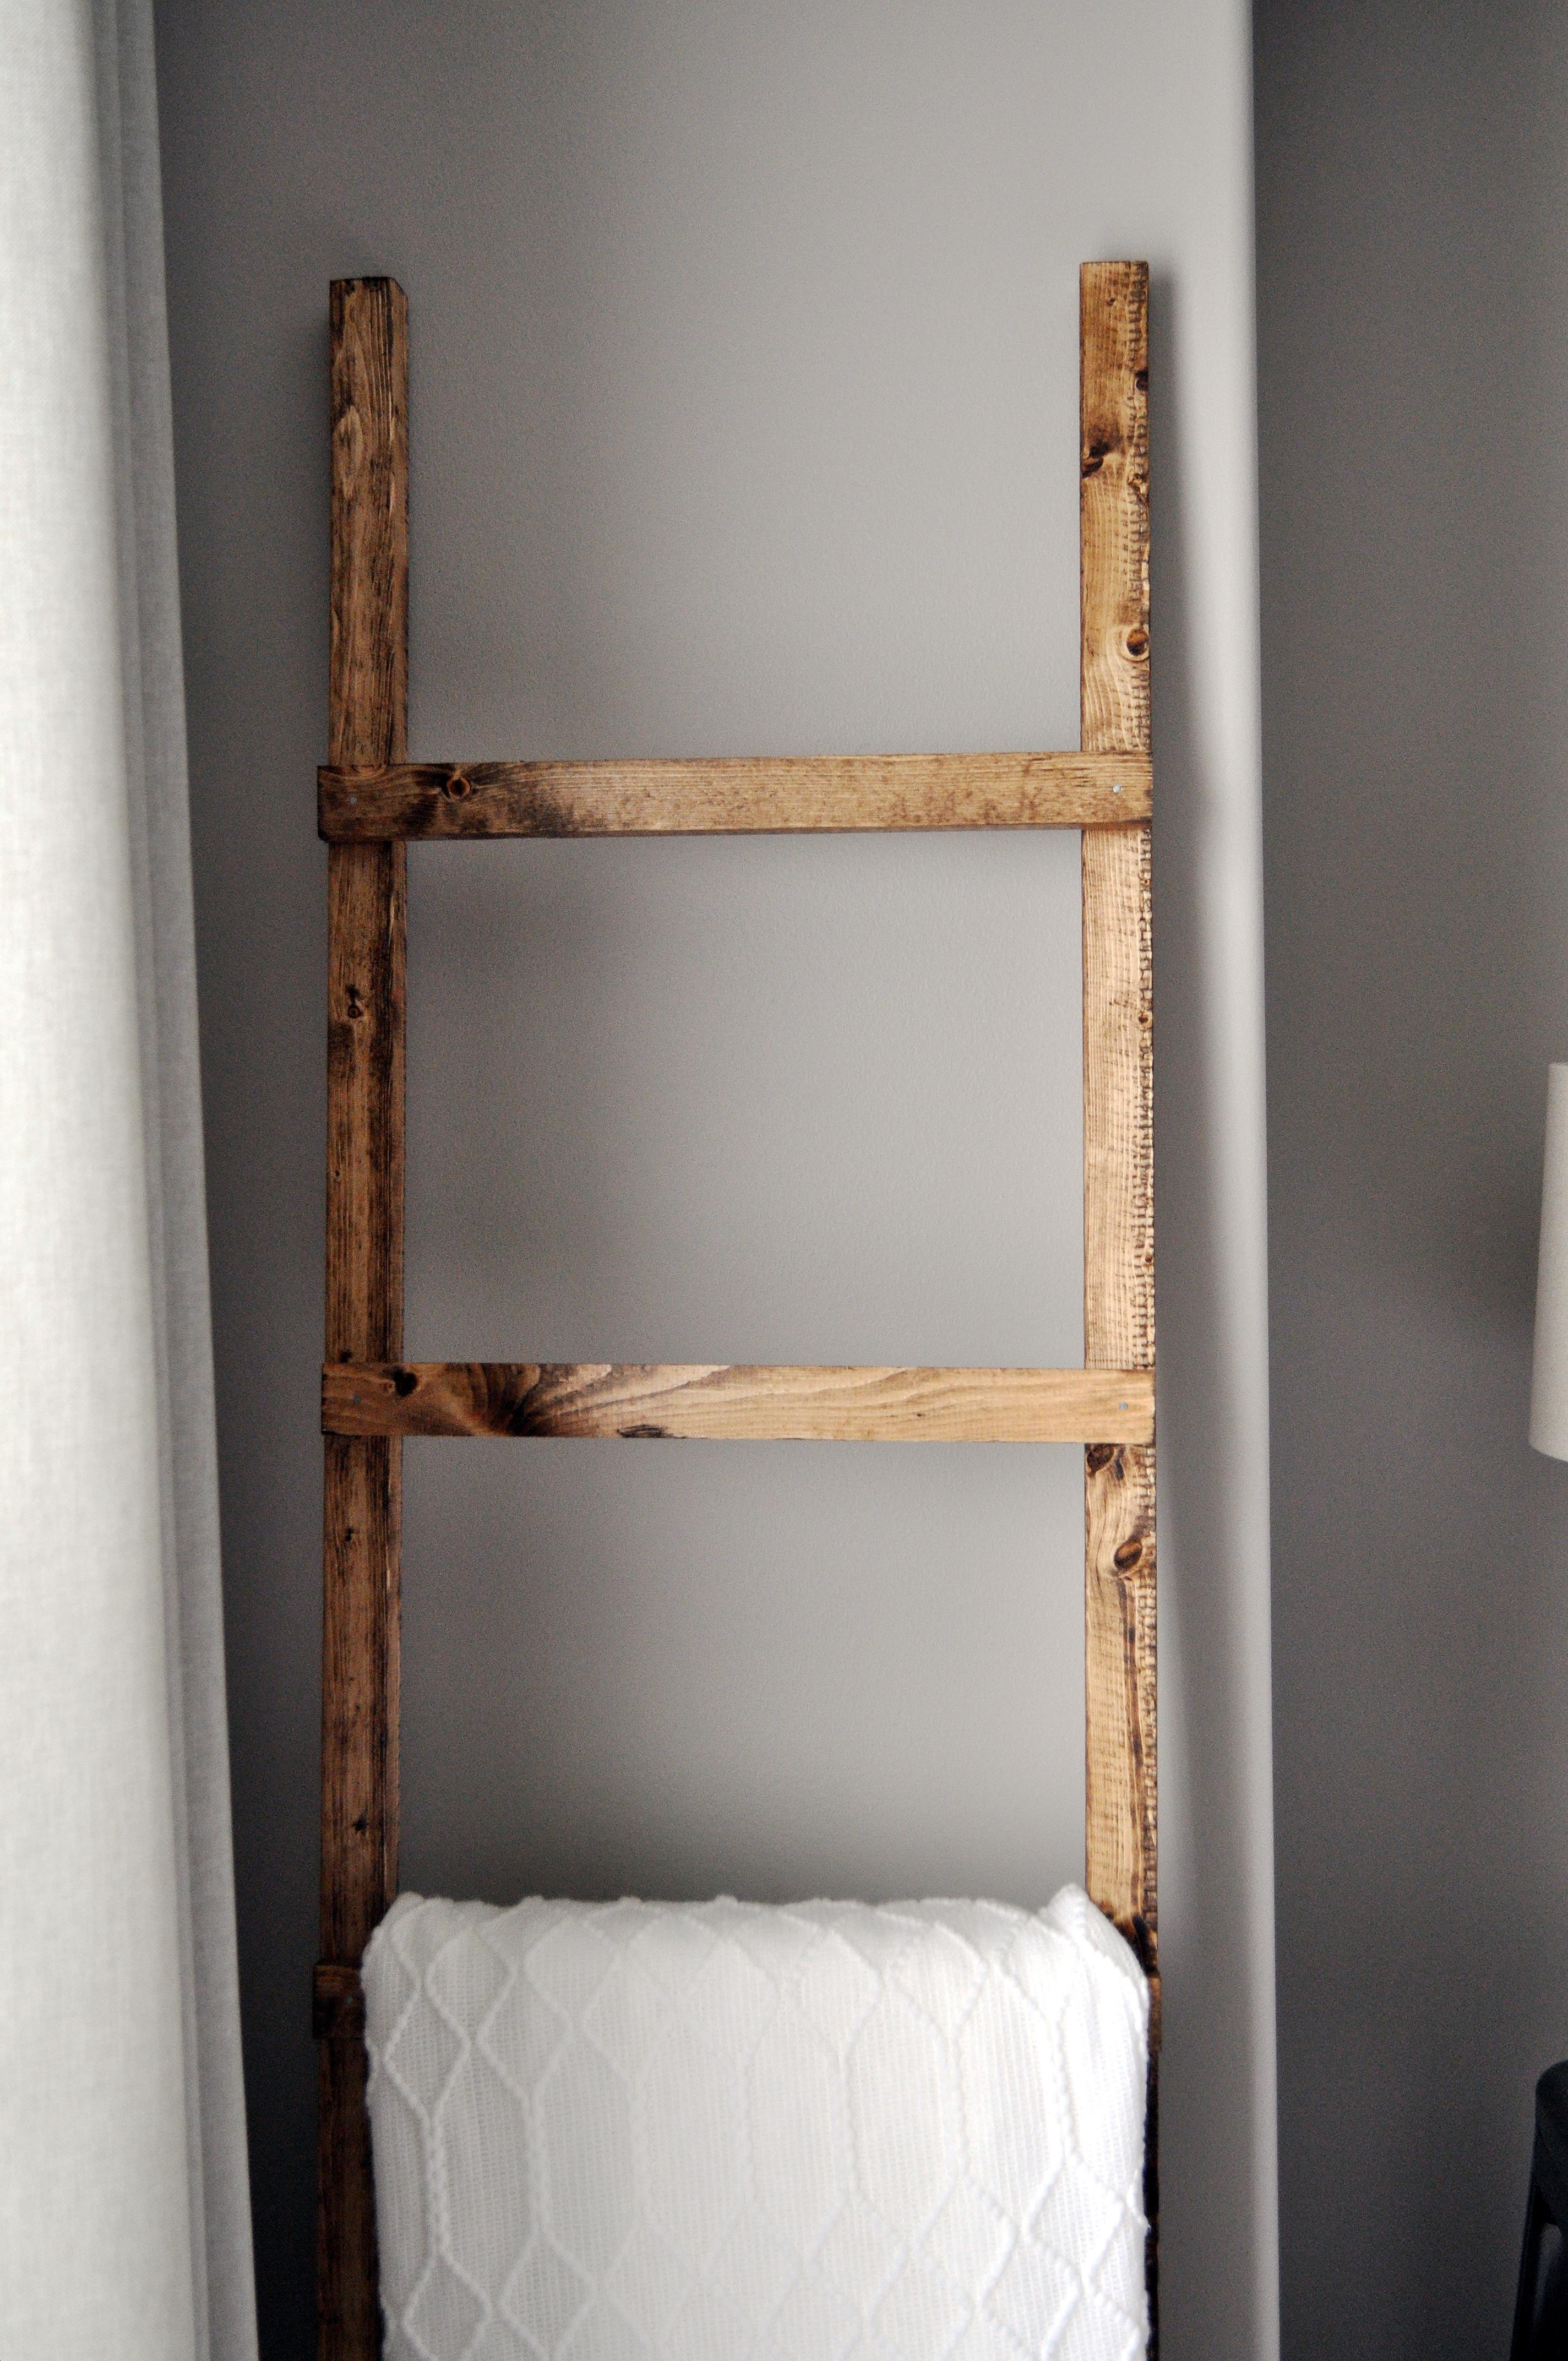
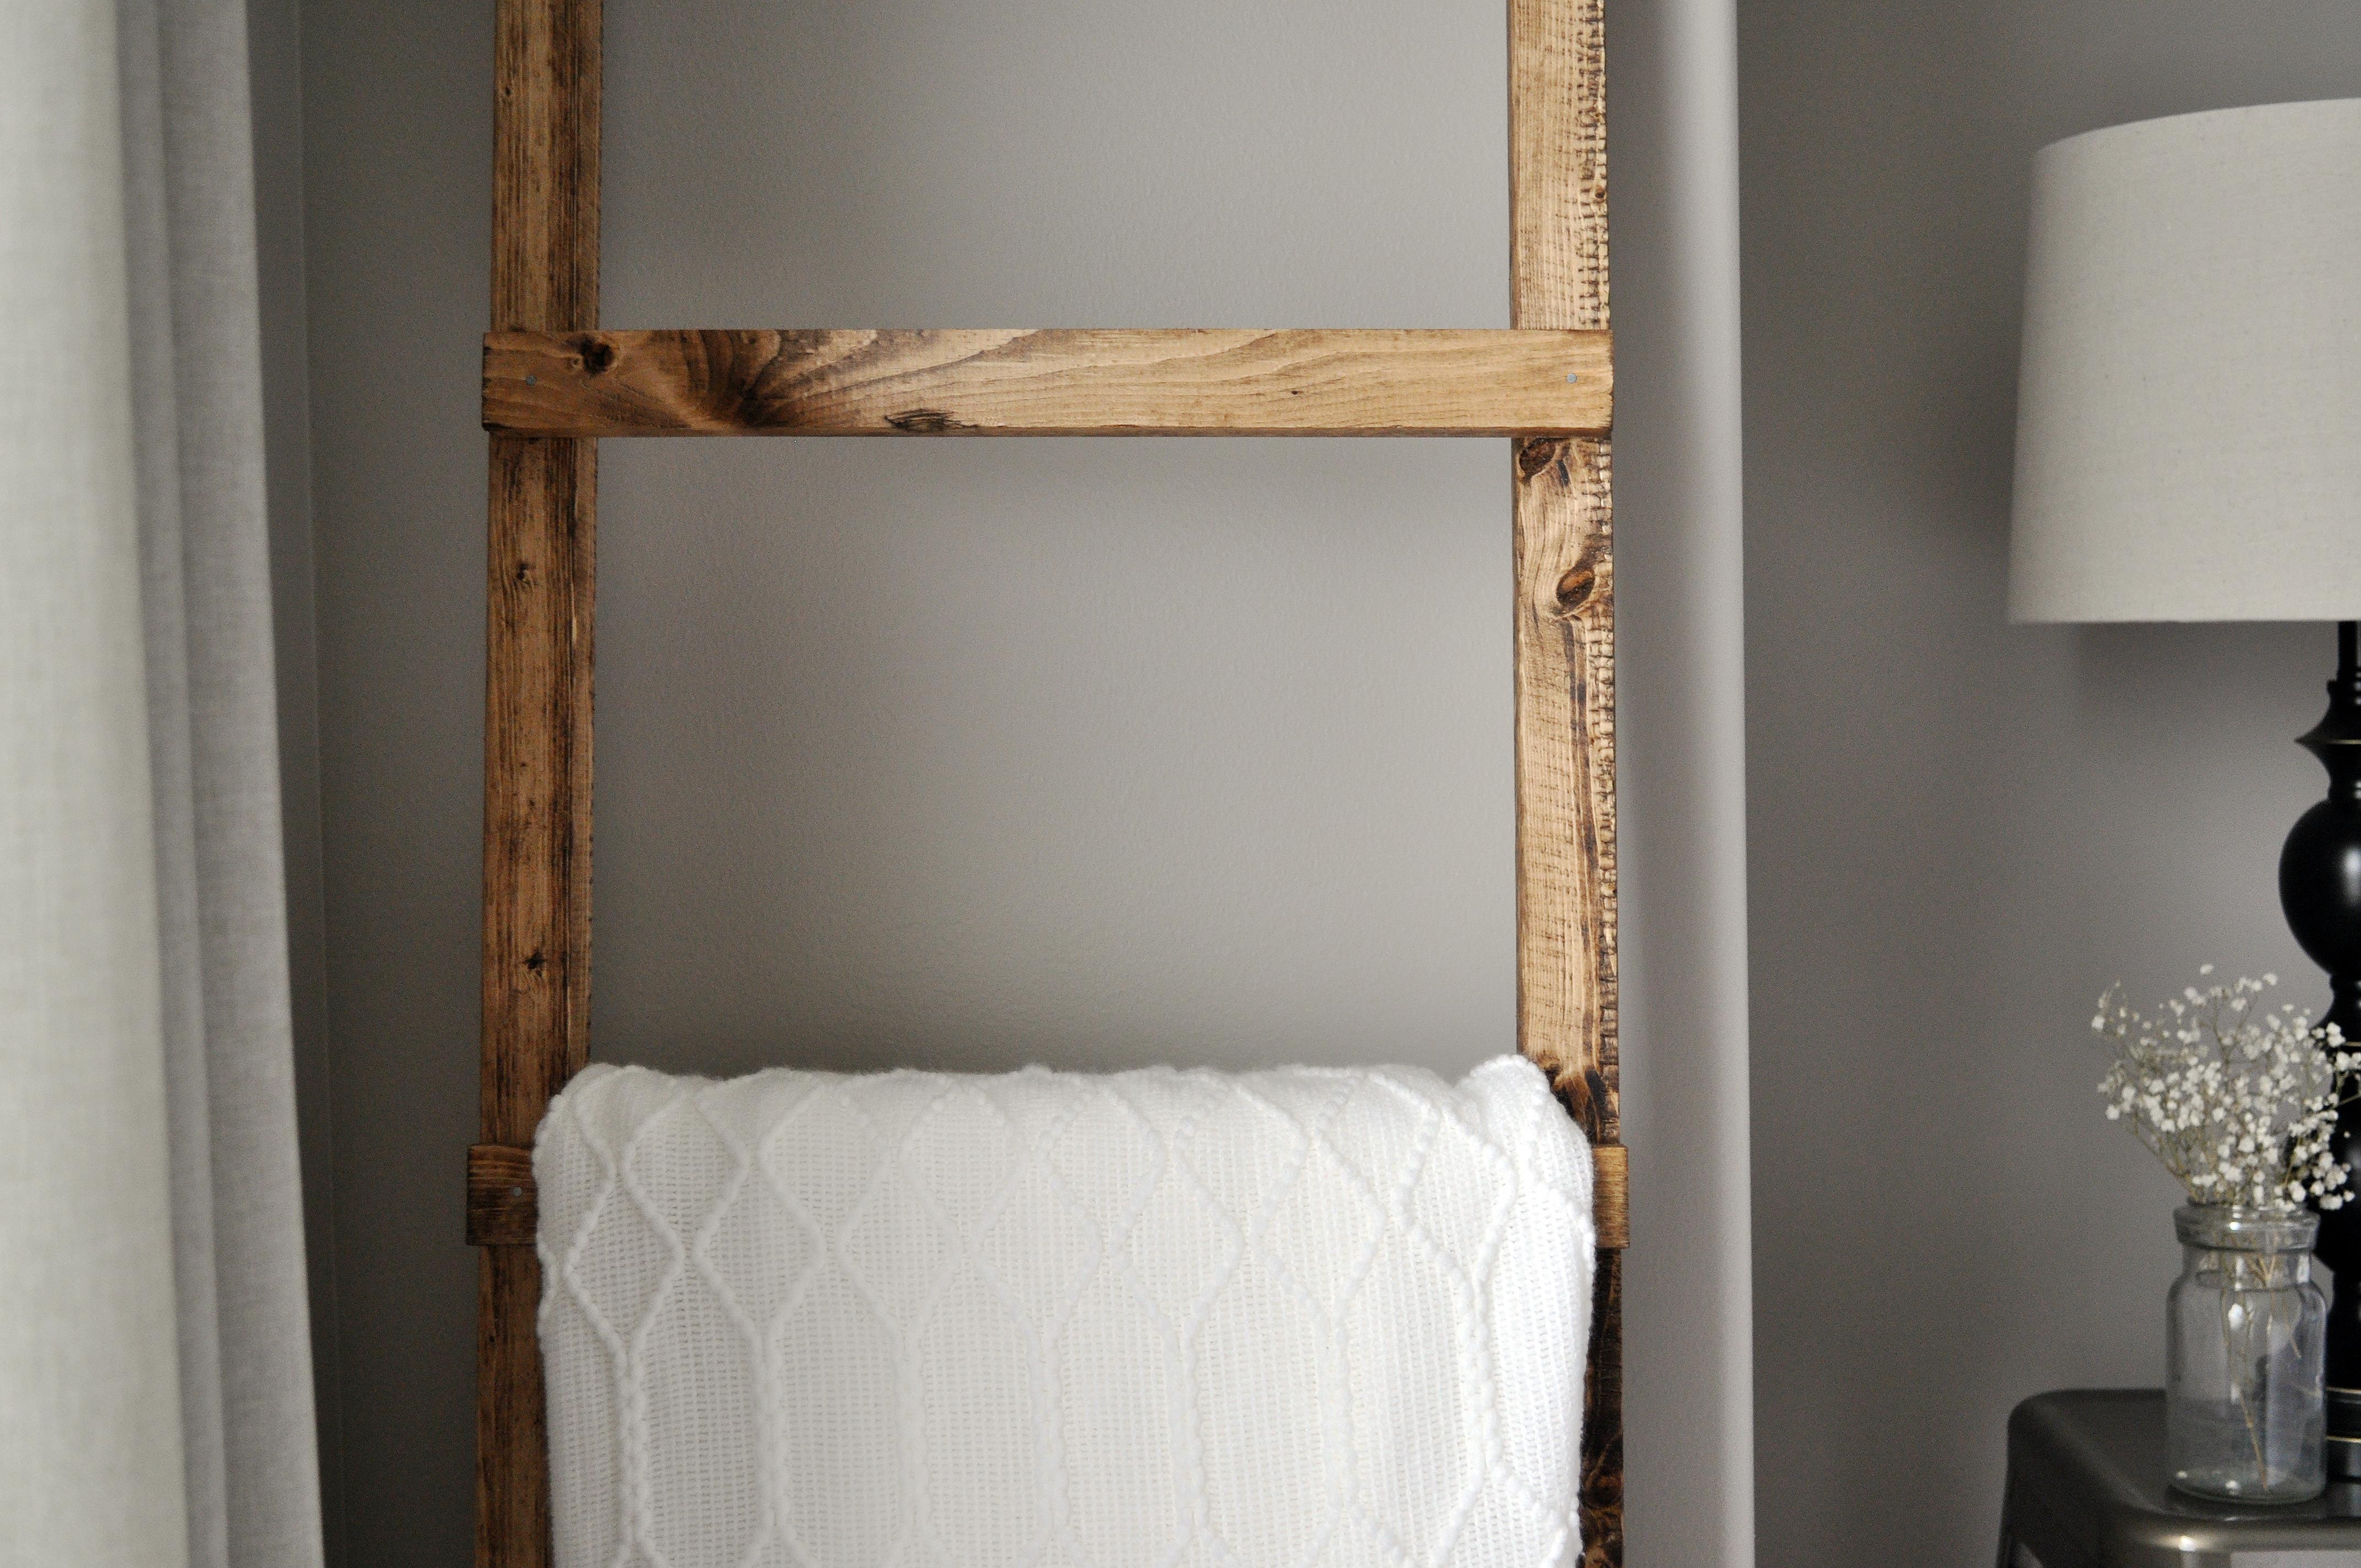
What do you think? I like the addition to our guest bedroom. Hope you do too!

![Repainting Old Wooden Furniture [Part One]](https://www.littleglassjar.com/wp-content/uploads/2015/04/astrip10-scaled.jpg)


What kind of nails did you use?
I used just plain thin common nails. Any really would work as long as they aren’t too thick or too long to split the wood.
Love it!! I’m hoping to make one for myself and a few as an Xmas present! Here’s hoping it turns out
I love the more simple, rustic designs for blanket ladders, it really adds character to a room. Lovely work, thanks for sharing!
Does the stain leave any marks on the blankets you put on it?
Nope! I let it dry COMPLETELY for a few days before I put any on it, especially the white ones 🙂
Awesome! I just bought try wood to try this. Hiw far apart are your rungs?
Awesome! There is a 10.5 inch gap in between each rung 🙂
Ashely! I love this!!! I too did a blanket ladder a while back but not from scratch like you! You are making me want to take on this simple DIY project! I would love to collaborate with you!! I am a mommy blogger emphasizing in DIY projects and interior design! Would love for you to check it out!!
http://www.tessakirby.com
Tessa! Your blog is beautiful! I would love to collaborate! Shoot me an email and maybe we can come up with something! Xo!
Finally one i can do! What REALLY caught my eye was your perfect grey shade on your wall- what brand / color is this as I’m in process of selecting one for 2 of my main living areas and this is the perfect grey without it looking blue (a never ending battle)
I love this! I definitely want to make it but did you also nail a “step” on the back side of the ladder (in the very middle, where the blanket is hanging)?
Hey there! Yes we did, I probably should have added that! It’s just for a little more stability because I wasn’t sure how heavy the blankets I was going to hang on it were 🙂
Could you explained the “step” you mentioned please? I couldn’t picture it in my head.
I love the rustic, simplicity of this. It’s beautiful!
Love it! Great job!
Thank you so much Wendy!!!
I LOVE THIS!! GENIUS!
Oh girl, you are too kind! Thanks love!
Great idea and budget friendly:+)
Yes! Very budget friendly. The wood cost less than 5 bucks!
You’re the best!! I’ve been trying to find something to add to our Master bedroom and this is IT!
Yay!!! So glad this will work!!! It was super easy to make! Let me know if you need help girl! Xoxo!
Love it!!!
Thank you my deary!