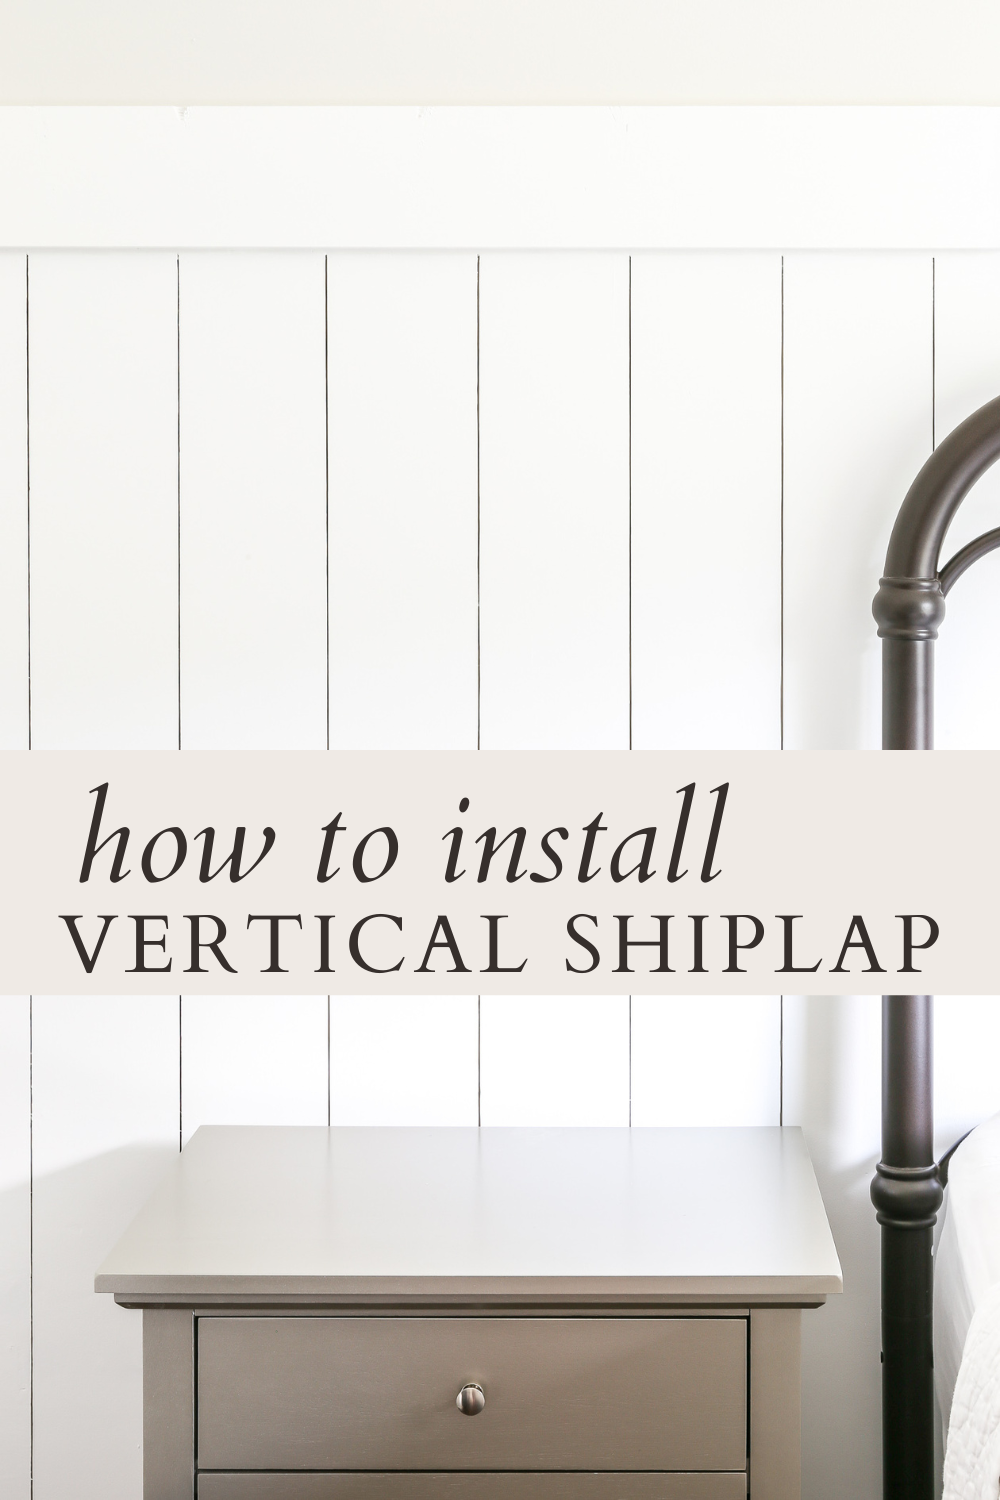
How to Install Vertical Shiplap
An easy and affordable tutorial on how to install vertical shiplap in any room. Such a quick way to add charm and character to your home!
There are so many different ways to update your home to add a bit more character and charm. One of the best ways I have found, is by adding some kind of molding to your walls to give it more texture and interest.
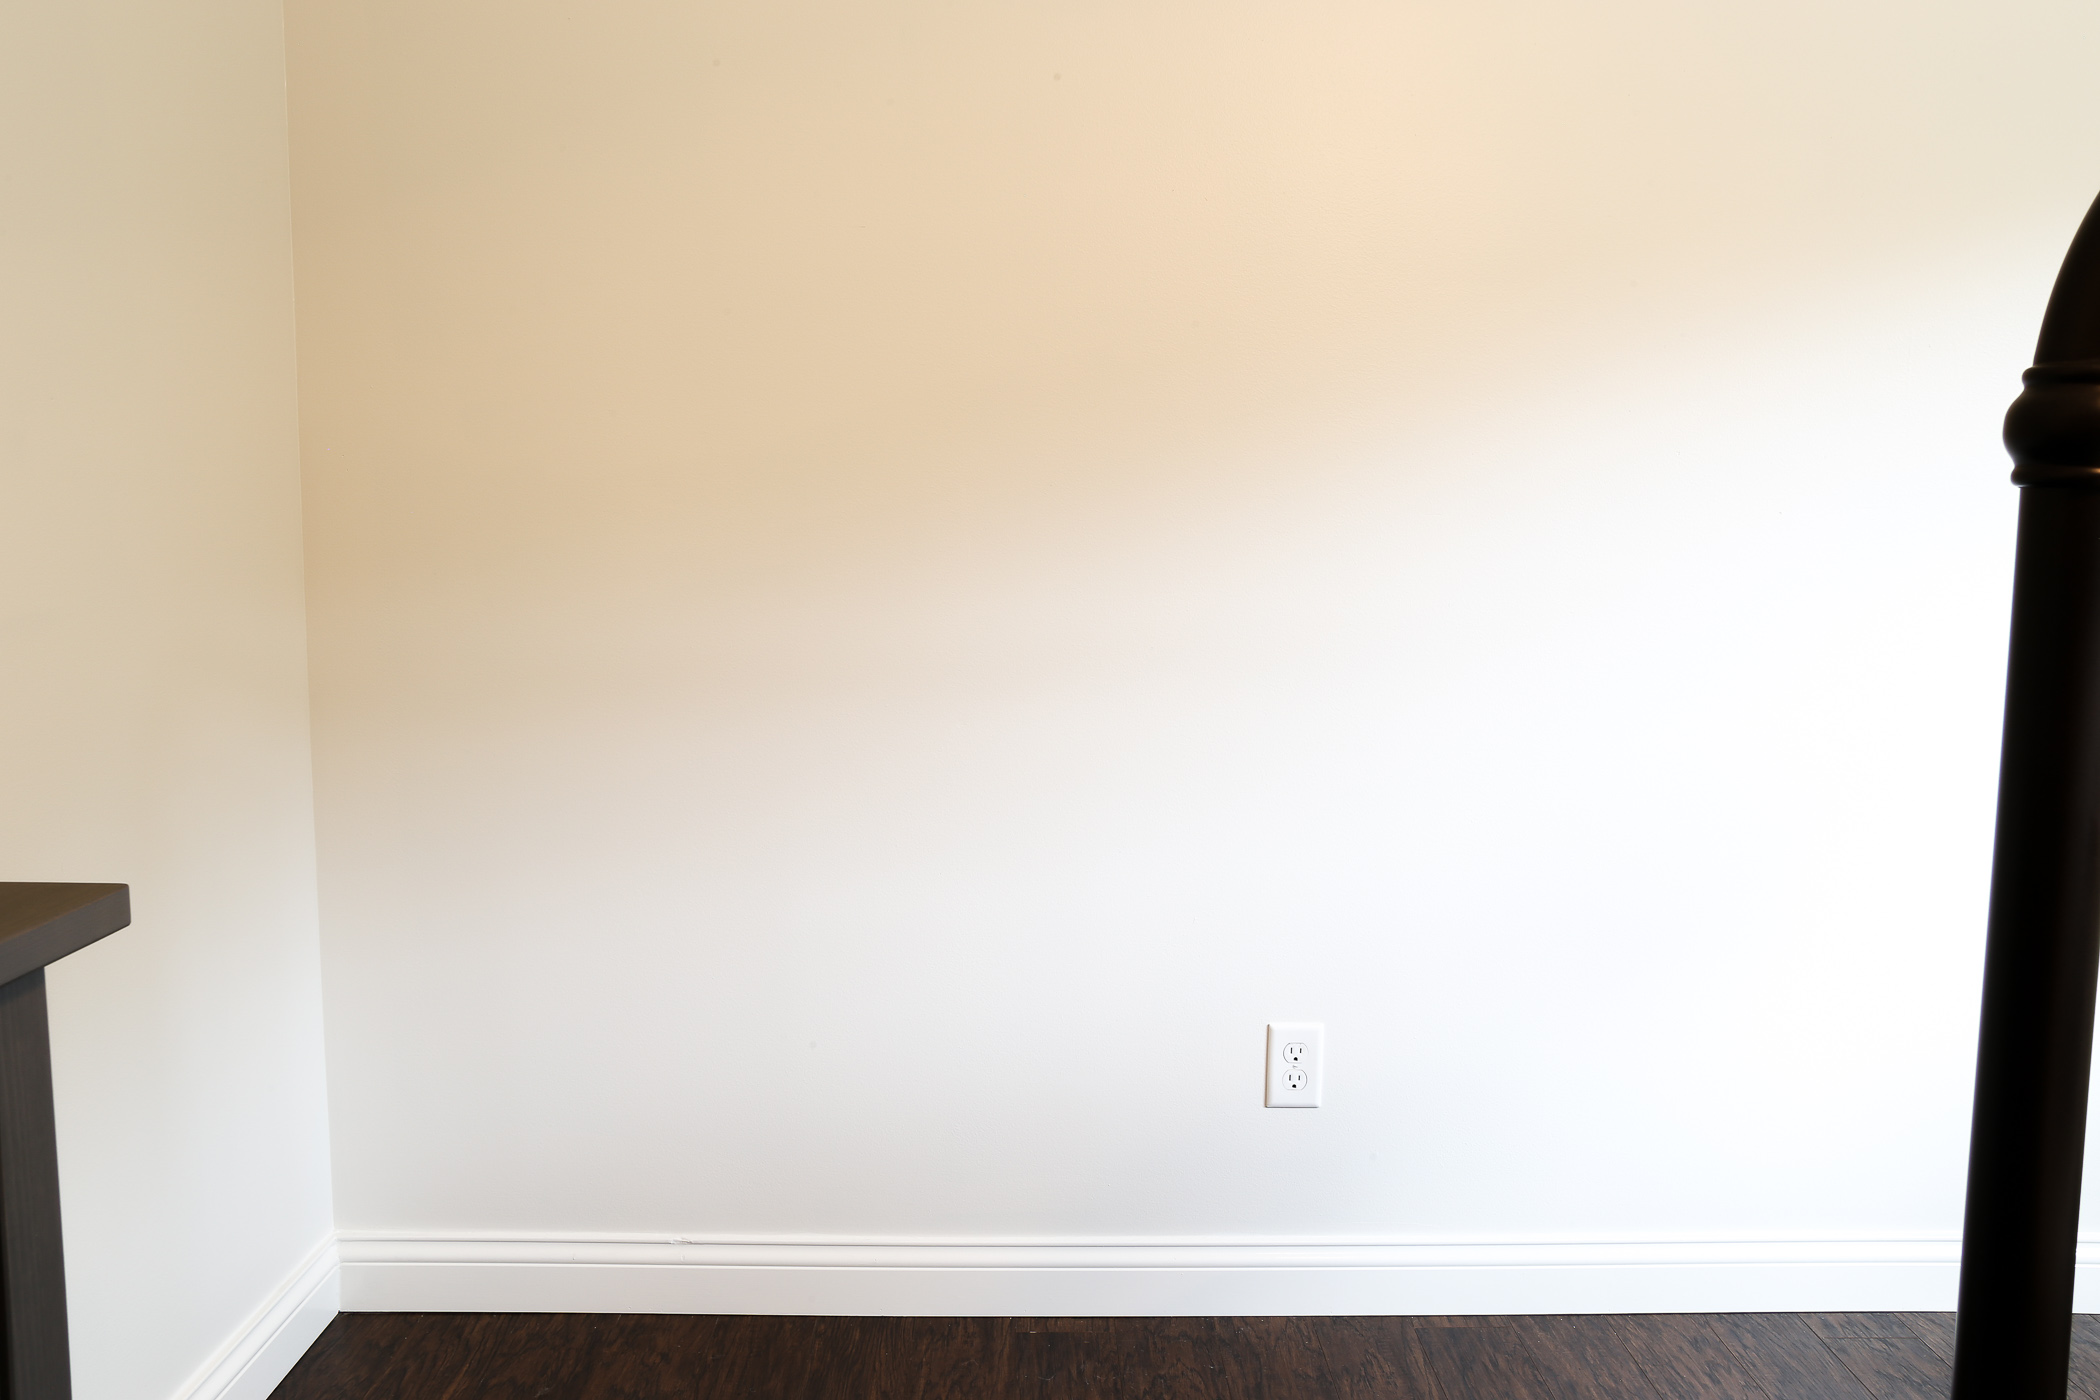
Our builder grade house definitely needed all the help it could get when we first bought it. It was your typical cookie cutter house with not one ounce of anything special.
Naturally, most people start with the walls. They add paint and call it a day. But if you take it a step further and add some molding before painting, it’s becomes like a completely different space.
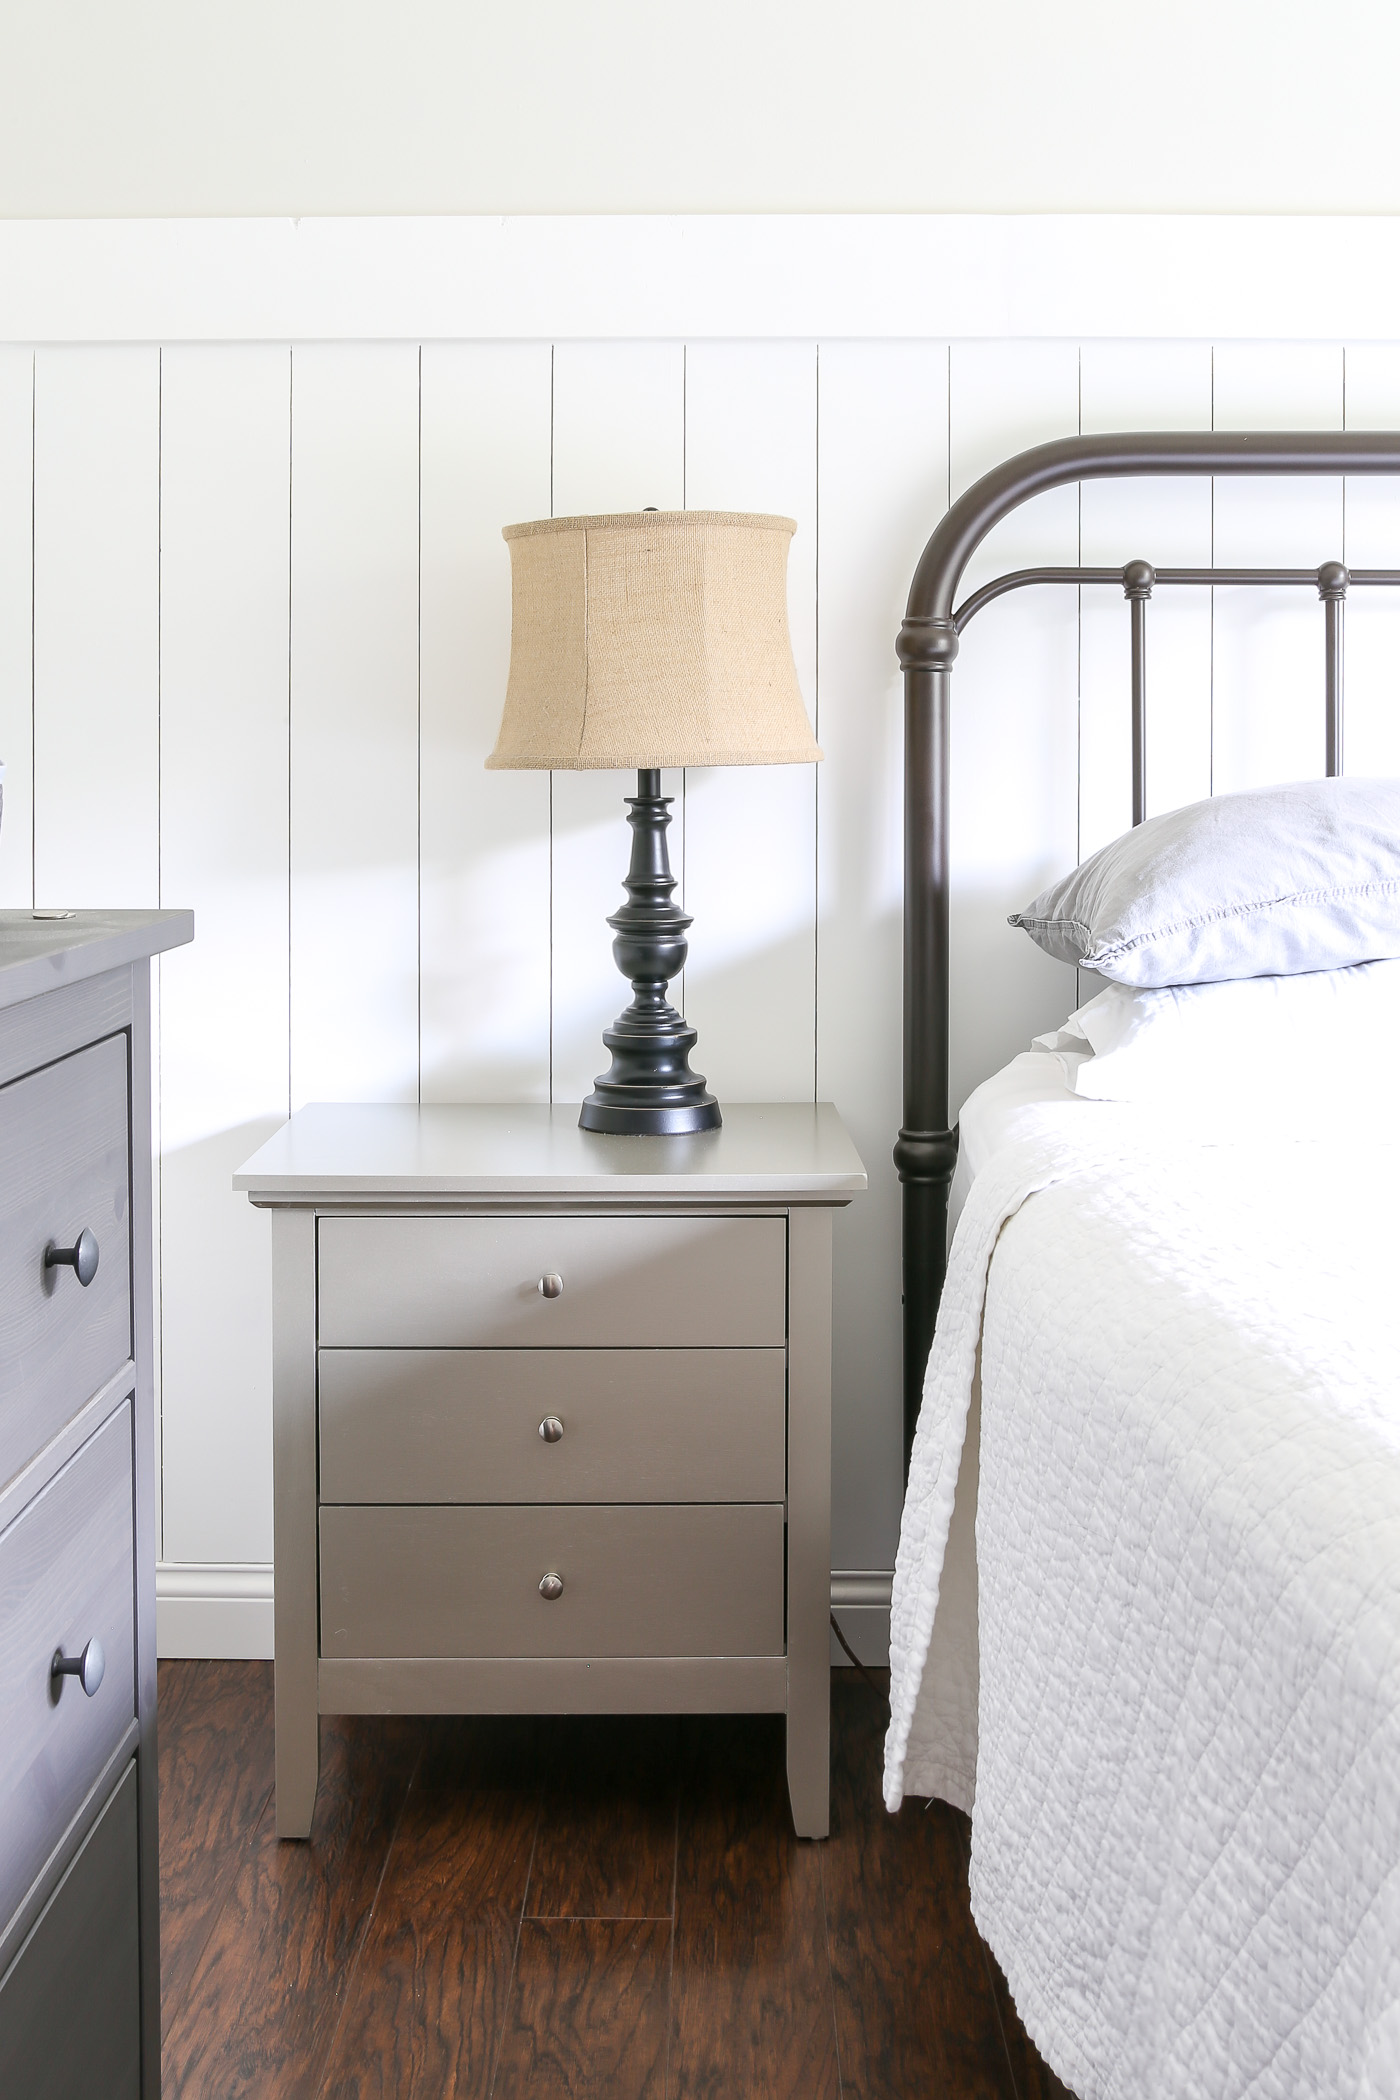
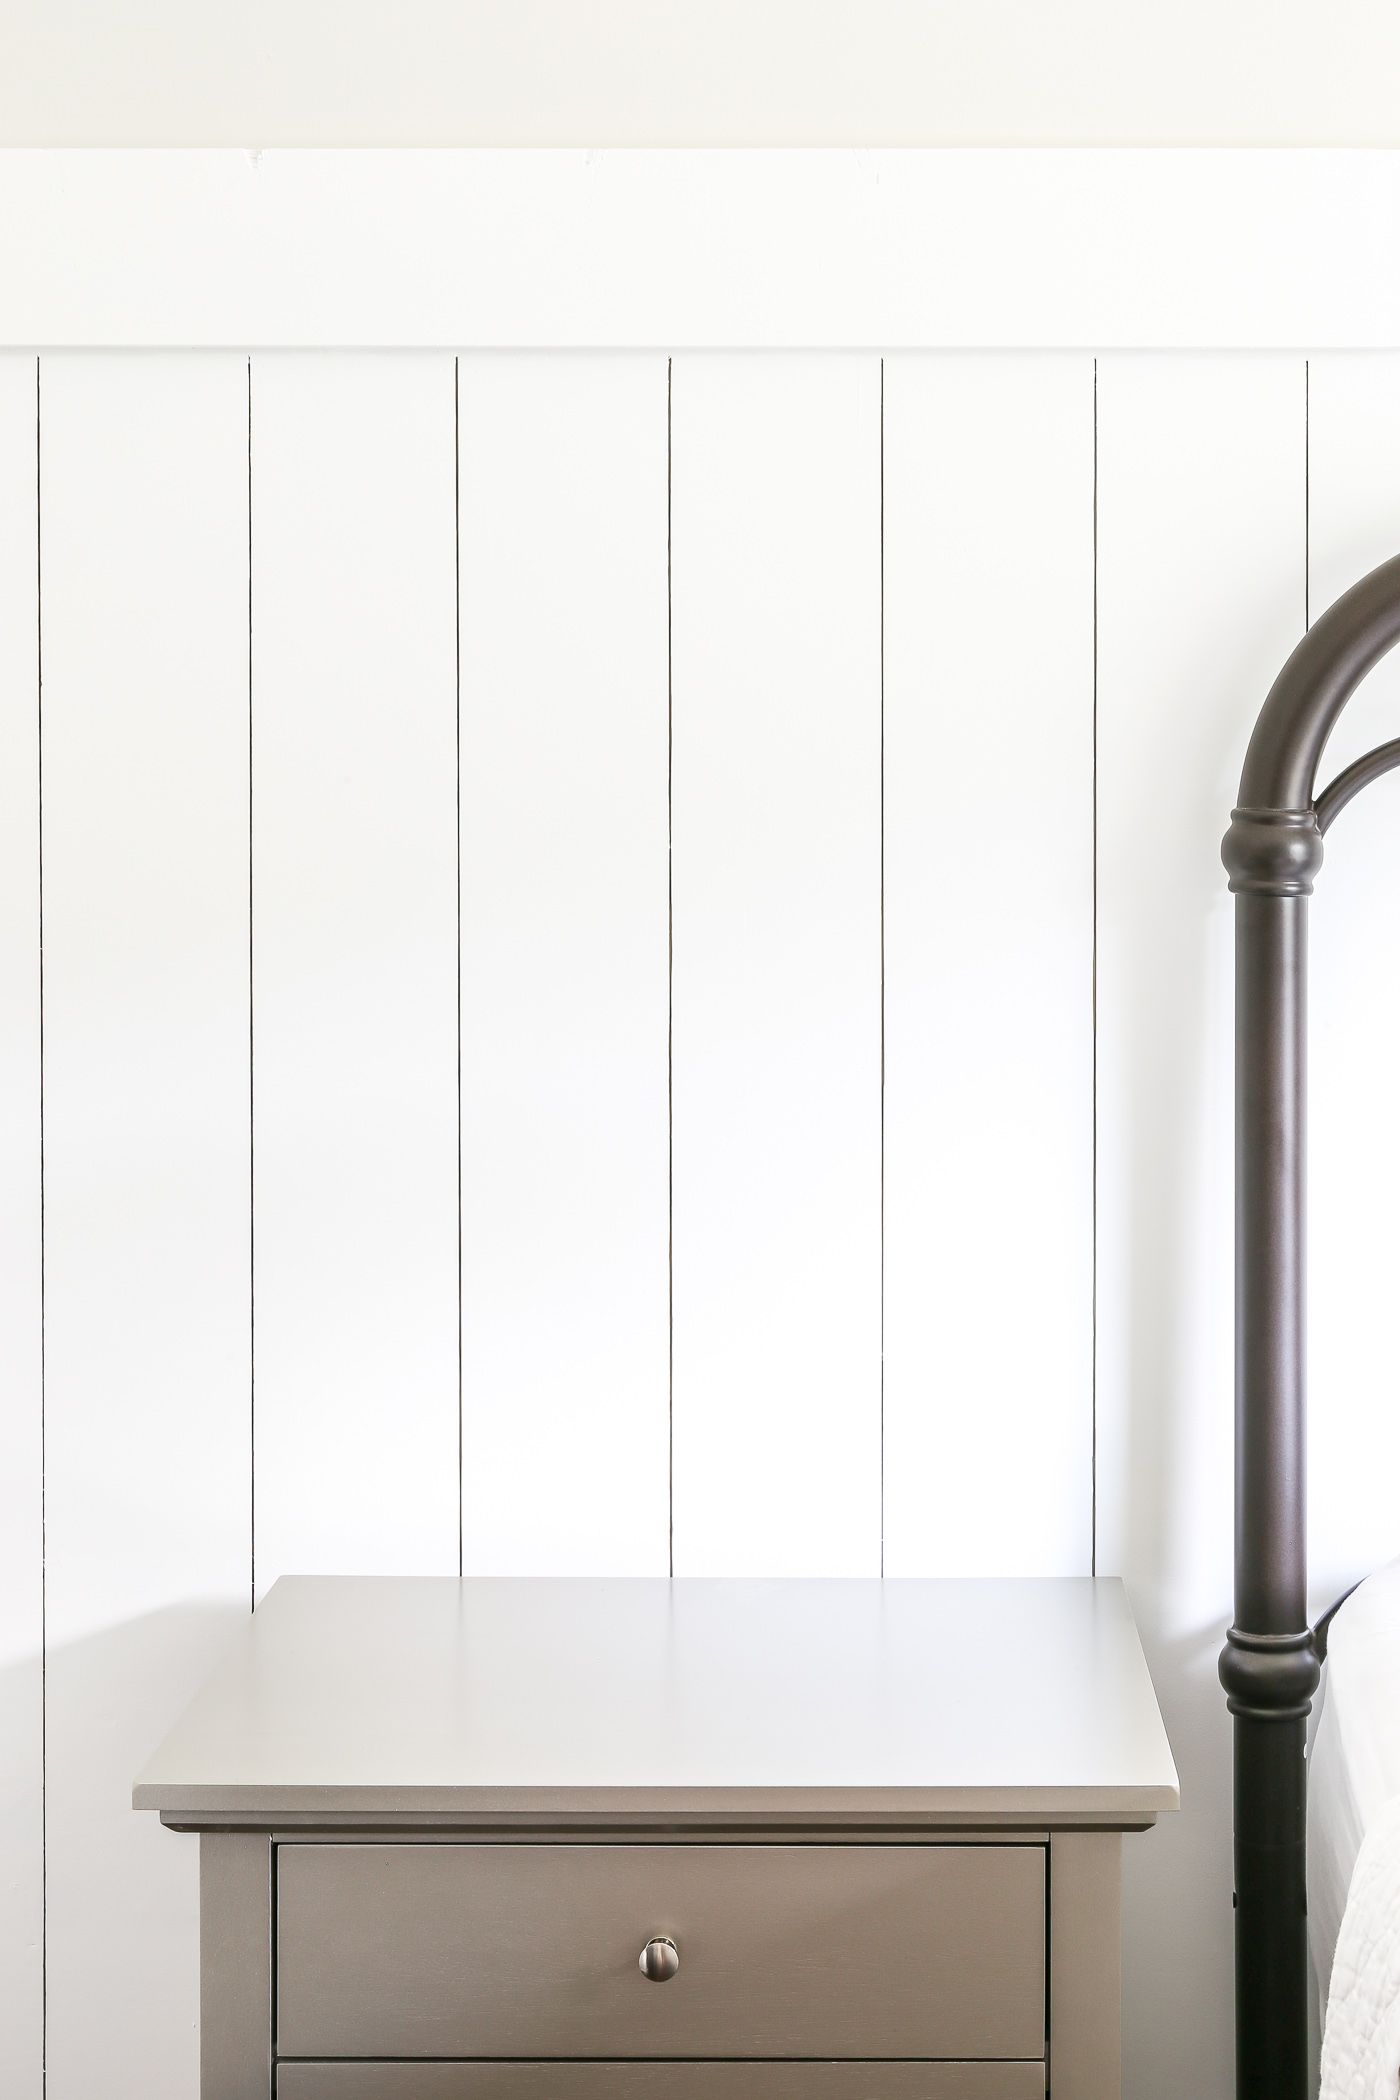
So far we have added wainscoting to a couple rooms, and board and batten to our living room and hallway. Now we can add vertical shiplap to the list! And I love how it changed the room instantly!
Supplies Needed for Vertical Shiplap
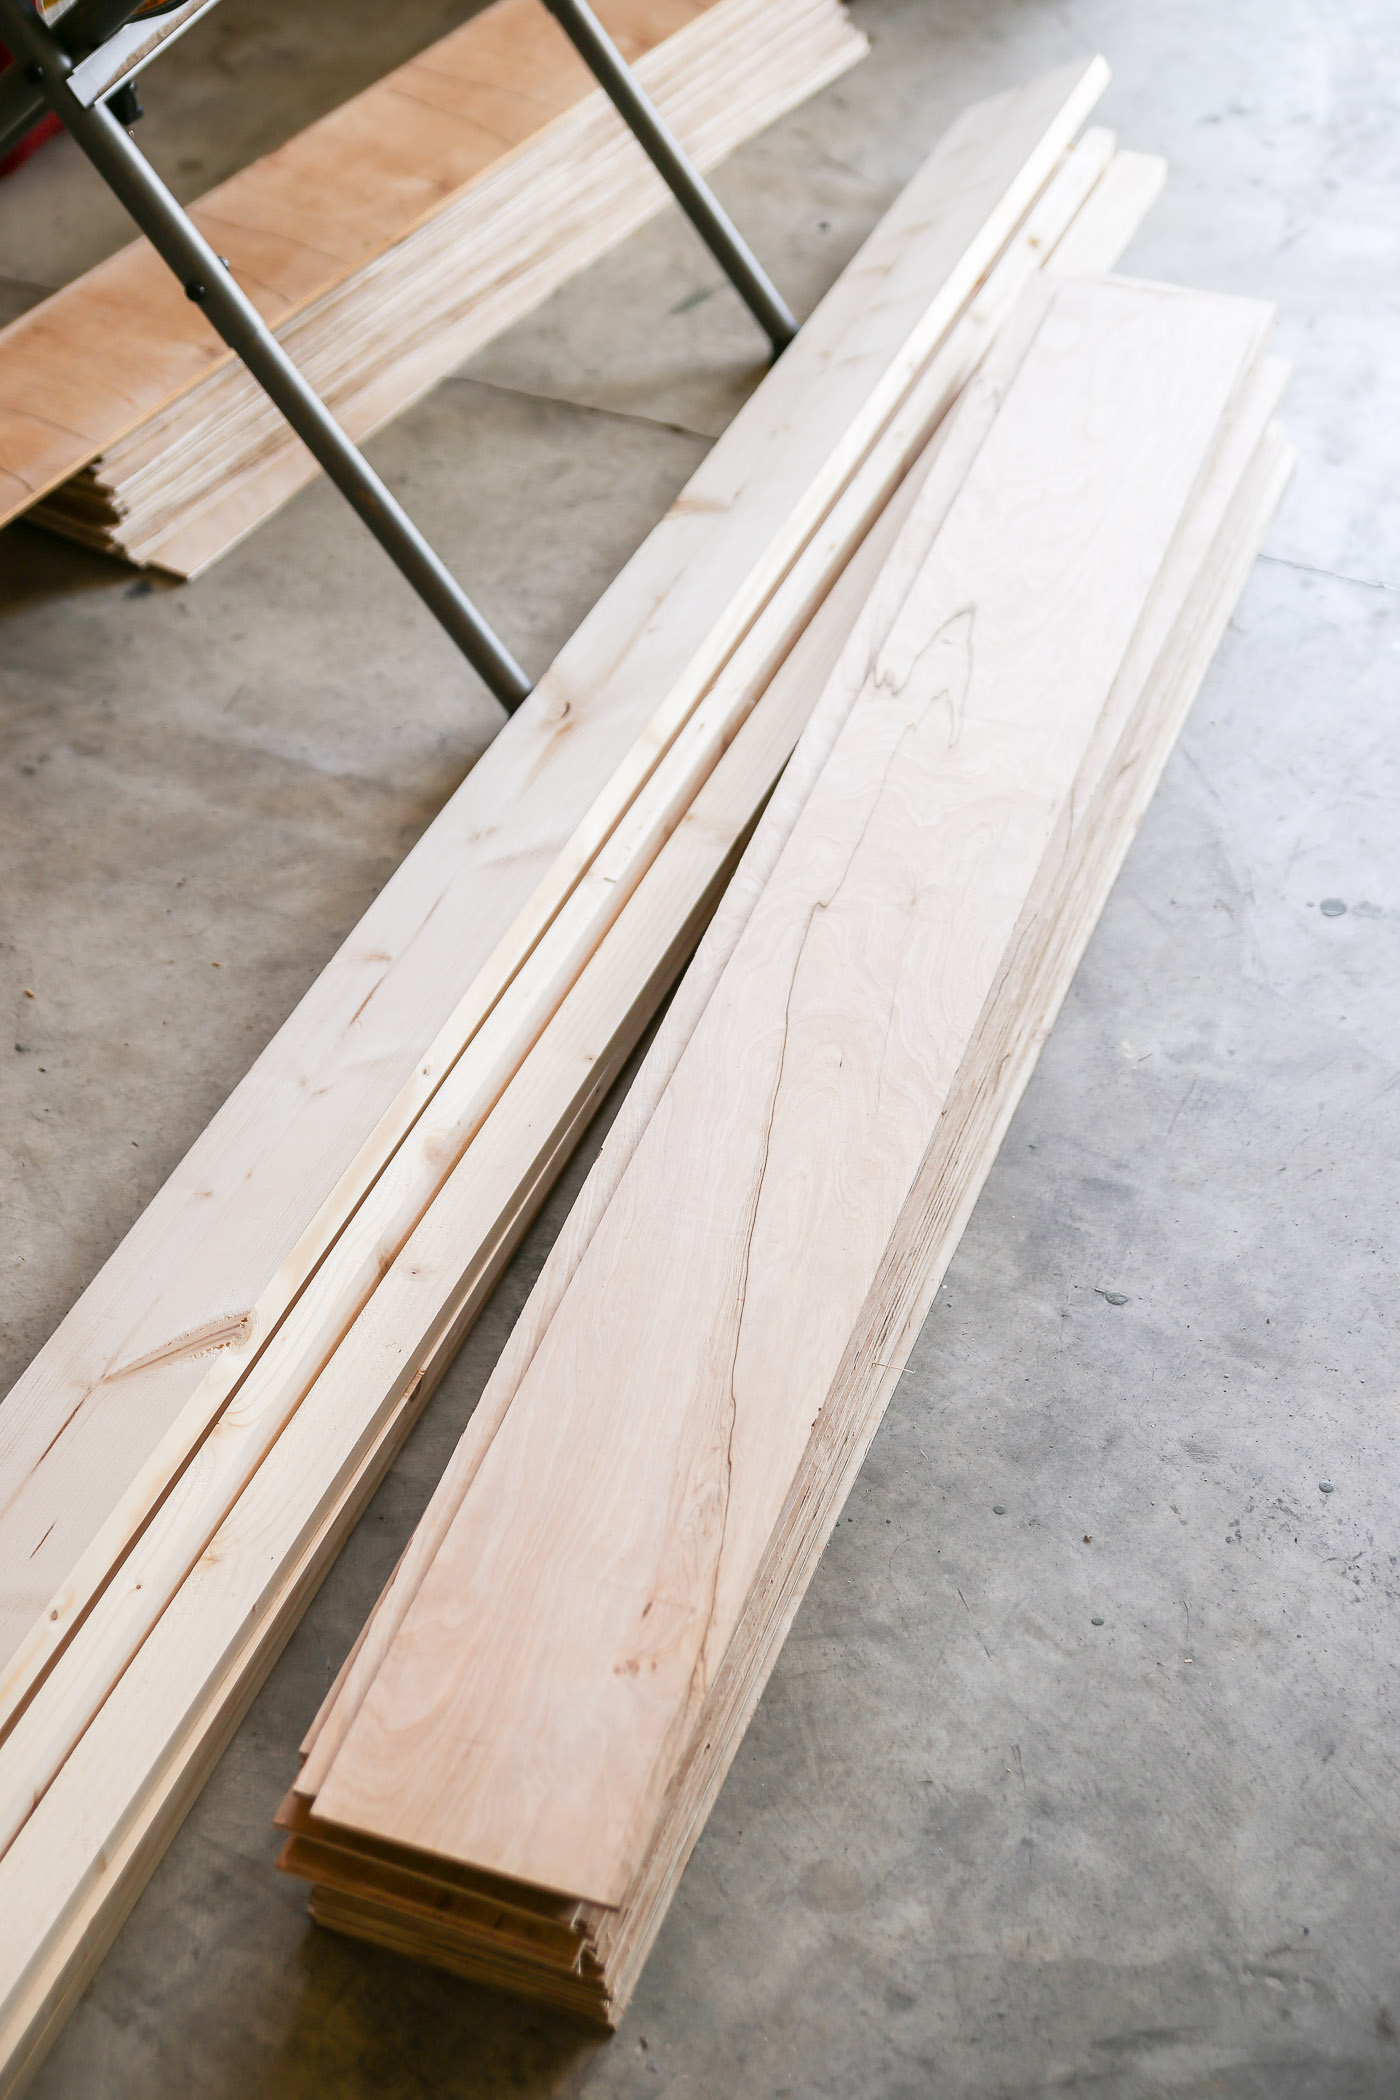
- 4x8ft plywood underlayment at 1/4in thick (for shiplap)
- 1x6in Common Board (for top cap)
- Table Saw
- Miter Saw
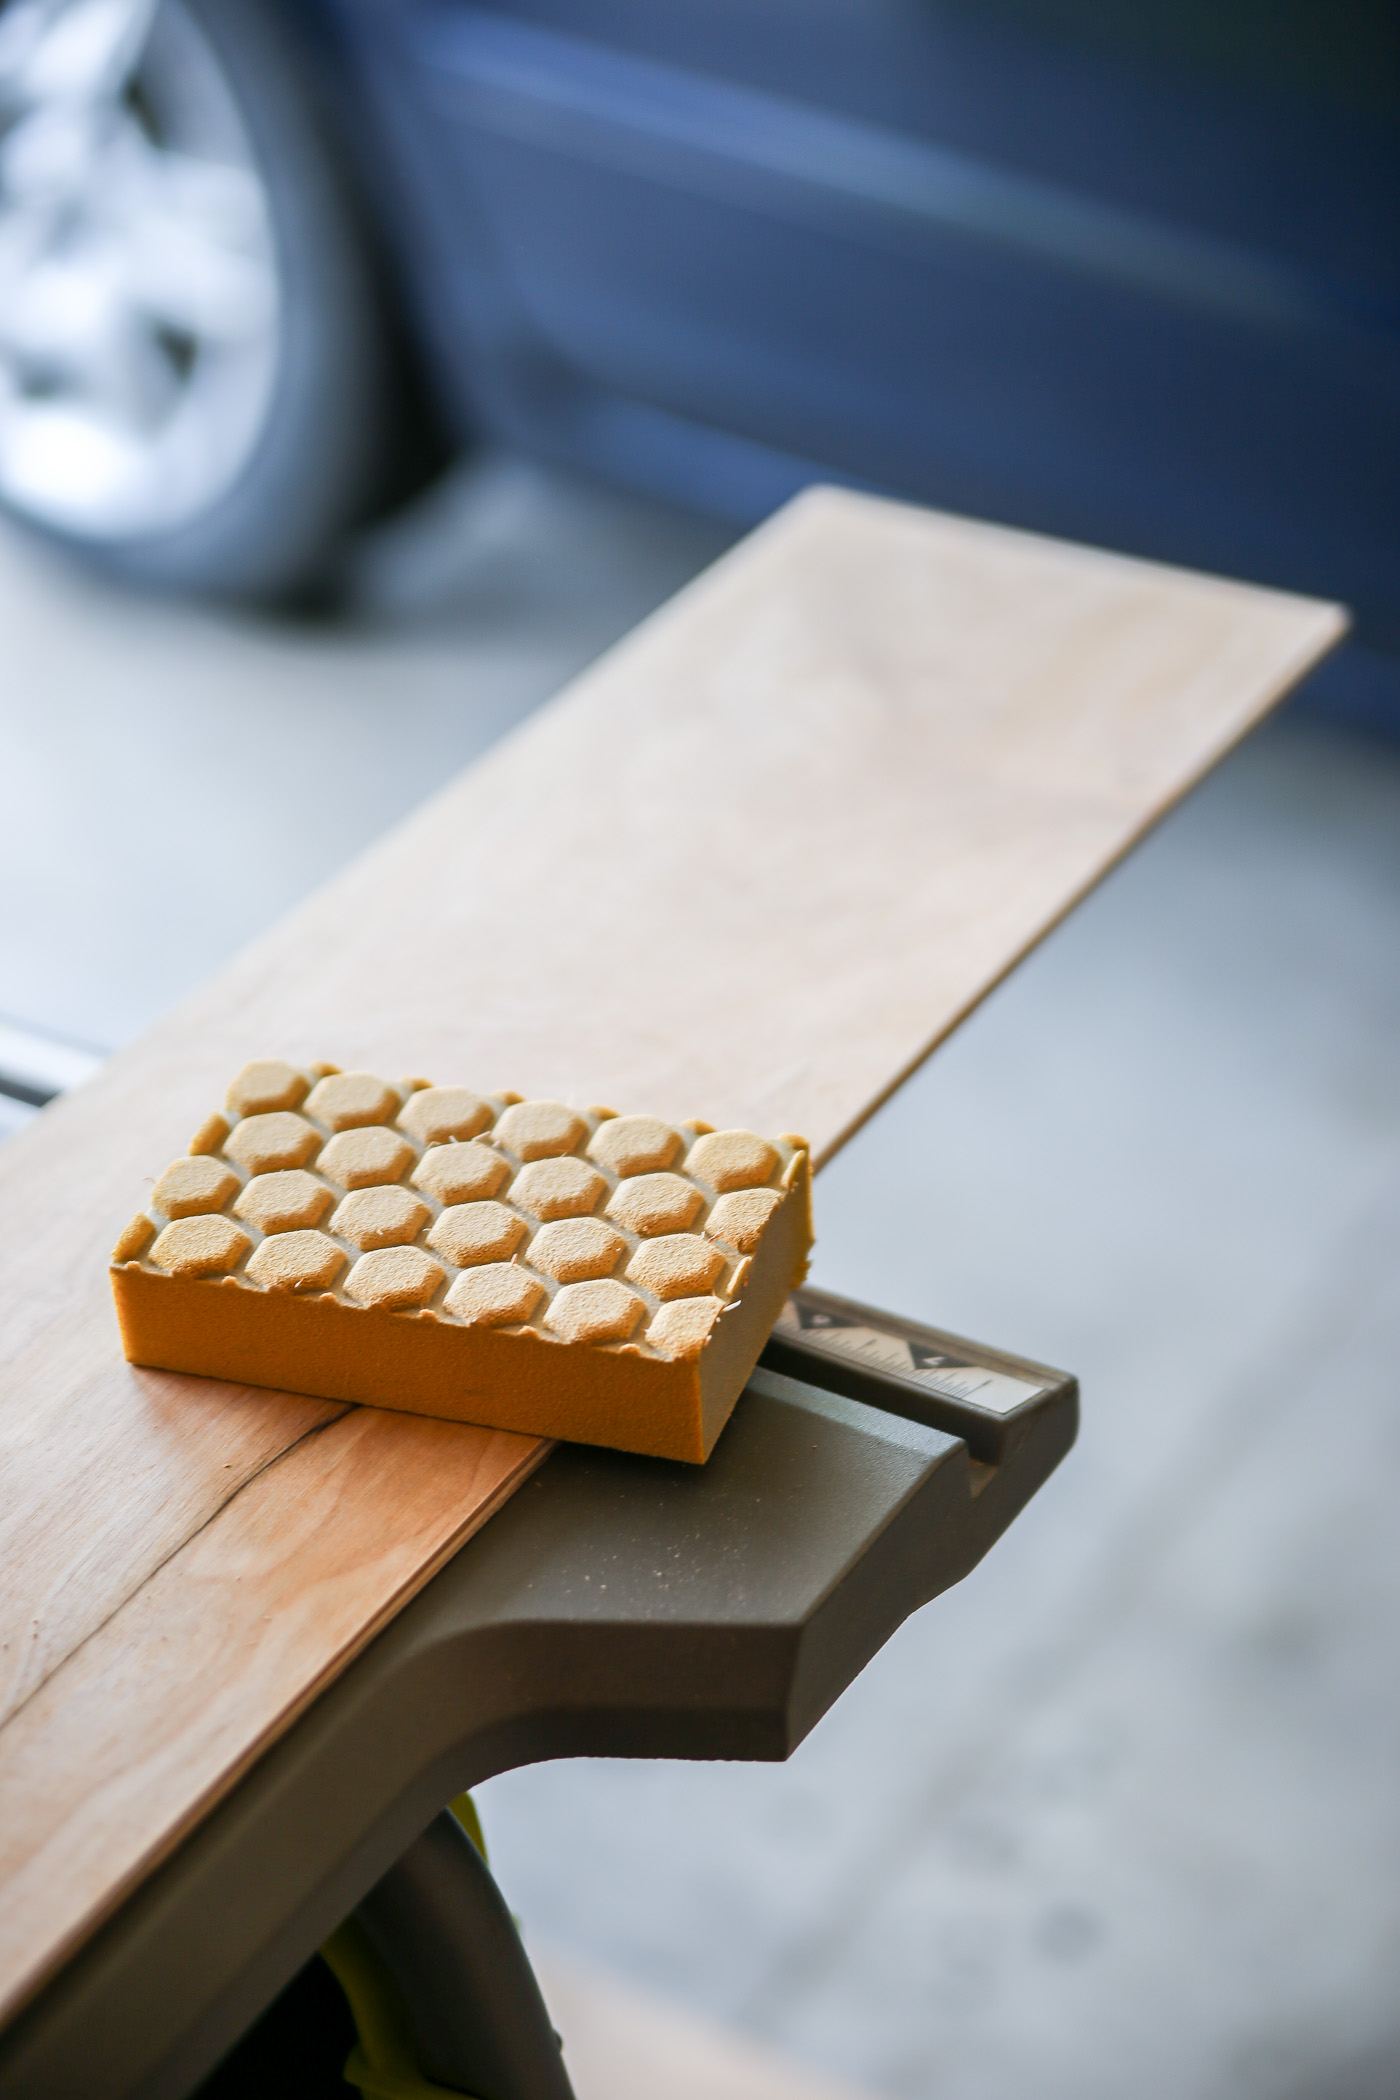
- Sanding Block
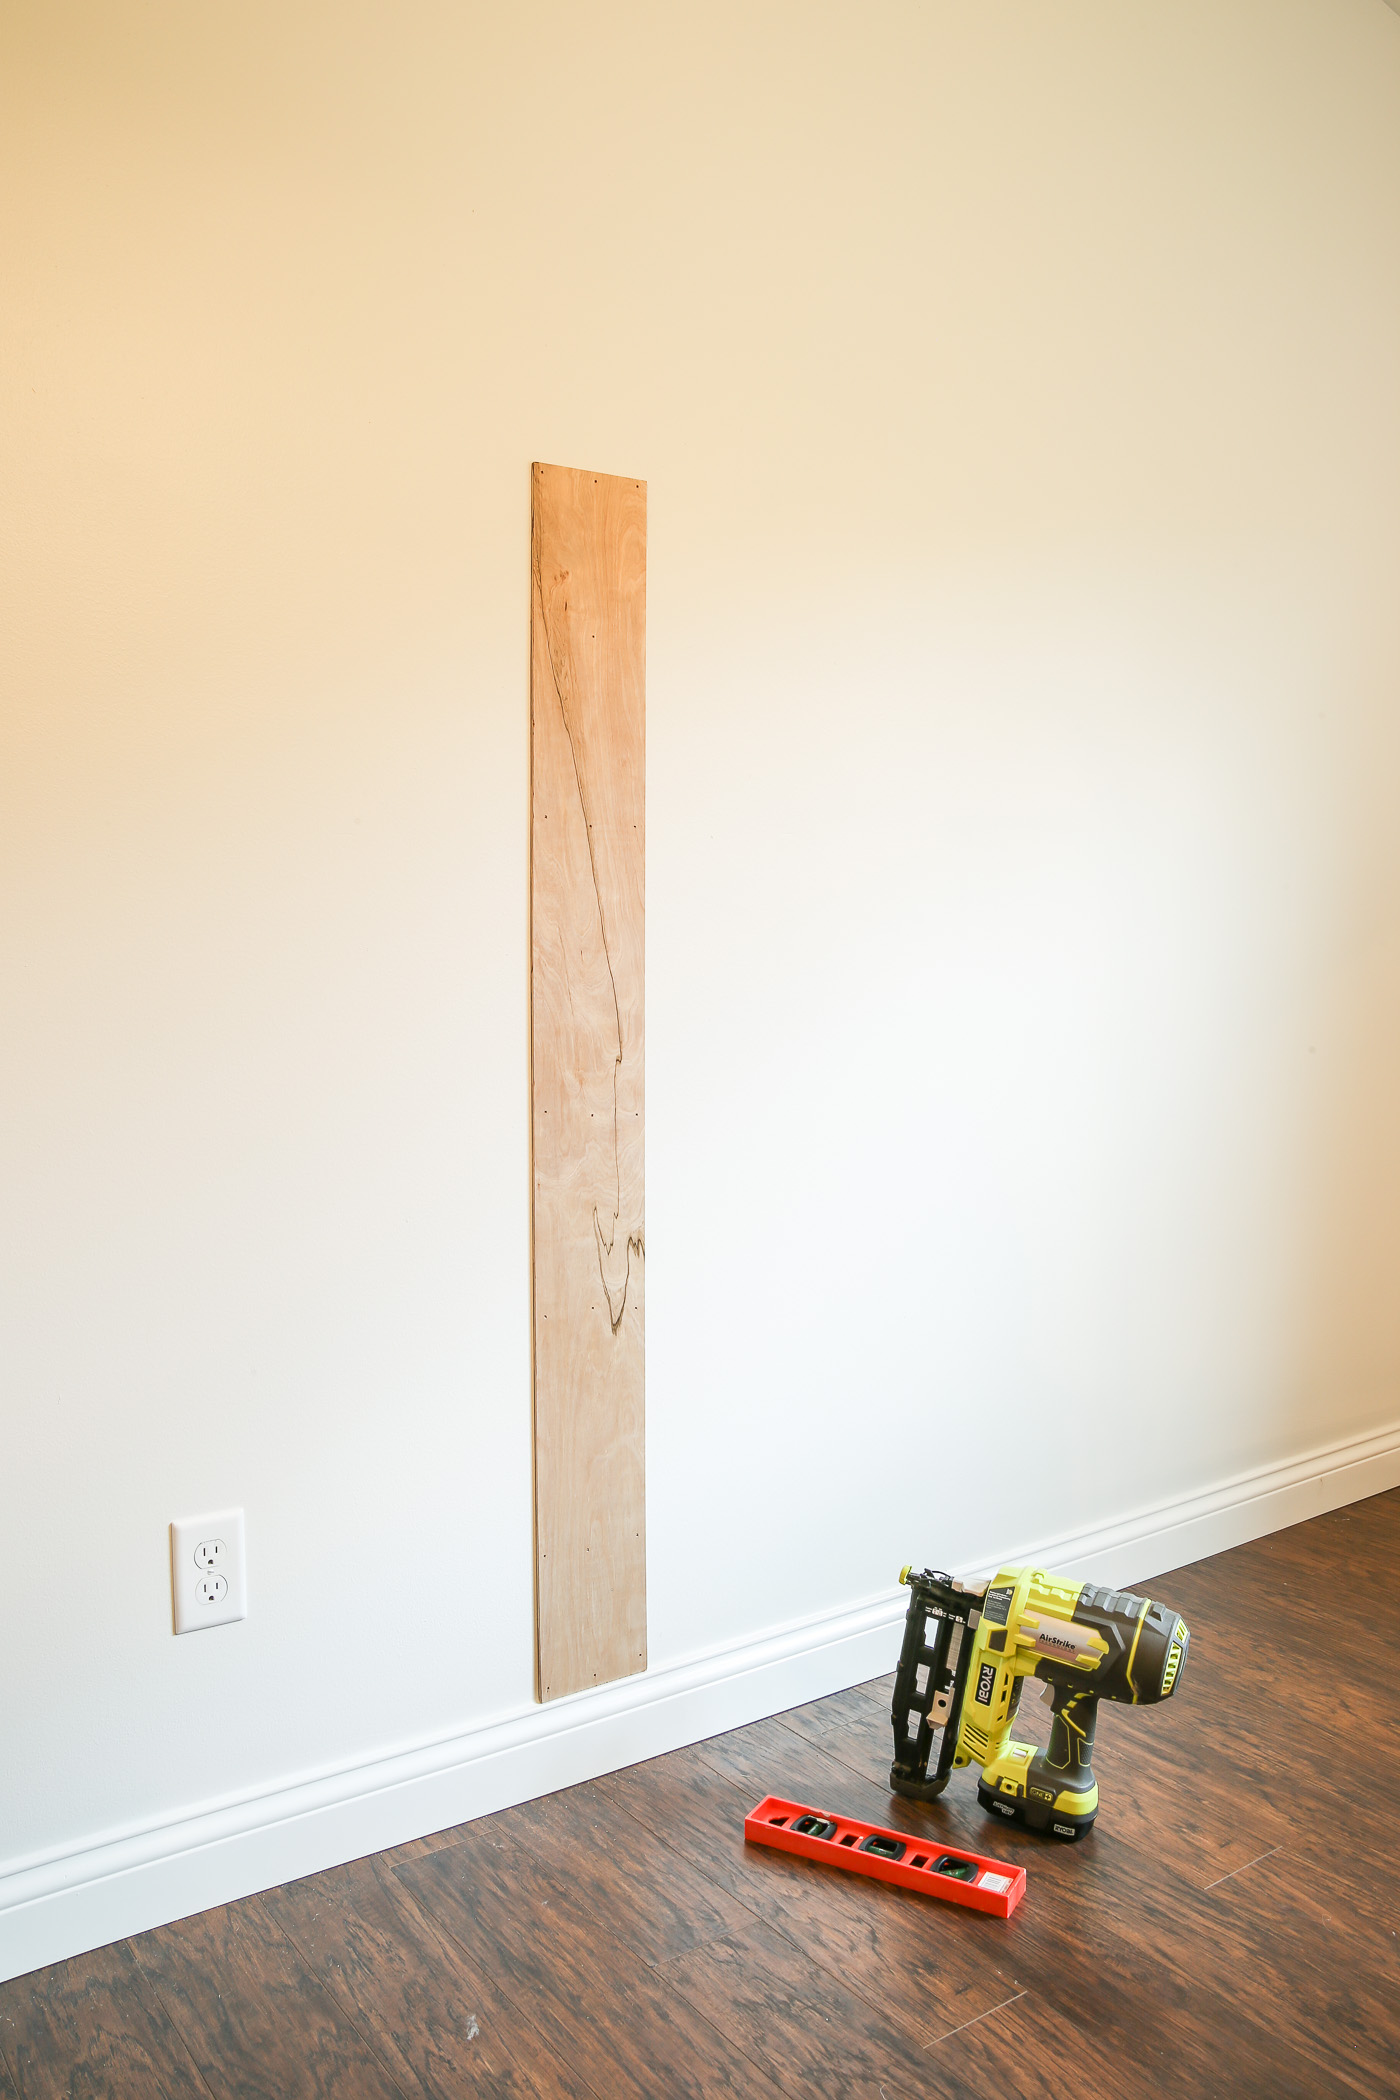
- Nail Gun and Nails (I used 1in nails for the shiplap and 2in nails for the top cap)
- 2 Nickels (used for spacers)
- Level
- Wood Filler (optional)
- Caulk
- Paint/Paint Brush/Foam Roller
Instructions for Vertical Shiplap
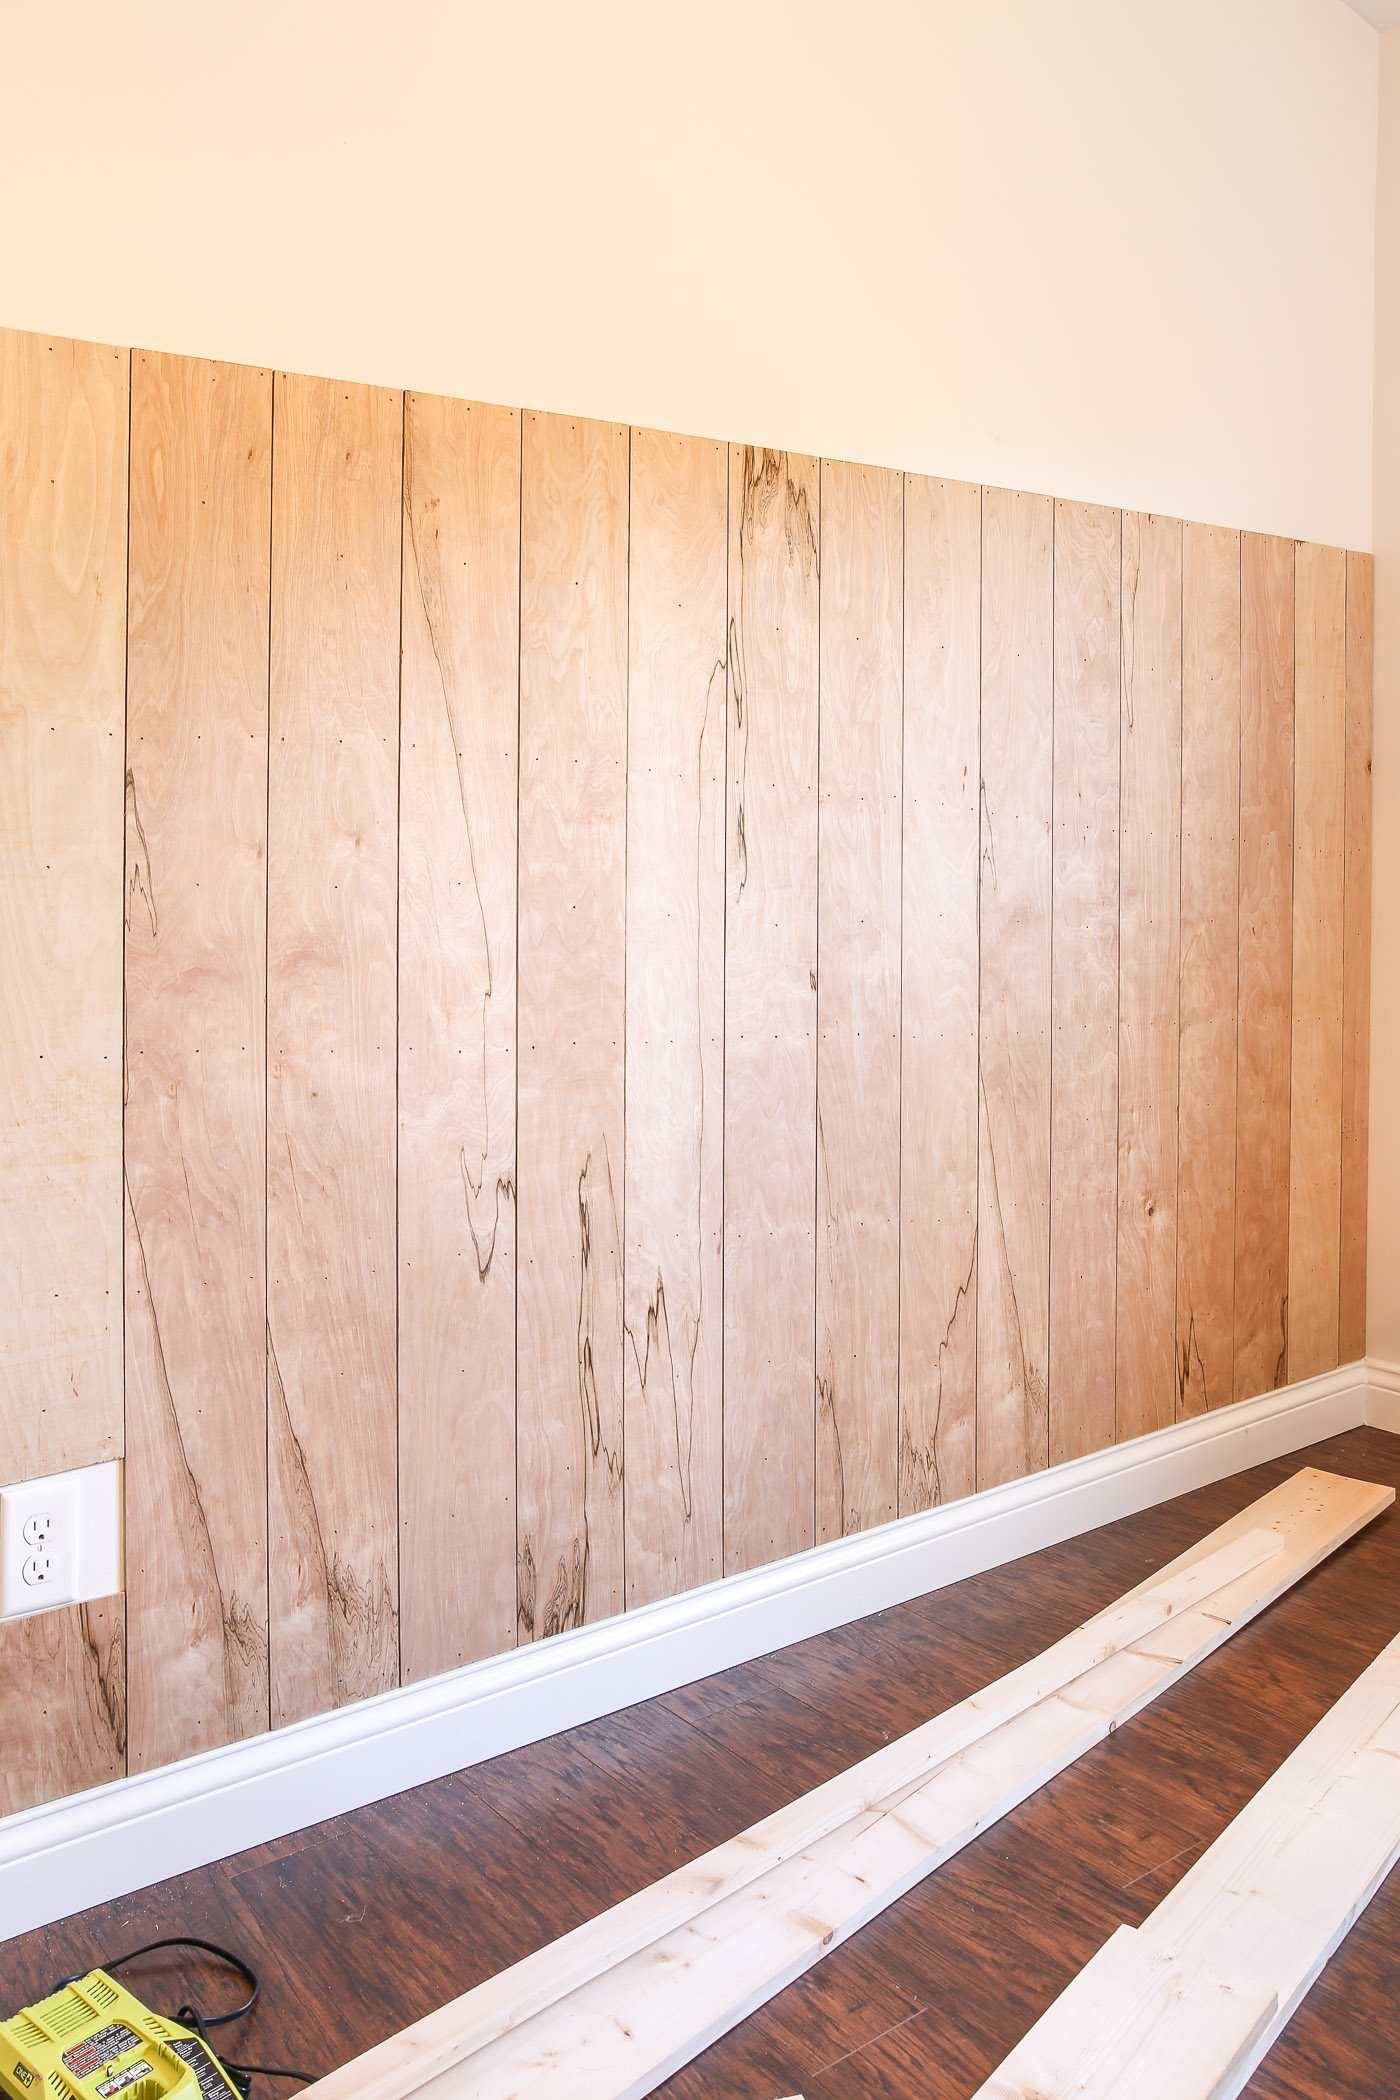
- Cut all your wood. When I went to Home Depot to purchase the 4x8ft sheets of plywood, I had their cutting center rip down the sheets to 12in wide 8ft strips. Our stores policy only allows 12in or higher cuts now, so we had to use our table saw to cut the 12in strips down to 6in. I used our miter saw to cut down the length to the height I wanted on our wall. I also cut down the 1x6in common board for the top cap as well.
- Once all my wood was cut, I used a sanding block to sand all the edges of the plywood strips.
3. I started installing my vertical shiplap strips from the center of the wall. Typically I would have added liquid nails to the back of each strip, but chose not to this time just in case we ever wanted to remove it. Using my nail gun and 1in nails I installed each strip one by one, using nickels as spacers. I used my level to make sure each strip was straight.
4. Once all vertical strips were installed, I added the top 1x6in common board with 2in nails.
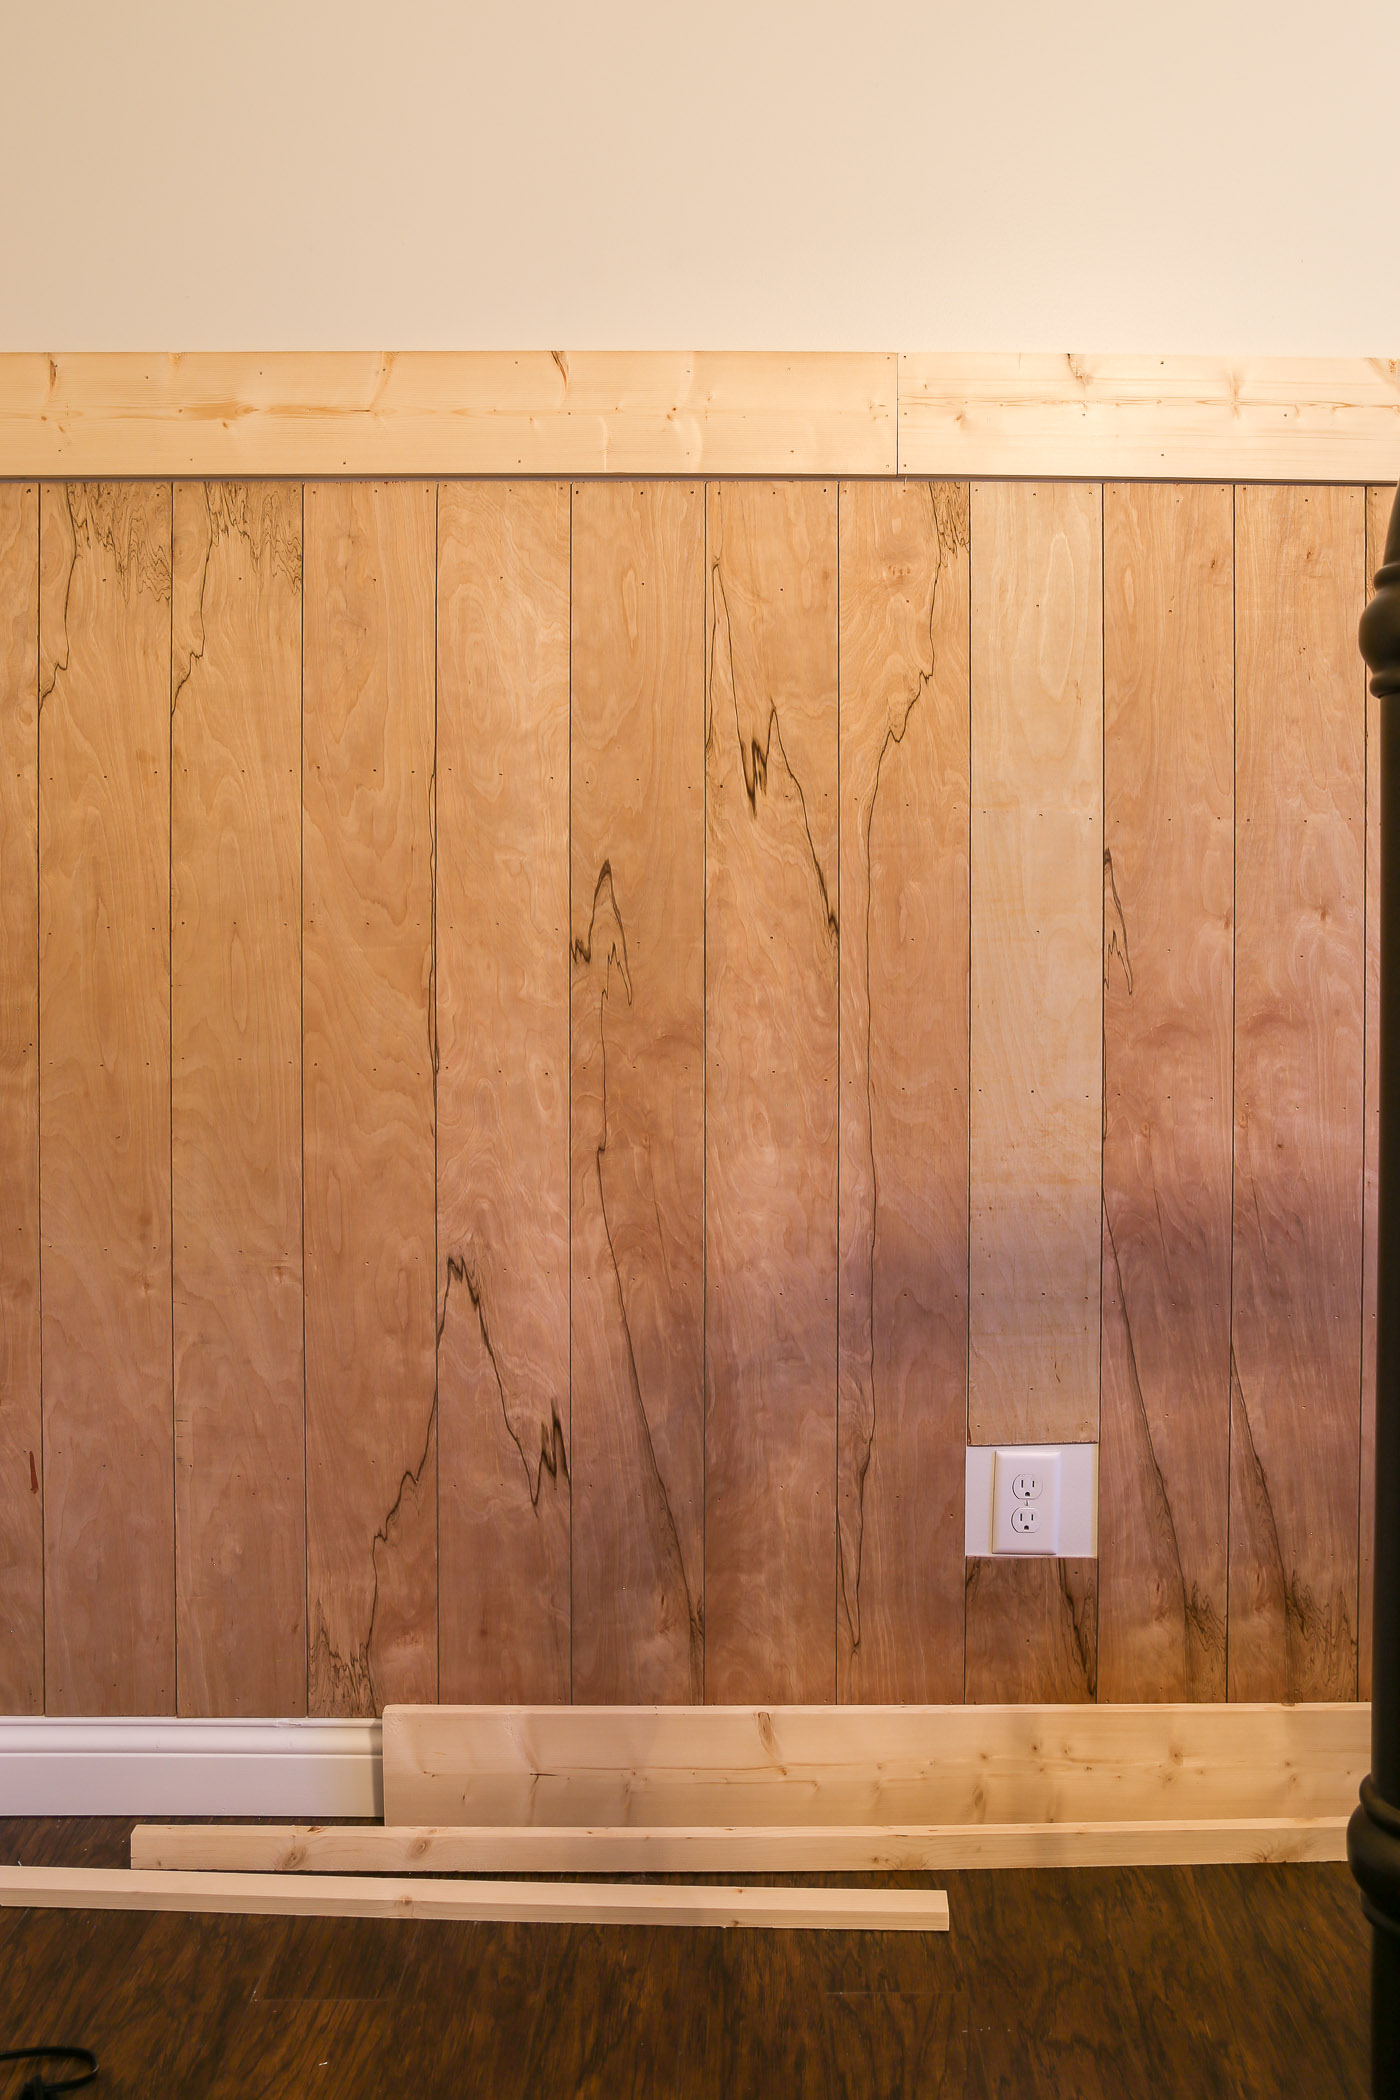
5. After all boards were installed, I used wood filler to fill in all the nail holes (this is optional for a cleaner look), I used caulk where the boards met the corner walls, and where the strips met the common board top cap.
6. I used two coats of primer and two coats of white paint. I would highly suggest a foam roller when painting the shiplap.
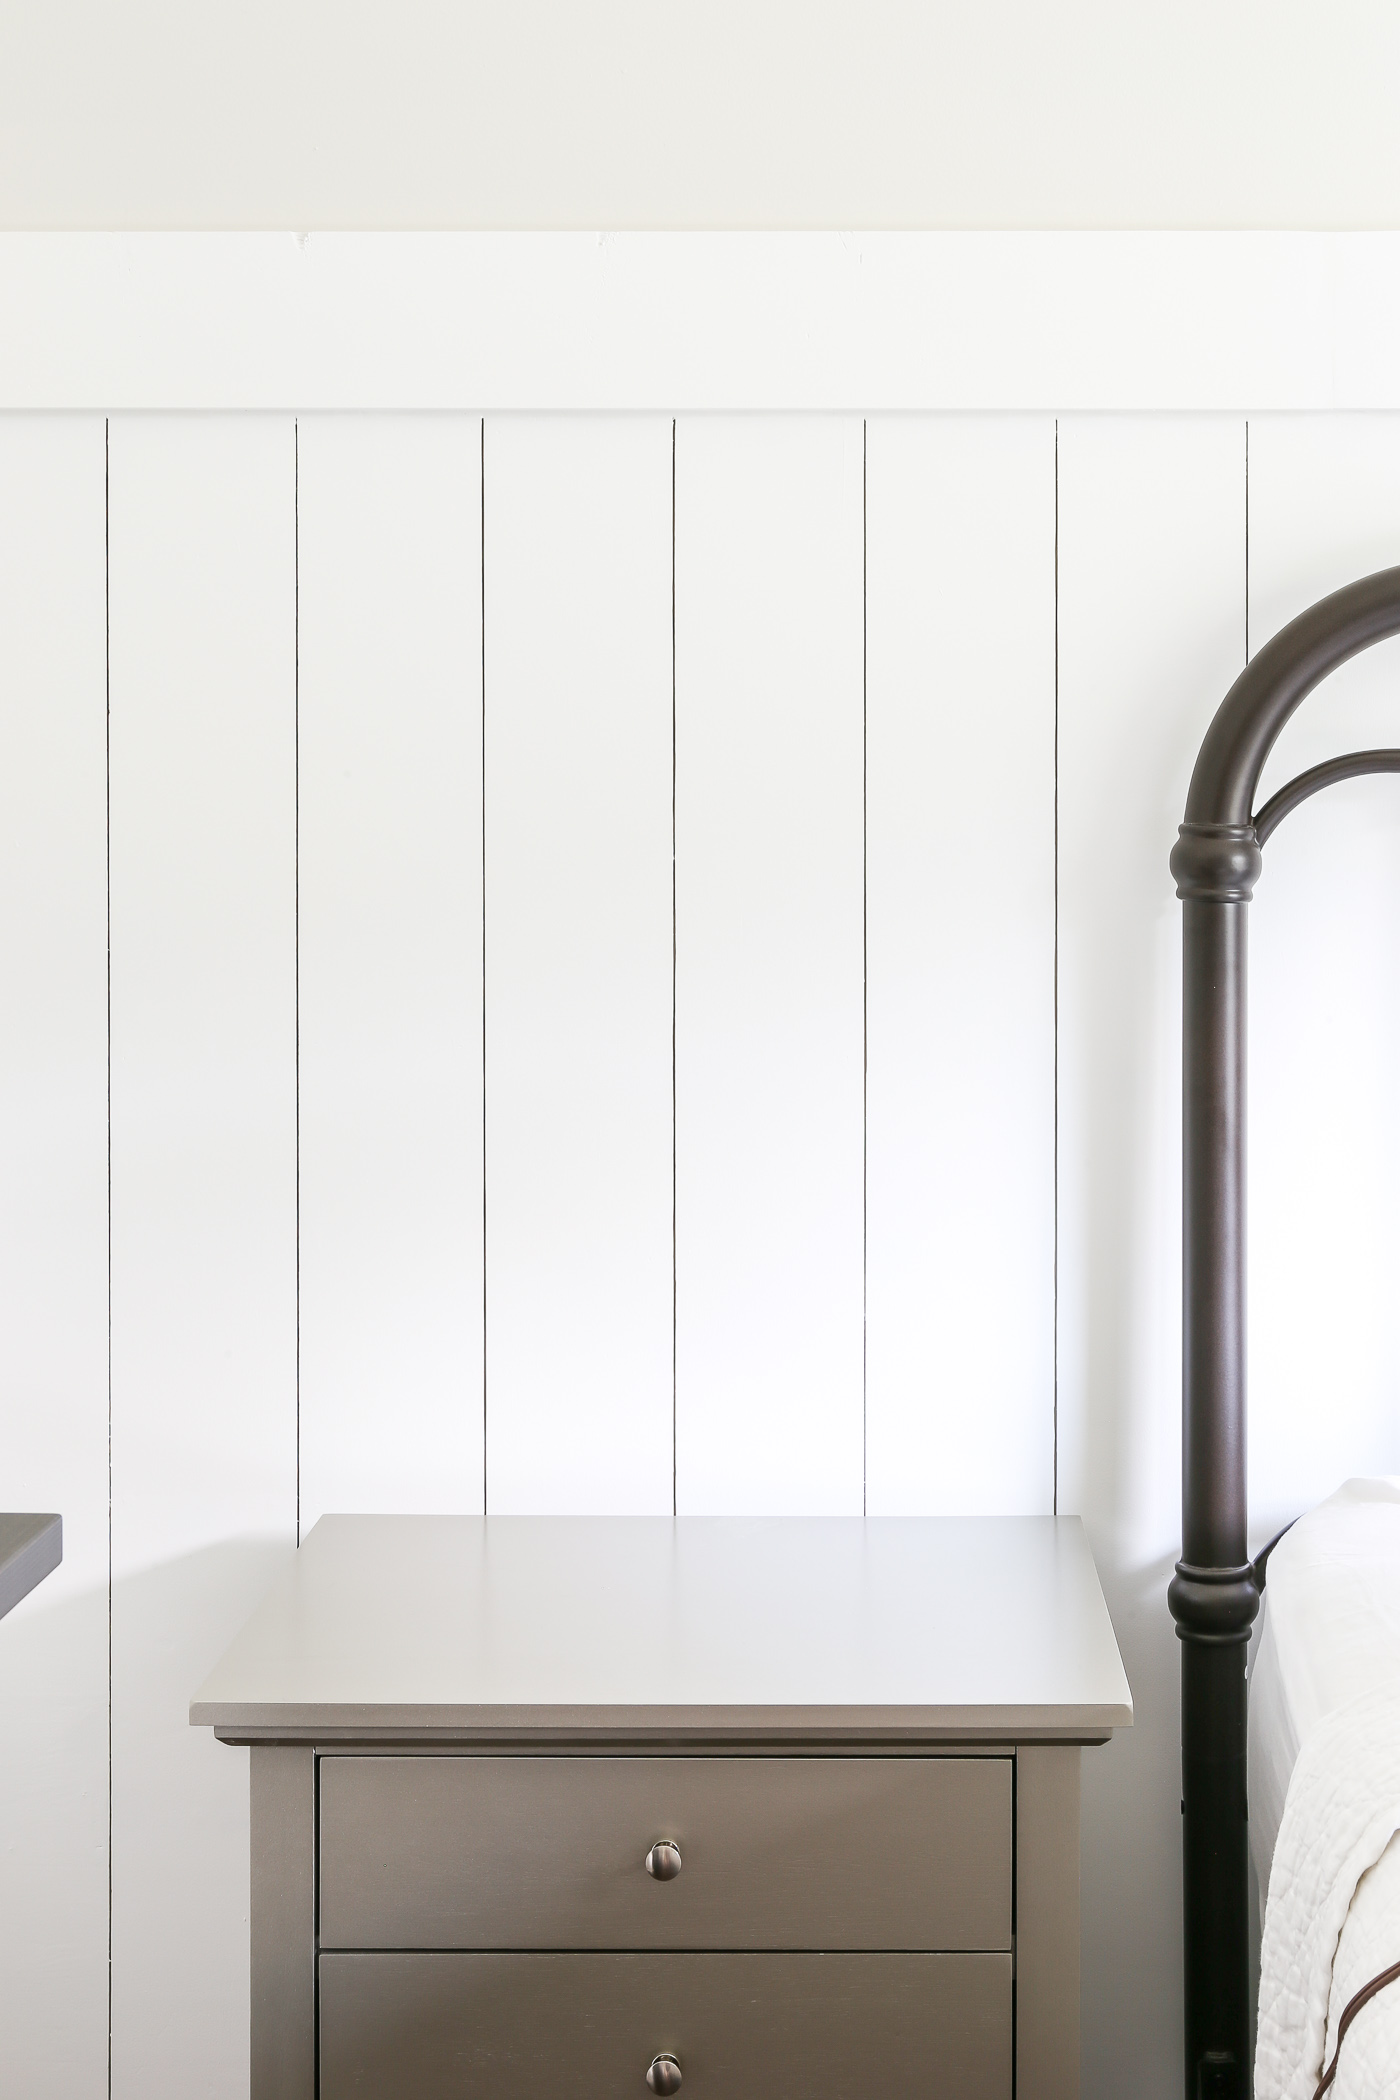
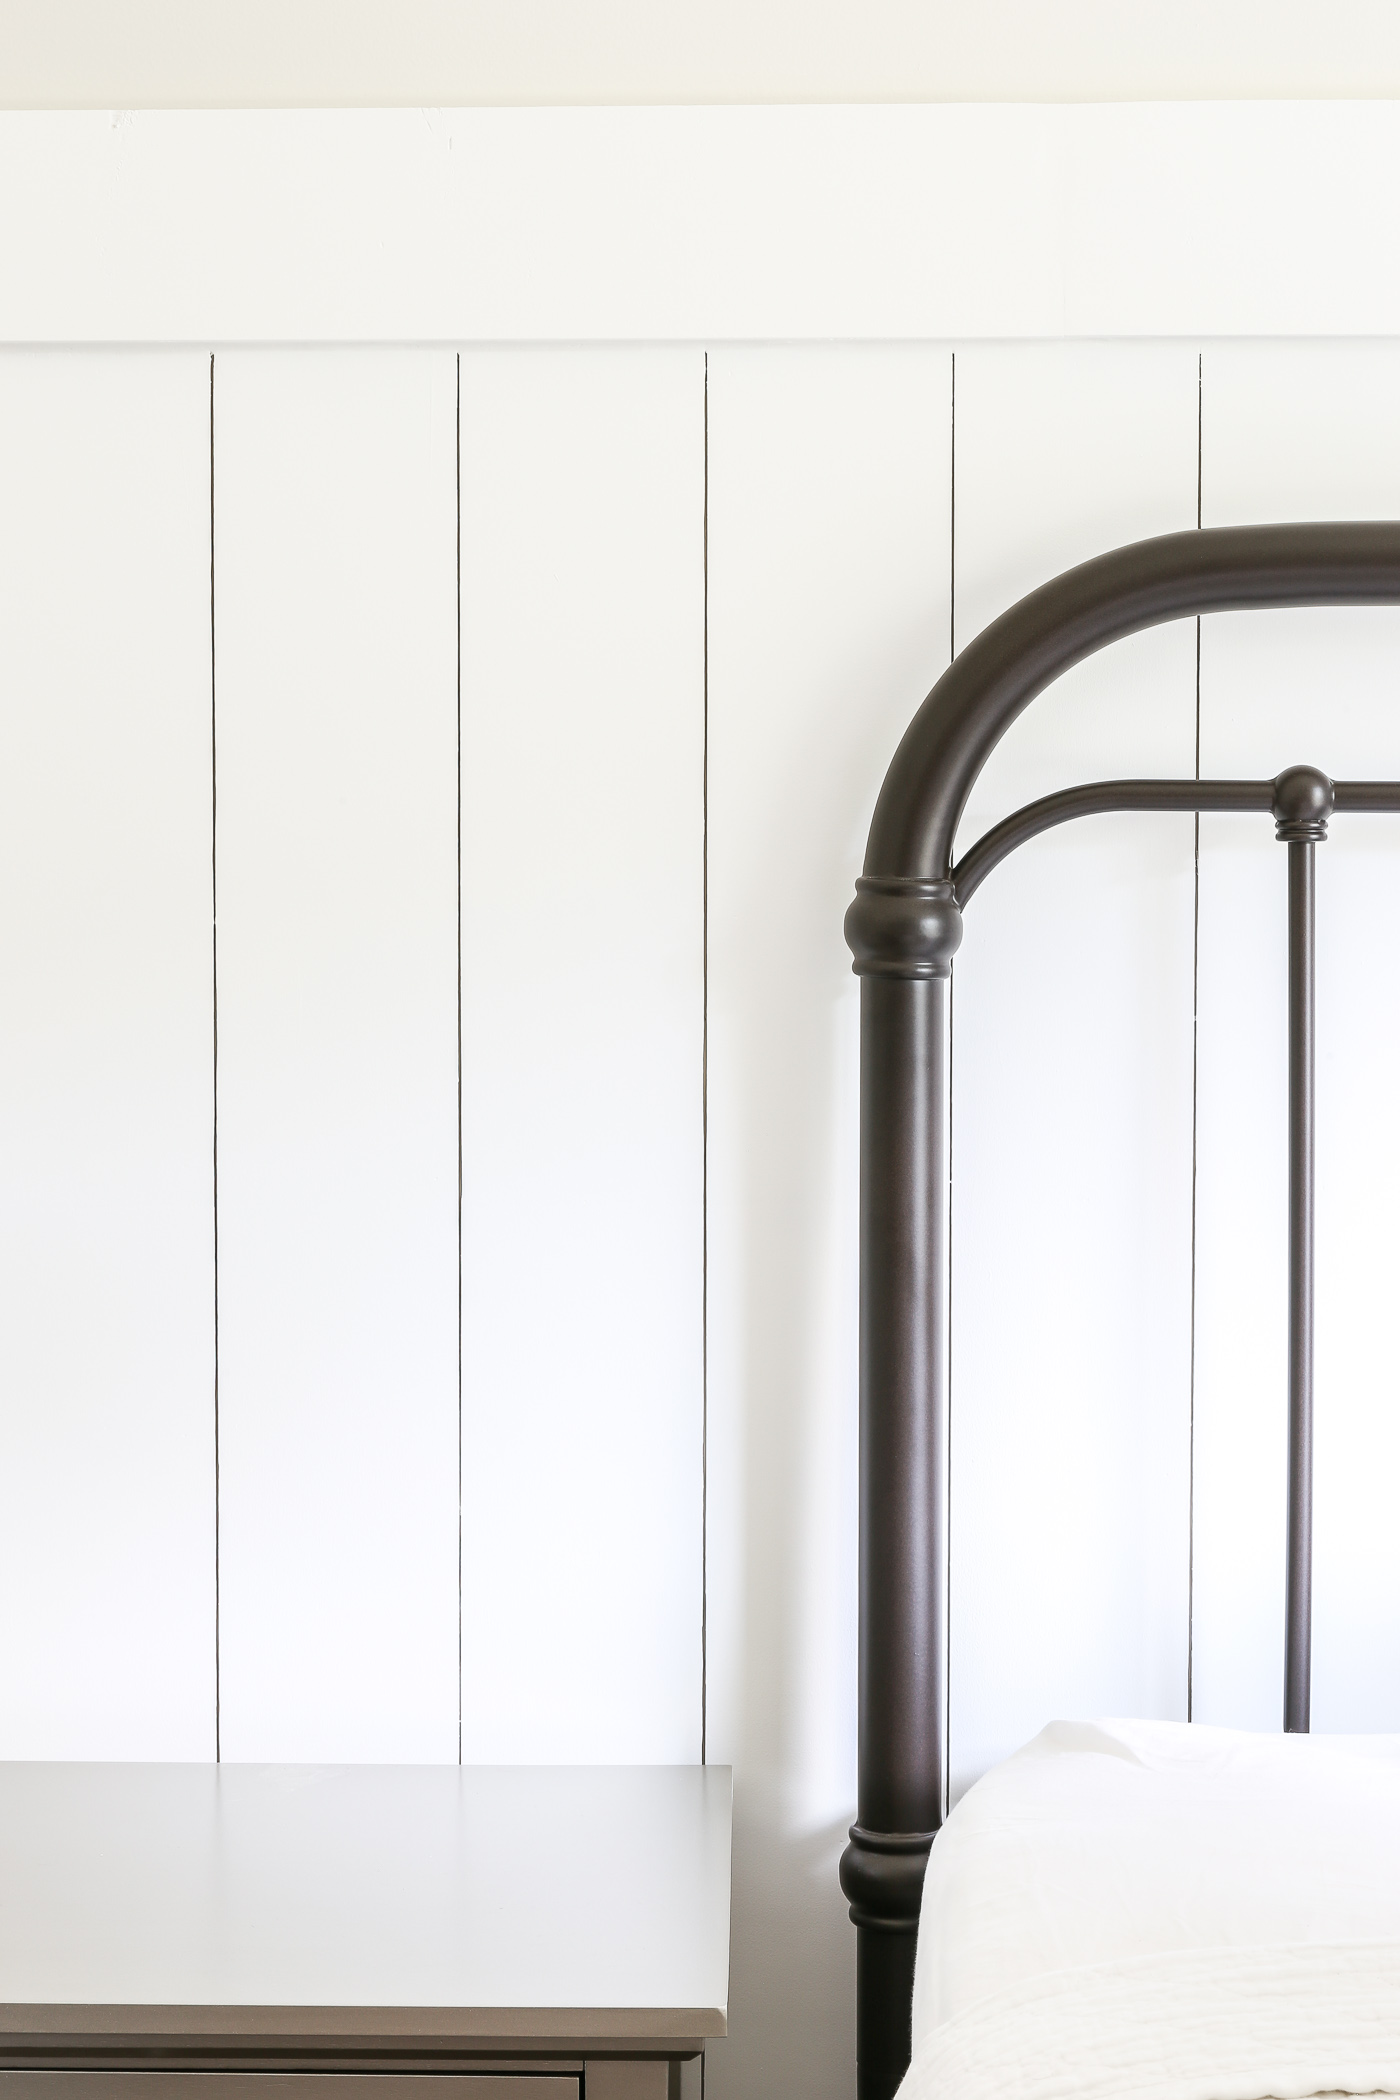
We made this room over for the One Room Challenge, and the reveal is pretty good. I think my favorite part of this space now is the vertical shiplap. It makes such a huge difference in the best way.
It definitely gives this room much more depth and character.
See the reveal of this room here: Cozy Vintage Master Bedroom Reveal
Simular Posts
- Cozy Vintage Master Bedroom Makeover Reveal
- Board and Batten Tutorial
- Farmhouse Pantry Makeover
- Entryway Closet Makeover
Pin This Post for Later


I know this post was from a few years ago but when installing the ship lap what did you nail to since the wall studs are standard 16″ apart? I’m wanting to do vertical shiplap but also don’t want to glue it to the wall.
I didn’t align with any studs, I just nailed it straight into the drywall. I didn’t glue it either in case I ever wanted to remove it. I haven’t had any problems at all with it popping off the wall since 🙂 I think since its so thin the nails alone hold it just fine.
Love it! Can’t wait to see the final reveal.
Looks great!
it looks great! love the simple sophistication and that white looks so good on the board! looking forward to seeing more!