No Sew Drop Cloth Pillow
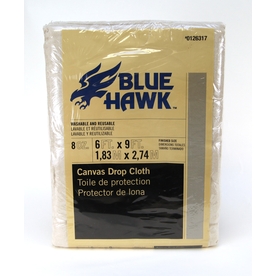
Something I am super picky about when it comes to home décor are pillows. You will learn quickly that I live off of neutral colors. I love the simplicity of them. I have to admit, and I’m not sure that I should, but I am a little terrified of bright colors and crazy patterns, so I have a really hard time finding pillows and fabrics that I can incorporate into my design ideas. I’m in the process of redoing my office (hopefully I will have a reveal post soon), and I was wanting just a neutral, light colored pillow for the chair we currently have in there. Recently I came across this blog post by Liz Marie Blog, where she used a table runner for a lumbar pillow, and she used a drop cloth for the back side of the pillow. I loved the color and overall look of the drop cloth and thought maybe it would work for the pillow I wanted. I went to Lowes and found these drop cloths that ended up working perfect!
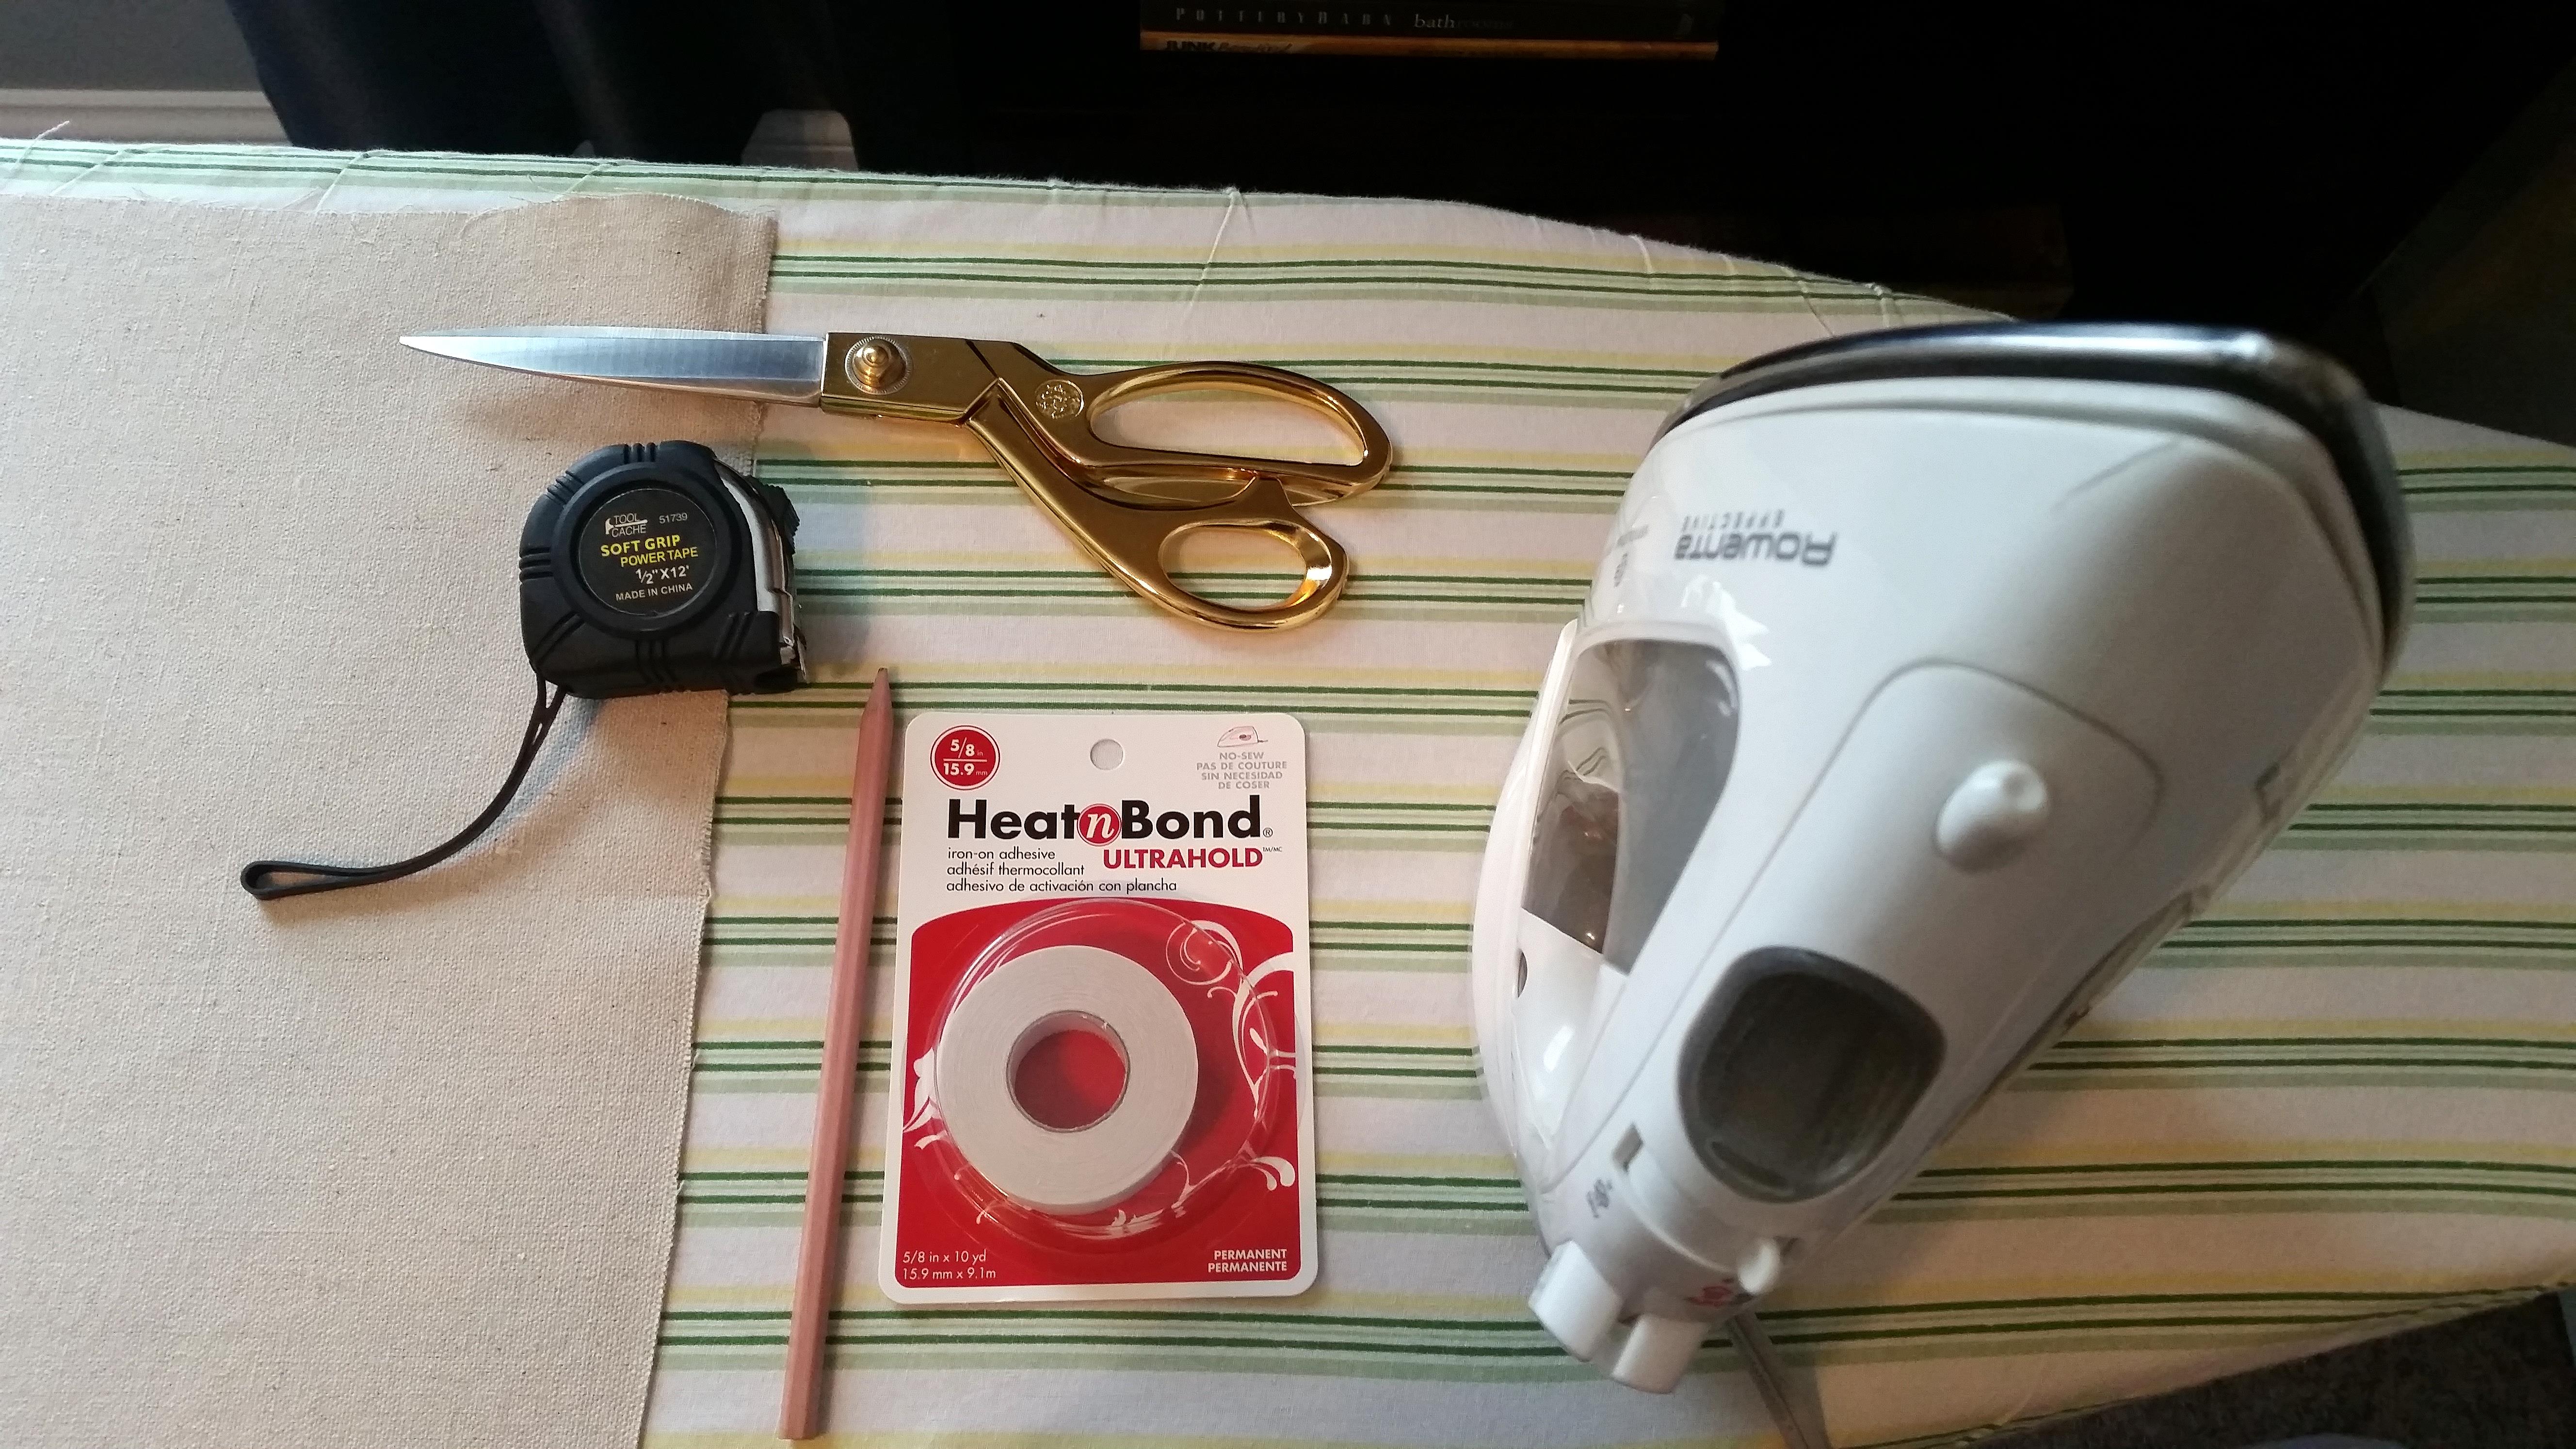
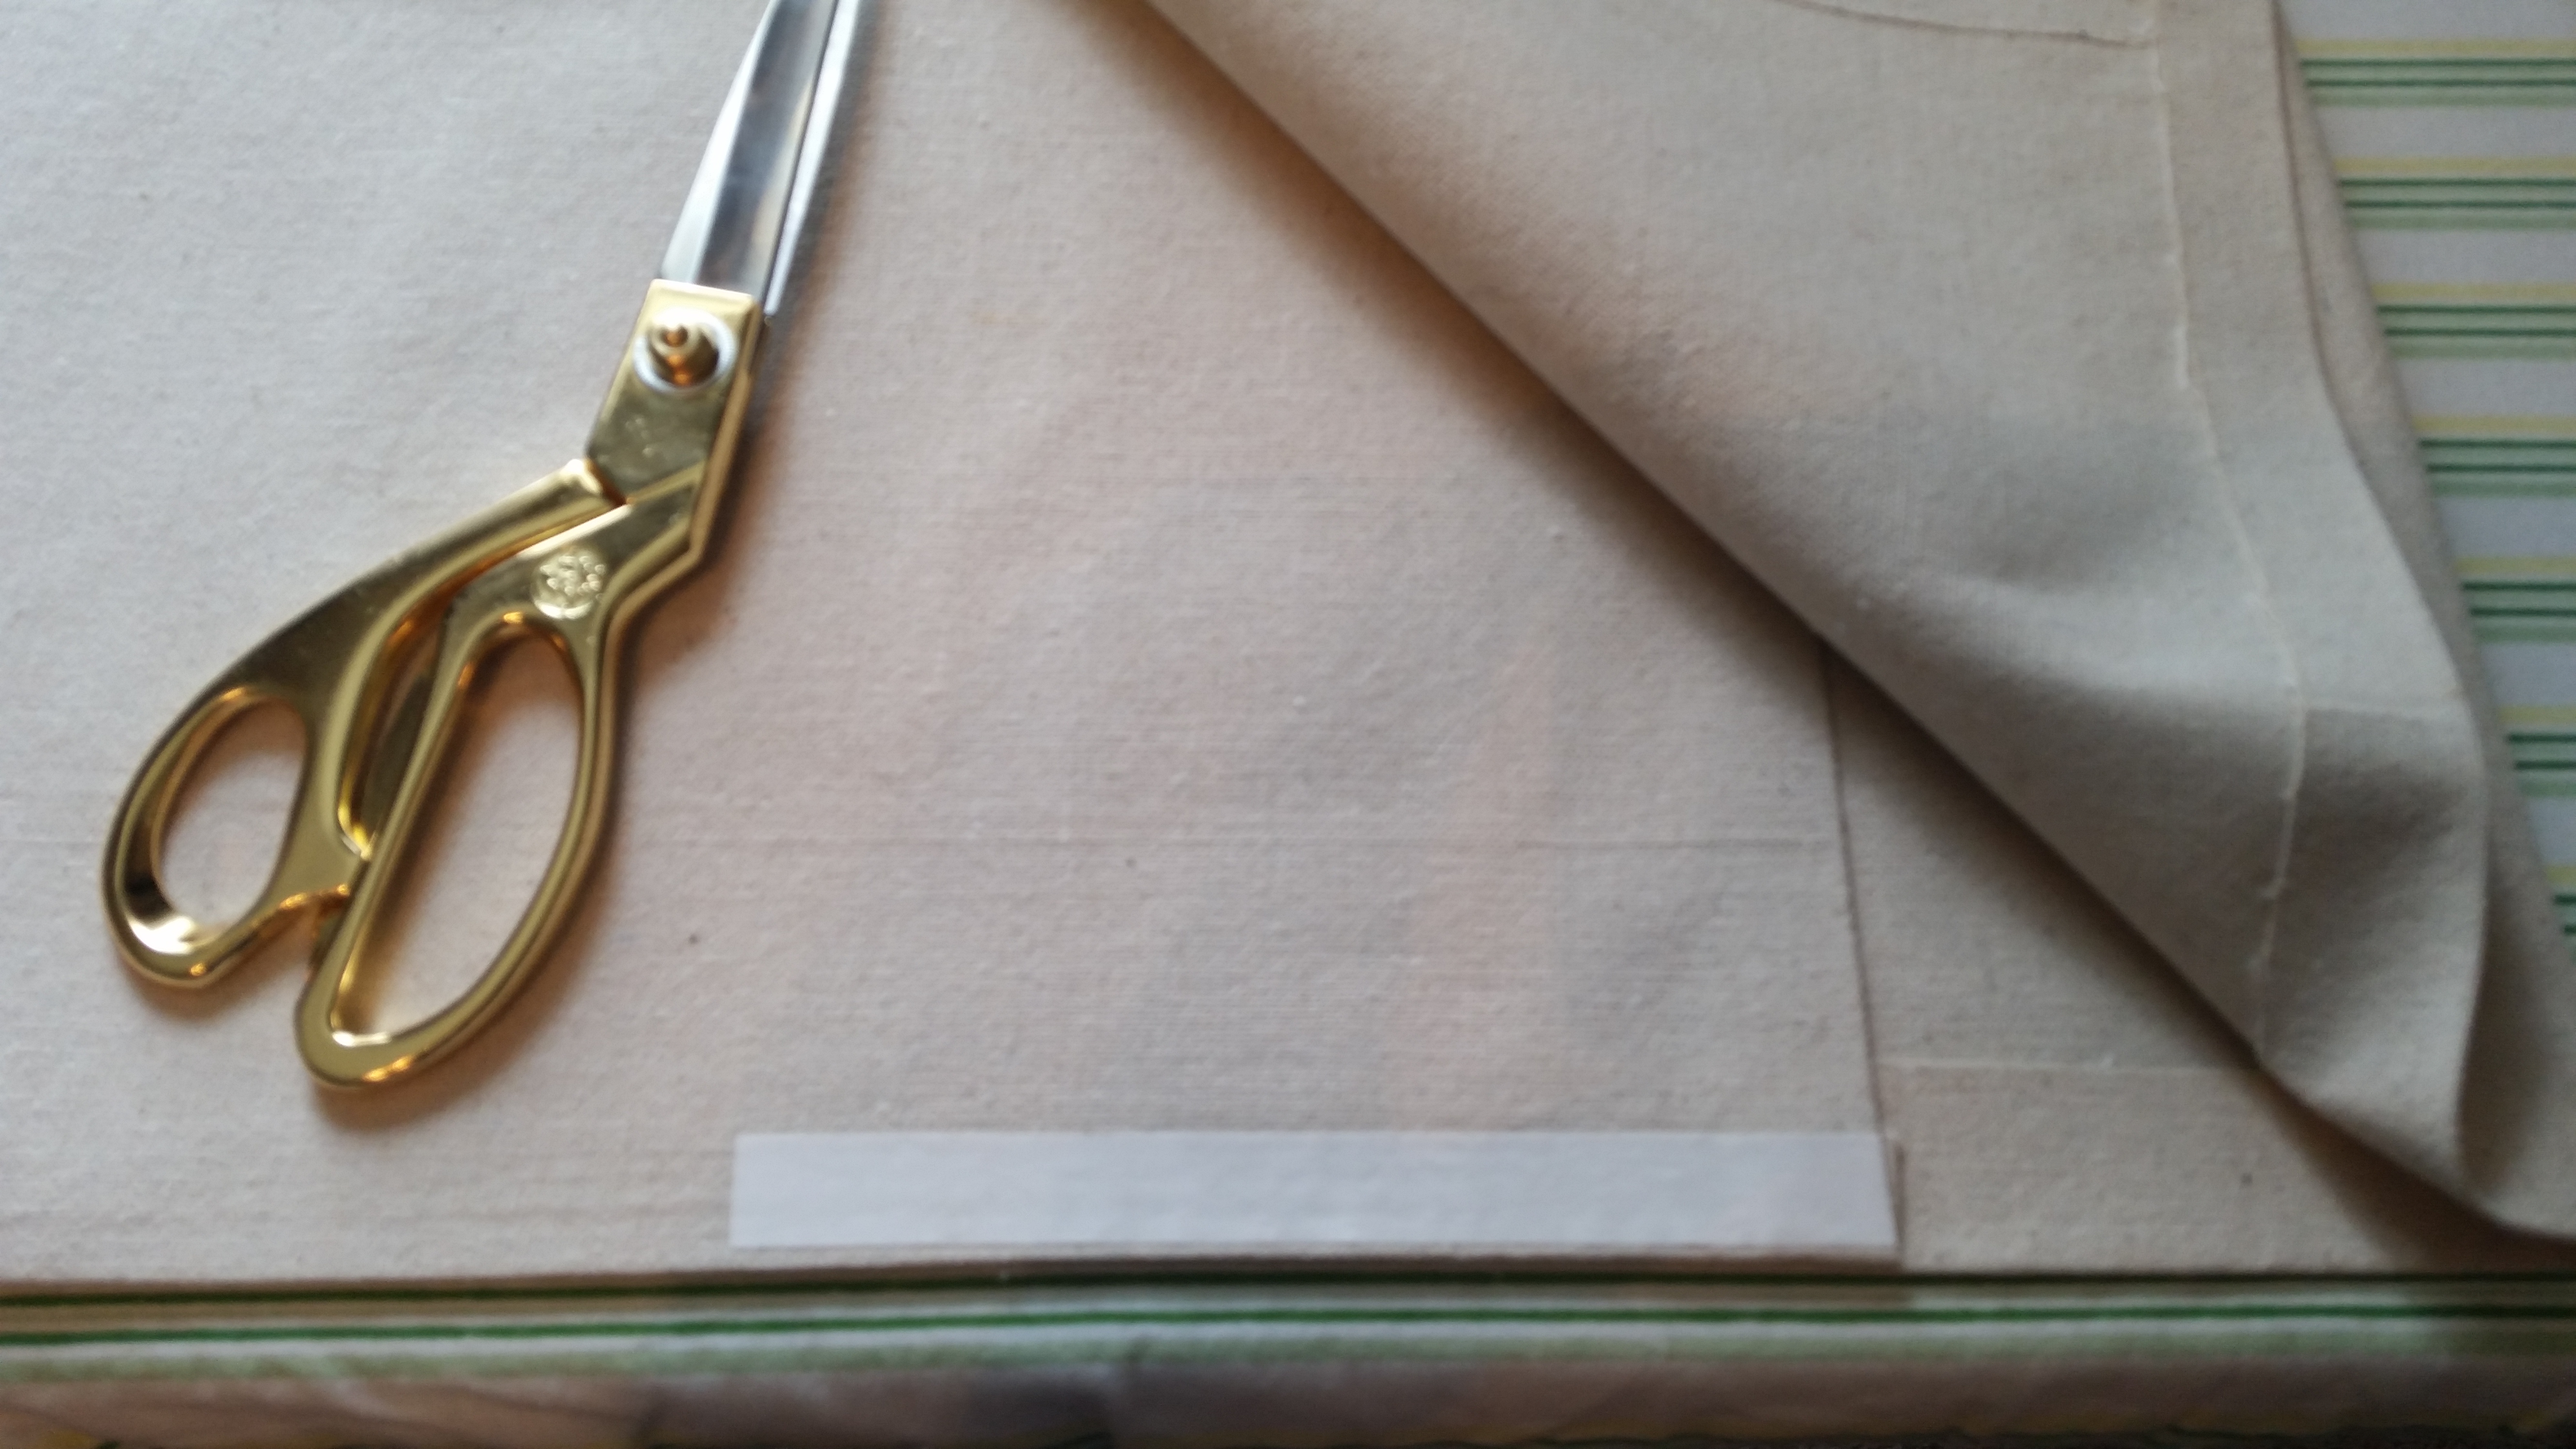
I have a pile of throw pillows in my basement that I am trying to recycle and reuse, so I wanted to make this pillow just a simple no sew pillow case. I gathered my supplies (drop cloth, Heat n Bond iron on adhesive, measuring tape, scissors, pencil, iron) and got to work.
Directions:
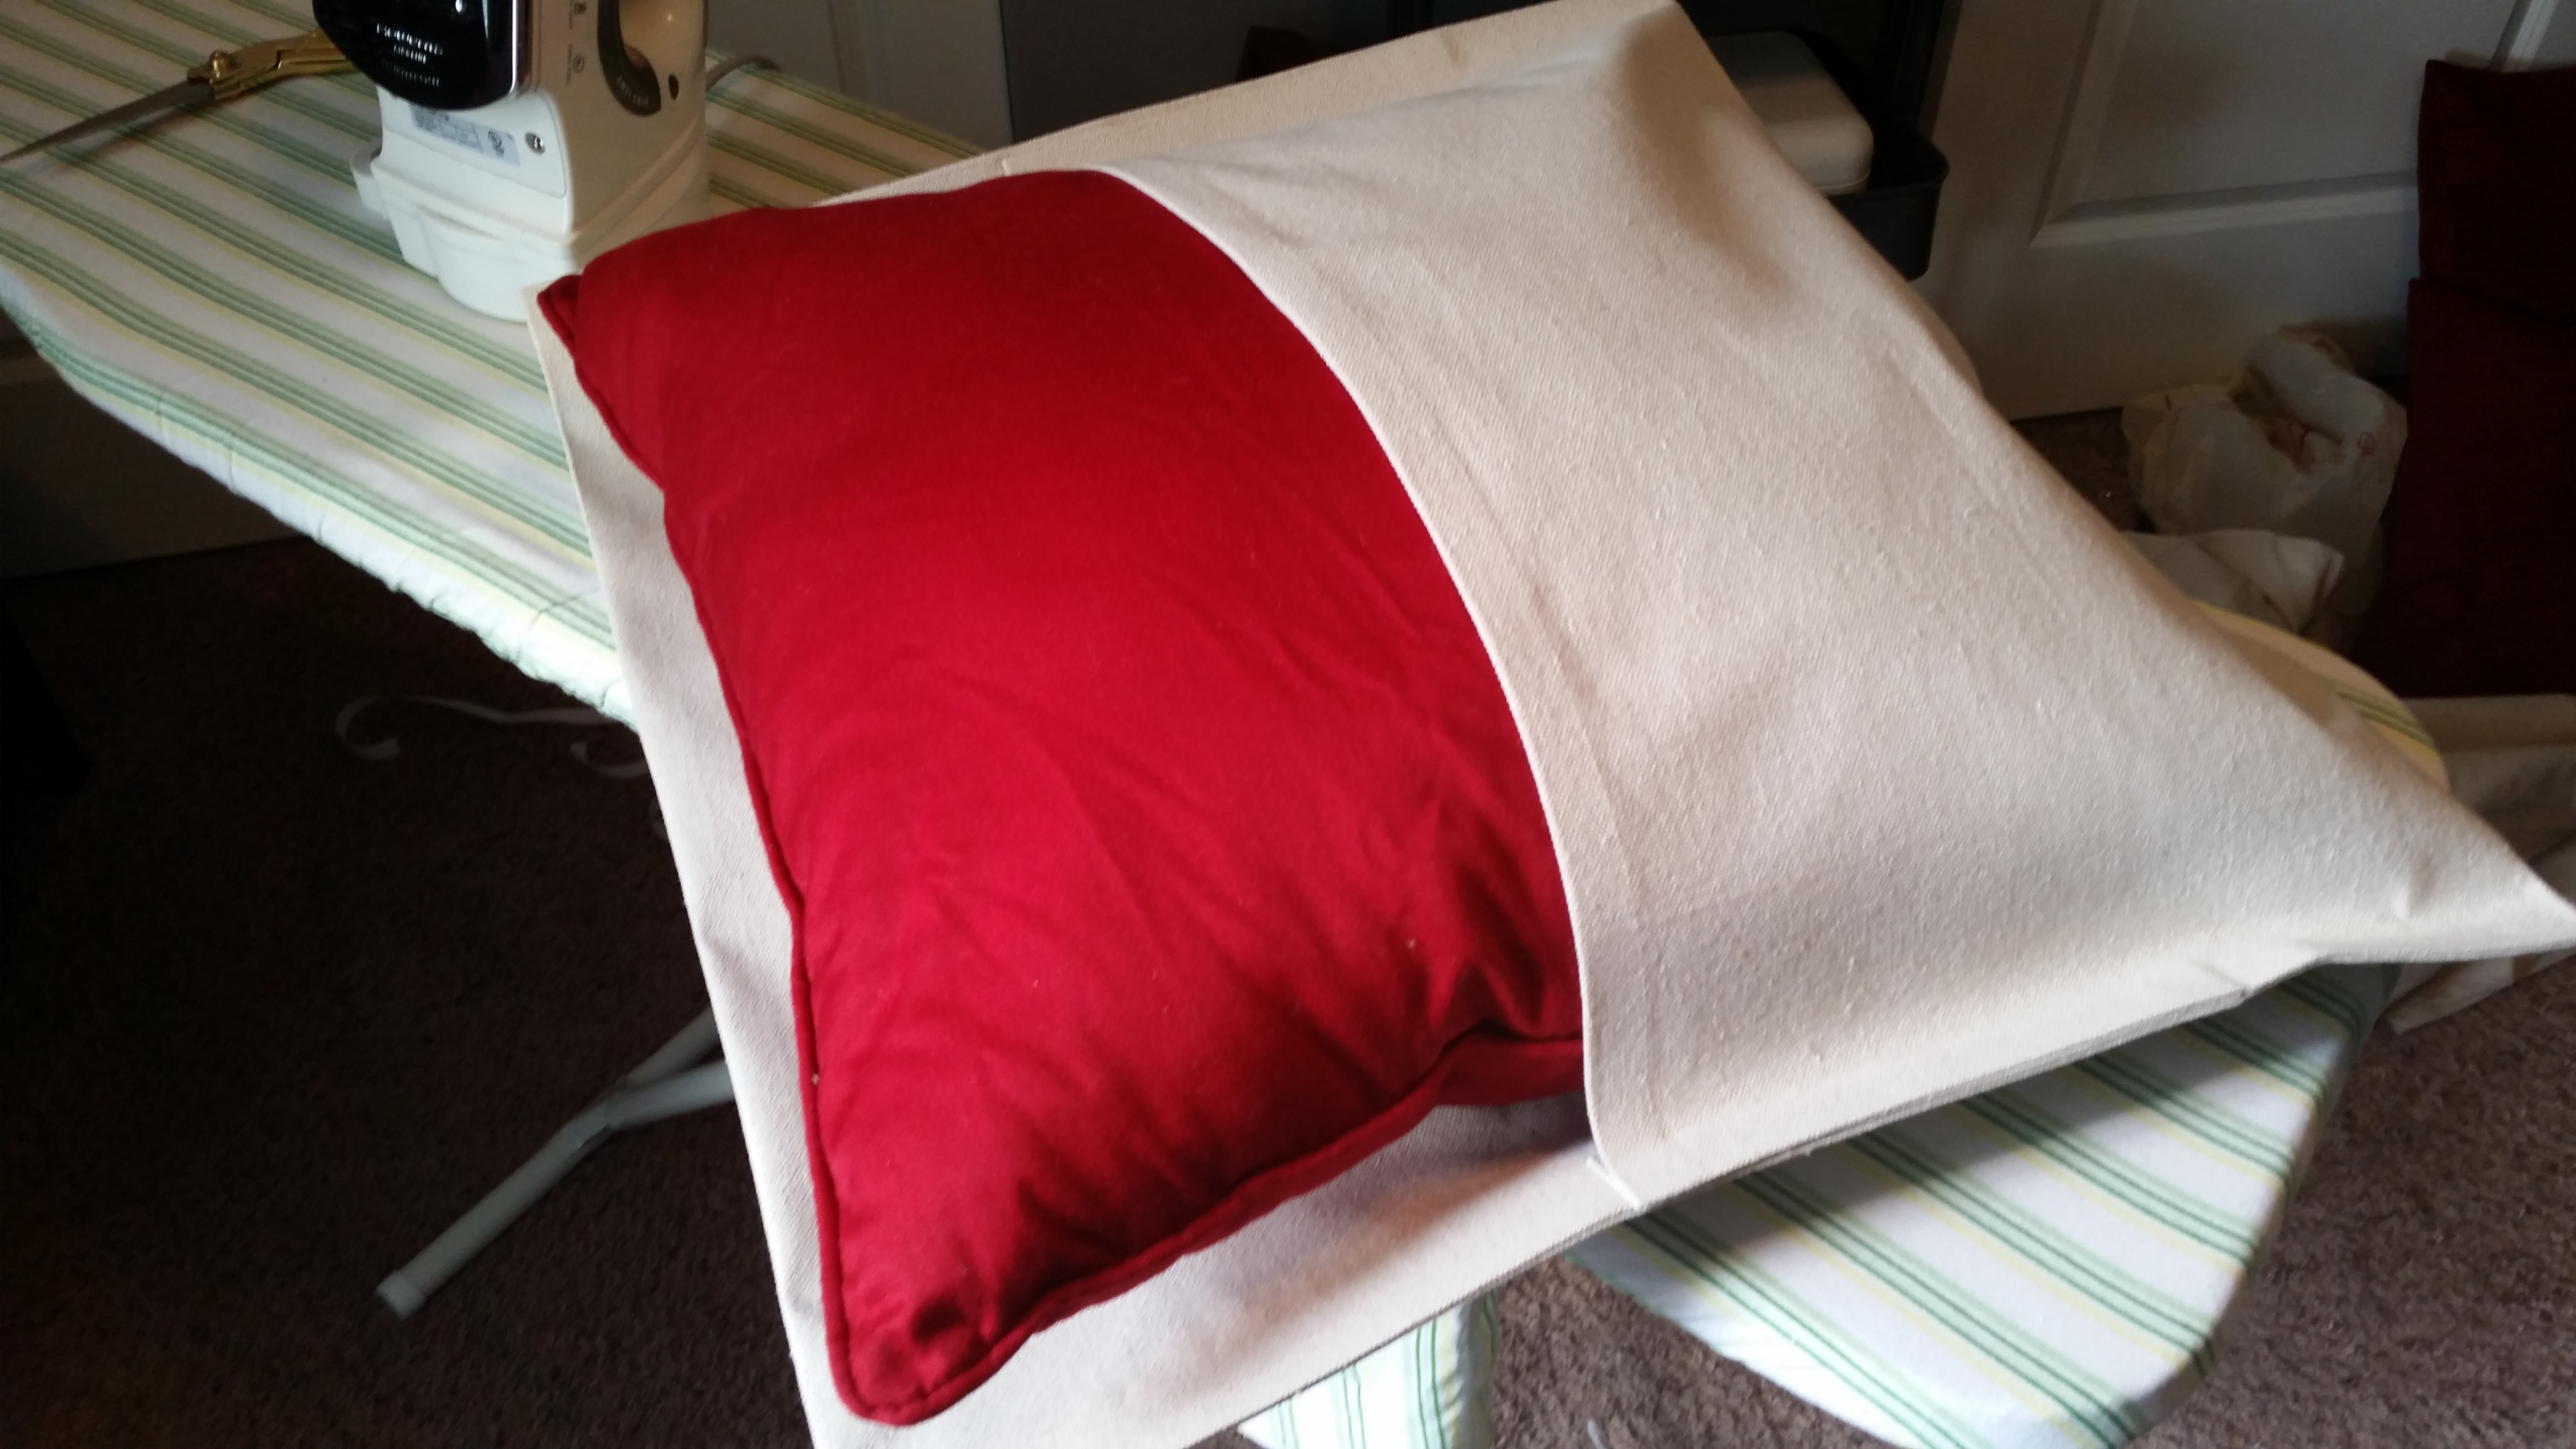
-First you want to measure your pillow from seam to seam. My pillow was 18×18 inches, so I added an inch to each side to allow for the adhesive. Instead of cutting two separate squares, I cut a huge rectangle that measured 20×40 inches so that I could fold over to create the open pocket I can insert my pillow into
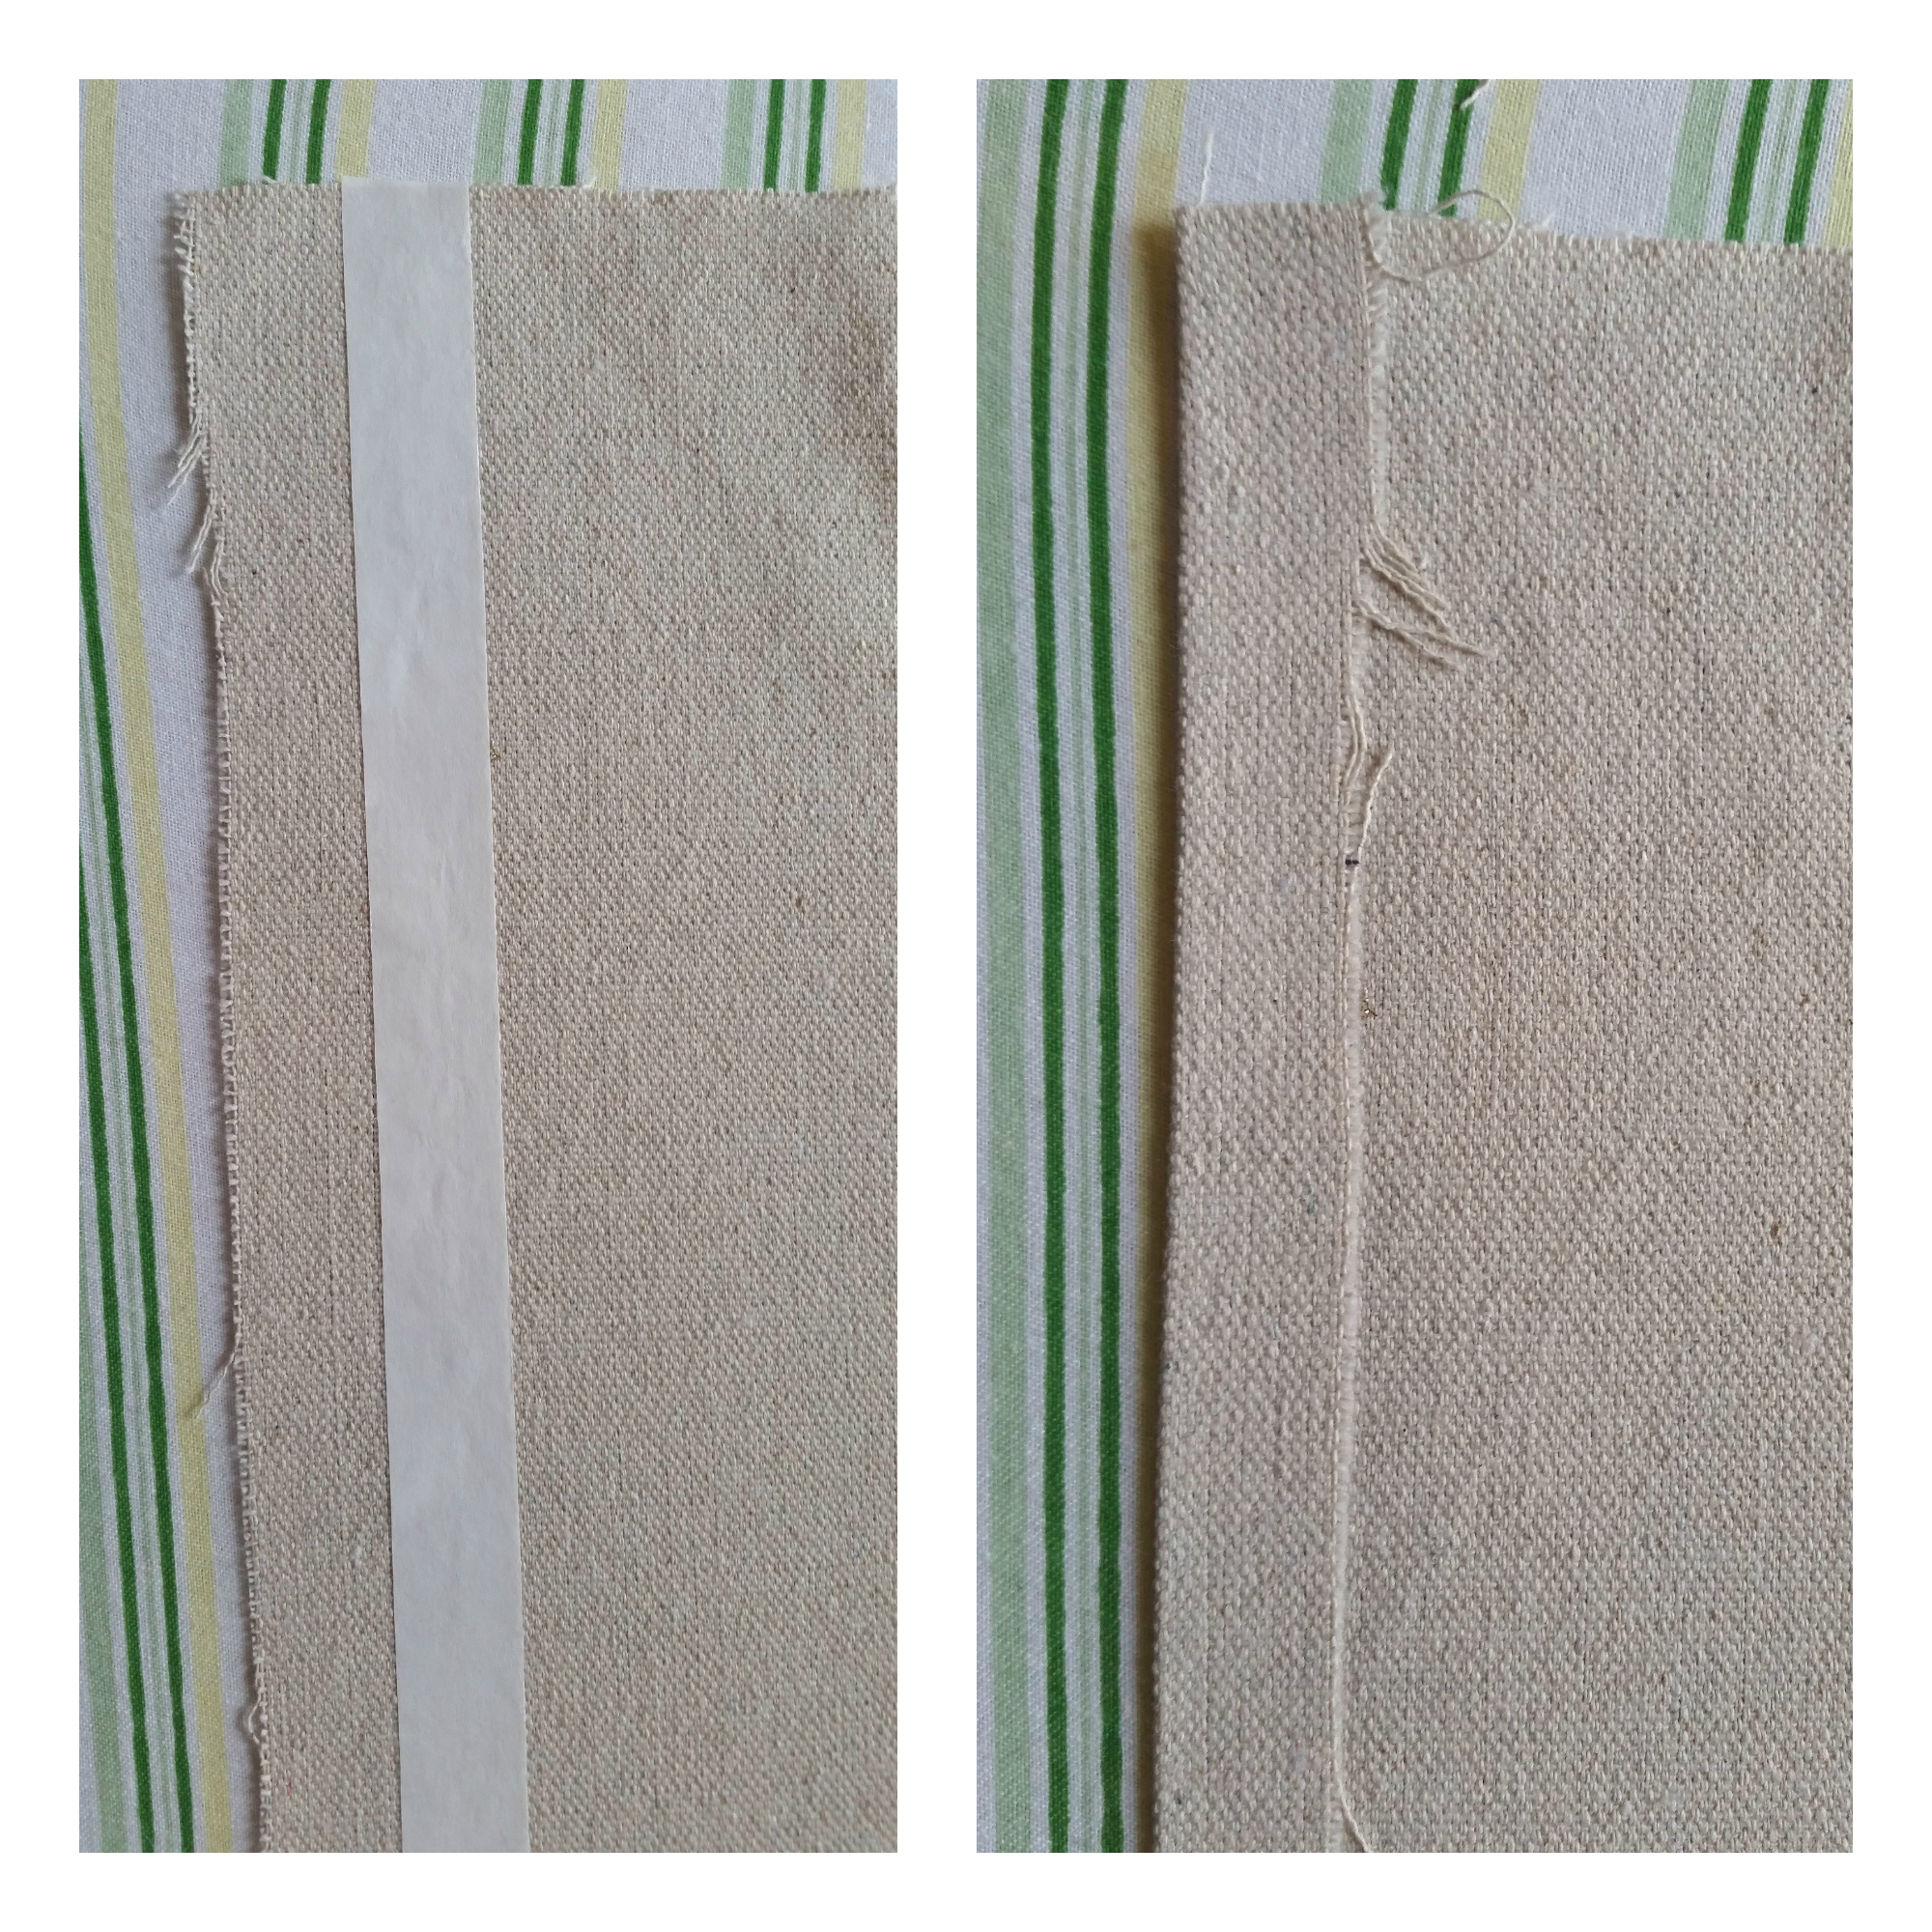
-Next you will add the Heat n Bond adhesive to each edge of the pillow, one side at a time. Apply the side of the adhesive without the paper liner to the drop cloth about an inch from the edge, or depending on the width of your adhesive, more or less. You want enough fabric to fold overtop of it. Run dry iron over the paper liner for two seconds to bond to fabric. Once it is cool, peel off the paper liner
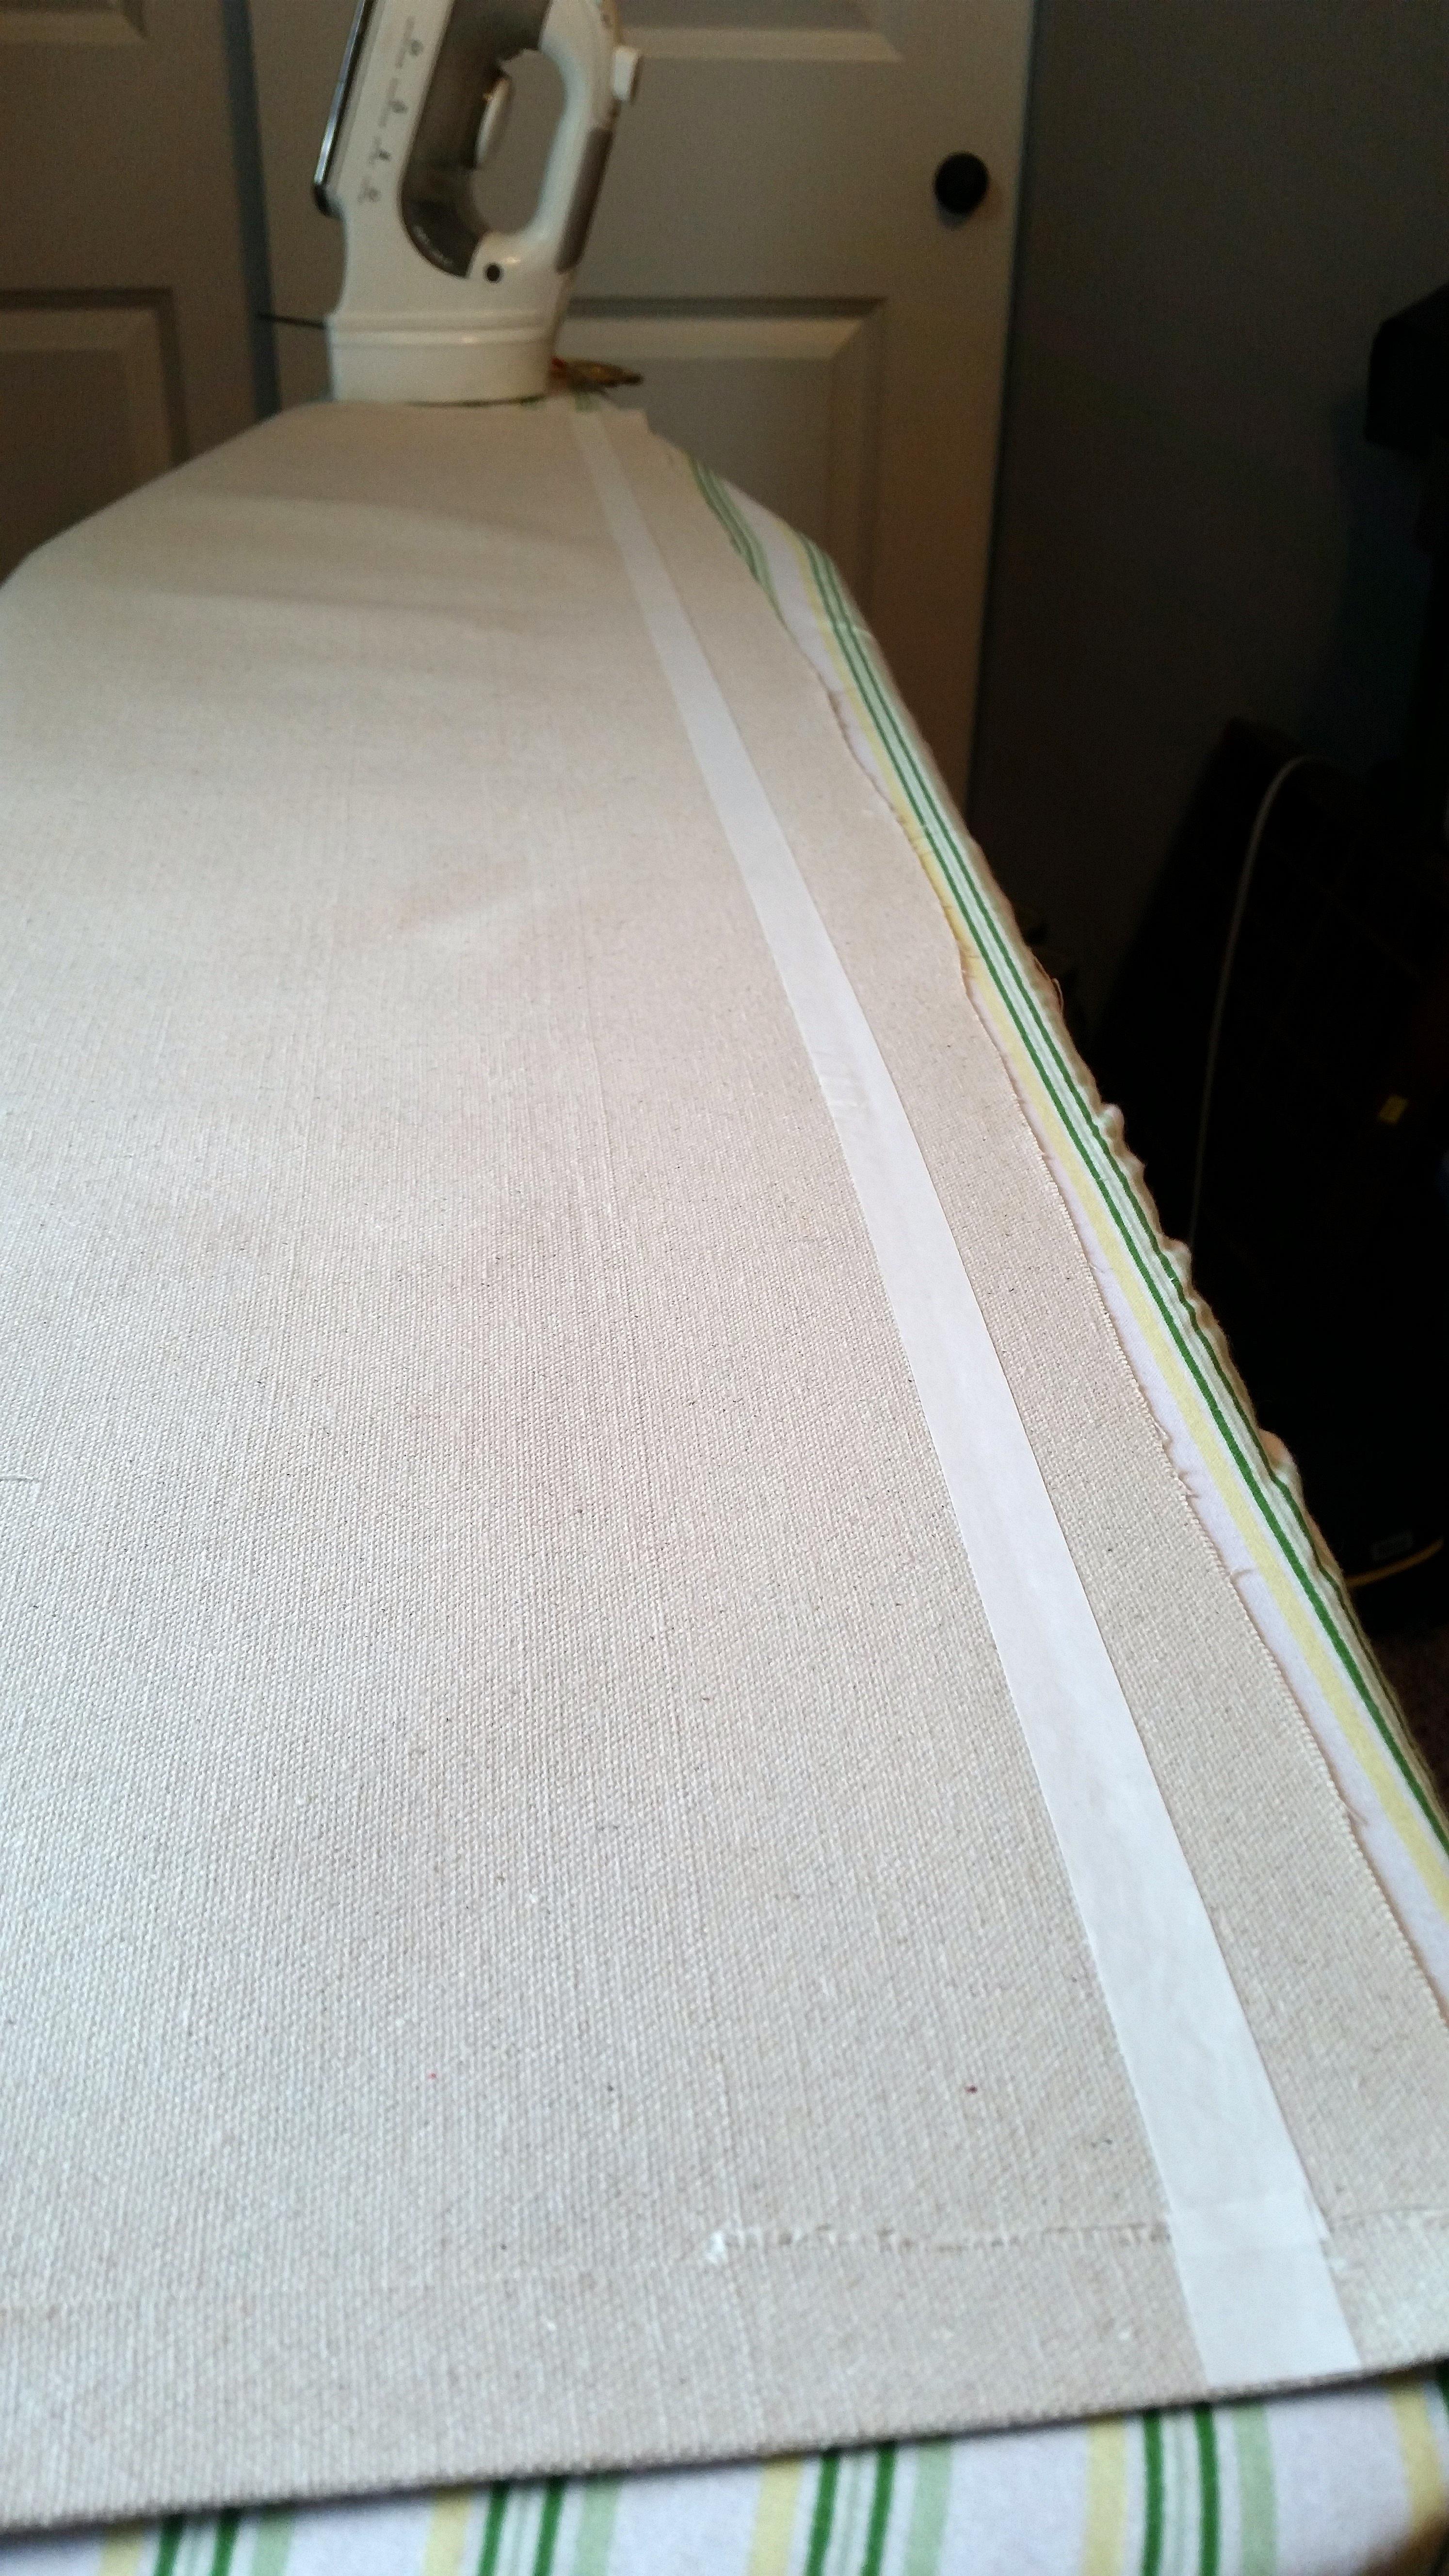
-After you peel off the liner, you are going to fold over the edge to lay on top of the adhesive that is side up. Run your iron over the top to allow the edge to adhere, creating a fold like edge as the picture below to the right. Repeat on all four sides.
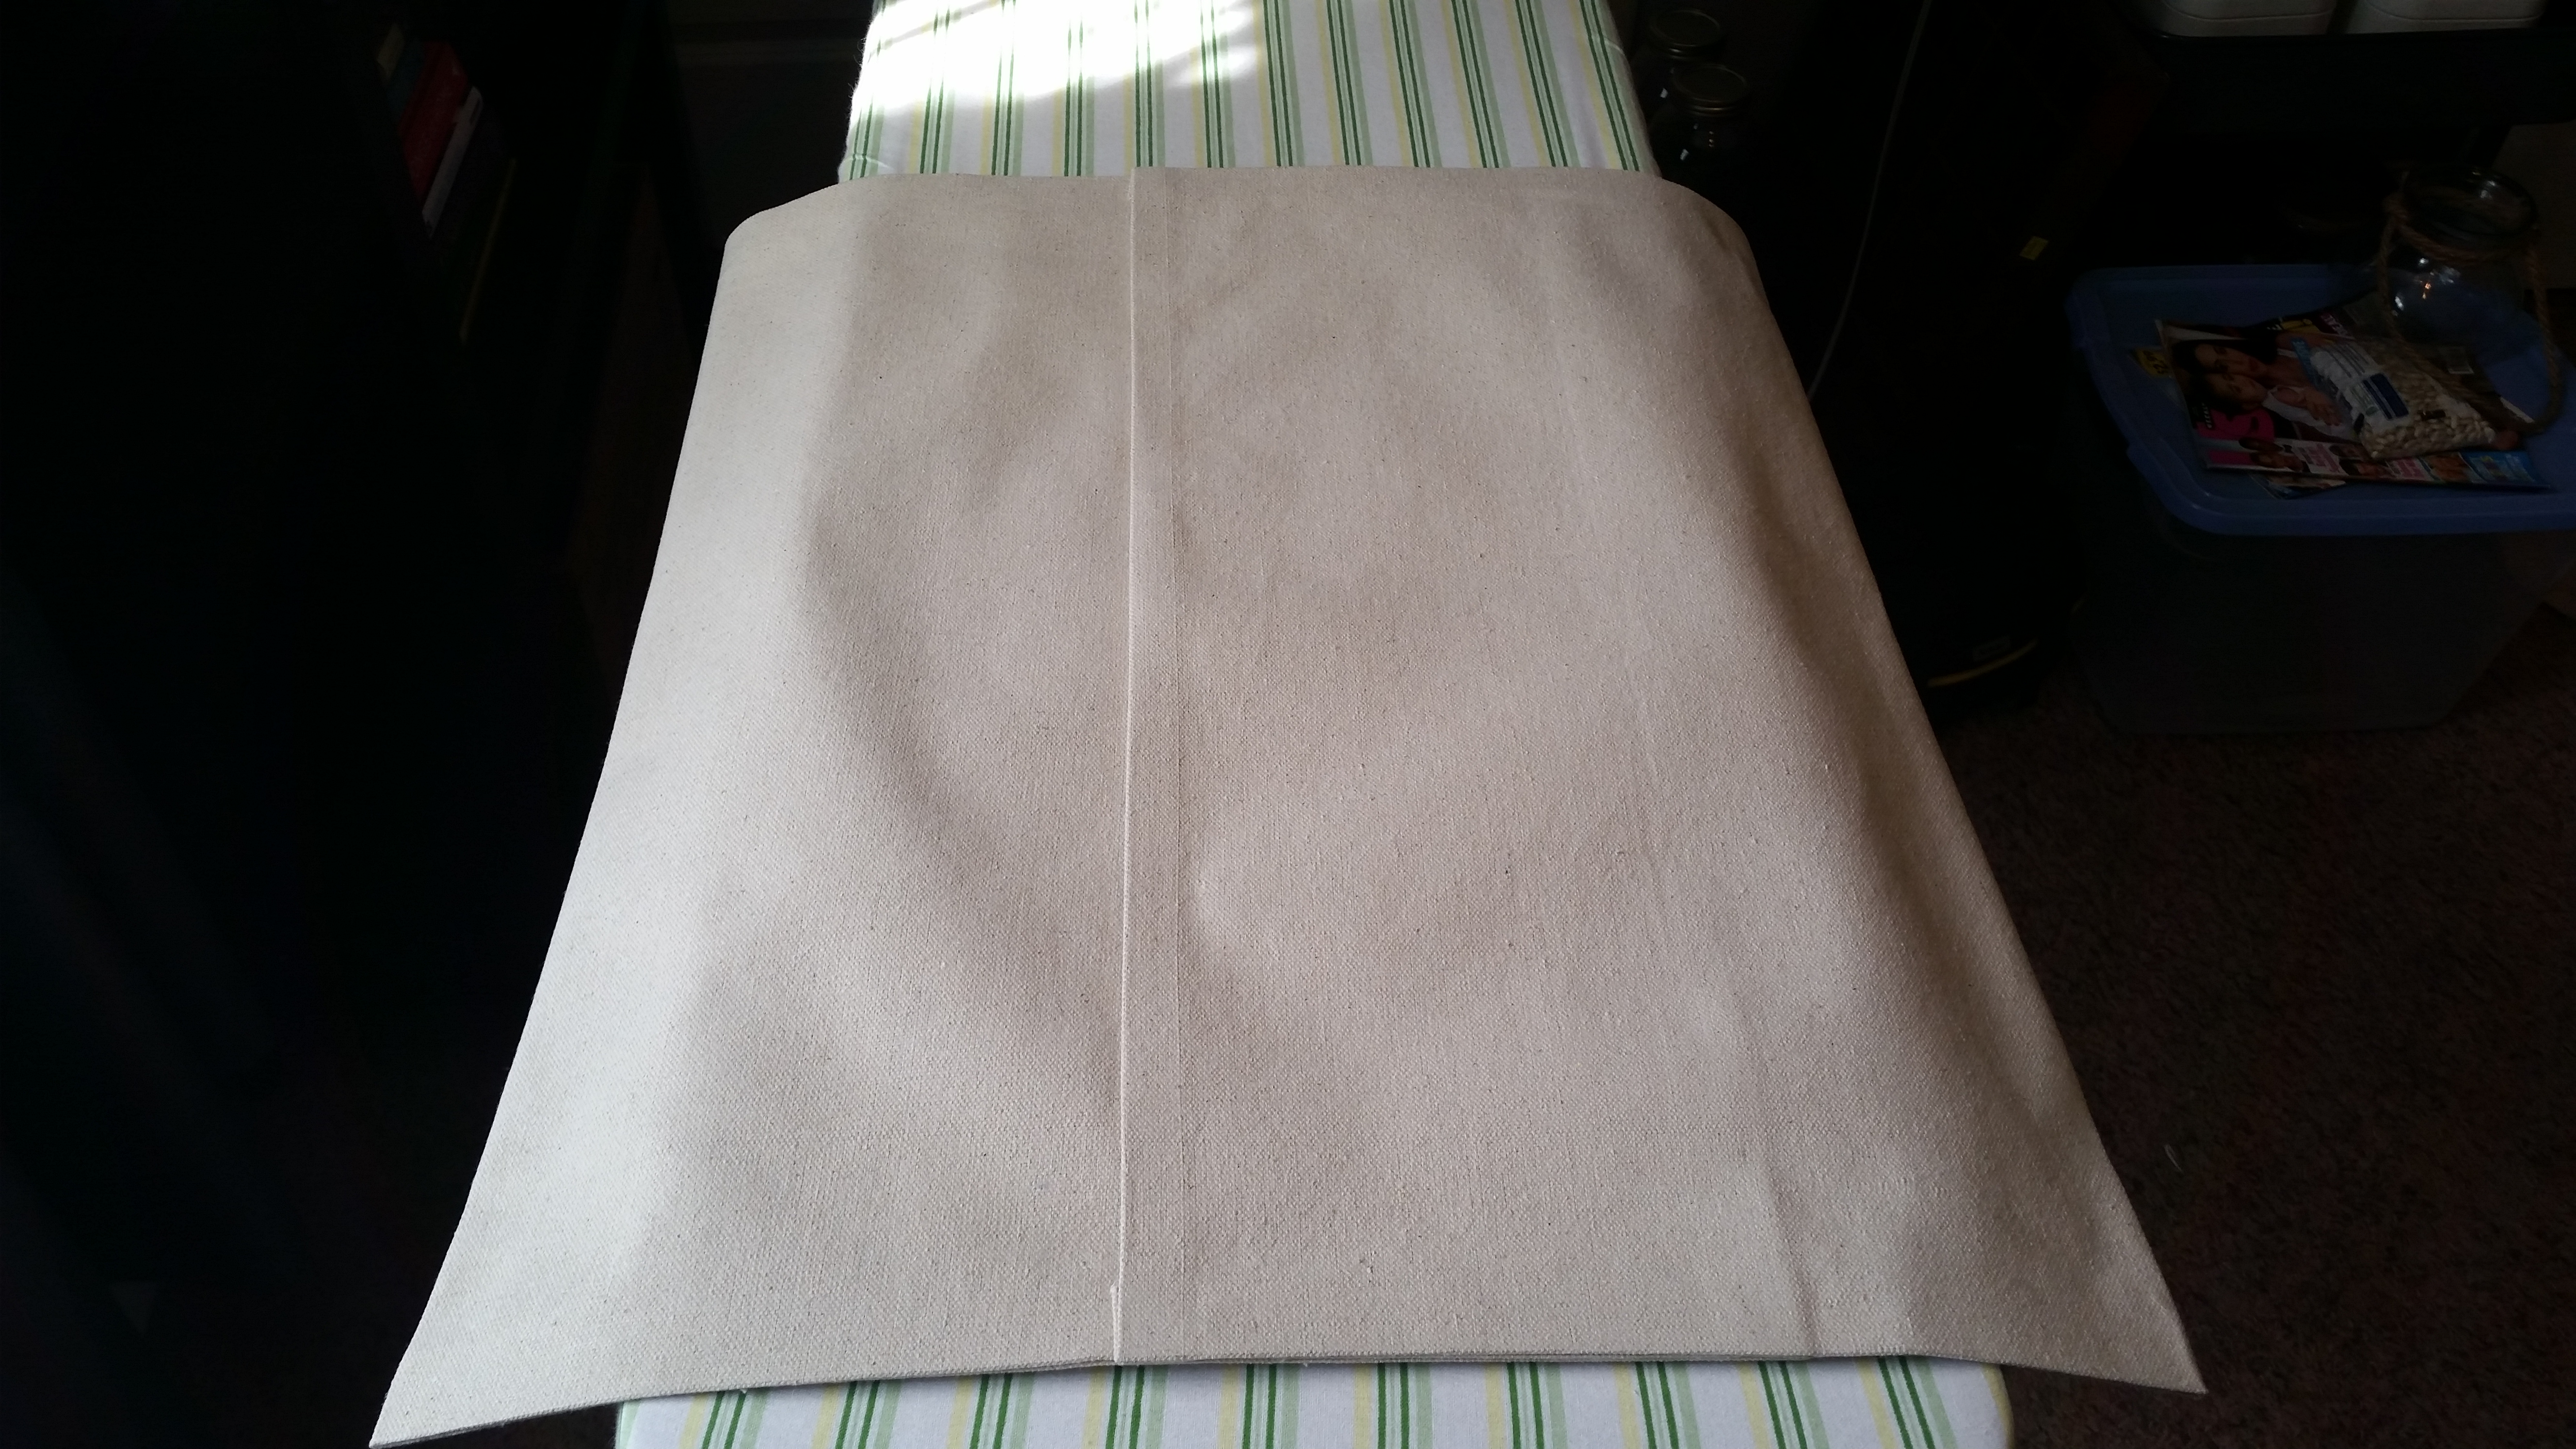
-Next I placed my pillow in the middle of the rectangle, and folded over the two sides to overlap. I moved the pillow around until the crease was centered on the pillow. Remove pillow. You will then add a piece of the adhesive on the drop cloth fold that is on the bottom, as in the below picture. Iron for 2 seconds, let cool, then peel liner. Place top piece of drop cloth fold onto adhesive, iron over the top until the two side of the fold adhere.
-From this point you should have a square pillow with two open sides and an open fold on the back to insert the pillow. Cut two pieces of adhesive that fit each open side and follow the above steps to finish closing the pillow cover.
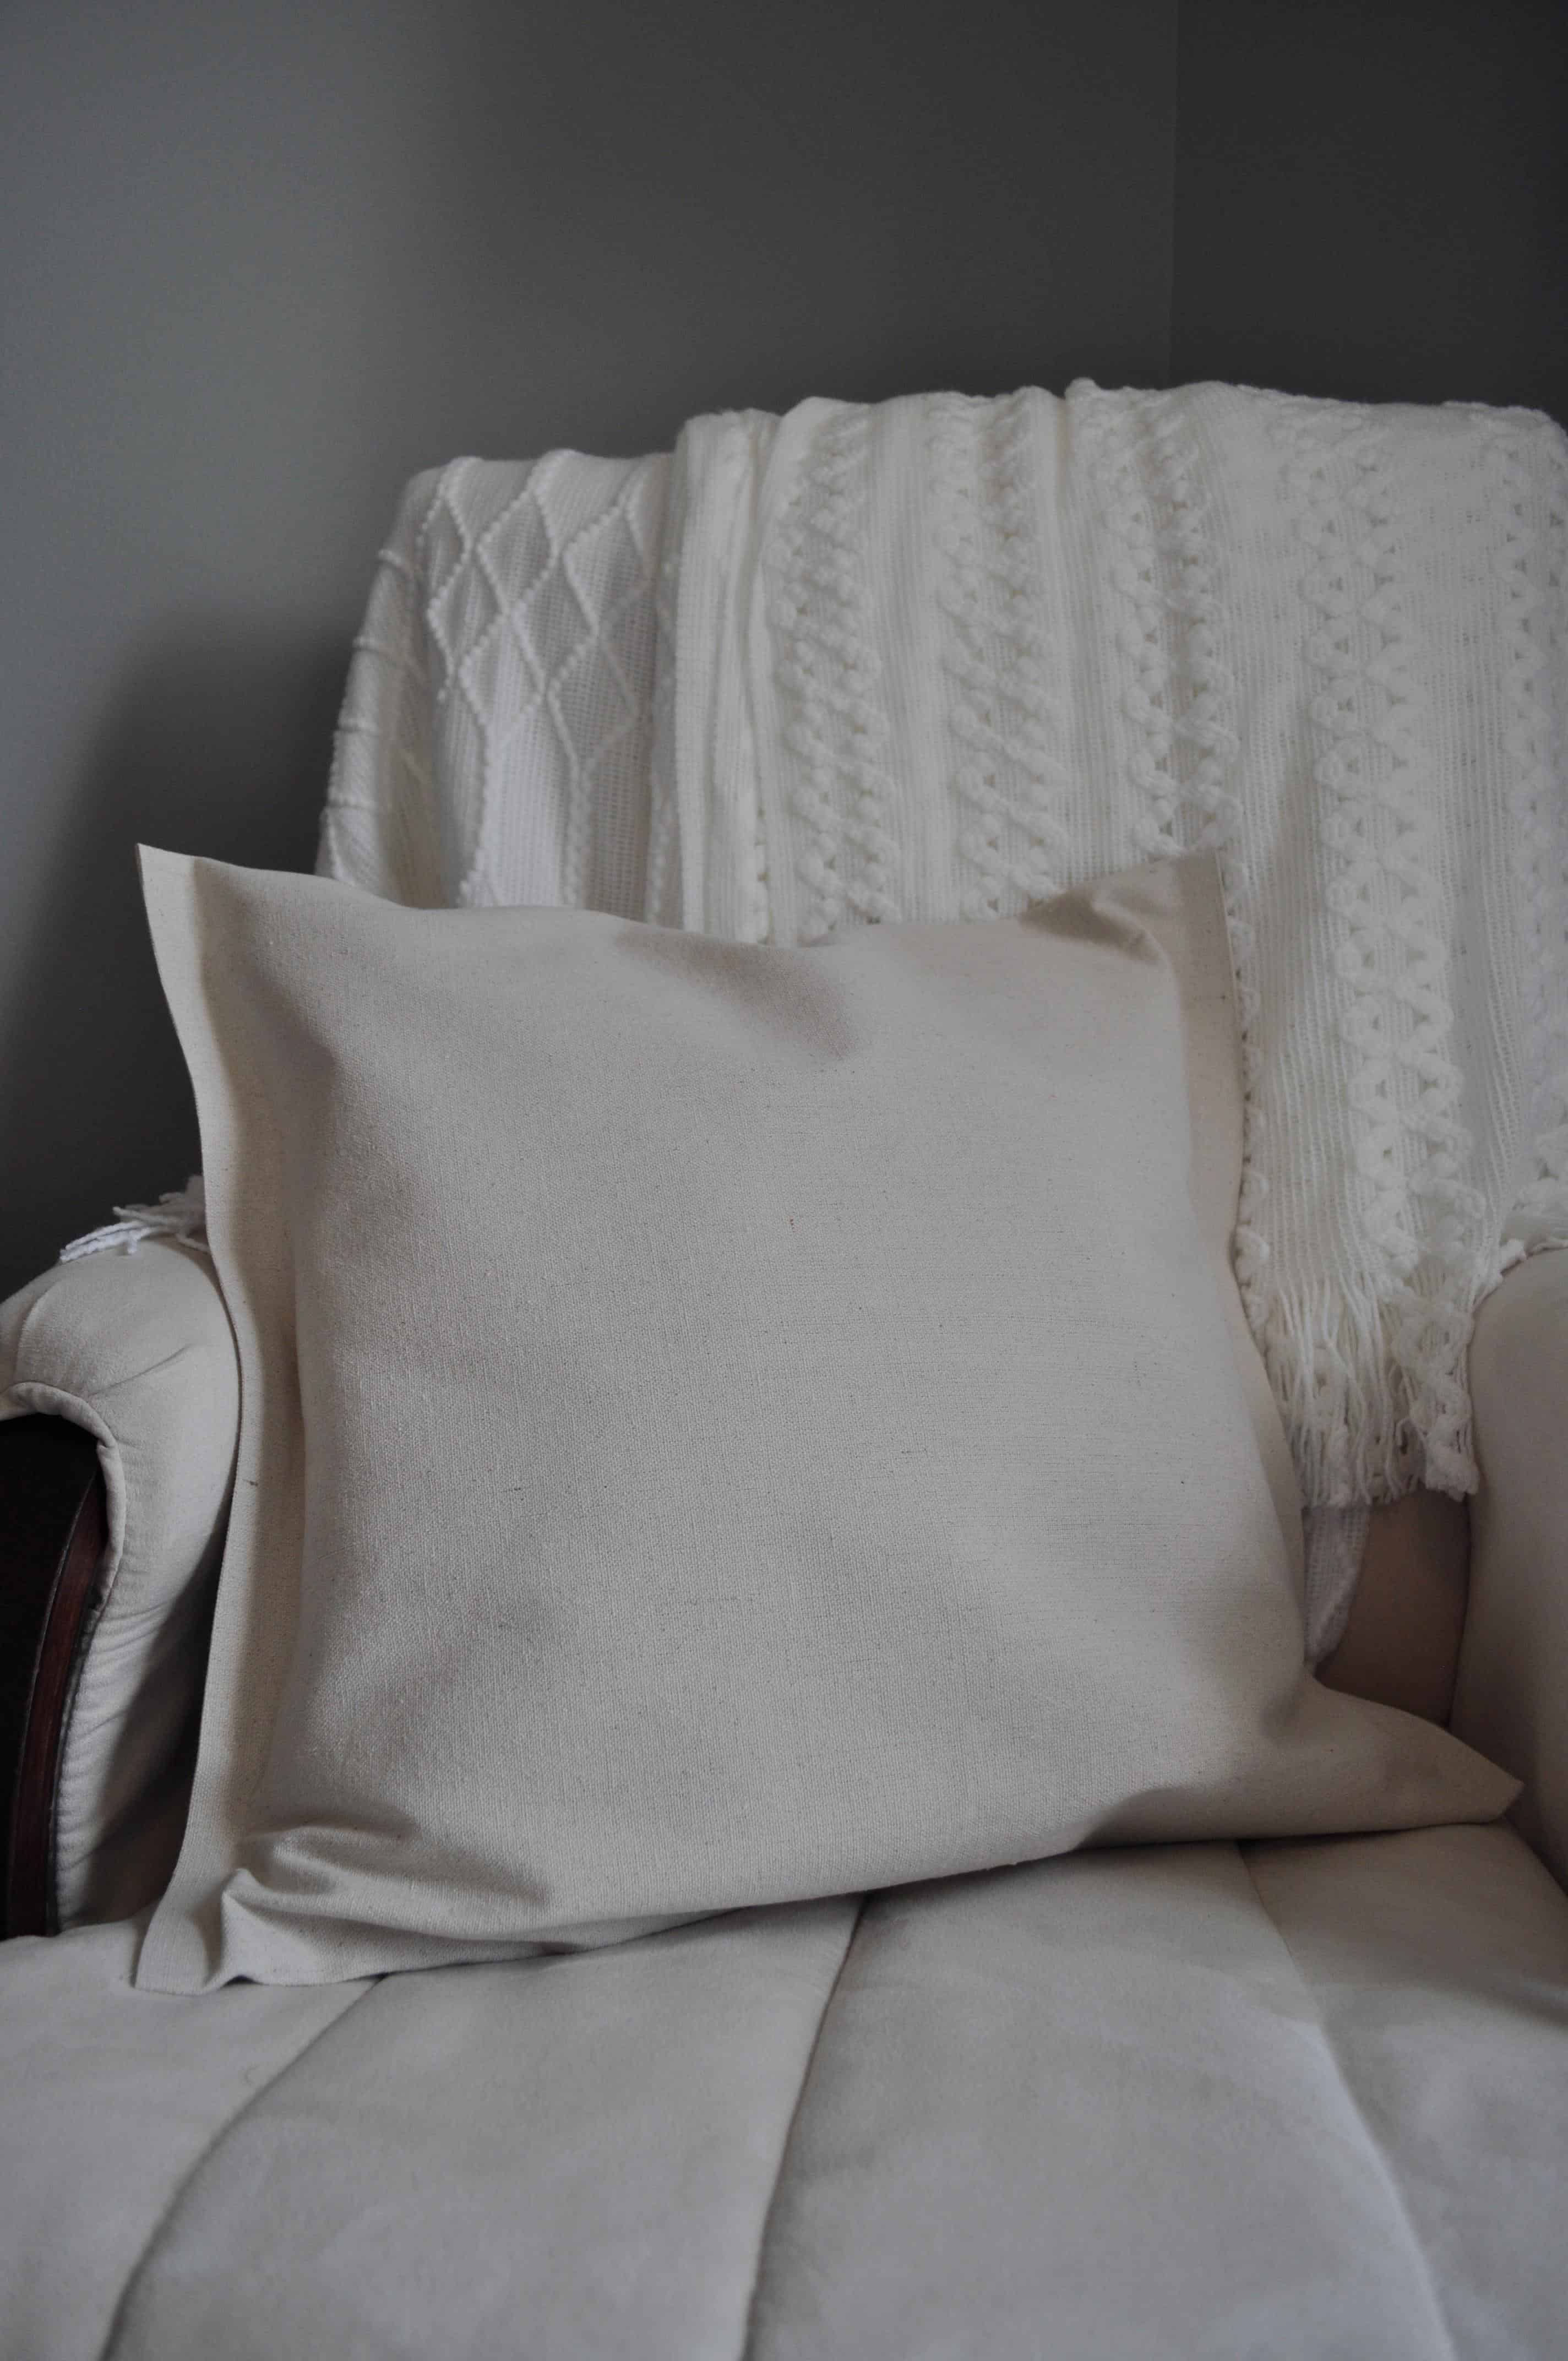
Normally you would turn the pillow case inside out at this point so you couldn’t see the edges, but in this case I loved the edged look on this particular pillow. Let me know what you think!!!