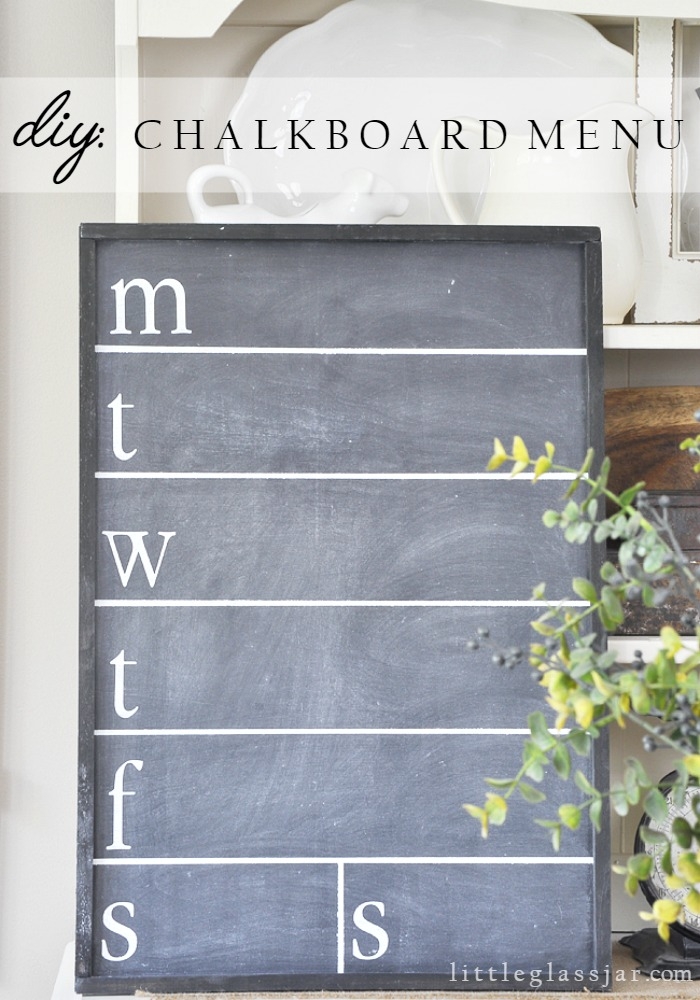
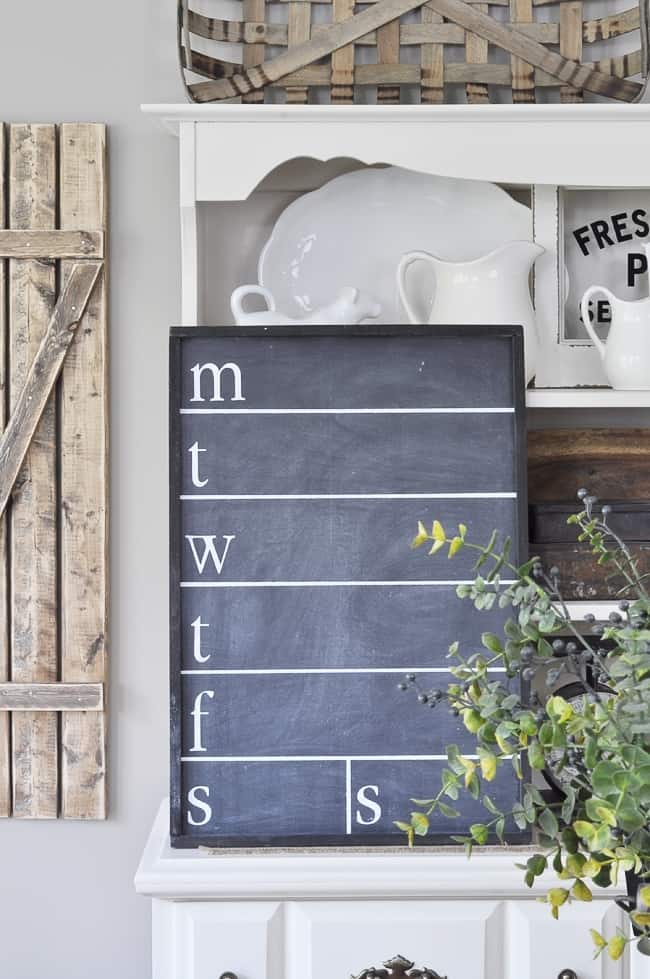
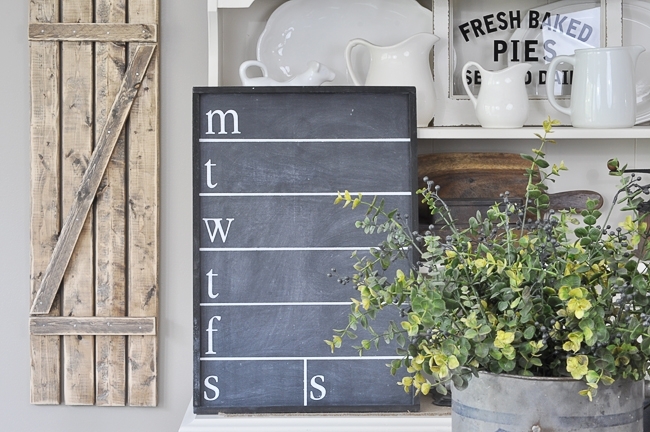
DIY Weekly Chalkboard Calendar
Keep track of daily tasks and meal planning with this easy DIY Weekly Chalkboard calendar.
It’s a busy, busy world these days. Everyone has their own crazy schedules to adhere to and sometimes it is just plain difficult to get ahead! Seriously, every time I see that meme that says, “You have the same amount of hours in a day as Beyonce…” I want to yell because dang it, it’s true! Life is busy! I live and die by my planner to make it through each week. And we are talking about a real life pen to paper planner, no phone or computer apps for this girl please! I like to write things down, and I am a super visual person. Lately, I have been trying to really nail down a good consistent work/blog/exercise/play schedule. When I get home from work in the evenings I have limited time to clean, cook dinner, work on the blog, workout, and see friends and family some nights. For that reason I am currently trying to conquer the meal planning phase of my weeks. Baby steps, people!
I am not gonna lie to you, I hate to meal plan. I hate to meal prep too. I hate it all. But we all have to eat right!? And I have a husband to feed also! So, why not make meal planning a little bit more fun and cute with this DIY Chalkboard Menu! Okay, that’s a stretch, but I’m hoping that having this around in my kitchen will help keep me stay scheduled more with cooking. Fingers crossed!
SUPPLIES NEEDED:
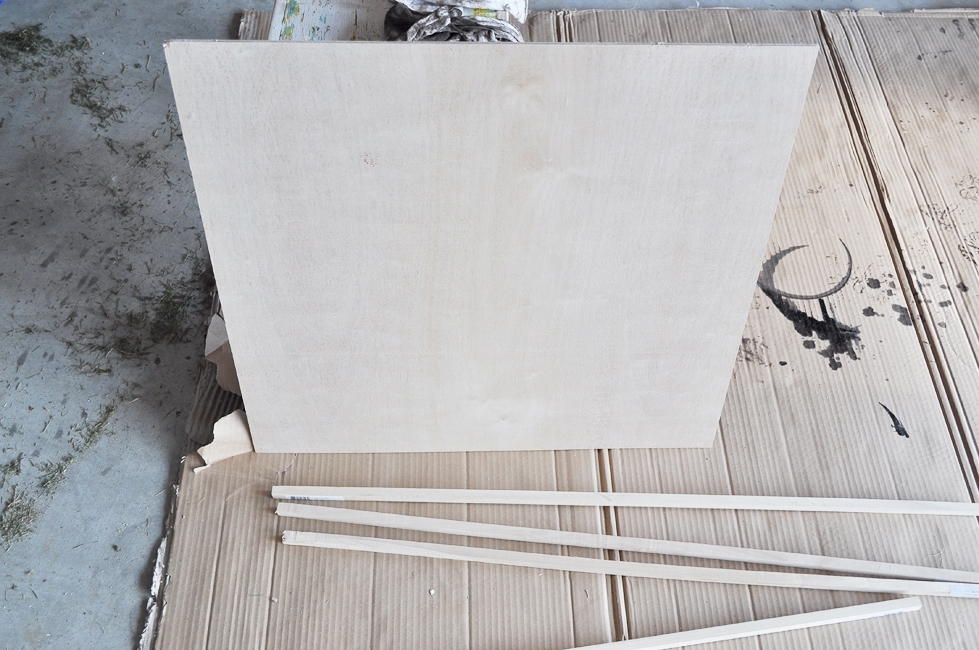
- 2ft x 2ft Plywood (1/4in thick)
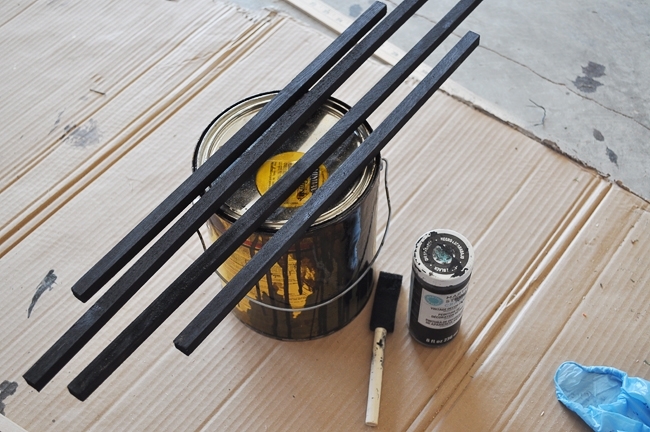
- 3 – 1/2in x 1/2in Square Wood Dowels
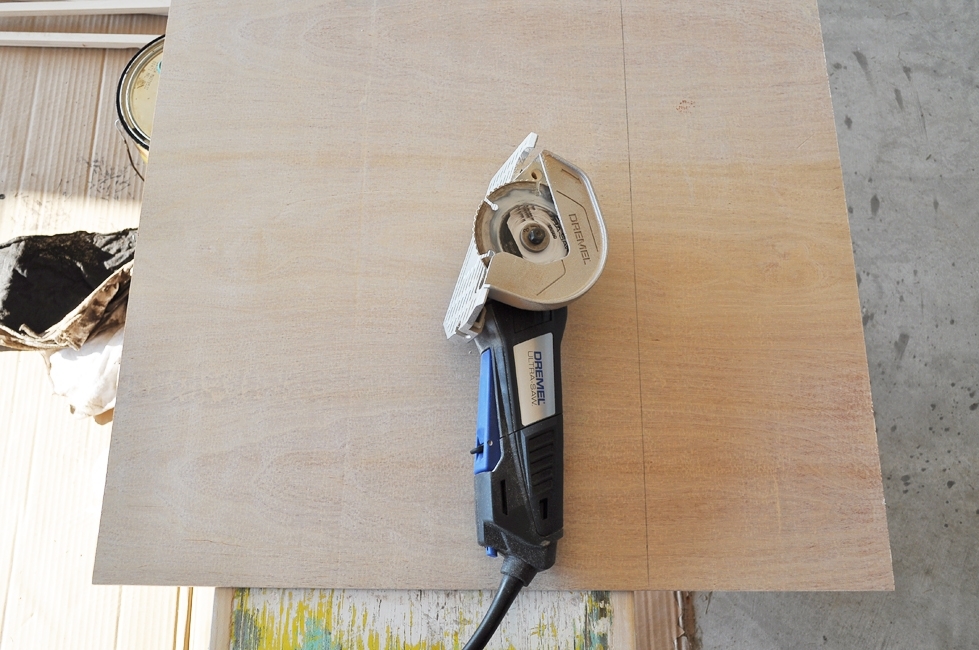
- Saw
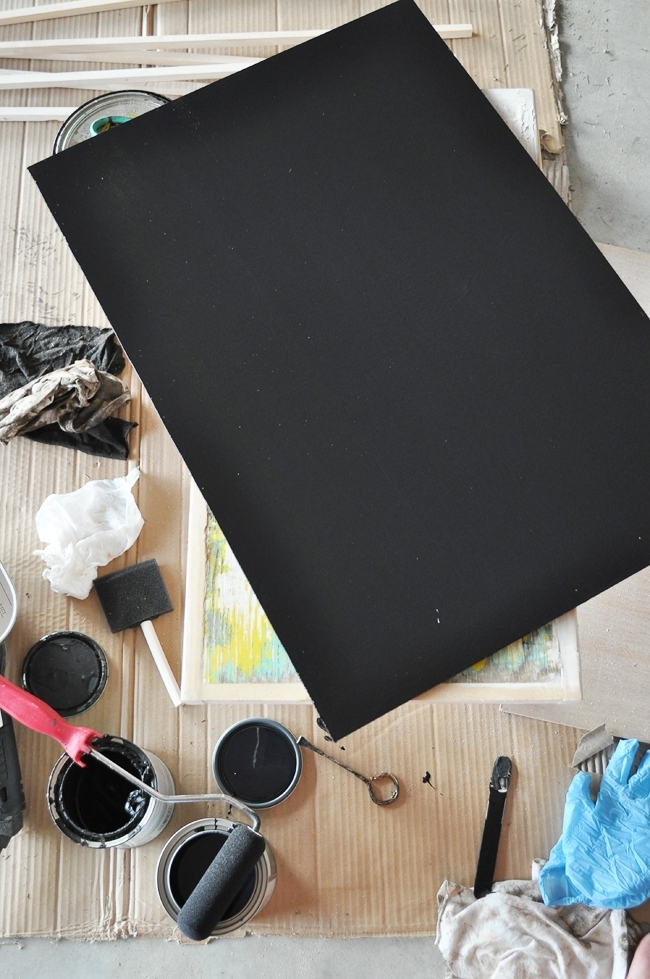
- Chalkboard Paint/Foam Roller
- Painters Tape
- White Craft Paint
- Black Paint
- Sponge Brush
- Letter Stencils
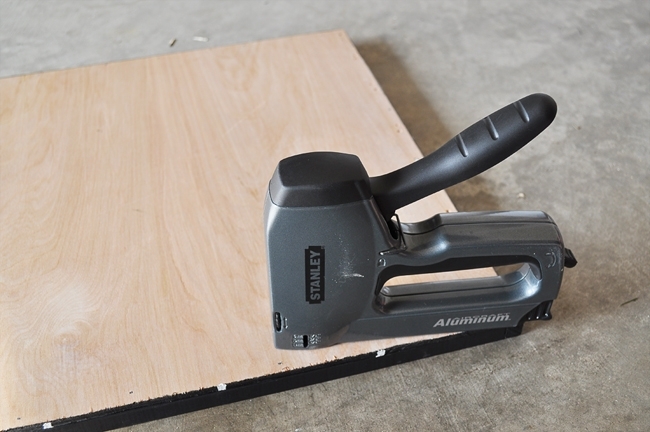
- Stapler or Nail Gun (or Hammer and Nails)
INSTRUCTIONS:
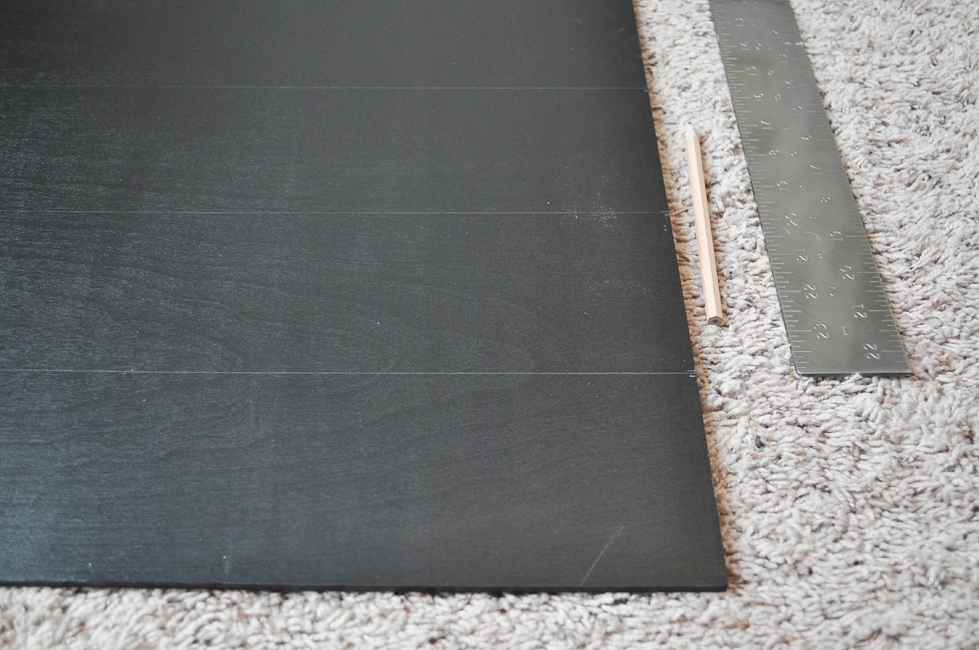
- Measure your piece of plywood to the size you want it, and cut it with a saw. I kept the length at 2ft, but cut the width down to 16.5in.
- Using the foam roller, paint the piece of plywood with black chalkboard paint. It took about 2-3 coats to get a solid look. Let dry completely. And, um, pardon the mess!
- Measure 6 even slots on the piece of plywood. Since my length was 2ft, each slot was 4 inches. Mark with pencil.
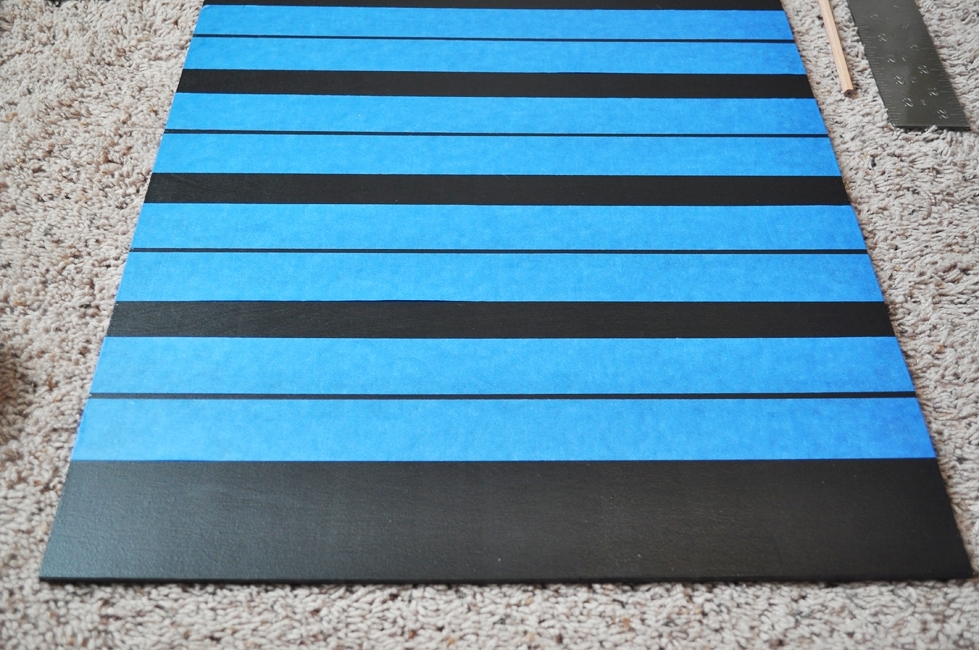
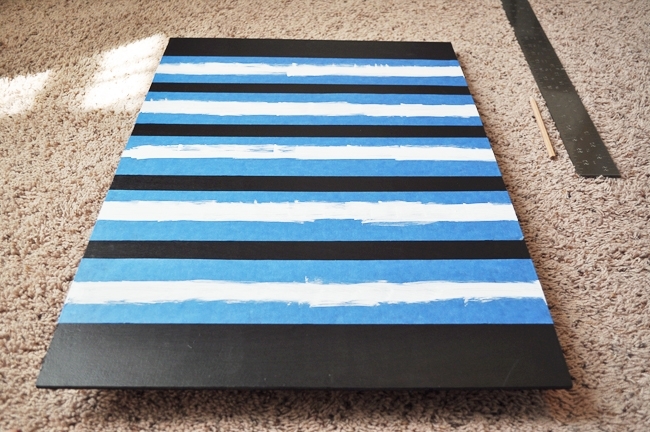
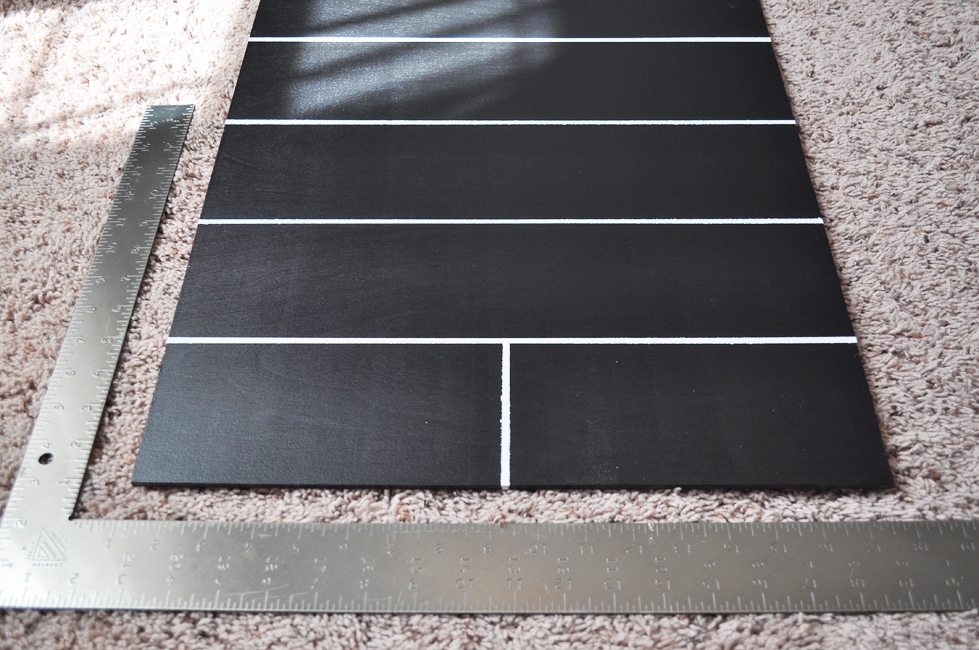
- Using painters tape, mark off the penciled lines and paint them with white craft paint. Let dry completely, then remove tape. Add a vertical line halfway on the bottom slot for Saturday and Sunday as done above.
- Cut the 1/2in x 1/2in wood dowels to frame the painted piece of plywood. My side pieces measured 23in, and the top and bottom pieces measured 16.5in. Paint them with black paint and let dry.
- Attach the wooden dowel pieces to frame the plywood using a stapler, nail gun, or just good old fashioned hammer and nails!
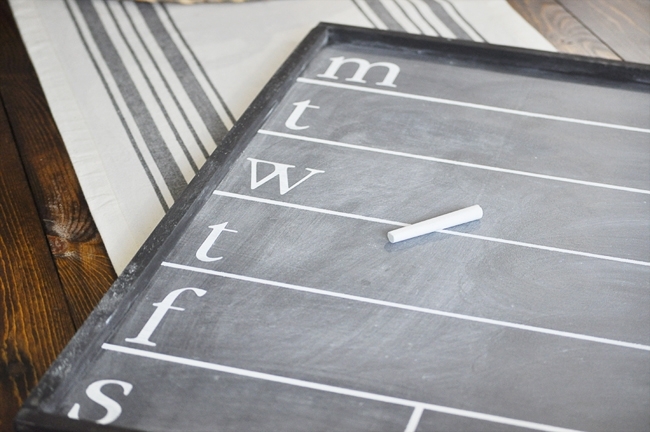
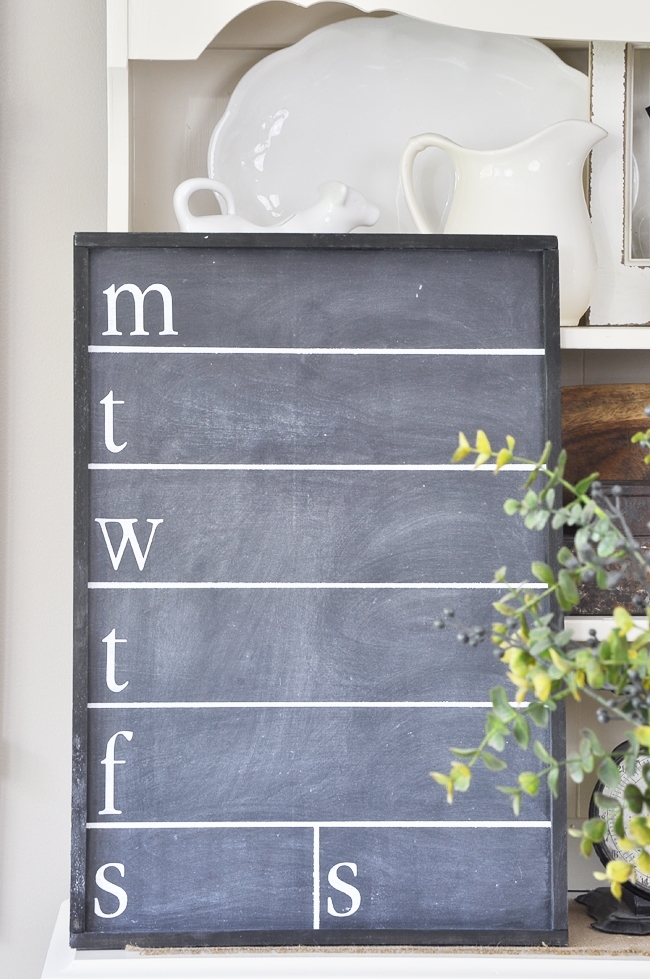
- Next, using letter stencils (I made some with my Silhouette Machine) and white paint, paint on the M, T, W , T, F , S, S days of the week on the left side of each slot.

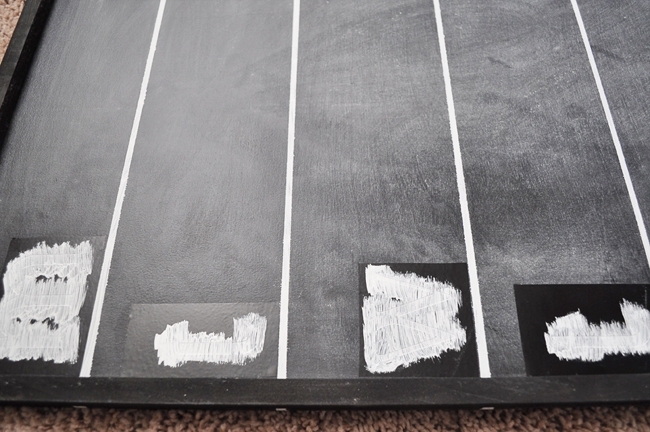
- Once the white paint is dry, remove stencils. I used a piece of chalk to season the chalkboard to make it look a little older and used.
So here’s to hoping that this pretty little thing will motivate me to keep a detailed and scheduled menu for each new week. Sundays are always key to planning and prepping for me. I’ll have to keep you guys updated on how I do! In the meantime, isn’t this a cute project for your kitchen!?

Hope you love it!

What font did you use for your stencils?
This is great! I am so much better at meal-planning when I have a menu/calendar like this in front of me. Thanks for linking up with Merry Monday.
Super cute, will be sharing on Monday with Inspire Me Monday
I love this! I need to be better at writing our my weekly menu, maybe this would help? Pinned!
Oh my goodness Ashley! I absolutely LOVE this! I always write out my menu each week in my little planner, but this is SO much cuter! Totally adding this to my must-make list!
Yay! I’m so happy you like it! It’s been working out pretty good so far too! Hopefully since it’s pretty, I will keep at it! Thanks girlfriend! XO!
Hi, Ashley! New follower here! Just wanted to say I love your blog! Some of my faves include your office, guest bedroom and dining room. I also love this post. So simple yet super cute! Thanks for sharing. Hope you have a great week.
Ashley! Thank you so so much! That means so much to me! You are so kind! You have a wonderful week too!